Blog: Stencil

Life is tricky

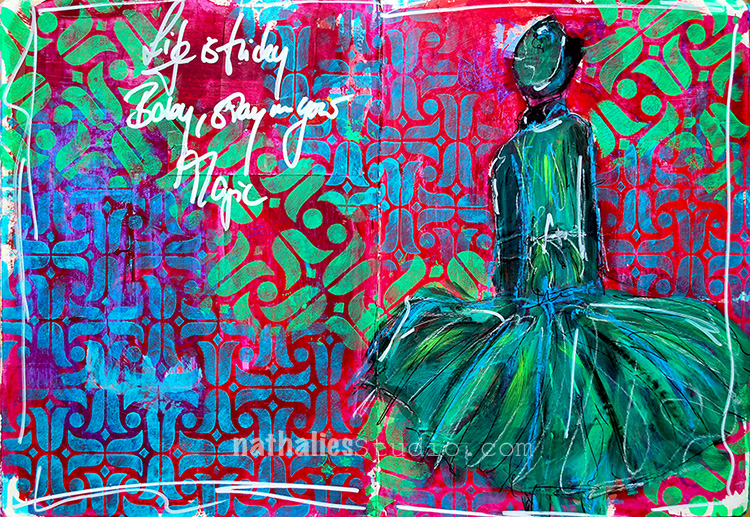
Life is tricky, Baby, stay in your magic.

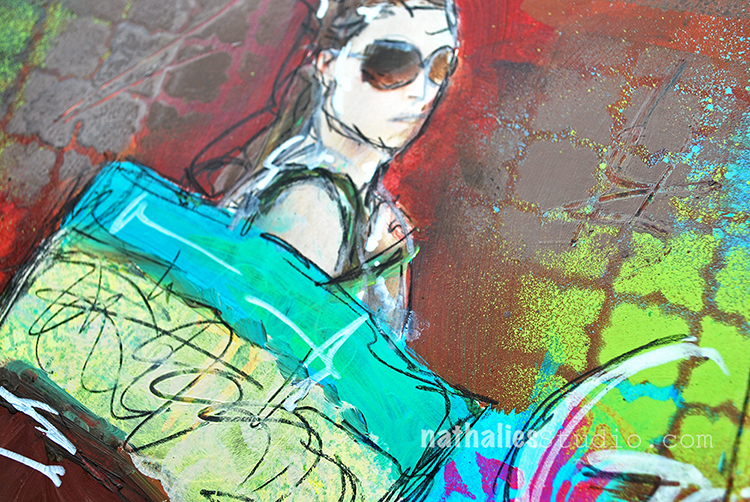
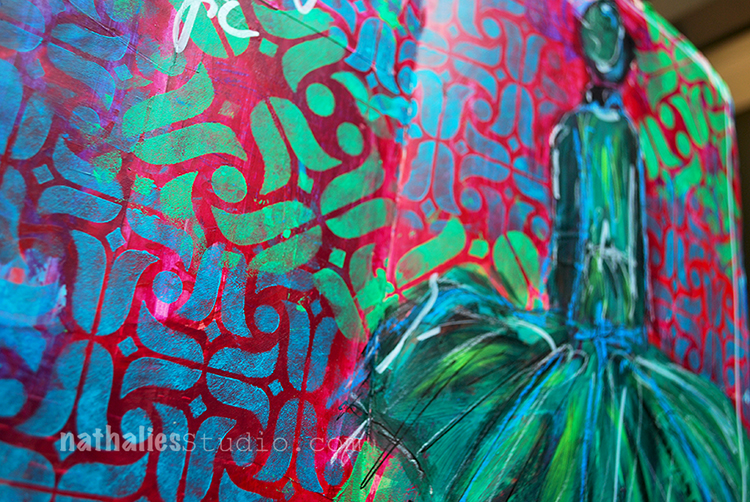
I had a good time creating this page when I wasn’t really cheery but playing with those colors and with my new Amsterdam Stencils – 9×12 and 6×6 – made me happy again :)

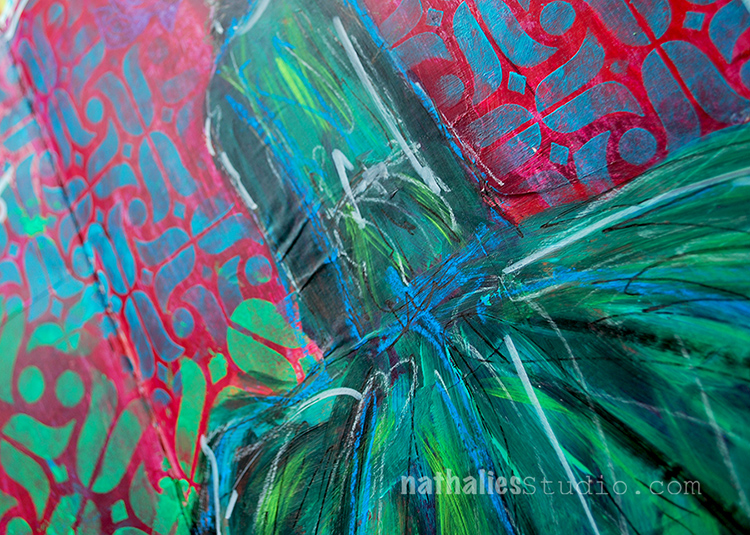
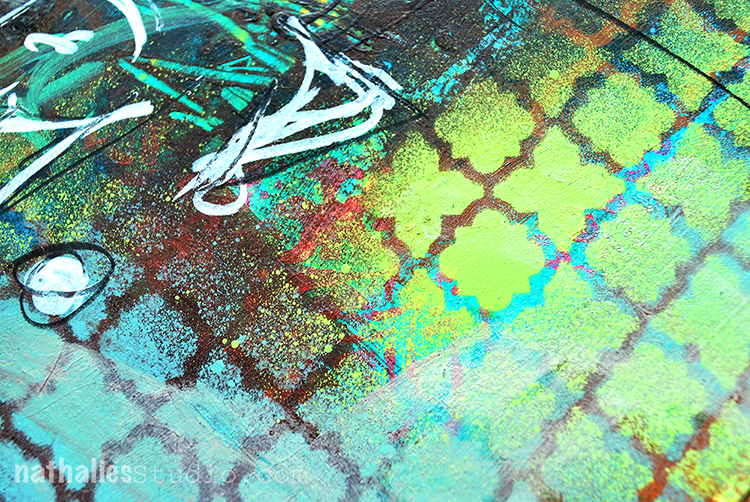
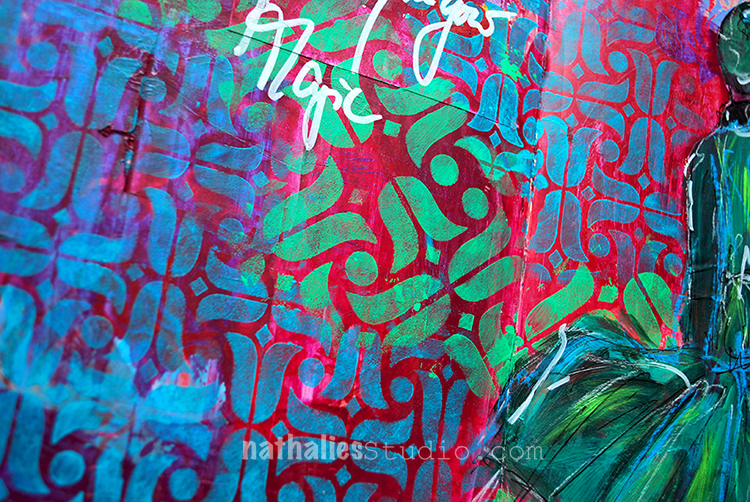
I used red and green as complimentary colors on purpose to make everything pop a bit more. I applied acrylic paint with a foam stamp through the stencils.

I love that the pattern is slightly different in the 6×6 stencil and the tulips are also bigger- different size, different pattern but same elements – an easy way to tie the design together and apply some layering.

I used a small brush to paint over the magazine image and added some highlights with pastels – I love how the blue pastel pops off the dress.

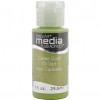
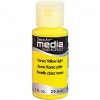
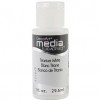
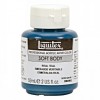
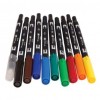
Here is the supply list- some links are affiliate links:


I hope your day is super magic today!

Comments (12)

  • jbonomo

    |

    Stunning page! This stencil is one of my favorites (there are too many favorites like Chicago) and thank you for your color theory tutorial at AWOH. I love how everything pops off the page. Me thinks that your next venture will be high couture.

    Reply

    • nathalie-kalbach

      |

      Awe- thank you Julie! It was wonderful to have you at AWOH!!!!

      Reply

  • sunmoongal

    |

    Hi, love this spread. Have to get some stamps!

    Reply

  • Linda Faber

    |

    Wow! I so love this page! So dynamic in color and style. Great stamps too.

    Reply

  • joi

    |

    What SUPER pages Nat. Love your sentiment and the neat dress PLUS your amazing patterns and colors! Xj.

    Reply

    • nathalie-kalbach

      |

      Awe- thank you Joi – I want to own that dress :) Have a wonderful day !!!

      Reply

  • Sandra

    |

    Nathalie, I’ve signed up for one of your classes at Artiscape this year. Excited to meet you. Will your stencils and foam stamps be available for sale there?

    Reply

    • nathalie-kalbach

      |

      Sandra, so happy you will be there and I will meet you! I think stencil and foam stamps as well as my rubber stamps will be there – I am in the midst of organizing that ;)

      Reply

Leave a comment

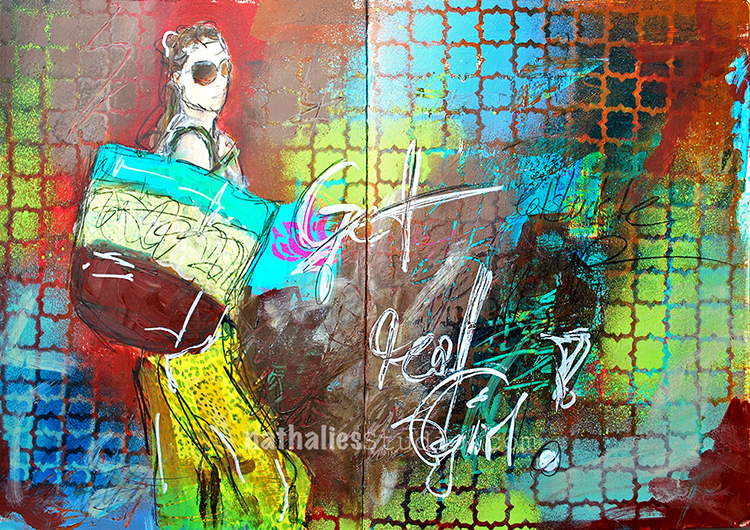
Get Real Girl – Art Journal

This was a little reminder for me at the time I created this art journal spread. It worked ;)

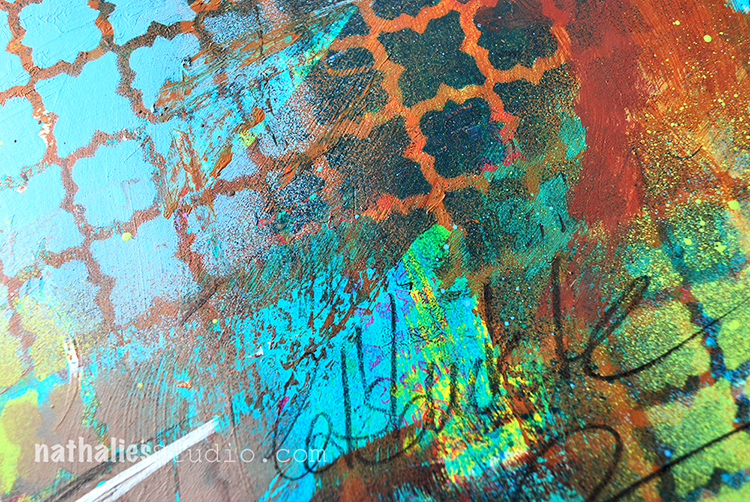
The background of the art journal spread was ugly from some scraped of left over paint – but a stencil like the Granada Stencil is the perfect stencil to work on such a background and make it work. I layered it on top of the background and then used different colors of spraypaint in different areas of the stencil.

I love to scratch into the still wet acrylic spray paint too as it gives such a nice texture.

Awe- spray paint- you make me happy.

Here is a list of the supplies I used for the art journal spread – some links are affiliate links:


If you art journal, do you use your journaling sometimes to prepare yourself for something like I do?

Comments (1)

  • joi

    |

    WONDERFUL! Rich colors blended so incredibly with the stencil design. Love the freedom! j.

    Reply

Leave a comment

Dream a New Dream – Marsha Valk


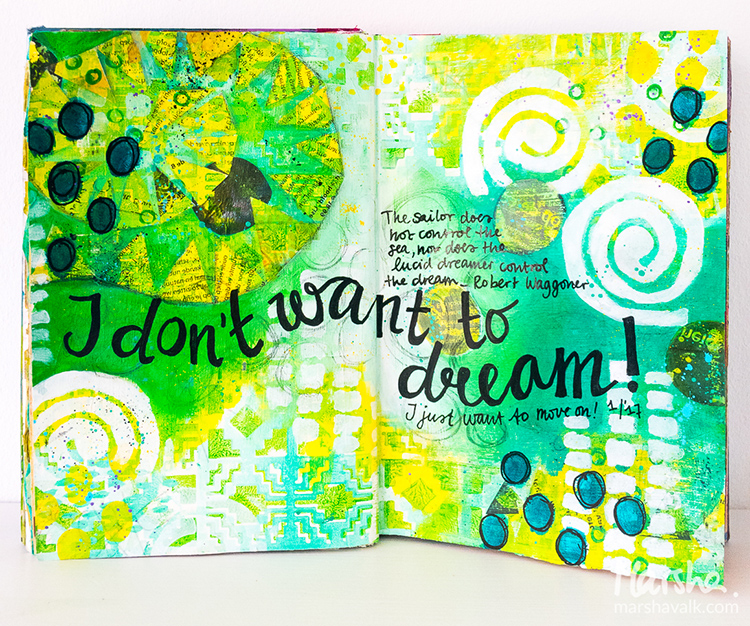
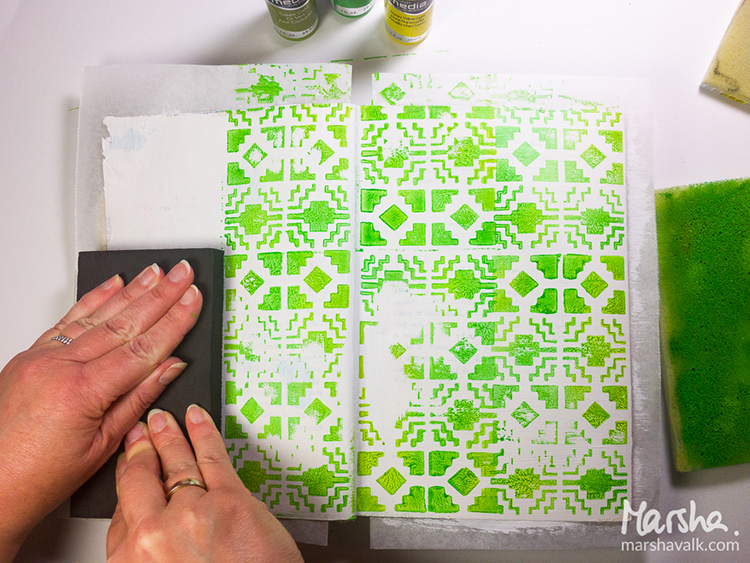
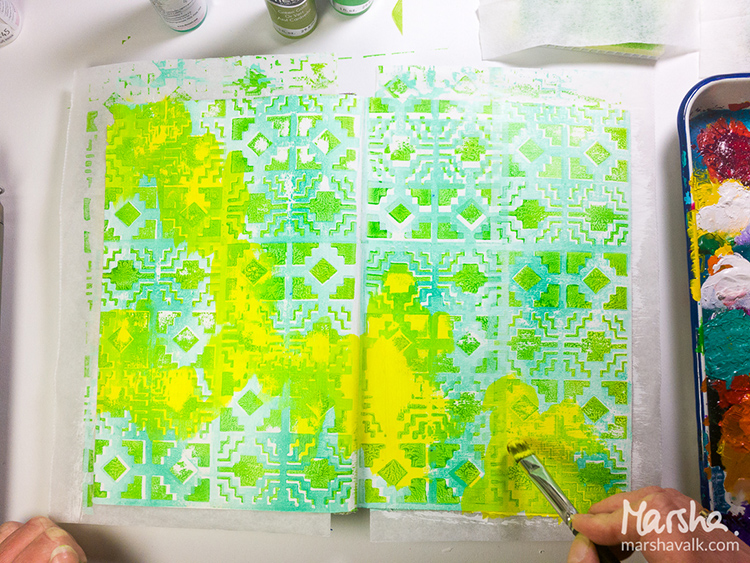
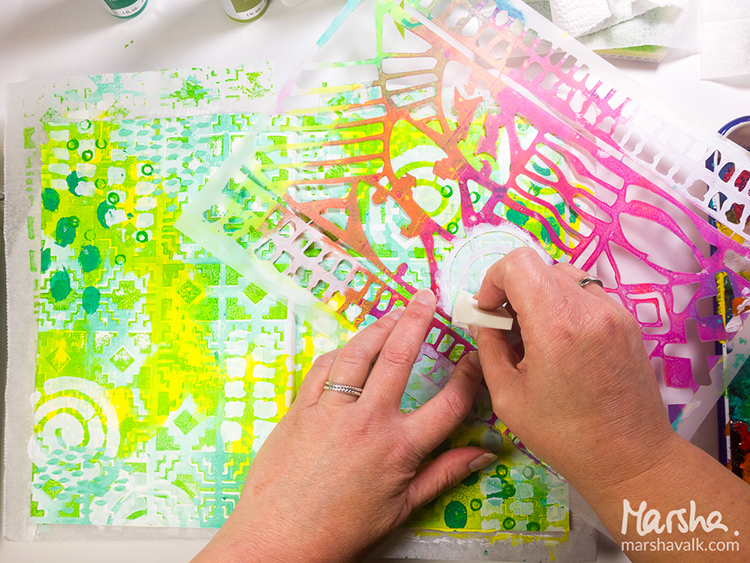
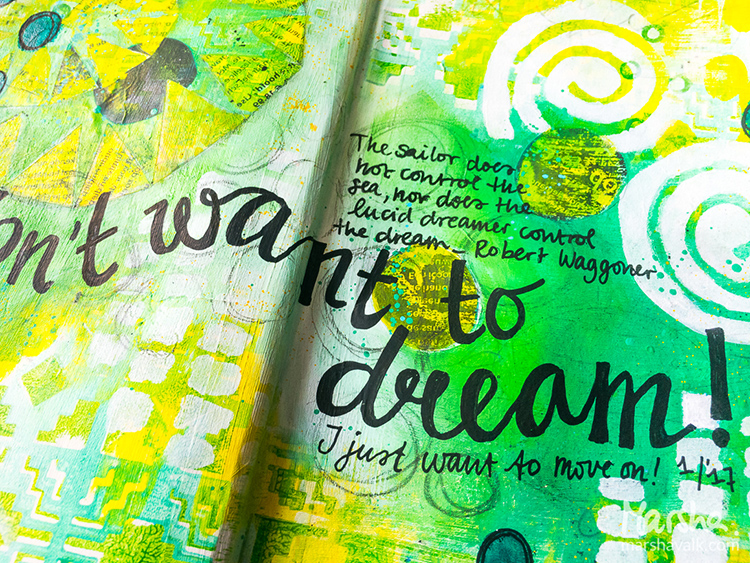
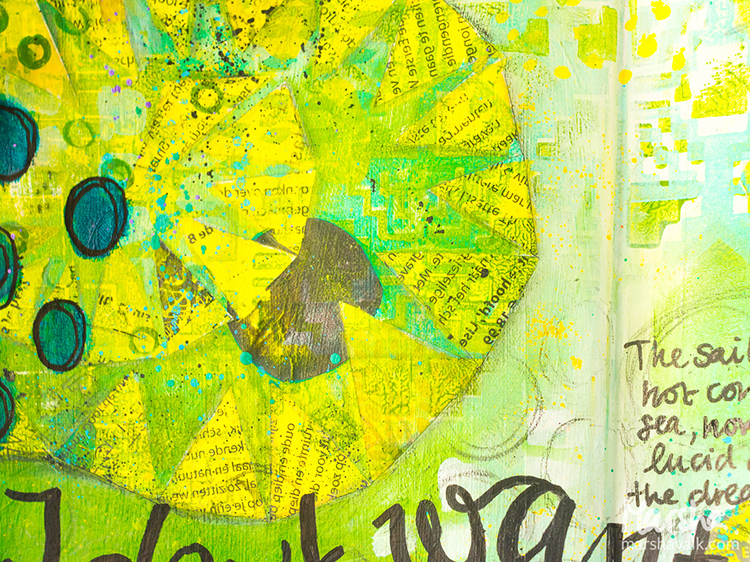
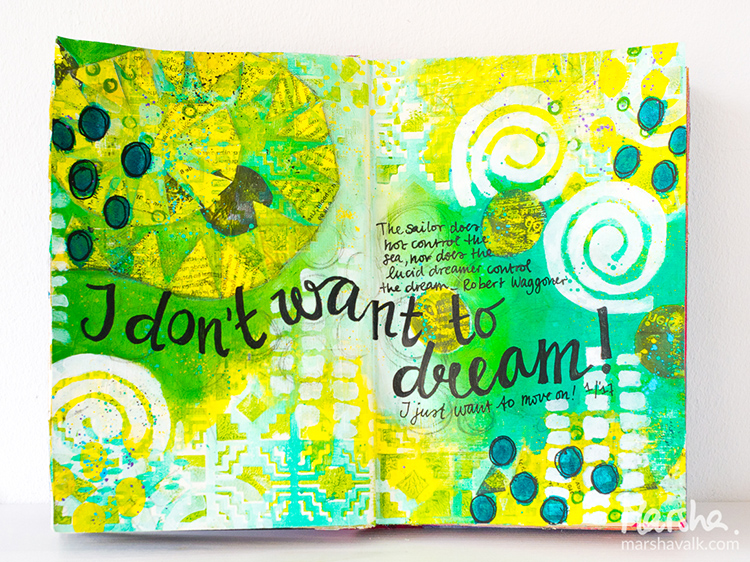
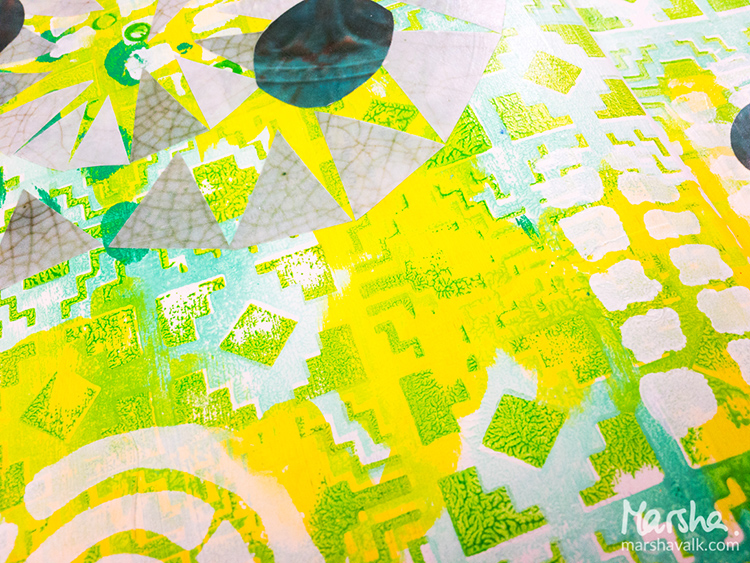
Happy Creative Squad Tuesday! Today Marsha Valk is sharing a beautiful and bright art journal spread using my Santa Fe Positive and Negative Foam Stamp set, my Batik Stencil, and her unique take on this month’s theme: Dream a New Dream. This January, let’s focus on all the possibilities of a fresh start.  What are your dreams for this year?  Whether it’s art-making, family, travel, or work related, January is a great time to dream about what the future could hold.


I am not a dreamer. I mean: I definitely am a dreamer… but the zone-out, lost-in-thoughts kind, not a big-plans-for-the-future one!


I do plan for the year ahead, but I do that at the end of December and I’m usually all set and ready to go in January. This year I’m not quite that organised, but… January is already well on the way now and whilst I was creating my journal page, I kept thinking ‘dream’, but… my gut kept saying ‘no’. So even though I wanted the page to be about dreaming, it ended up about ‘not dreaming’.


I am excited about what the new year holds though and I chose to work with greens, because I’m super stoked about the Pantone colour for 2017: Greenery!


Thank you Marsha! I love Marsha’s honest take on our theme and wow those are some great colors! Marsha used these supplies – some links are affiliate links:


Play along with us! I love to see how you interpret our monthly themes. Email me how you used my stencils and stamps with the theme and email me an image – I would love to share your projects in my “n*Spiration From Around the Globe“.


Comments (4)

  • susan debourguignon

    |

    Marsha,
    i, too, am a daydreamer as opposed to a goal setter. the future is too much for my head to wrap itself around. i am not a fan of green, but your page really speaks to me. thank you for sharing!!!

    Reply

    • marshavalk

      |

      Thanks so much Susan! Glad to hear I’m not the only one! ;-)

      Reply

  • nathalie-kalbach

    |

    Such a wonderful take on the theme Marsha, and I love how you mixed the patterns of the Batik Stencil with the Santa Fe Foam Stamp – so gorgeous. Now I just want to move on to Spring ;)

    Reply

Leave a comment

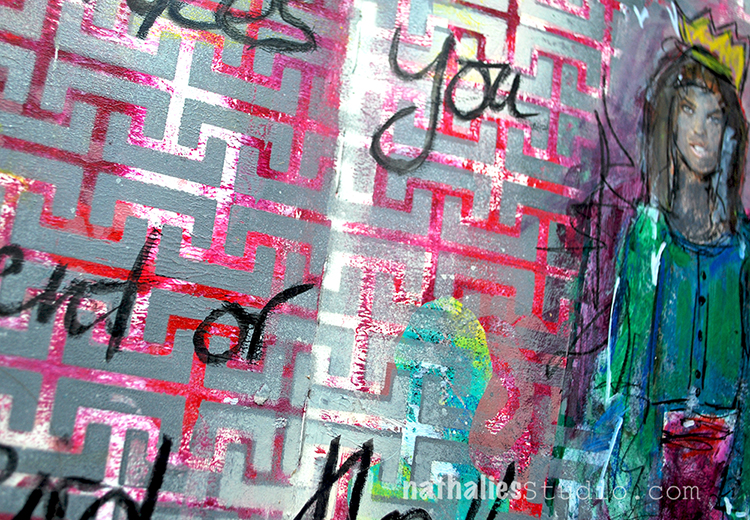
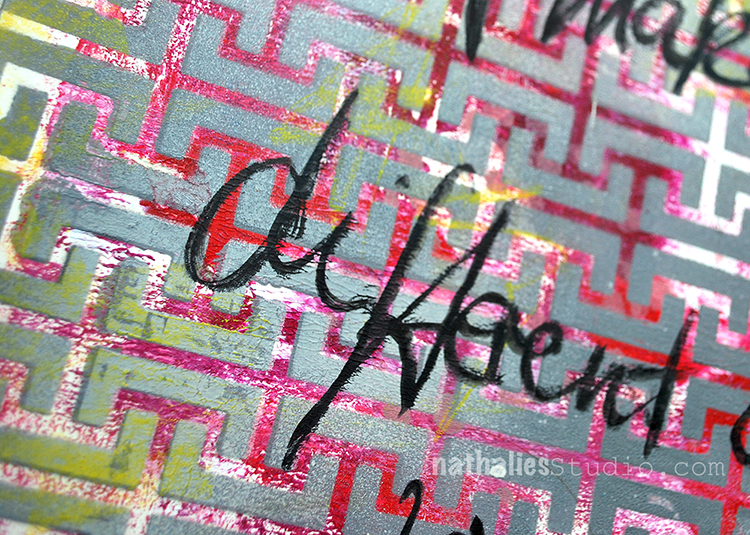
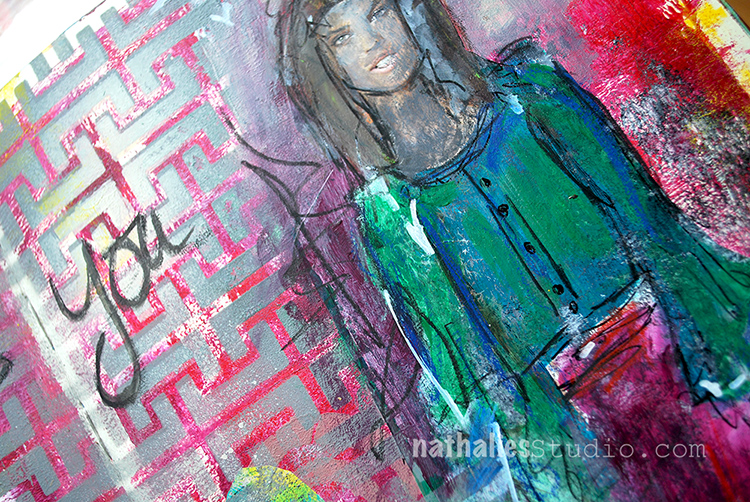
What Makes You Different – Art Journal Page

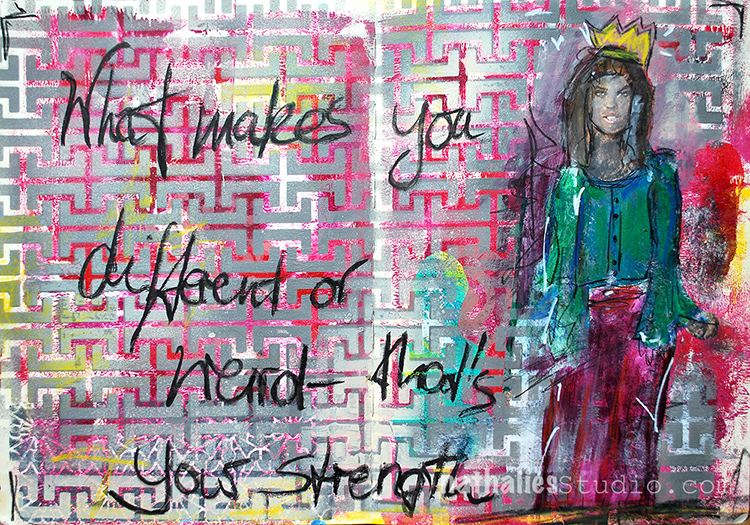
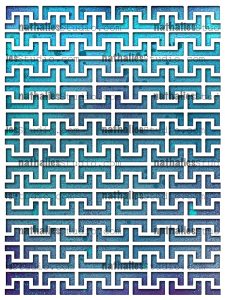
I made this art journal page with my new 9×12 Hamburg Stencil which was inspired by my hometown Hamburg in Germany.

The “H” in the pattern refers to the city abbreviation of HH for Hansestadt Hamburg, and is found on license plates in the city.

I used grey spray paint over the stencil laid over a previously painted background

For the journaling I used the ArtGraf Varco sticks- which I love love os much and then went over the writing again with a wet brush to move the pigments.

The magazine image was painted over with some acrylic markers and pencils.

Here is a supply list for the spread


Comments (2)

  • jbonomo

    |

    Love this page! Love the colors, the sketching over the magazine person and oh, that stencil. Thank you for sharing.

    Reply

Leave a comment

Return to the Light – Michelle Rydell

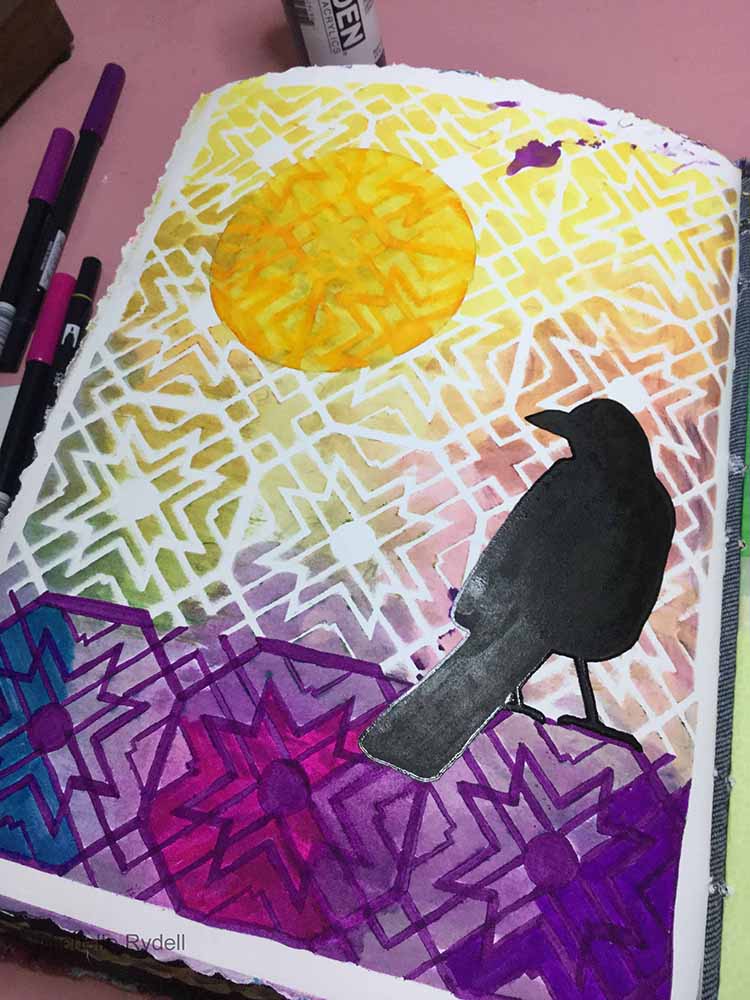
Today, Michelle Rydell from my Creative Squad is sharing an uplifting art journal page using my Toledo stencil for this month’s theme: “Return to the Light.” As we pass through the Winter Solstice here in the Northern Hemisphere, the ever lengthening nights turn to ever lengthening days. This ancient marker in the calendar has always been a celebration of light and the promise of a new day. Let’s Return to the Light with some bright and luminous mixed media projects!


There’s something very magical about the winter solstice for me.  It’s our darkest day, but it’s also a time of hope – a time where we acknowledge our slow return to the lightness of spring.
 
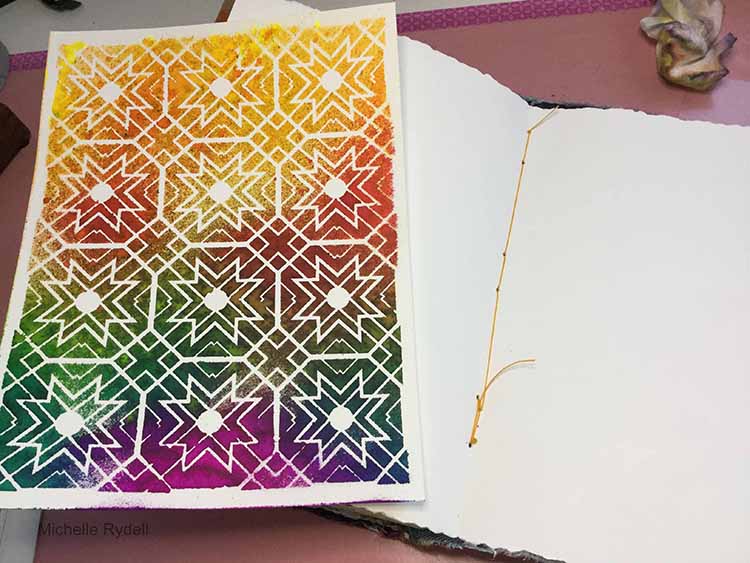
I decided I wanted to play with the Toledo stencil for this project…
 
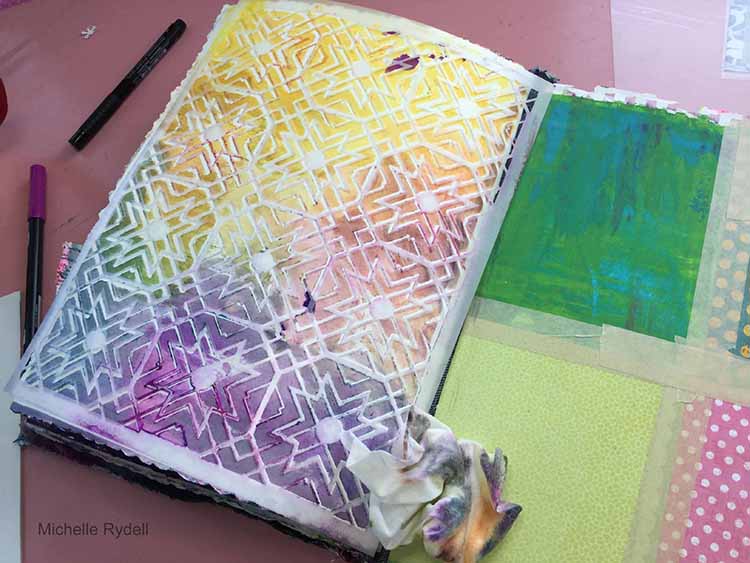
First, I sprayed a myriad of colored ink thru the Toledo stencil …


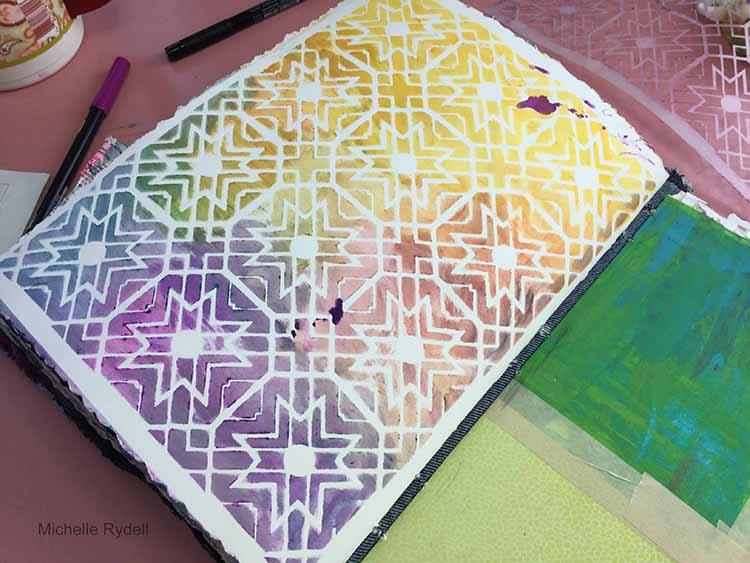
Then, so as to not waste any of that beautiful spray, I turned the stencil over onto a blank page, and cleaned it with a baby wipe…


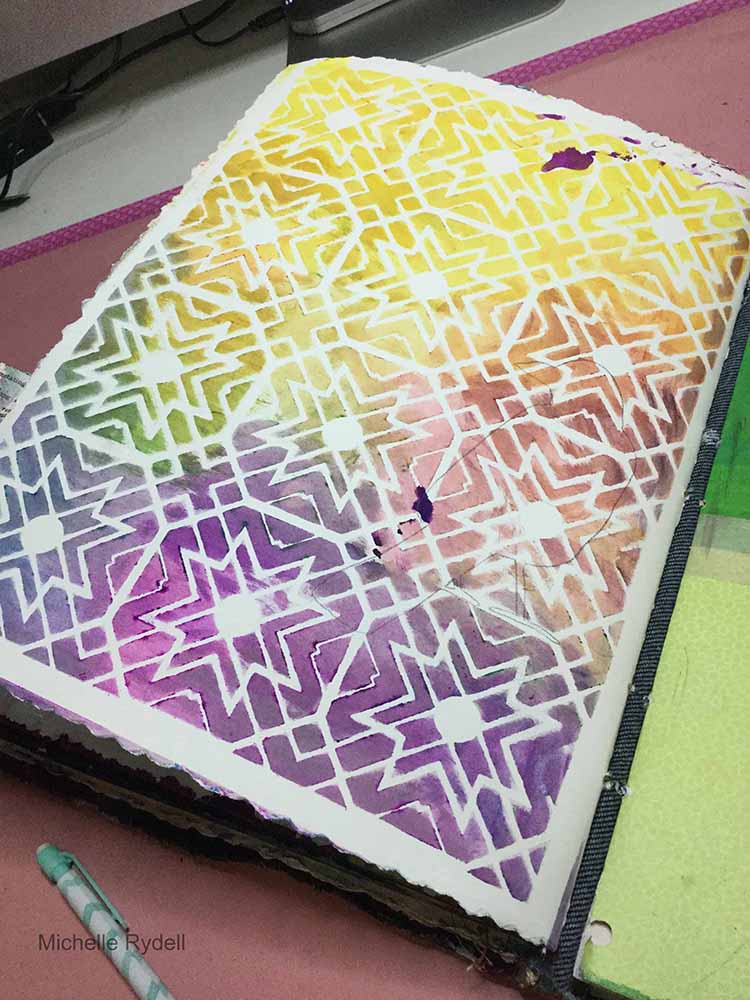
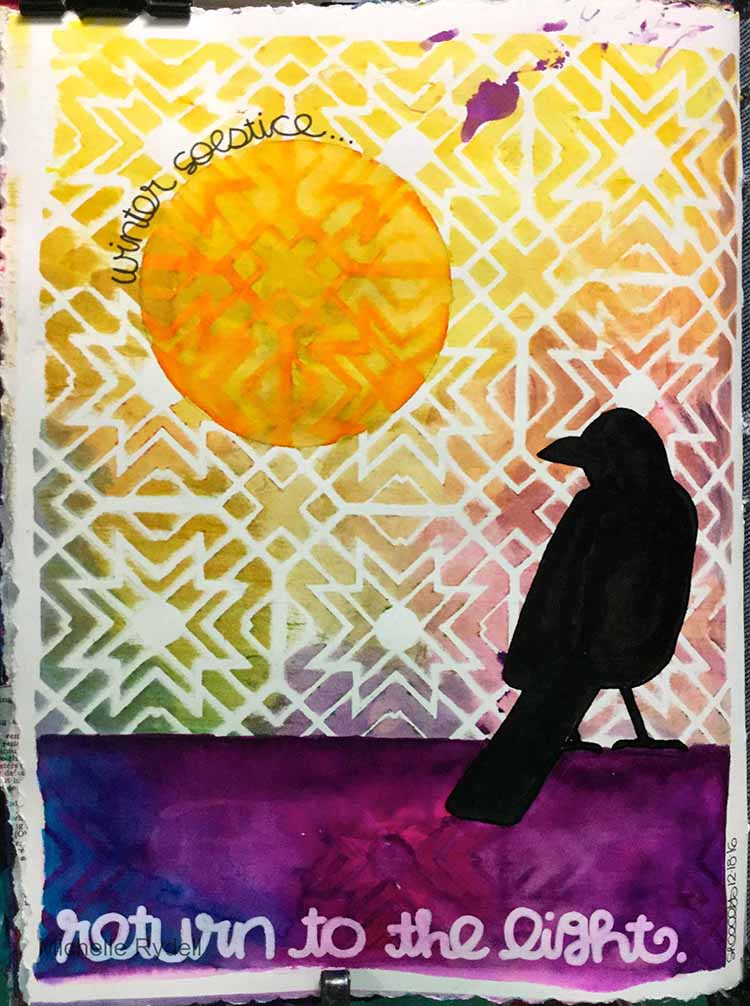
I looked at the result, and it reminded me of a sunset! I envisioned a raven looking up to the sun, acknowledging the returning light. So I went about making that happen.
 
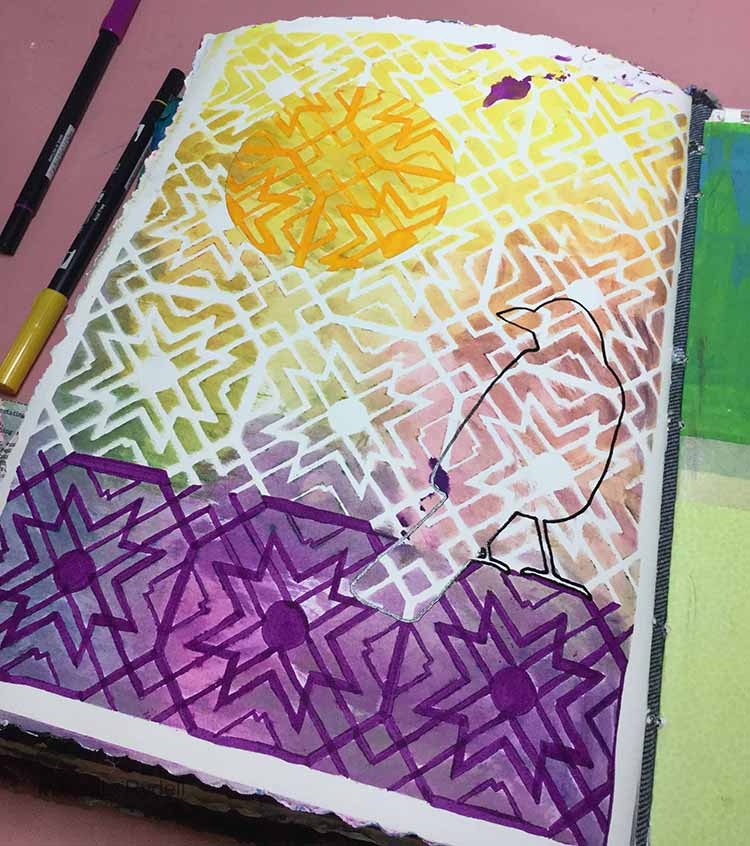
First, I sketched a basic raven shape with pencil.


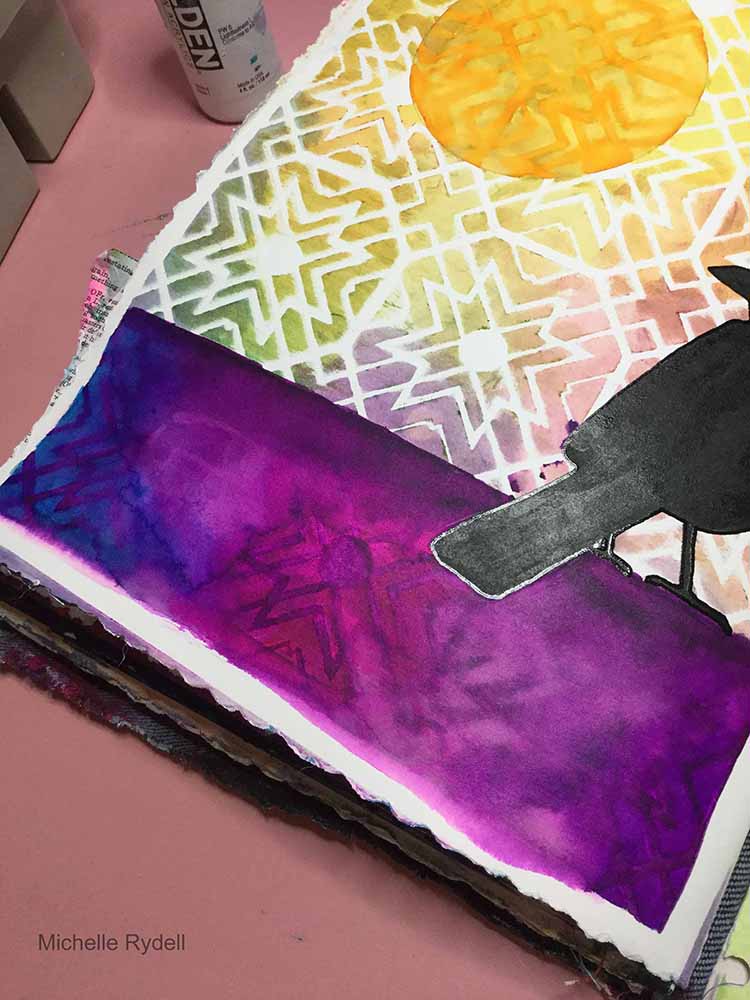
I went over the raven with a Sakura Glaze pen. I then filled in the design on the bottom part of the page with tombow markers, to differentiate the ground from the sky. I used a lid from some gesso as a template to draw a circle in the sky; and colored in the white areas with a gold marker to represent the sun.


The raven got a coat of black paint, and the ground got some turquoise, magenta and purple marker added.


I blended the ground area with water. When dry, a thin coat of matte medium was added to make it waterproof.  I knew I wanted to add a white title, and the matte medium barrier would allow the white to stay white.


And here is the finished page. The black words around the sun were added with Pitt Pen, and the white on the bottom with a Sharpie Poster Paint Marker.


I love how Michelle always creates a scene and story in her work!  This one is a beautiful reminder that Spring will return. Michelle used these supplies – some links are affiliate links:


Play along with us! I love to see how you interpret our monthly themes. Email me how you used my stencils and stamps with the theme and email me an image – I would love to share your projects in my “n*Spiration From Around the Globe“.

Comments (2)

  • Rosie Grey

    |

    This is amazing!

    Reply

Leave a comment

Return to the Light – Marsha Valk

cs-december-theme

Today, Marsha Valk from my Creative Squad is sharing a wonderful and illuminating project using my small Santiago, Toledo, and Buenos Aires stencils for this month’s theme: “Return to the Light.” As we pass through the Winter Solstice here in the Northern Hemisphere, the ever lengthening nights turn to ever lengthening days. This ancient marker in the calendar has always been a celebration of light and the promise of a new day. Let’s Return to the Light with some bright and luminous mixed media projects!


marsha-dec-headshot

I do not like the dark days of December. I mean: it’s OK when the sun comes out for a couple of hours, but here in the Netherlands December weather is mostly gloomy and grey… Candles and fairy lights are a must, because they make even the greyest days a bit brighter.

marshavalk_nstudio_light-4

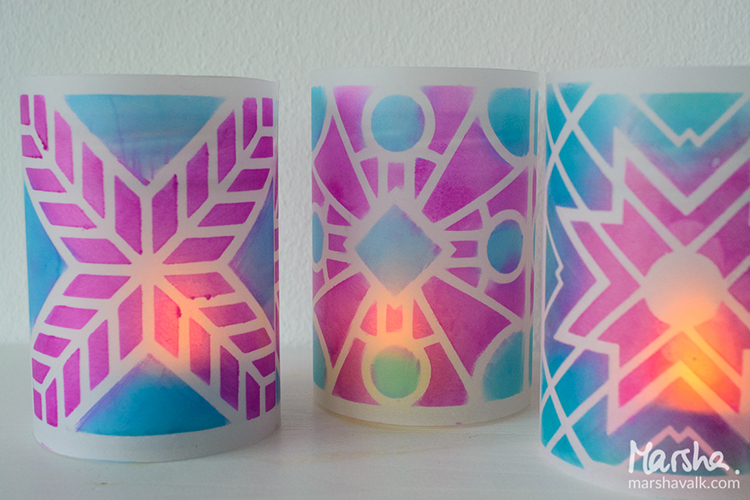
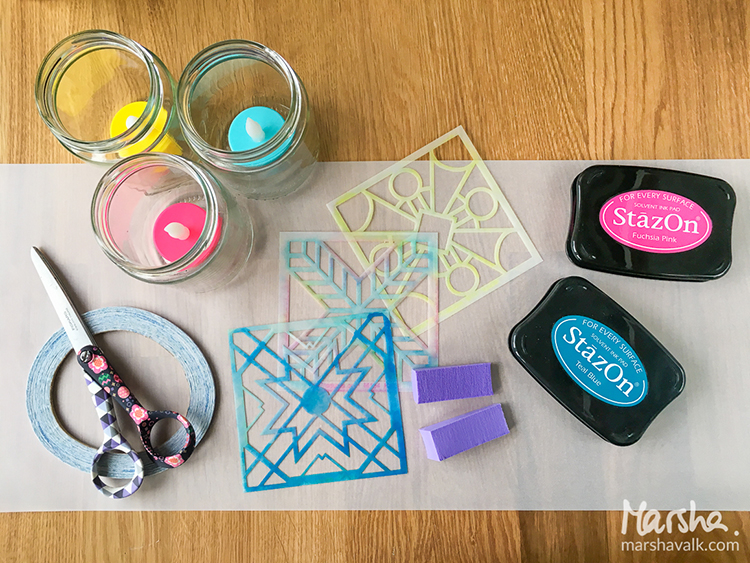
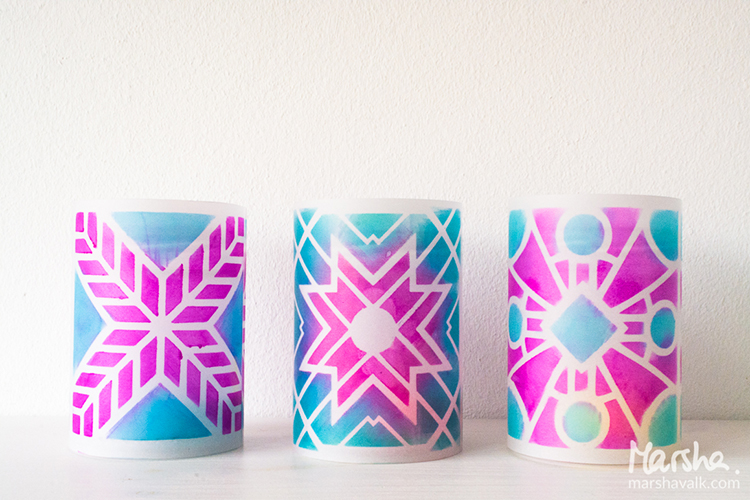
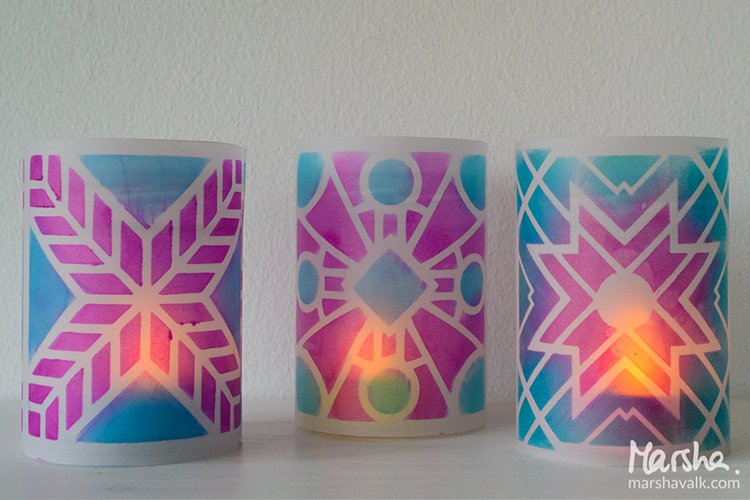
These votives do not take long to make and chances are that you already have everything you need to make them. They look cute on a festive table, but they will also keep until after the holidays!

marshavalk_nstudio_light-step-1

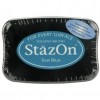
Choose two colours of StazOn ink that when blended will make a third colour. In my sample I chose teal and pink and those two colours together make a purple shade. Darker shades will ensure that your stenciled pattern is still visible once a tealight is lighted inside the jar.

marshavalk_nstudio_light-step-2

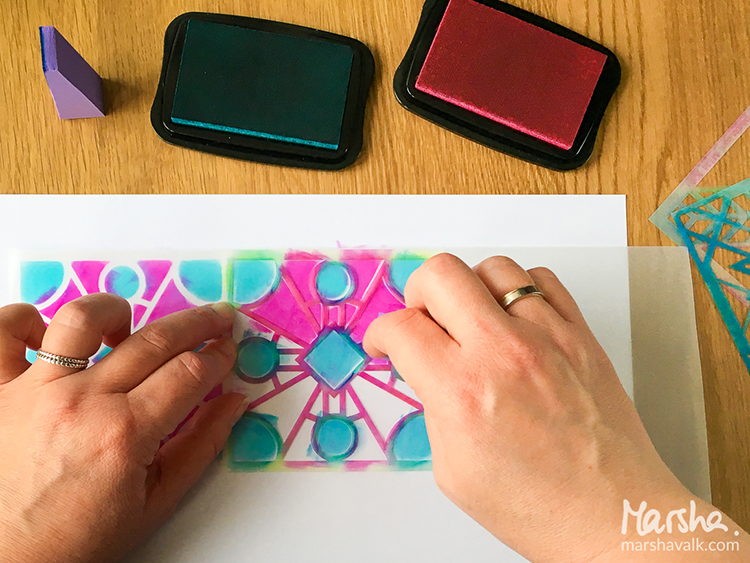
Use a cosmetic sponge to apply StazOn ink through your stencil onto a sheet of vellum. I used Nathalie’s Buenos Aires, Santiago, and Toledo stencils.  Just dab the cosmetic sponge onto the ink pad and then lightly dab the ink onto the vellum.
Tip: Use rubbing alcohol to clean your stencils afterwards.

marshavalk_nstudio_light-step-3

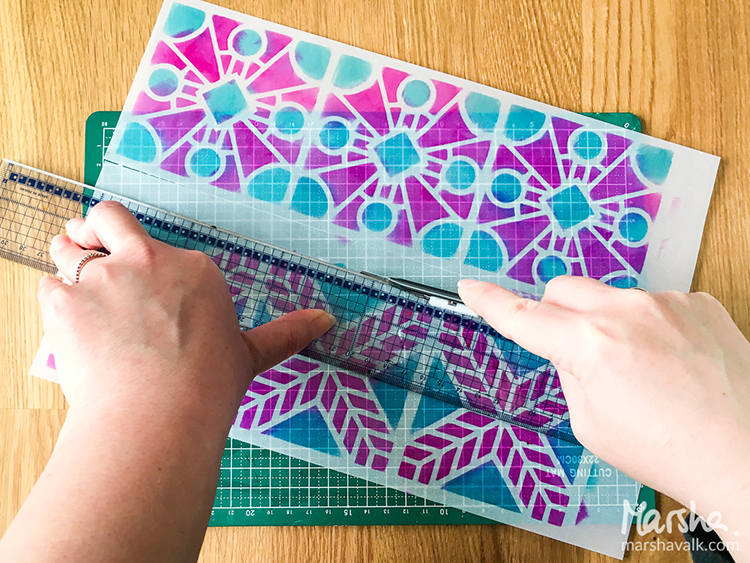
Find three small jars and cut the vellum to size so you can wrap the vellum around the jars.

marshavalk_nstudio_light-step-4

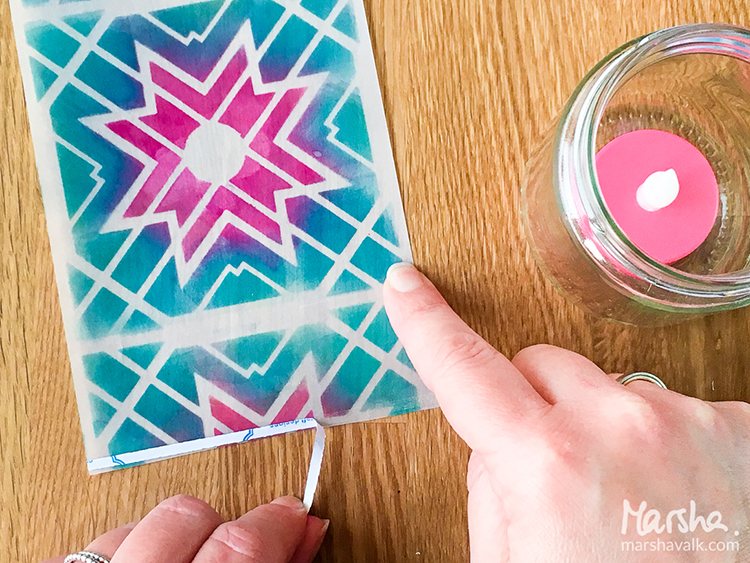
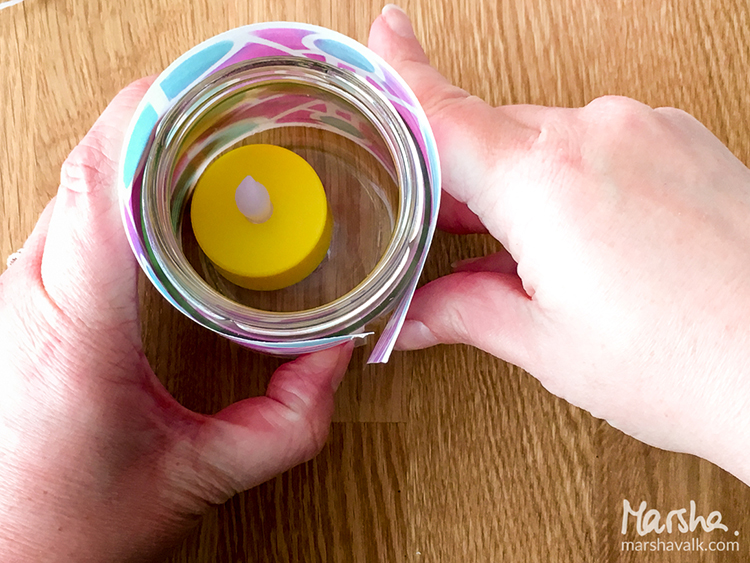
Add a strip of double-sided adhesive to one side of the vellum, remove the backing and then place the vellum around the jar.

marshavalk_nstudio_light-step-5

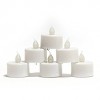
Add LED tealights and enjoy the lights!

marshavalk_nstudio_light-1

marshavalk_nstudio_light-3


Thank you Marsha for brightening these dark winter days!  I love this idea – it is simple and yet so beautiful.  It’s definitely something I’m going to make. In addition to some small jars, Marsha used these supplies – some links are affiliate links:

supplies


Play along with us! I love to see how you interpret our monthly themes. Email me how you used my stencils and stamps with the theme and email me an image – I would love to share your projects in my “n*Spiration From Around the Globe“.

Comments (6)

Leave a comment

Return to the Light – Tina Walker

cs-december-theme

Today, Tina Walker from my Creative Squad is sharing a very creative clay project using my Toledo stencil and this month’s theme: “Return to the Light.” As we pass through the Winter Solstice here in the Northern Hemisphere, the ever lengthening nights turn to ever lengthening days. This ancient marker in the calendar has always been a celebration of light and the promise of a new day. Let’s Return to the Light with some bright and luminous mixed media projects!


tina-dec-headshot

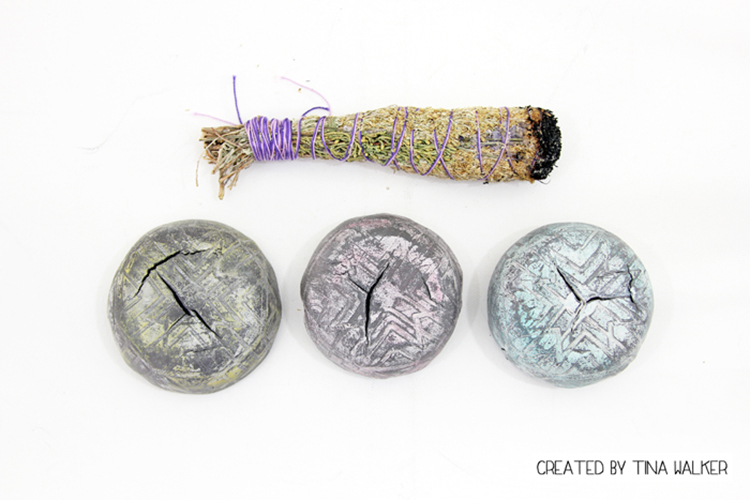
Hi! Tina Walker here today to kick off the new month with a new Theme. This month, our theme is ‘Return to the Light’. I thought long and hard about how I wanted to interpret the theme and searched deep within myself for meaning. As part of my creative ritual, I cleanse my art space and remove negative energies from my creative aura by burning sage and pinion resin. The ‘lightening’ of these ancient plants allows me to connect with my inner soul and celebrate a new day.

If you have a creative ritual and use smudge pots in your cleansing, love to create with clay, or are just looking to try a new technique, today’s project is just what you’ve been looking for.
dec-tw1

Using any brand of air-dry clay, condition a small portion of clay, per manufacturer’s instructions. (Clay portion depends on the size of bowl you will make.)
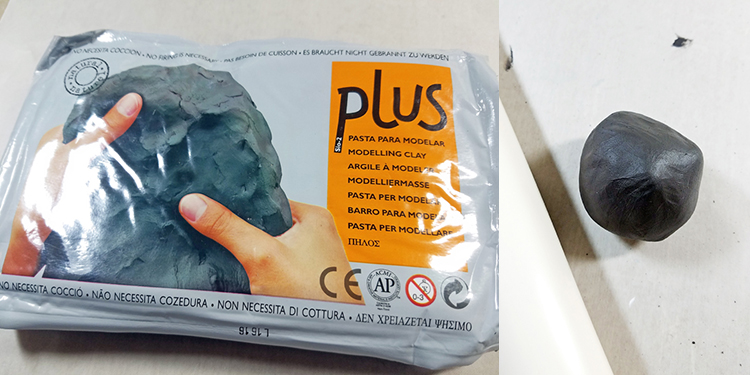
dec-tw2

Flatten clay using a rolling pin or piece of PVC pipe. Flatten to approx. ¼ inch thick. As you flatten, continually flip clay over to ensure even thickness.
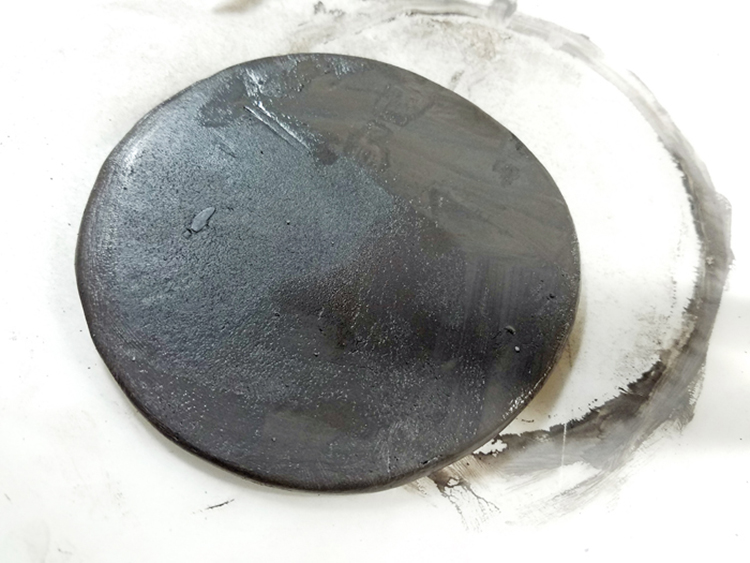
dec-tw4

Using your favorite Nathalie Kalbach StencilGirl stencil such as Toledo as seen here, place stencil on clay and press into clay using a brayer.
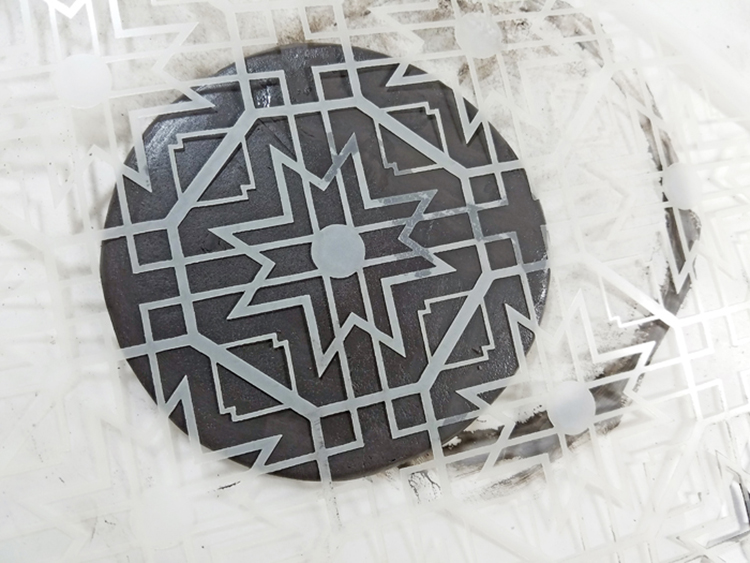
dec-tw5

Place the stenciled clay over the bottom of a used yogurt container or other small round shape. Gently form clay around container to desired shape.

Allow to dry per instructions. (It took approx. 3 days for my bowls to completely dry).

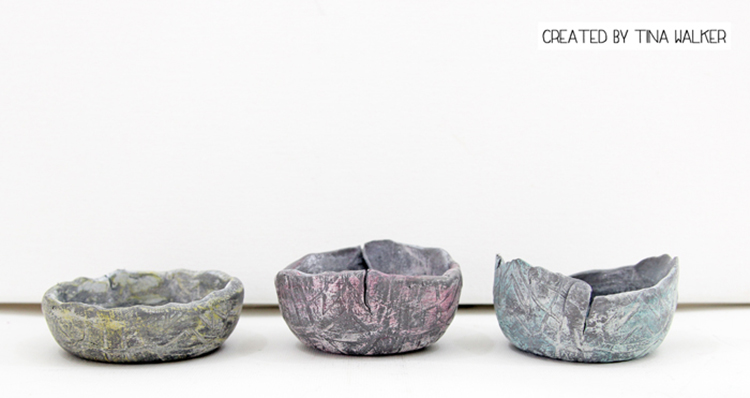
Note: My bowls cracked on the bottom, so I’m not sure if I didn’t condition my clay properly, stretched the clay over the container too much, or just user error. Since my bowls were not containing liquid, I was okay with the cracks.
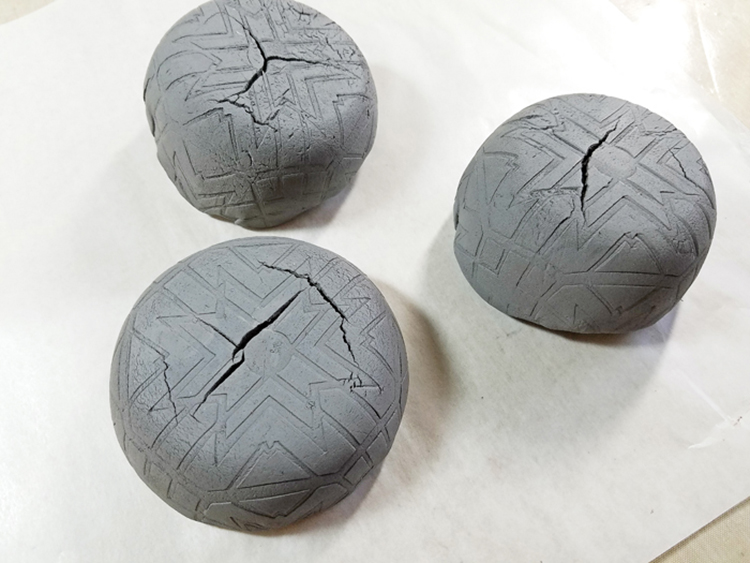
dec-tw6

Dry brush acrylic paint over bowl, allowing the stencil design to ‘appear’. I would brush and remove layers of paint to create a worn, aged look.
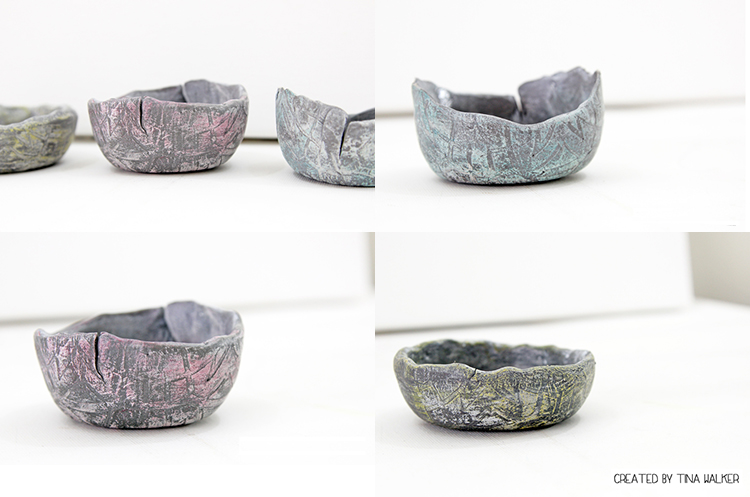
dec-tw7

You can use the same technique with any stencil and create any size of clay bowl. I would love to create an entire collection of handmade bowls. How cool would that be?

I now have three handmade smudge bowls that are just perfect for smudging.
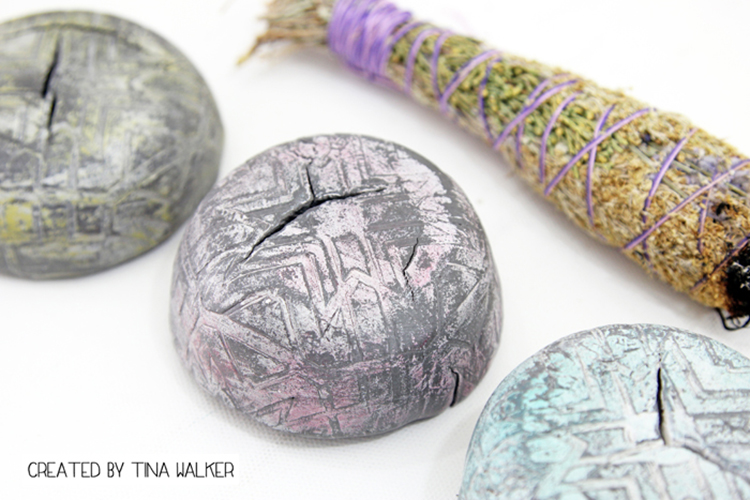
dec-tw11

dec-tw12

Thank you for taking time to visit us today. See you next month.


Thank you Tina for such a cool and unique project to do with my stencils!  I love how the dry brushing and cracking gives these smudge pots an almost ancient feel.  In addition to a PVC pipe or rolling pin and some empty yogurt containers, Tina also used these supplies – some links are affiliate links:

supplies


Play along with us! I love to see how you interpret our monthly themes. Email me how you used my stencils and stamps with the theme and email me an image – I would love to share your projects in my “n*Spiration From Around the Globe“.
Comments (1)

  • shelley-rydellie

    |

    Wow! What an awesome project! Tina, you are so creative!

    Reply

Leave a comment

Good Things Just Keep Happening – Marsha Valk

cs-november-good-things

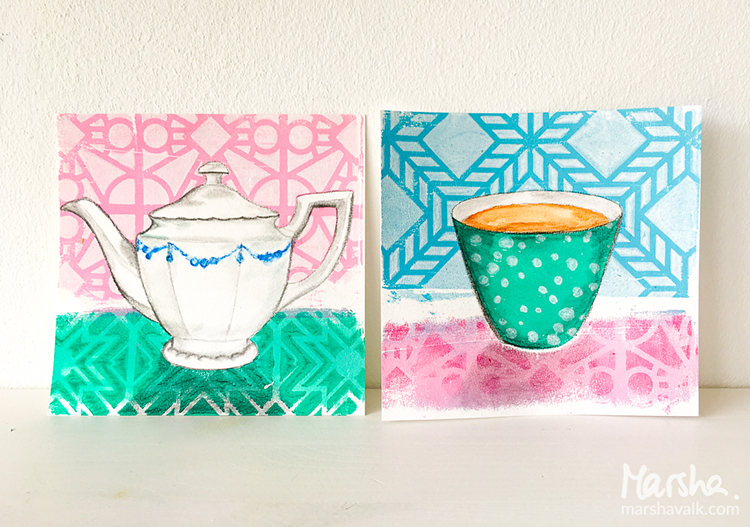
Today, Marsha Valk from my Creative Squad is sharing two gorgeous prints using this month’s theme: “Good Things Just Keep Happening.” I invite you to join me and my Creative Squad this November, in the spirit of the Thanksgiving holiday in the US, to remind ourselves to be thankful for even the smallest things.  Every once in a while it feels nice to slow down and recognize the good stuff that’s all around us.  What Good Thing happened to you today?


marsha-november-headshot

I already had a long and hard thought about the theme before it occurred to me that the answer had been staring me in the face each morning:
One of the smallest things that I’m thankful for nearly every single day is the pot of tea that my husband prepares before he leaves to go to work. So each week day morning, when I get up and go into the kitchen, there’s a warm pot of tea sitting there to greet me. Just for me! It’s the small things that count and I know this is just one of those things that will be etched in my memory forever.


marshavalk_nstudio_goodthingsjustkeephappening-7


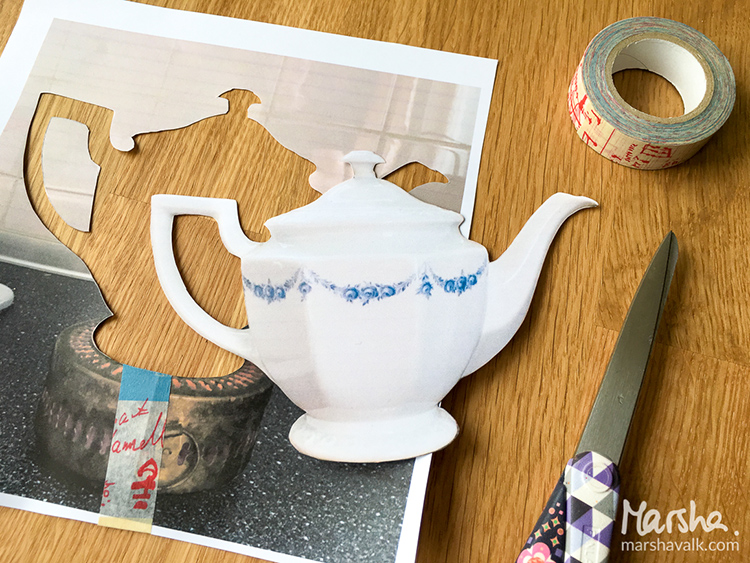
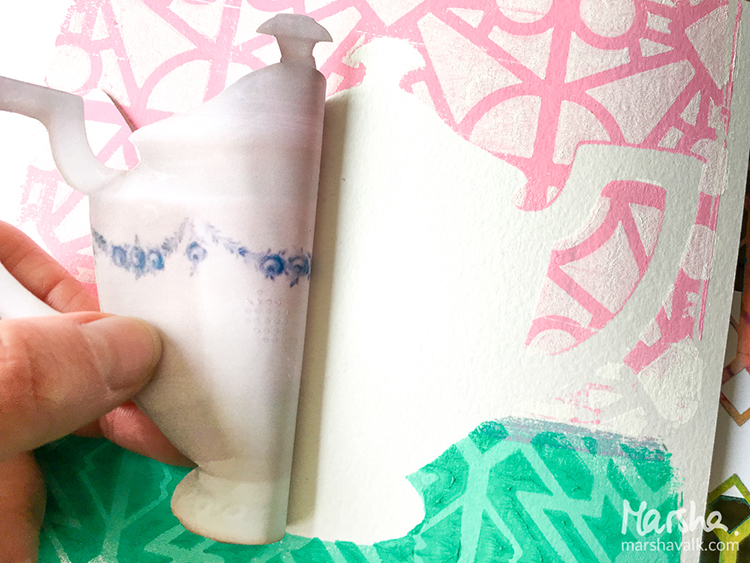
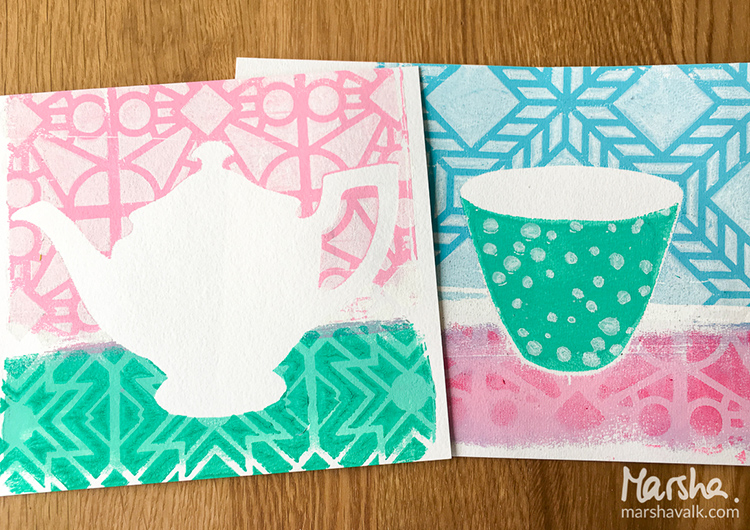
So the idea for my project formed in my head and I wanted to use the Gelli Plate to execute it. That meant that I needed a mask of the teapot. I decided that the easiest way was to just take a photo, print it and then use the print as the mask.


marshavalk_nstudio_goodthingsjustkeephappening-1
marshavalk_nstudio_goodthingsjustkeephappening-2


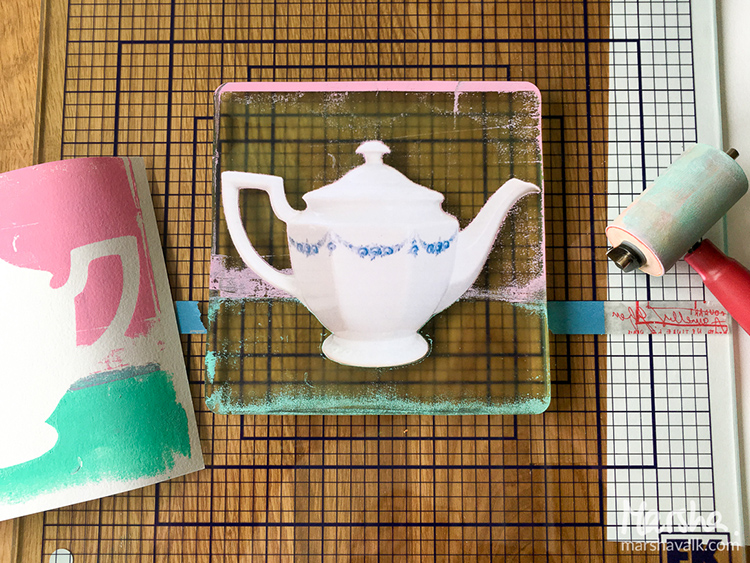
I wanted the backdrop for the teapot to look like wallpaper, so I printed solid colours on the background first and then I printed over those colours using n*Studio stencils.


marshavalk_nstudio_goodthingsjustkeephappening-3
marshavalk_nstudio_goodthingsjustkeephappening-4


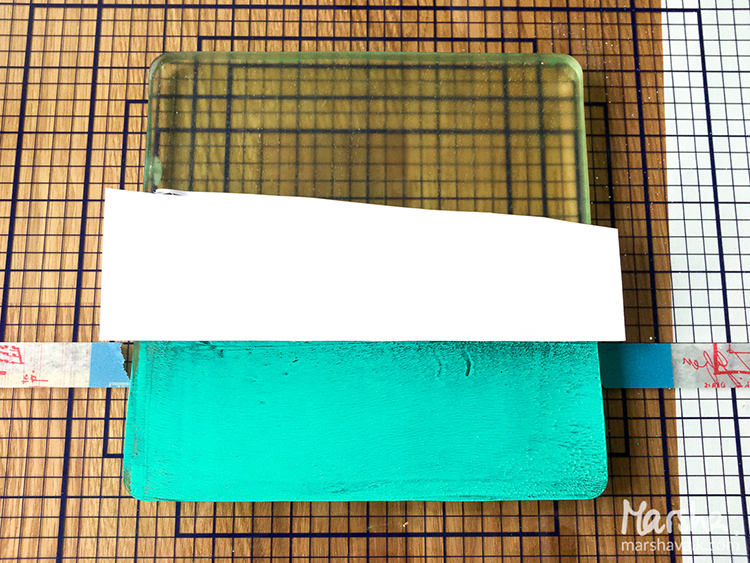
To get a (fairly) crisp edge I masked off the edge in the middle before placing the stencil on the Gelli Plate. I also stuck the teapot mask to the already printed paper before I pulled the stencil print and I used the lines on my glass mat to line up the paper.


marshavalk_nstudio_goodthingsjustkeephappening-5


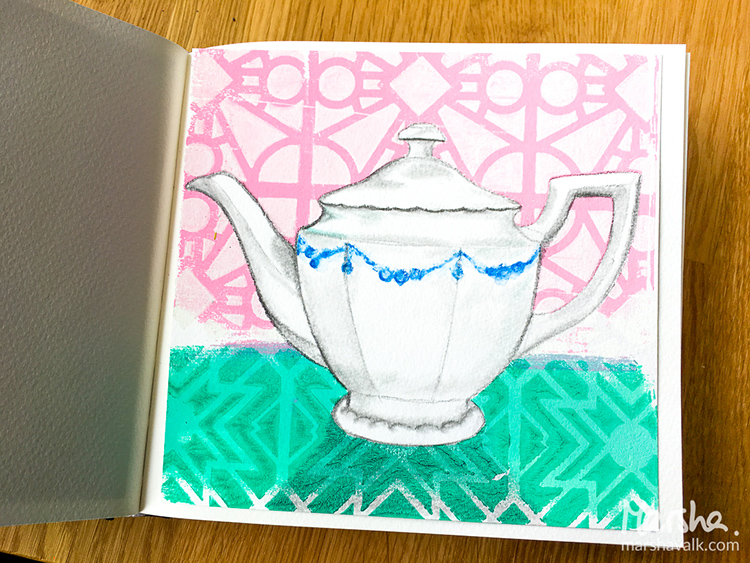
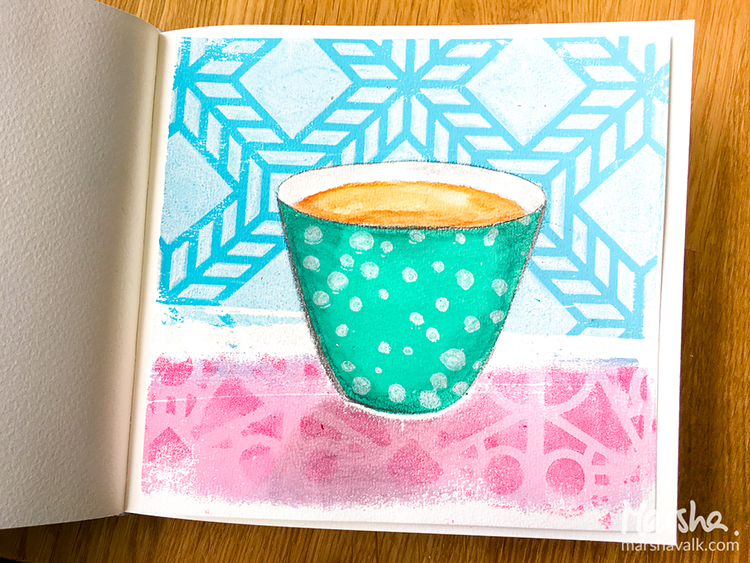
Once the printing was done I sketched in the details with graphite pencil and I used a paper stump to create the shadows. I also added a little bit of colour with Inktense pencils. That’s it!


marshavalk_nstudio_goodthingsjustkeephappening-8
marshavalk_nstudio_goodthingsjustkeephappening-9

Ohh , I love this – thank you Marsha!  Looks wonderful and is such an awesome idea.  I love the teapot!
Here are the supplies Marsha used to create her prints – some links are affiliate links:


supplies


Play along with us!  I love to see how you interpret our monthly themes. Email me how you used my stencils and stamps with the theme and email me an image – I would love to share your projects in my “n*Spiration From Around the Globe“.
Leave a comment

You and I or … In My Art Journal Today

kalbachyouandiaj01

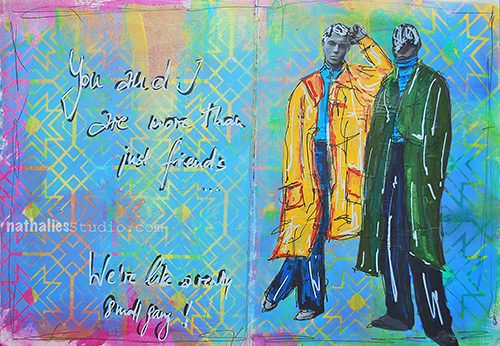
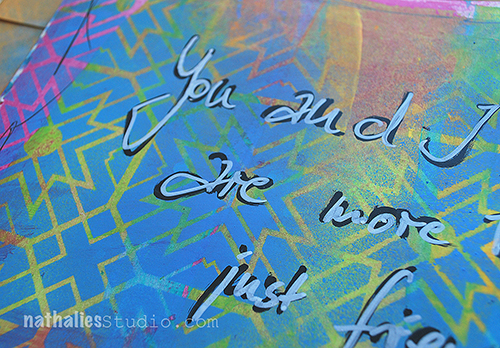
“You and I are more than just friends…We are like a really small gang”

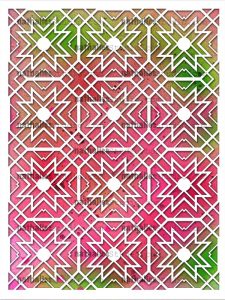
Don’t you feel sometimes like this with your bestie? I had a  great time playing with my new Toledo 9×12 Stencil.
toledobackground-watermarked

love working with this stencil – it is delicate and yet has some impact

kalbachyouandiaj02

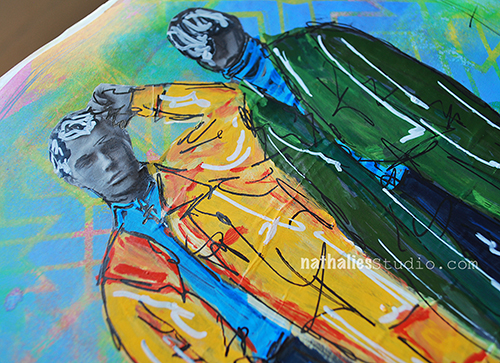
I used the stencil on a painted background and spray painted in blue on top of it. The magazine images were painted with acrylic markers and pens.

kalbachyouandiaj03

Here is a short list of what I used – note some links are affiliate links:

supplies


I hope you have  wonderful start into the week!

Comments (1)

  • Joi@RR

    |

    Love the variety of colors in the design made with your toledo stamp Nat and good lookin guys too!! YES – great way to start the week – thanks bunches!! Xj.

    Reply

Leave a comment