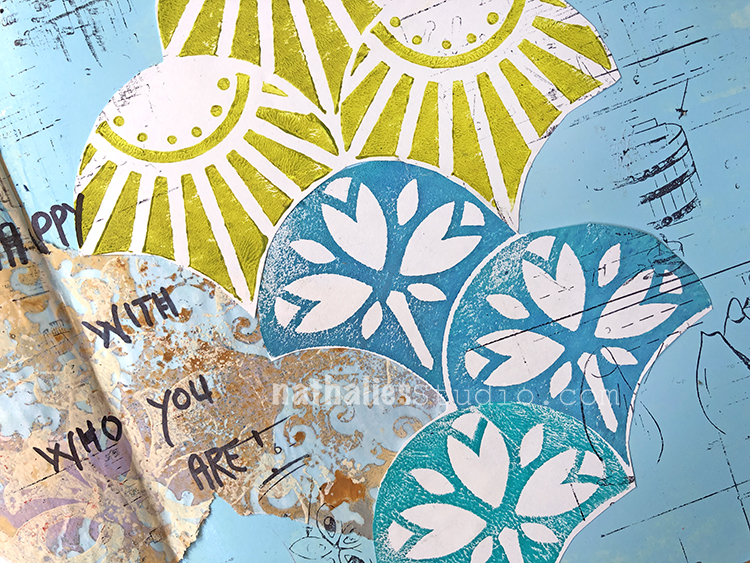
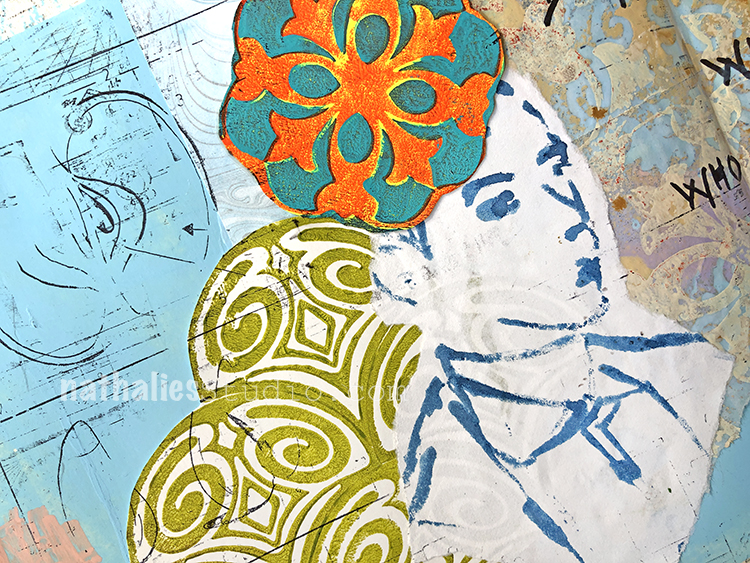
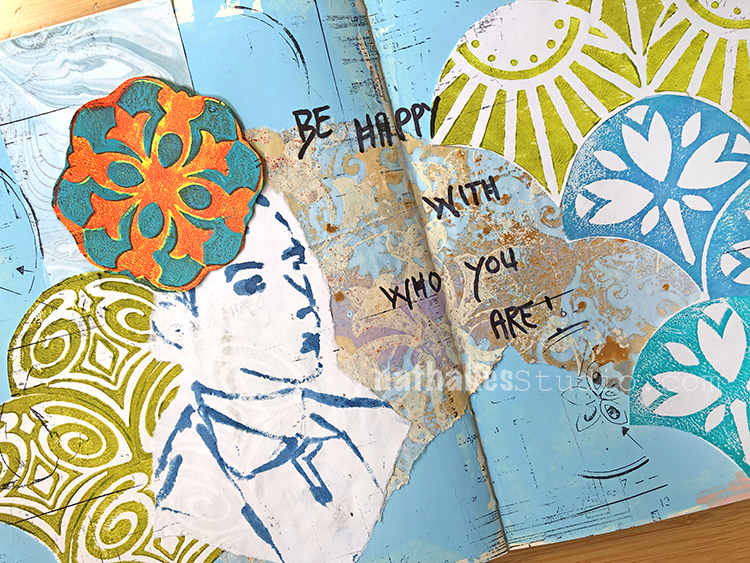
For this one I used bits and pieces I found on my workbench while packing up for my move and decided to make those work together. It included: my fan foam stamps and versailles foam stamps on deli paper… some old school excersises stamp that my friend send me…
And also samples from my Trace, Transfer, Transform online class, and even suminagashi paper from my session playing with that. Lots of leftovers together but an interesting challenge to make it all work together.
I journaled with a sharpie and think that the mash up kind of represents how we are all made up of so many parts and ideas. And when we can accept all that and love it, that is definitely something to be happy about :)
Strolls through my hood get me out of my studio, they help me get unstuck and often I get inspired by what I see and get new ideas to create something. It is part of my philosophy about Artful Adventures in Mixed Media – which is the subject of my book. Here are some photos that I gathered in the last couple weeks.
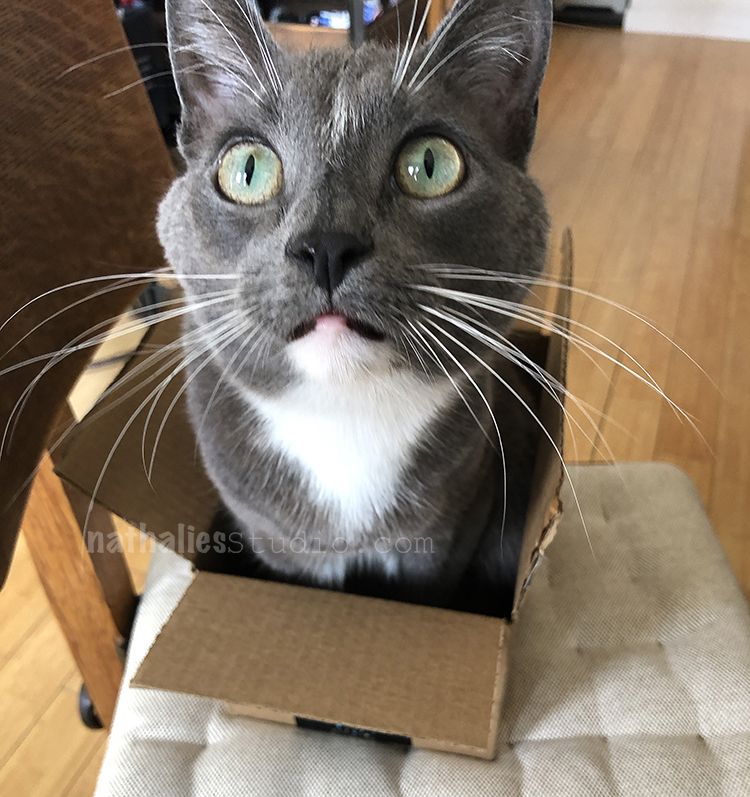
Wow – the last couple weeks have been really crazy. Moving as you probably all know is not fun – and with having still contractors in the new house the day of the move and painting some parts of the house ourselves – I have been really exhausted to be honest. But it is all worth it :) Here is Pretzel telling me that this box is def. too small to pack all of his belongings.
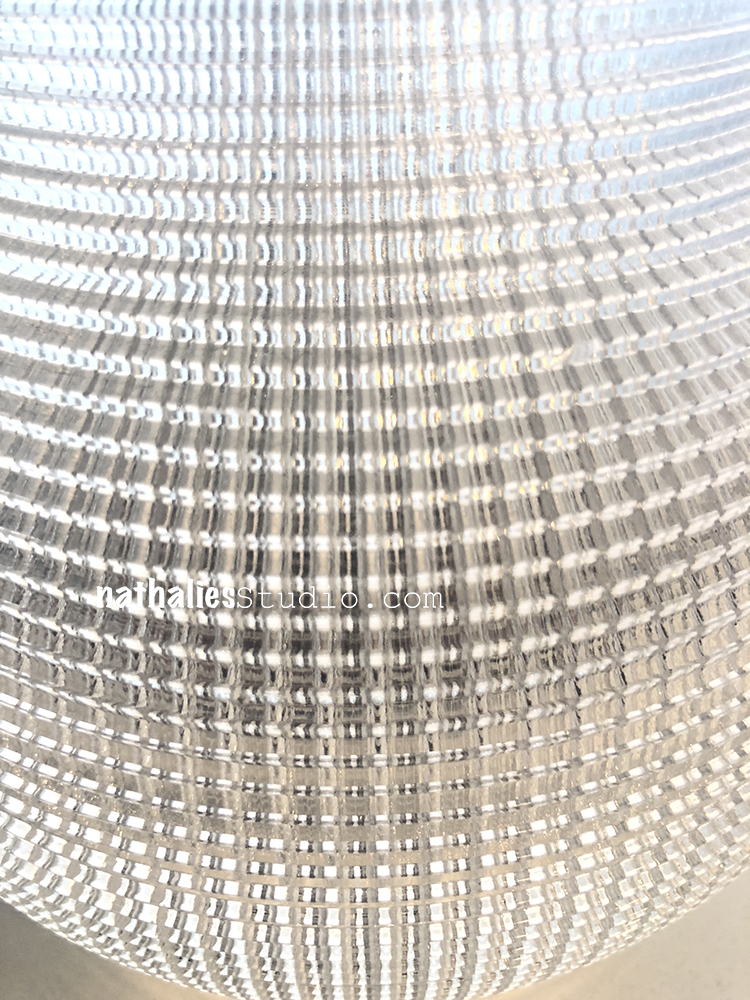
Lamps were a big issue the last couple weeks- European lamps which were rewired but due to different mounting systems a challenge for our Electricians, lamp shades that were crushed accidentally by ladders. This gem above is an antique Halophane lampshade from around 1910 which an amazing lamp store owner around the corner found on his shelf and gave me for a wonderful price. It looks way better when the shade that was broken und boy do I love the grid and light it makes. I am obsessed
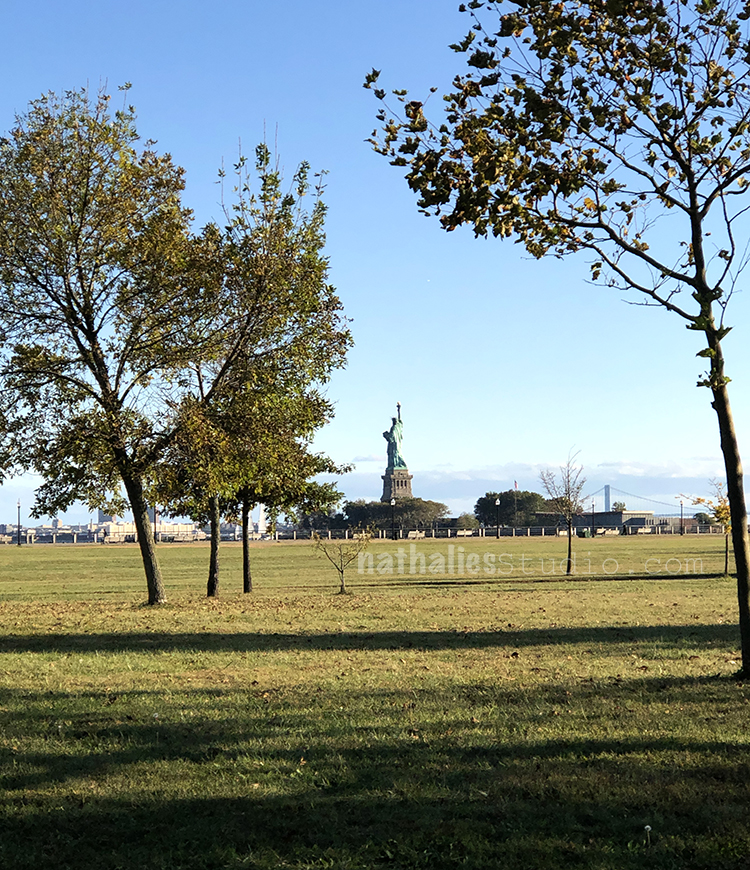
Nonetheless sometimes we made it with our bikes through the park to enjoy some of the fall weather – you need to breathe- don’t you think?
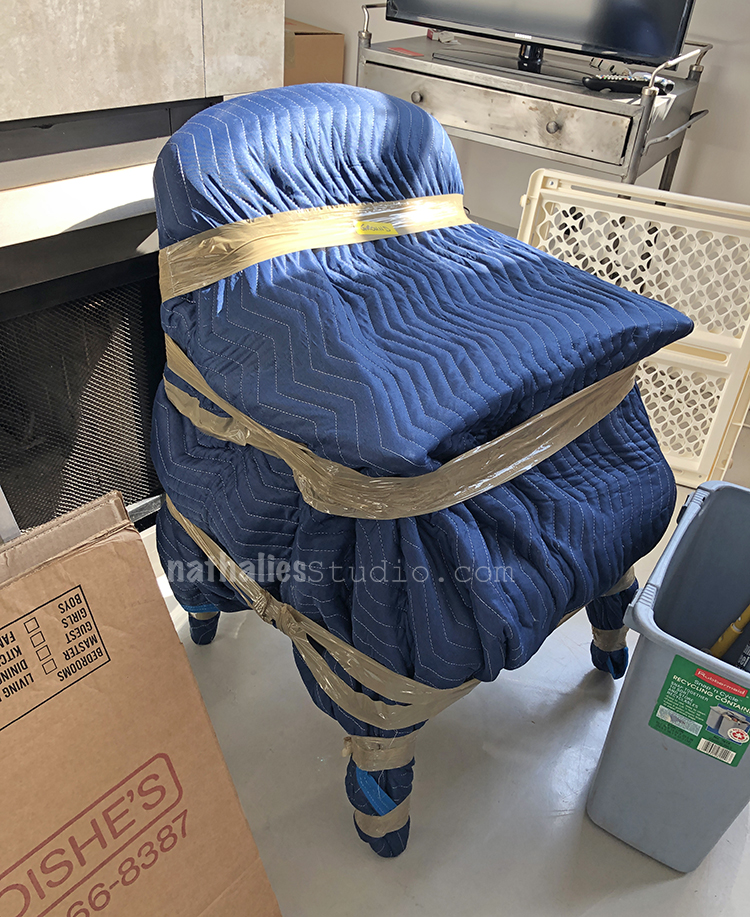
Art? LOL I loved how the movers packed our furniture. I am happy to report that besides one little piece of a lamp that went missing (did I mention that lamps were our little Nemesis the last weeks- LOL) , nothing was broken – they did a great job.
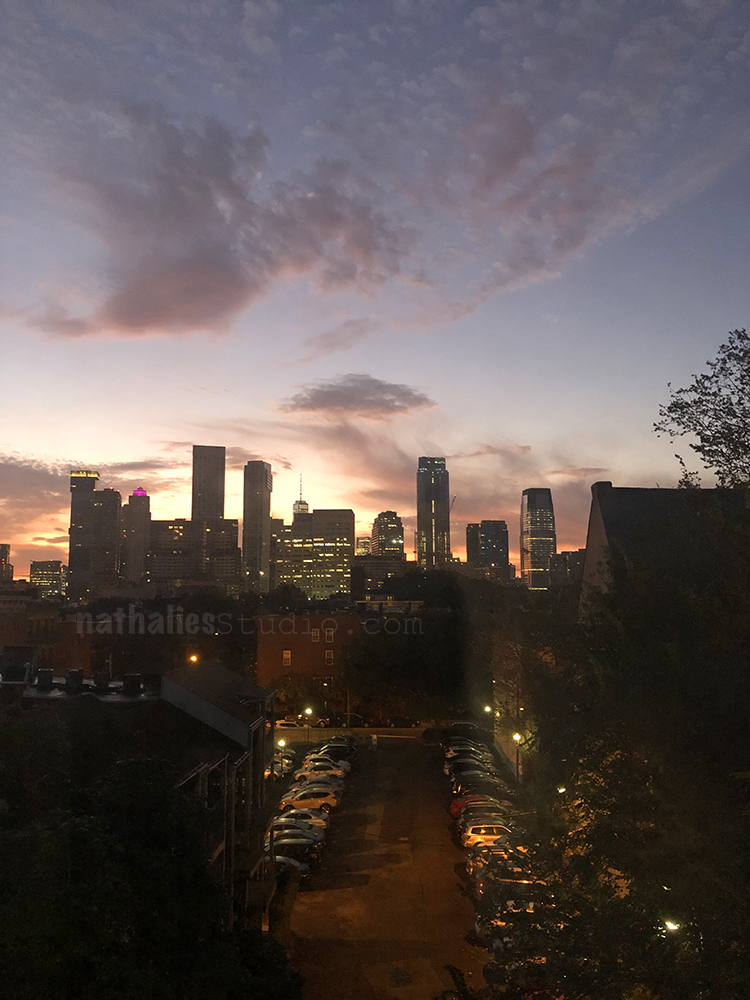
The last sunset from our apartment window even though I am super stoked about our new place, I will miss this view a bit. I can see a tiny bit of NYC skyline from our bedroom window but it is not the same :)
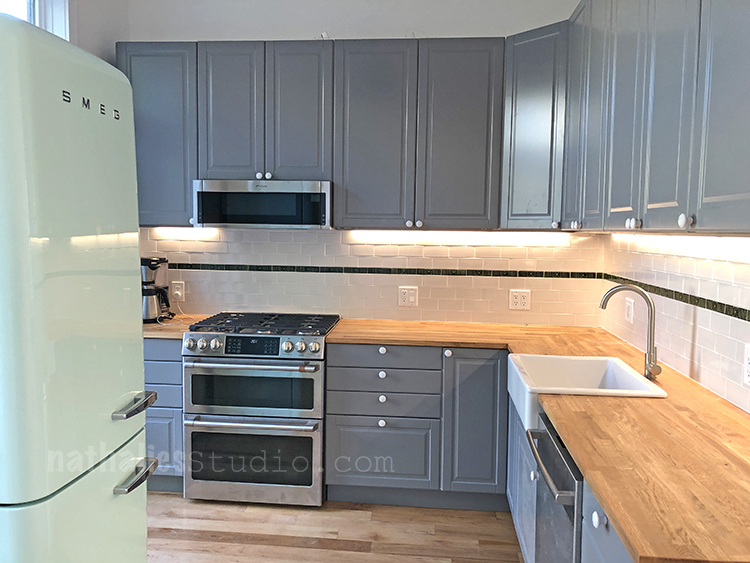
Our new kitchen ready for move in. I am so happy about the colors. We always wanted this retro mint colored fridge and we are so stoked to have it now being a colorful element in our kitchen.
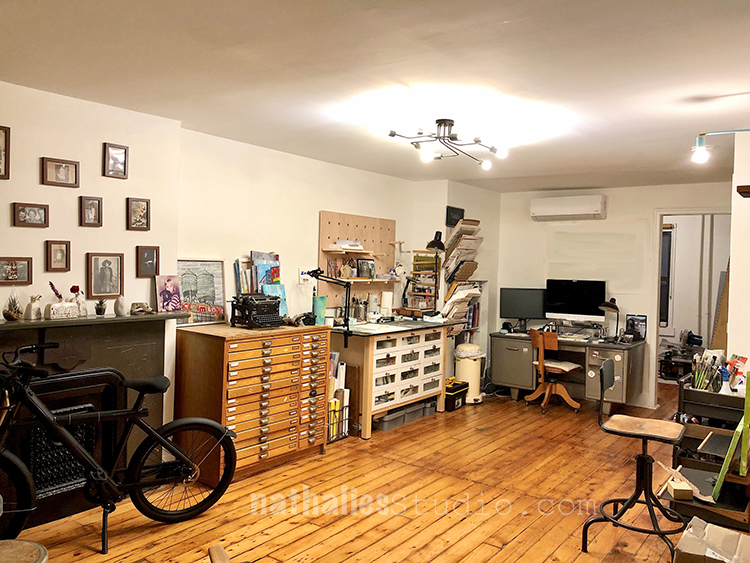
I am still not done setting up my studio but as you can see I am getting there. Although I have about 3 1/2 times more space than before, I have less storage space as my old studio had a gigantic closet. Now to figure out where to store everything. As we still have contractors working and using the laundry room in the back for their tools- I have not successfully stored everything away. but I love it so far- I love that I have the fireplace and a sitting area in my studio as well – and once I can move my bike into the back – I will make use of it for sure. I also cannot wait for workshops in this new space- coming my friends – stay tuned :)
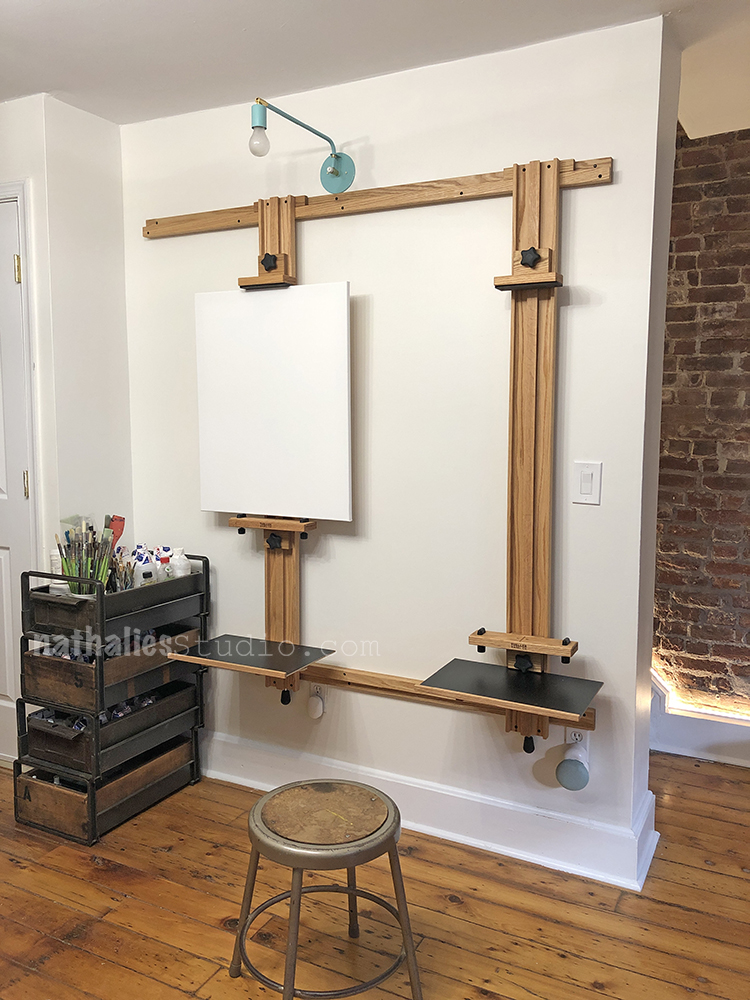
My favorite new addition to my studio is this wall easel – I am sooooo excited about it and boy – I cannot wait to start painting again.
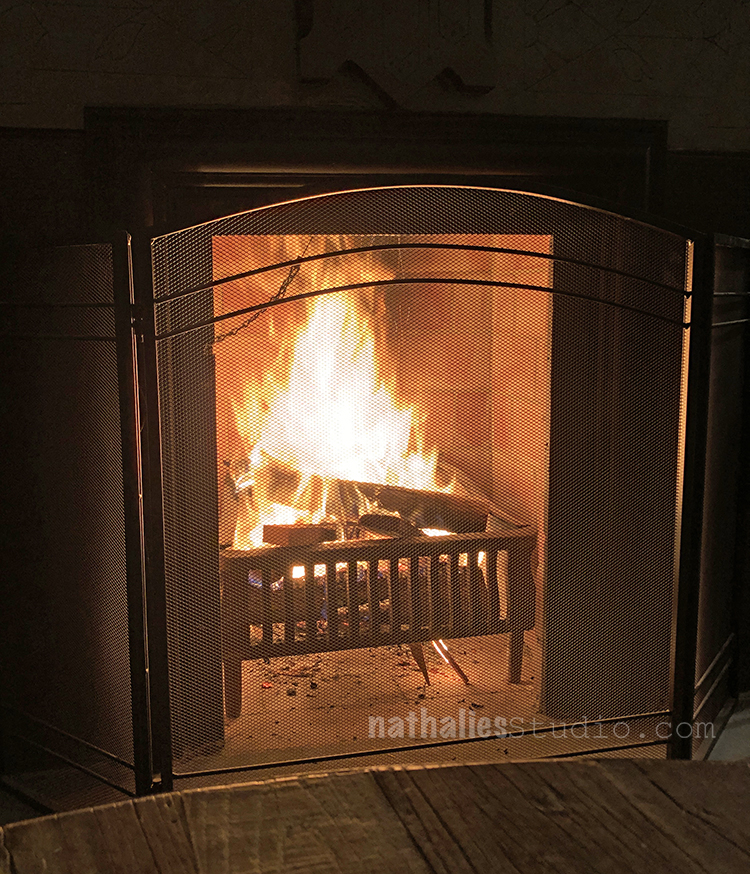
We also tested our re-instated wood burning fireplace in the living room area – works like a charm. Very happy about it and ohhhh I see many warm and cozy evenings coming up in front of it.
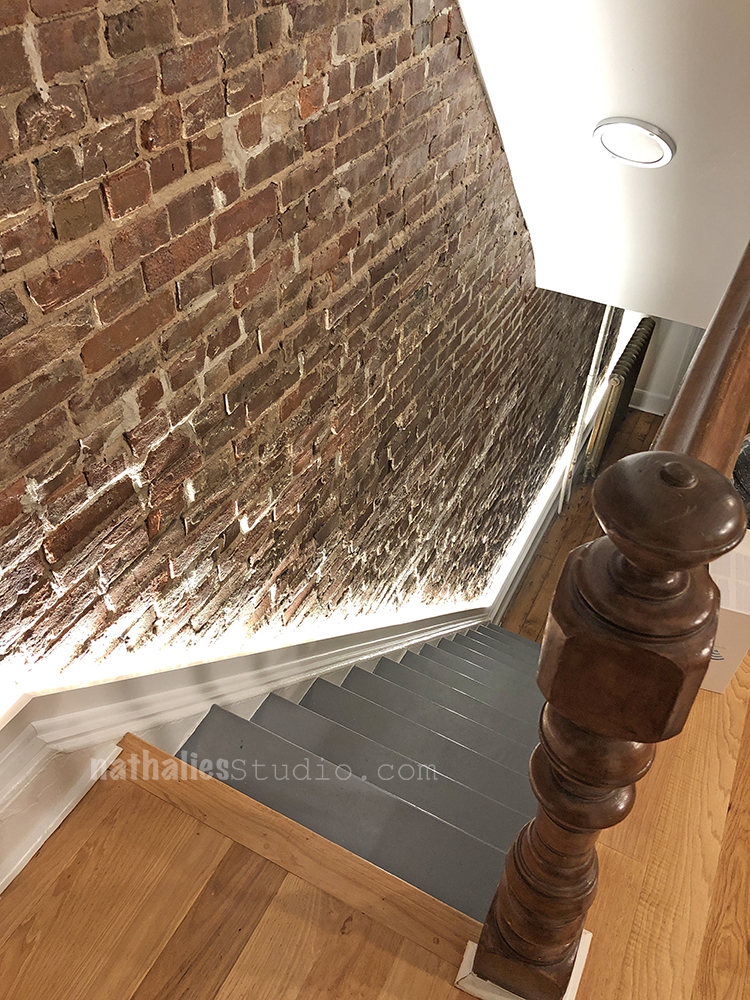
The hallway down to my studio is now also finished. My husband and I exposed the brick wall and we are so happy we did. To lighten up the narrow space I had our contractors put in a stripe light along the stringer and it looks so cool. They made a nice molding to block off the light a bit and then we painted the stair threads the same color as the kitchen. That was a longer affair …let’s just say Bobby Pretzel has been quite the Houdini since we moved and fresh paint and cats do not go along ;)
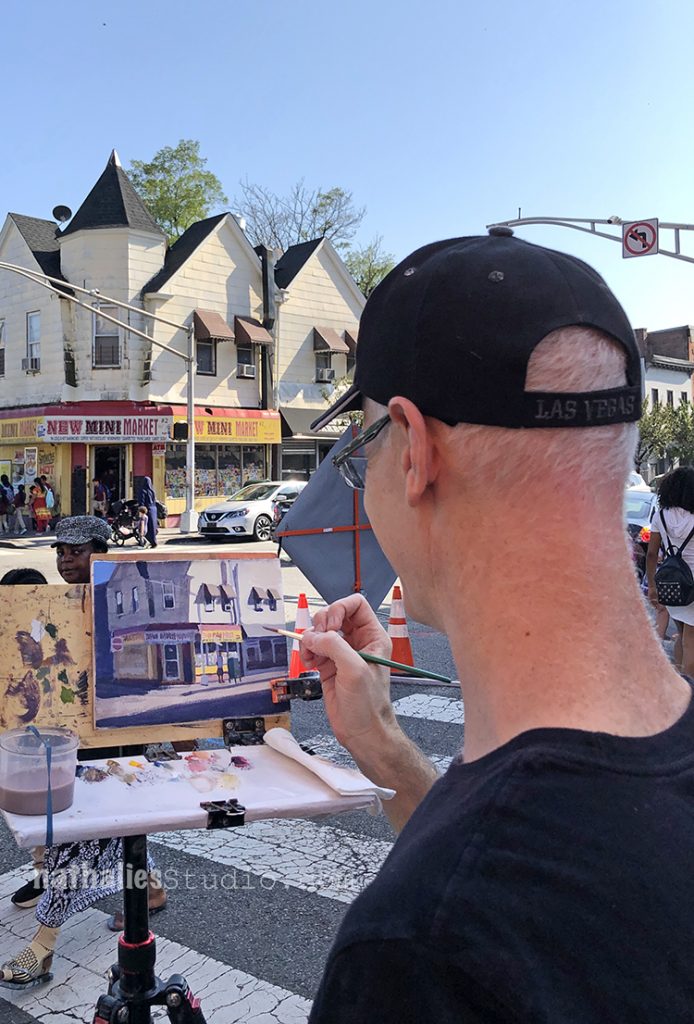
Loved seeing Doug Madill painting in my neighborhood – I love his street paintings.
We are so happy with our new house- most of the boxes are unpacked but there is still so much to do . Our contractors are hopefully finishing up all work this week – They rock but I would love to truly have the house for ourselves now – LOL. I feel like all my creative energy the last couple months was soaked up in the house reno and planning and I so cannot wait to get back to “normal” and have a real studio artist live again. Until then …see you next month!
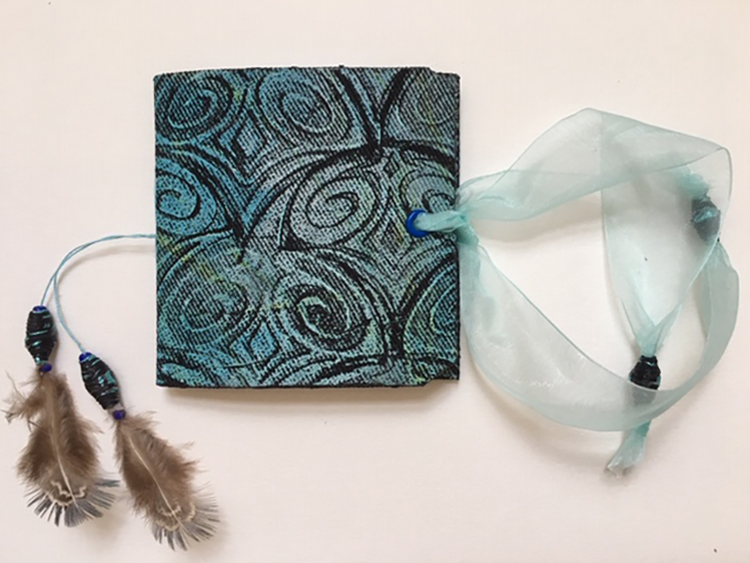
Hello from my Creative Squad and today we have another debut post from our stellar new member Linda Edkins Wyatt who we are so happy to have join our talented group. She is sharing with us a precious little book, using my Fairview Fan foam stamps on fabric – a lovely little keepsake for anyone! This month’s theme is: Your Biggest Fan – Let’s give a shout out to someone who is doing an amazing job. In a world obsessed with Me Me Me it’s important to take a look around sometimes and give some encouraging words to another, and not just in your art and craft making :) Be their Biggest Fan!
Hi! I’m super excited to be part of Nat’s Creative Squad and share my first Squad project with you.
A few months ago, I had the opportunity to take a gelliprint class with Julie Balzer at Ink Pad NYC. I thought I was a terrible gel press printer and couldn’t see what all the excitement was about gelli printing, so I figured if anyone could help me get the hang of it, it would be Julie. Among the many tricks and tips Julie shared, I learned that I was using way, way too much paint. I also learned to use a barren to make sure the gel press transferred the paint to the paper evenly.
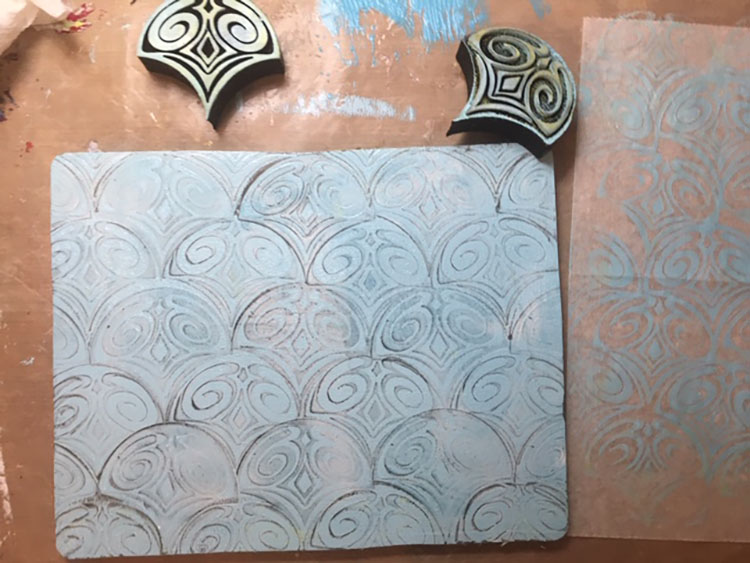
I decided to test my newly developed gel press skills with Nat’s “Fairview” positive/negative fan set. I coated the gel plate with paint and pressed the art foamie Fairview pieces into the color, then printed the excess on a nearby piece of deli paper. After printing a bunch of different colors, I mixed up some light turquoise paint and created a nice design on the gel plate, alternating the positive and negative images until the whole 9”x12” plate was covered. But this time, I thought “let’s try it with fabric!” (I am, by training and inclination, a textile designer, so using fabric, stitch, and creating repeating designs is second nature to me.)
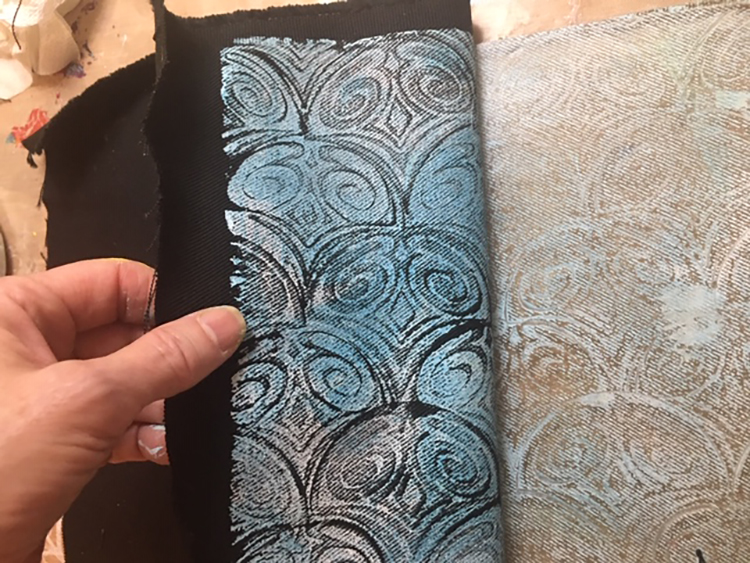
I cut a piece of black fabric to about 12”x14”, pressed it carefully onto my gel plate, applied pressure with my brayer, and gently pulled it off. The fabric had a twill weave which added to the design and gave it a rustic look. I loved it! So, I made a couple more pieces of printed black fabric, trying different arrangements of the fan foamies.
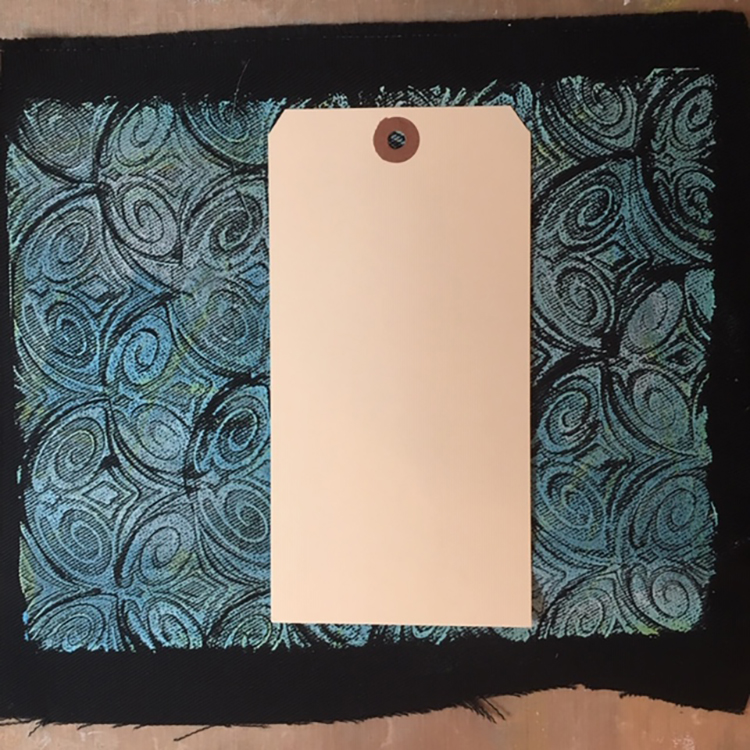
My favorite print was just the right size to fit on an oversized shipping tag, so I decided to create a tag book. I was inspired to start making tag books when I saw a post from a wonderful artist, Ann Sullivan Barnes. I am a big fan of Ann, who artfully combines precision and fine detail with creativity—not an easy feat.
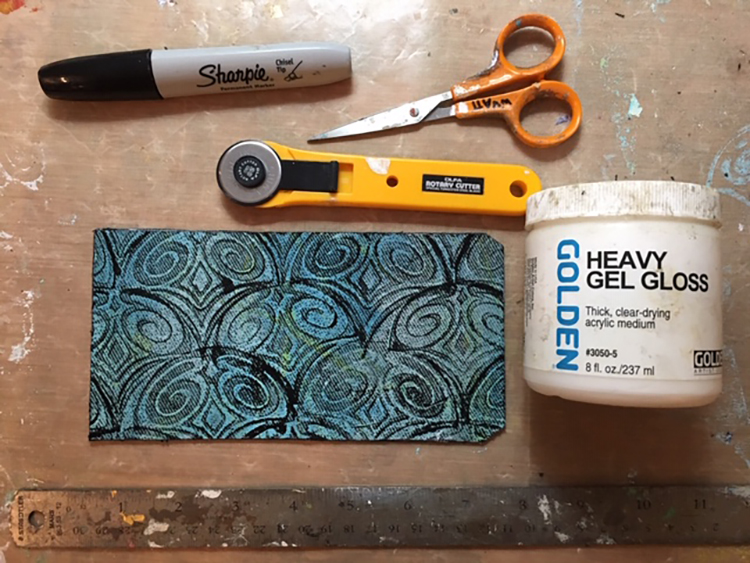
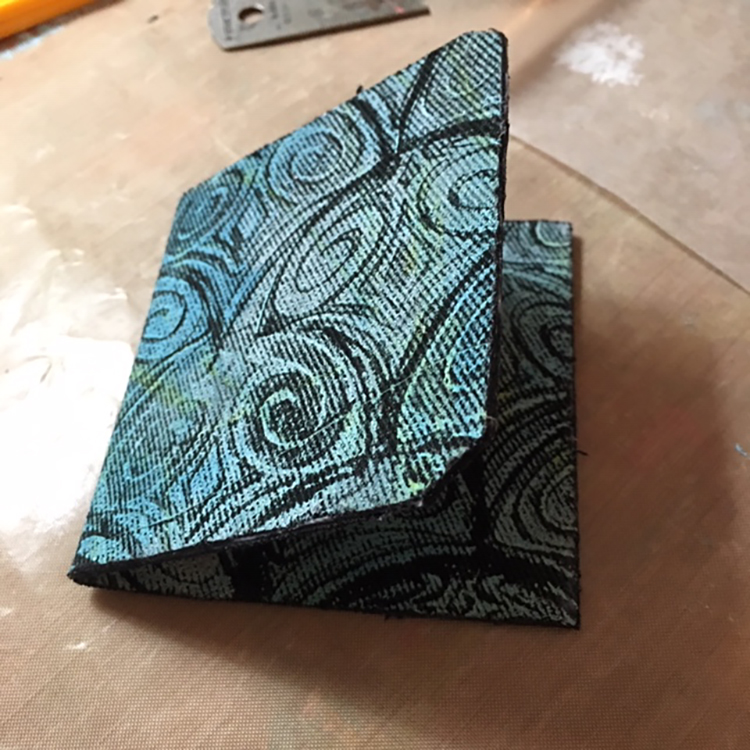
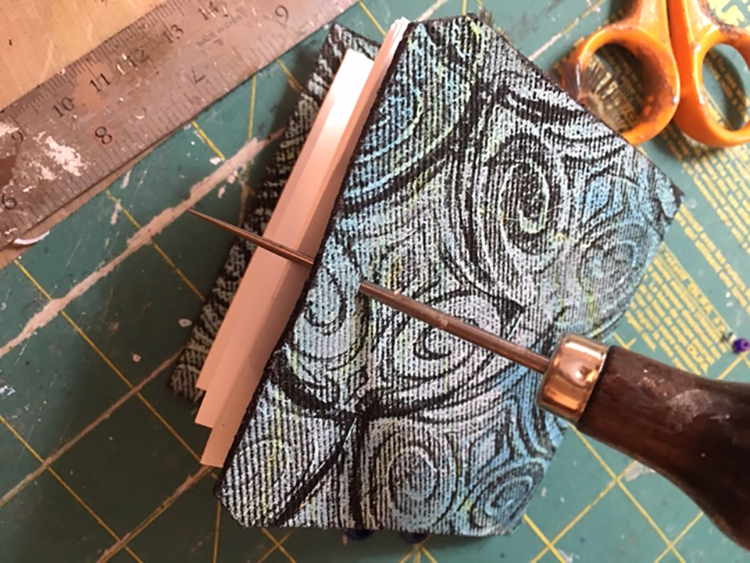
I carefully glued the fabric to both sides of an oversized shipping tag and let it dry. Next, I trimmed the fabric close to the tag edges, added black sharpie to cover the white edges of the tag, and added a thin layer of heavy gel gloss to keep the fabric from fraying. Once the glue had dried, I folded it in half, pressing the fold with my bone folder, then placing the folded tag under a heavy weight for a few hours.
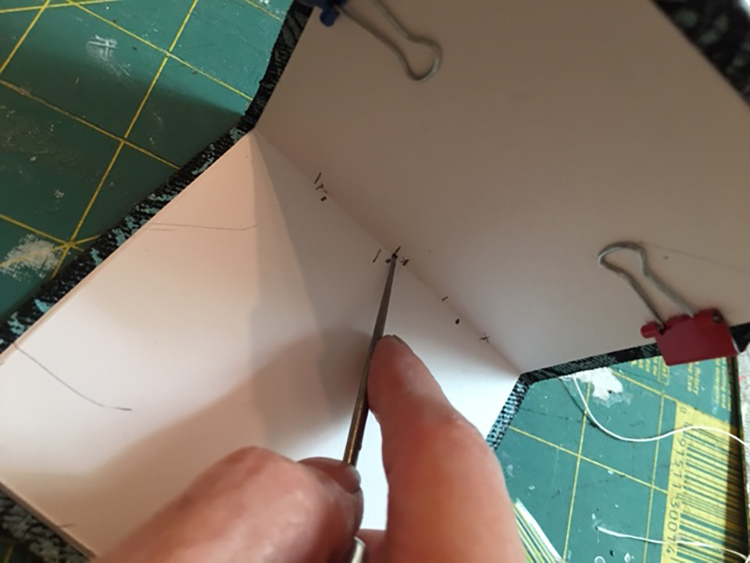
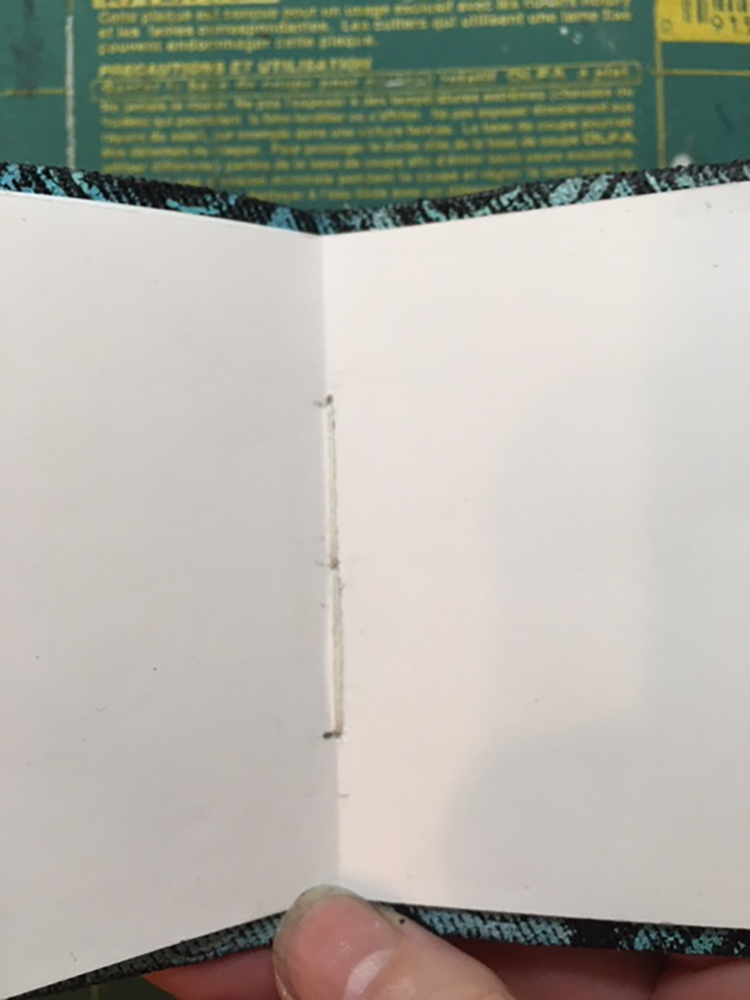
It needed pages, so I cut some heavy white printer paper to fit inside the tag book (I made the pages about 1/8” smaller than the cover) and, using bookbinding thread and a fat needle, stitched the signature in place. I left the strings long with an idea of later adding some kind of decorative beads.
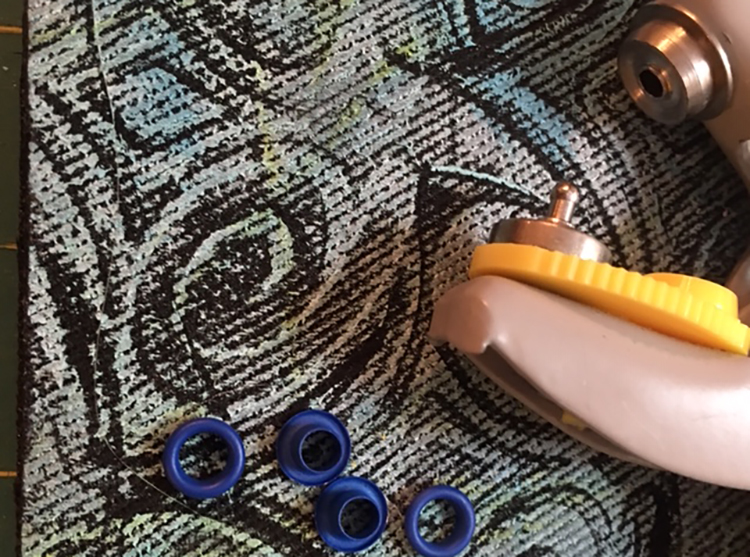
It looked great so far, but then I had to decide what kind of closure and embellishment it needed. I inserted grommets in the tag hole, poked a second hole, and placed another grommet in the back of the book. I chose a simple ribbon closure: I tied a length of sheer aqua ribbon on the inside of each grommet, leaving it long enough to tie the two pieces into a bow closure at the side.
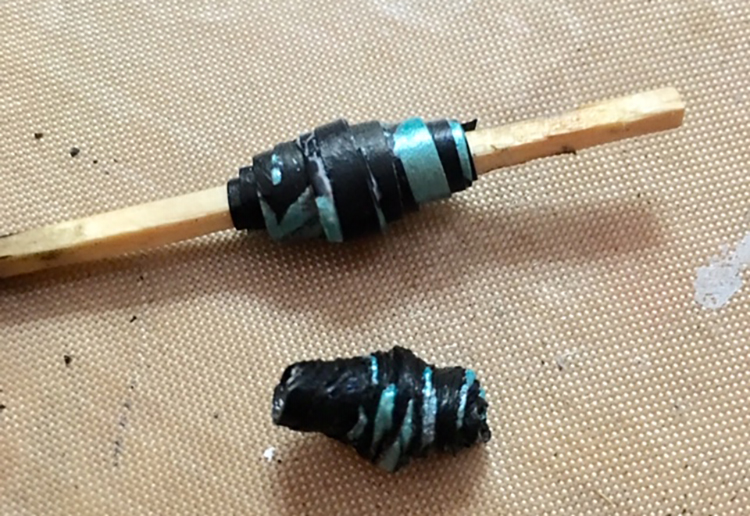
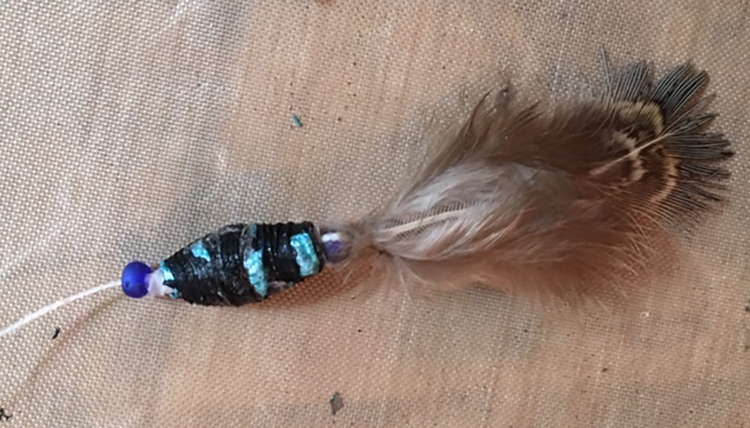
I decided to embellish both the signature’s hanging threads and the ribbon closure with Tyvek beads. I painted some Tyvek black and added splashes of turquoise Lumiere paint. Once it was dry, I cut long triangles, rolled beads, and heated them until the Tyvek melted. I threaded each end of the sheer ribbon through a bead and tied the ends.
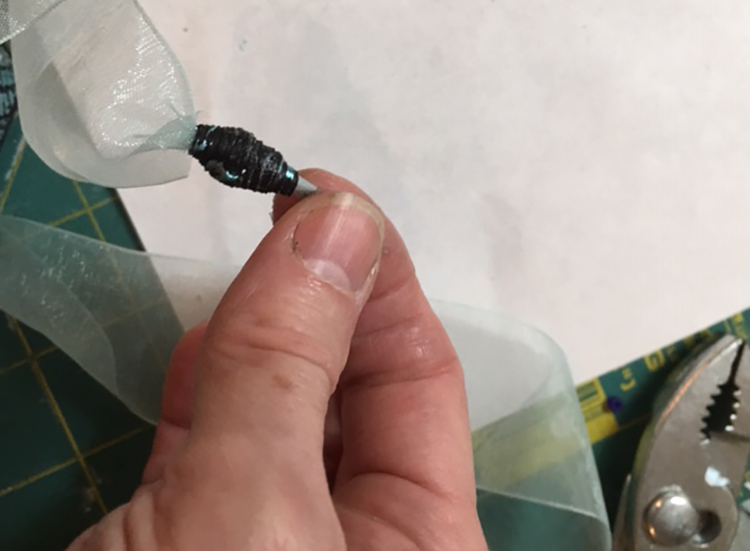
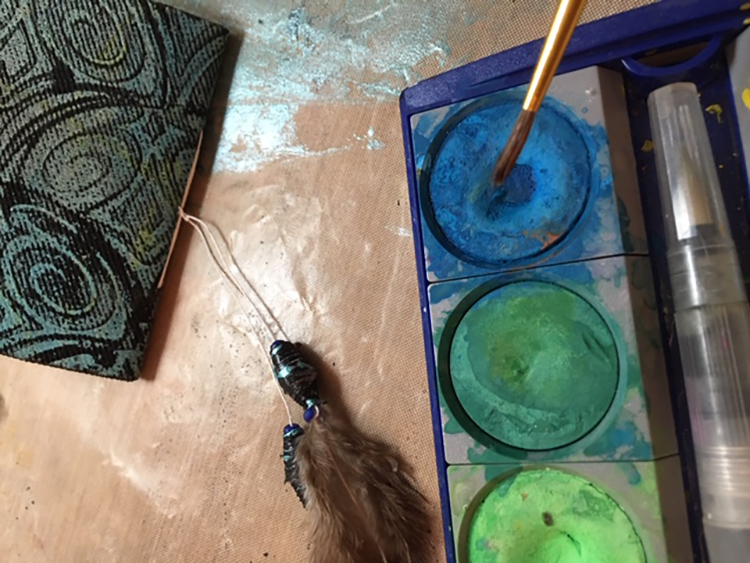
On the long threads of the signature, I got a little fancier. I added a small bead onto the string, then a Tyvek bead, and inserted a small feather into the bead. A few drops of glue on the feather tip held the feather inside the beads. Then I used watercolor to paint the white thread to match the turquoise paint.
The Little Fan Book is a nice small size to fit in a pocket or a purse, and great for writing notes or dashing off a quick sketch. It also could be filled with photos, poetry or inspirational quotes for a very personal and special gift.
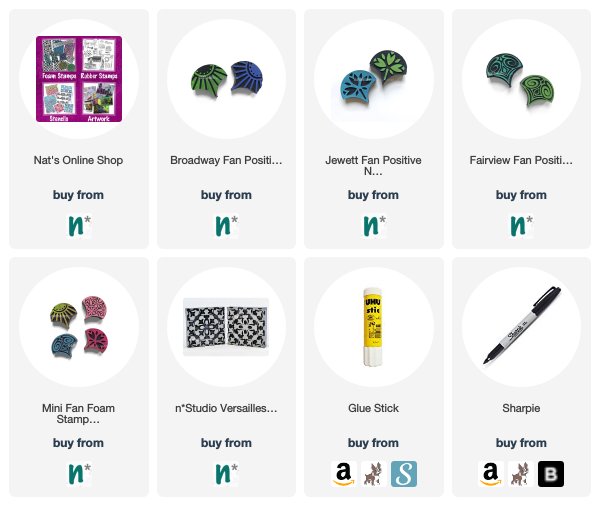
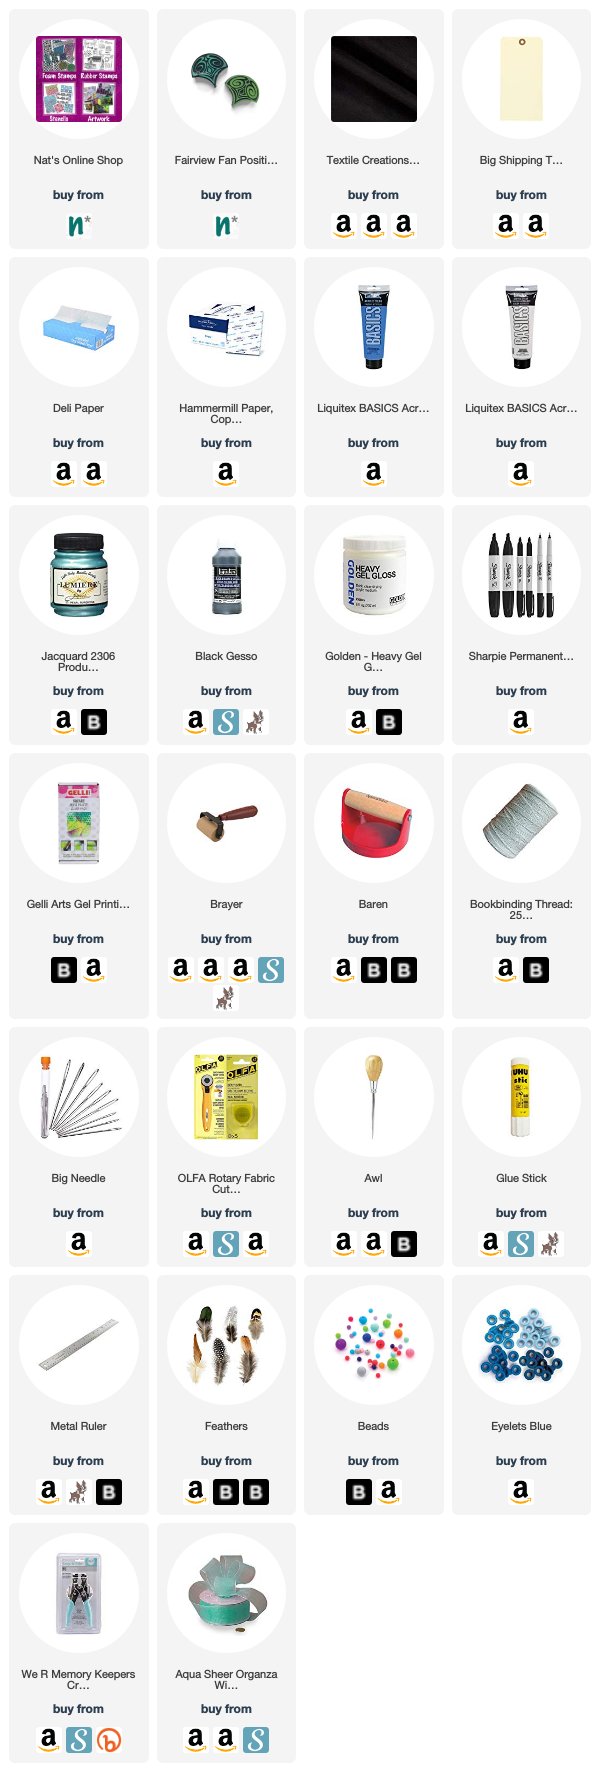
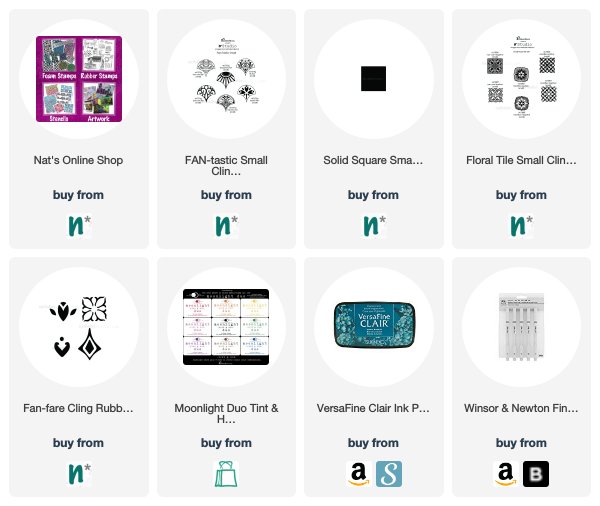
Thank you Linda! I love that you stamped on fabric and then created this gorgeous little treasure with it. Want to give Linda’s project a try? You can find all my Foam Stamps in my Online Shop and here are some of the other supplies she used:
Feel inspired? Working on something yourself that you’d like to share? I love to see how you interpret our monthly themes. Email me or tag me #natkalbach how you used my stencils and stamps – I would love to share your projects in my next “n*Spiration From Around the Globe“.
I am thrilled to see Linda as part of your Creative Squad, she is such a talented artist, and seeing her incorporate her talents in textile design makes me even happier. This is a gorgeous piece. I am honored that Linda is inspired by my work because I truly admire her talents and creations. Fantastic tag book, all the special details bring it to life and that fan stamp design is glorious! ~Ann
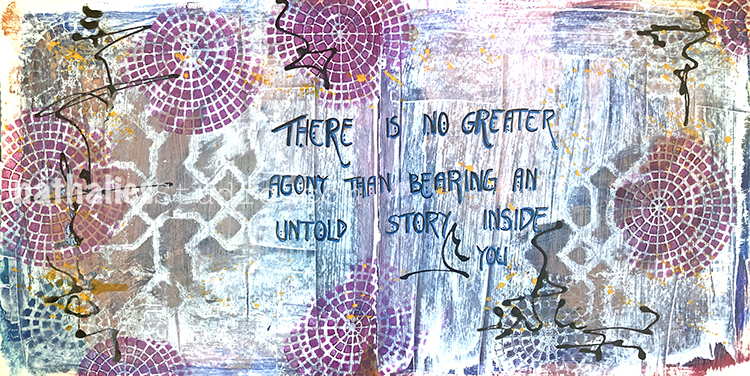
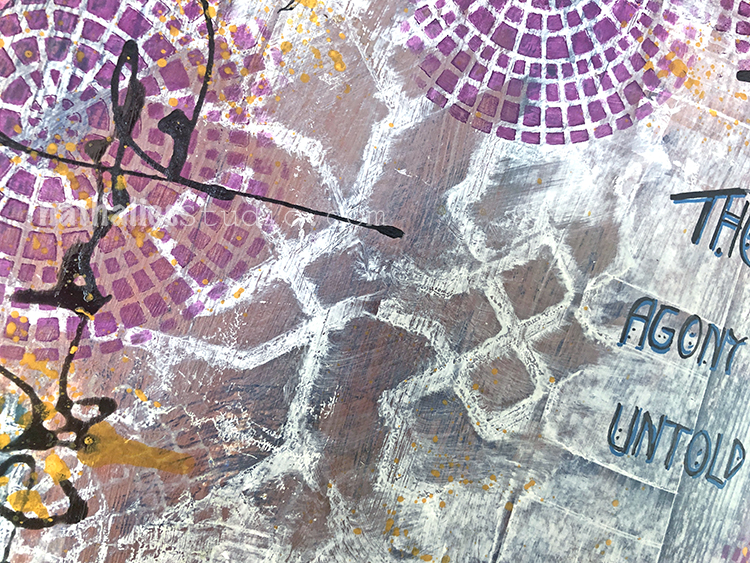
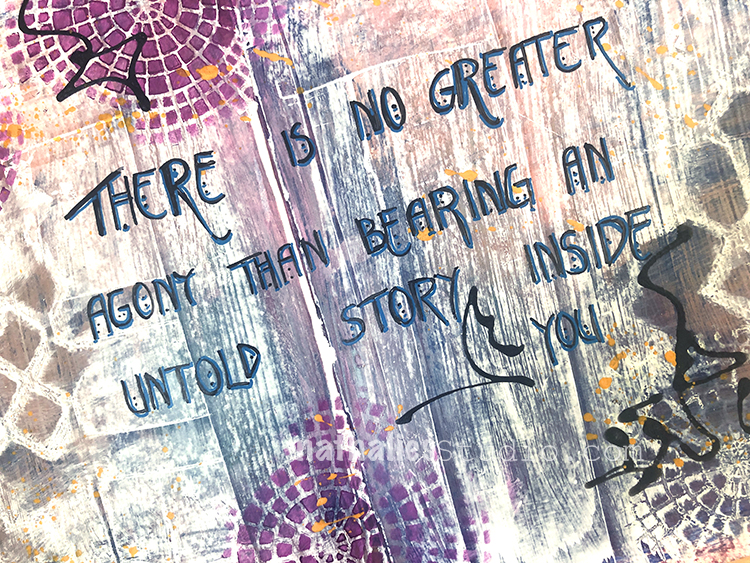
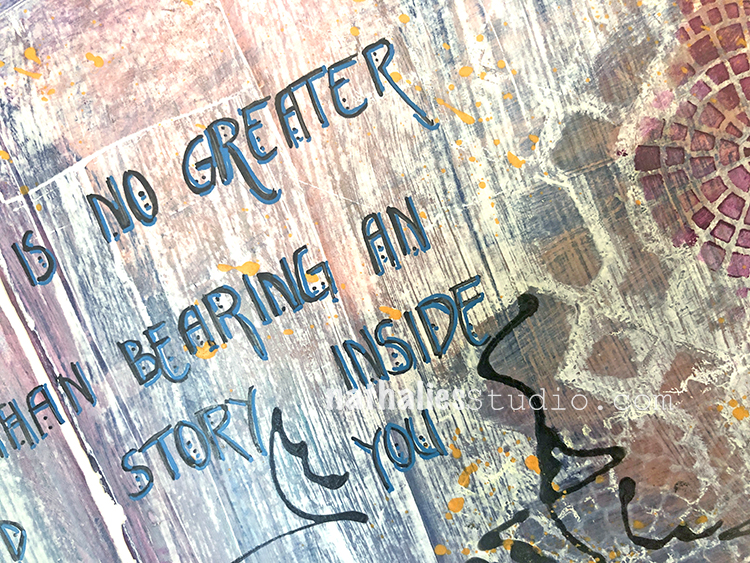
“There is no greater agony than bearing an untold story inside you.”
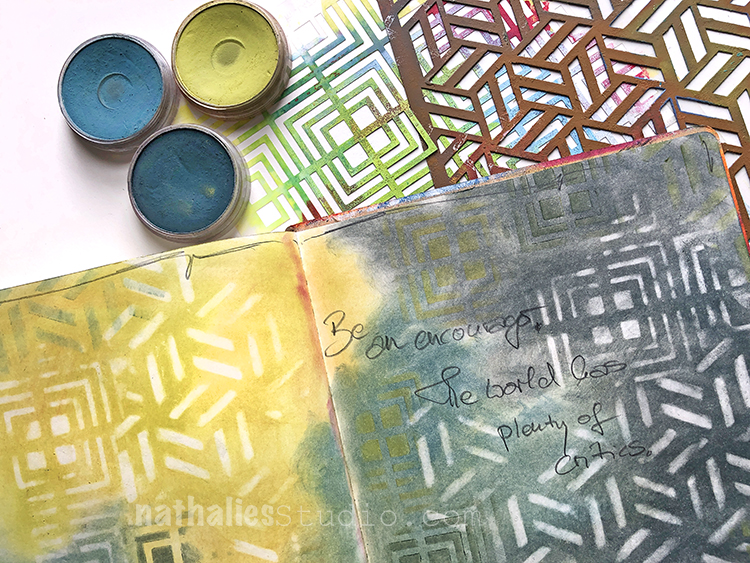
In this art journal page I made an effort to only use almost empty colors of acrylic paints right before our move – – it was a fun way to get a bit out of the comfort zone with lots of brown colors.
I also used my Exchange Place stencil and my Central Ave stencil, journaled with fine liners and added some extra color with Derwent Graphik Line painters.
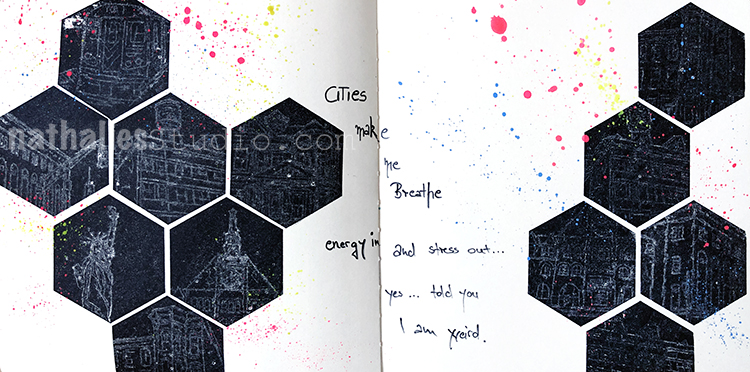
“Cities make me breathe energy in and stress out… yes… told you I am weird.”
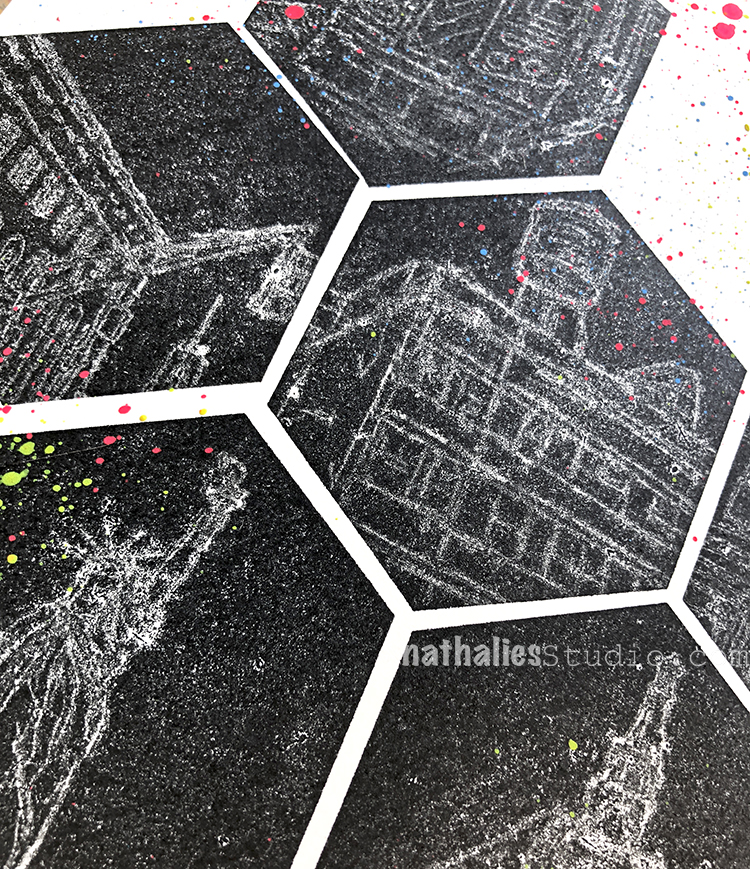
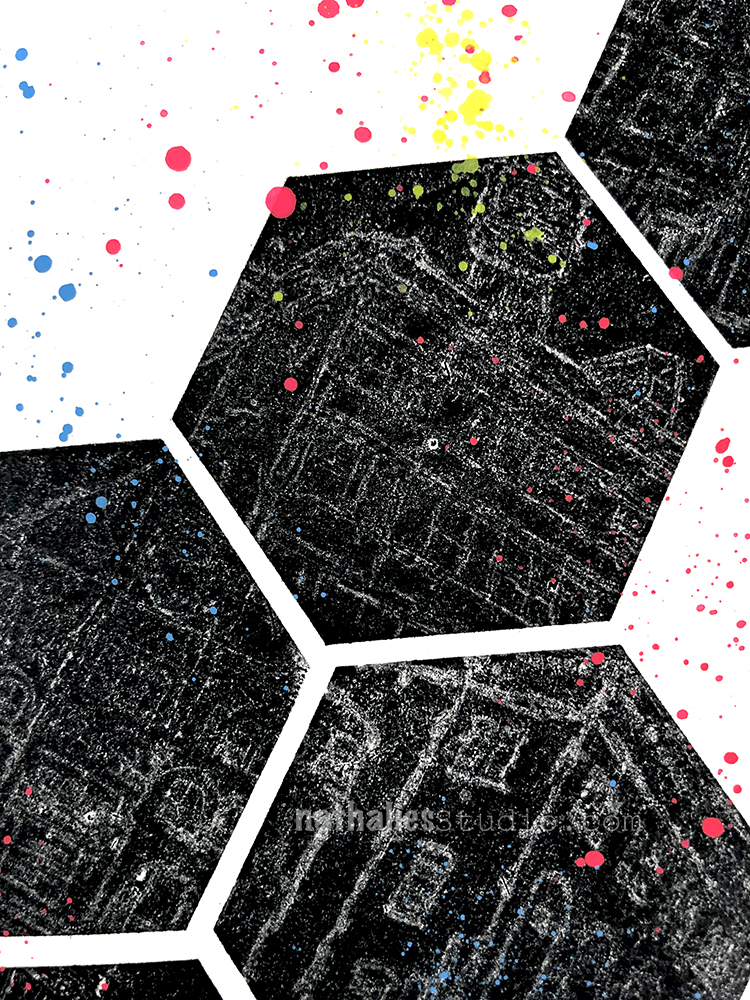
I used the “stamp kissing” technique for this page – I inked up a solid stamp and then pressed (kissed) the detailed stamp into the solid stamp to remove the ink. Then I stamped the solid stamp and you can see the design in there – pretty fun technique to play with. And I love the carbon paper effect.
A Look Back – a blog series to show you some projects and posts that you may have missed – sometimes going WAY back in the archive. I think it will be fun to revisit a few ideas that we haven’t seen for a while. I’m excited to see how a little look back might inspire something new in the future :)
This time I’m looking at Pan Pastels – a medium I have been playing with for years and always find myself returning to on occasion. Here’s a look back at some of the ways I’ve used them over the years. Enjoy!
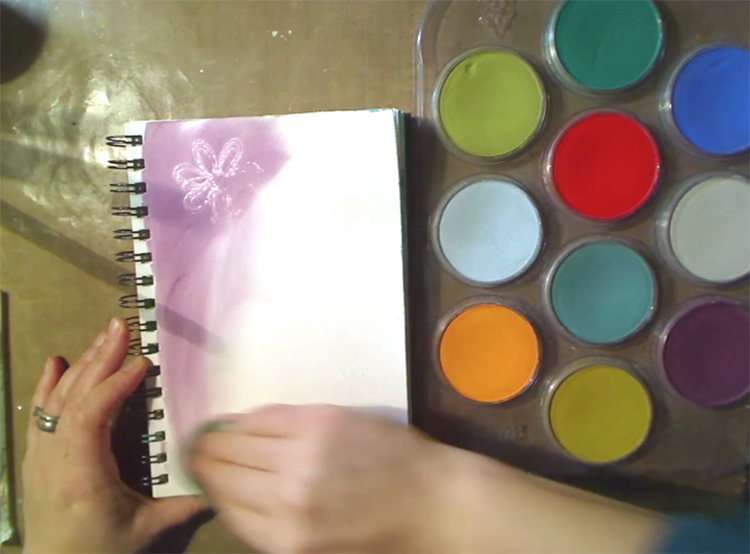
First up is a resist technique I show in a video from 2013. I use rubber stamps, embossing powder, and pan pastels. Check it out here.
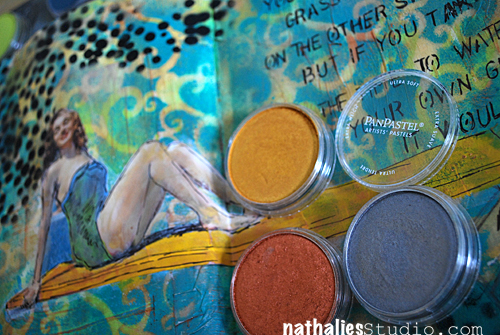
Also from 2013 is this art journal page where I experimented with some metallic pan pastels for a little sparkle here and there.
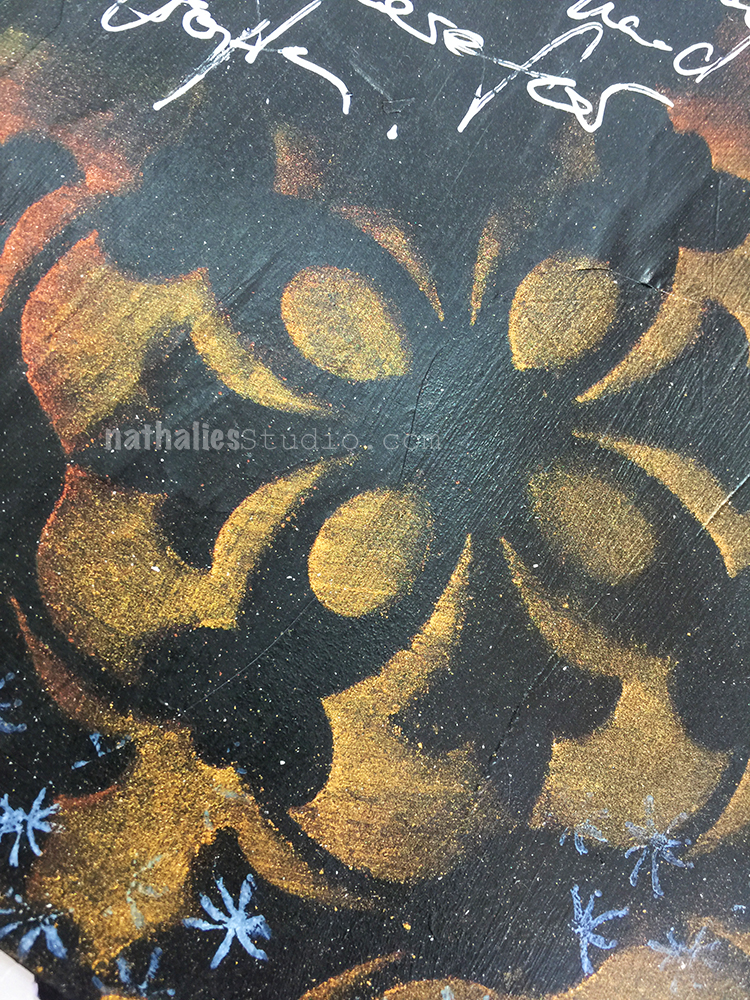
Jumping forward to 2018, I also used metallic pan pastels – this time with my Versailles stencil on a black background for some real drama :) You can check out the full post here.
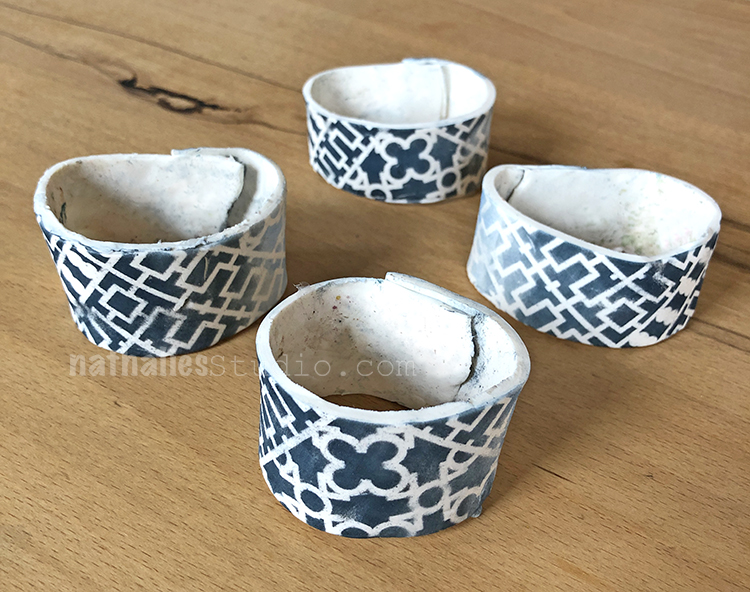
Later that year I had a playdate with Kim and we used pan pastels with stencils (here my Downtown stencil) on paper clay for some napkin rings – that was a pretty cool and simple project. See how we did it and check out our gorgeous tablescapes in the original post.
Finally just this past August for my Stencilbop Challenge, I show the simple joy of using pan pastels with your stencils – they make it easy to blend colors and patterns for such gorgeous results. Here I was using my Manhattan stencil and my Kassel stencil.
I hope you enjoyed A Look Back through my archive and maybe you are inspired to try some different things now too.
Here are some of the supplies I used in these posts:
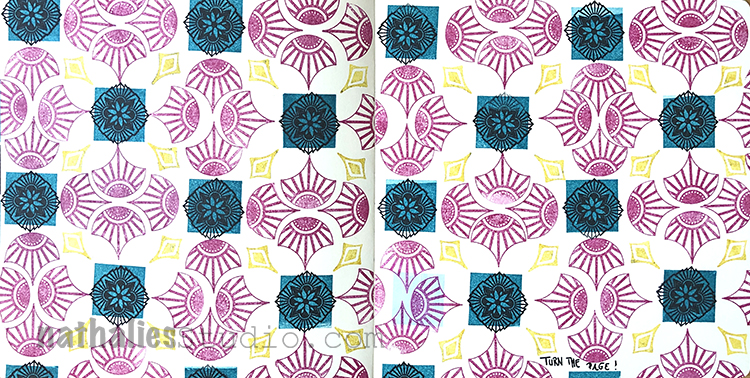
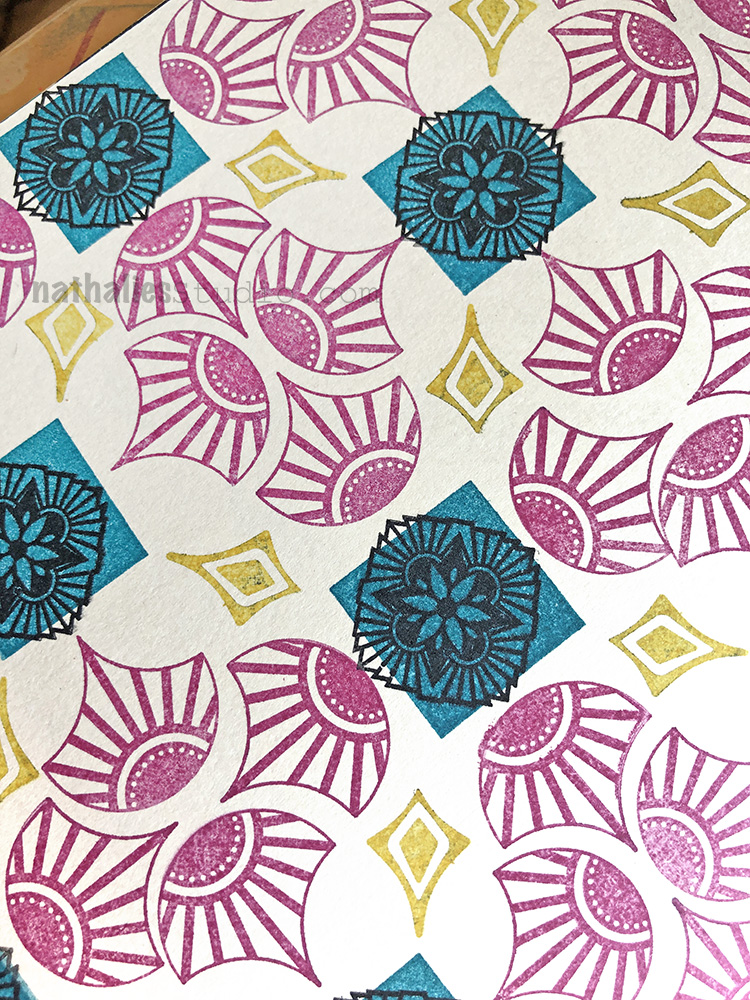
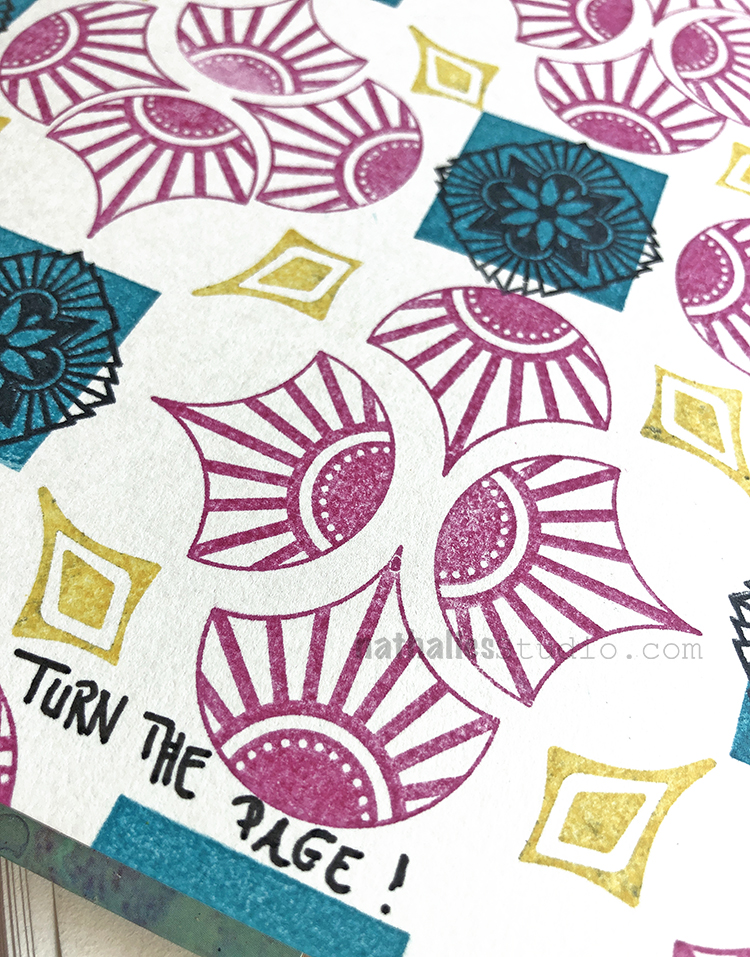
“Turn the Page!” – Sometimes it is time to move on to the next adventure in life :)
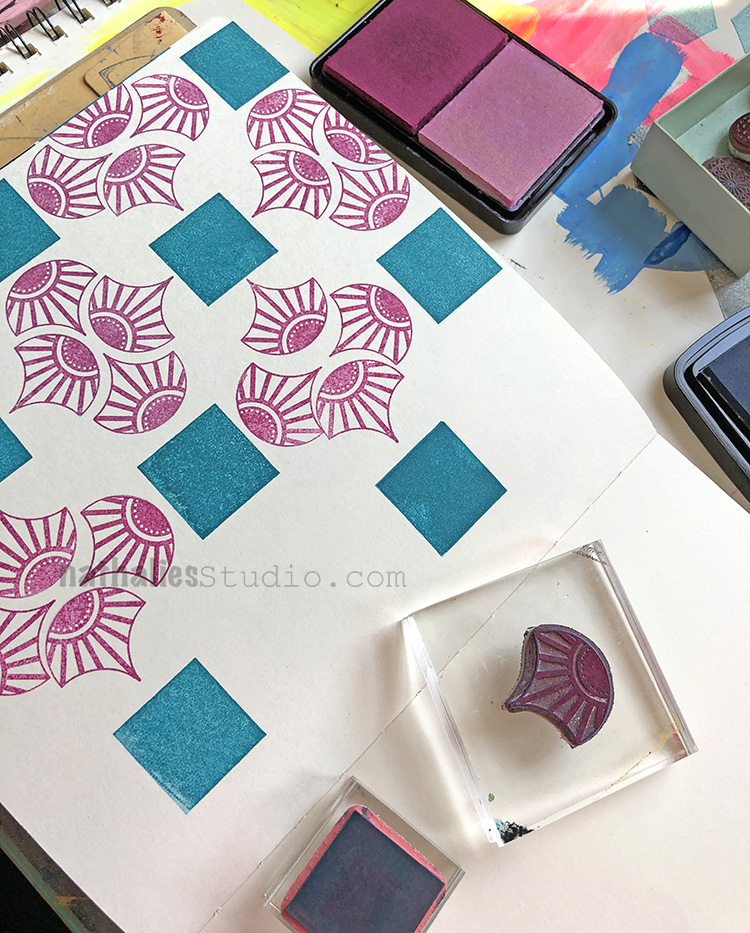
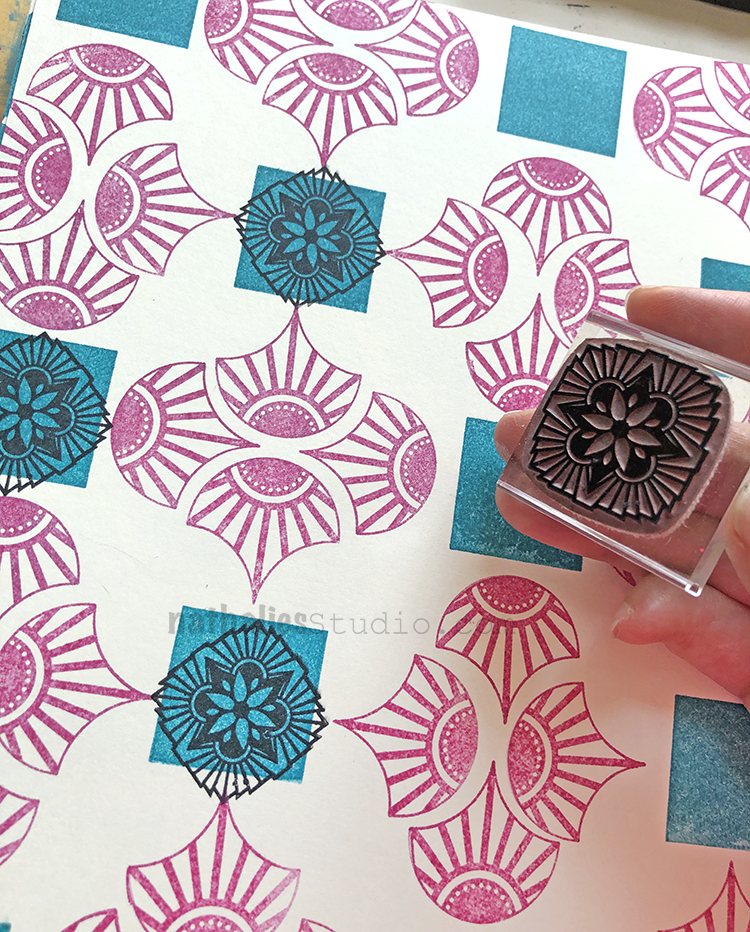
For this art journal spread I built up a patterned background using some of my rubber stamps and a happy selection of ink pad colors. I started with my Fantastic Small and Solid Square Small stamps…
I alternated the direction of the fans as I went and filled the page.
Next I added one of the Hamilton stamps from the Floral Tile Small set…
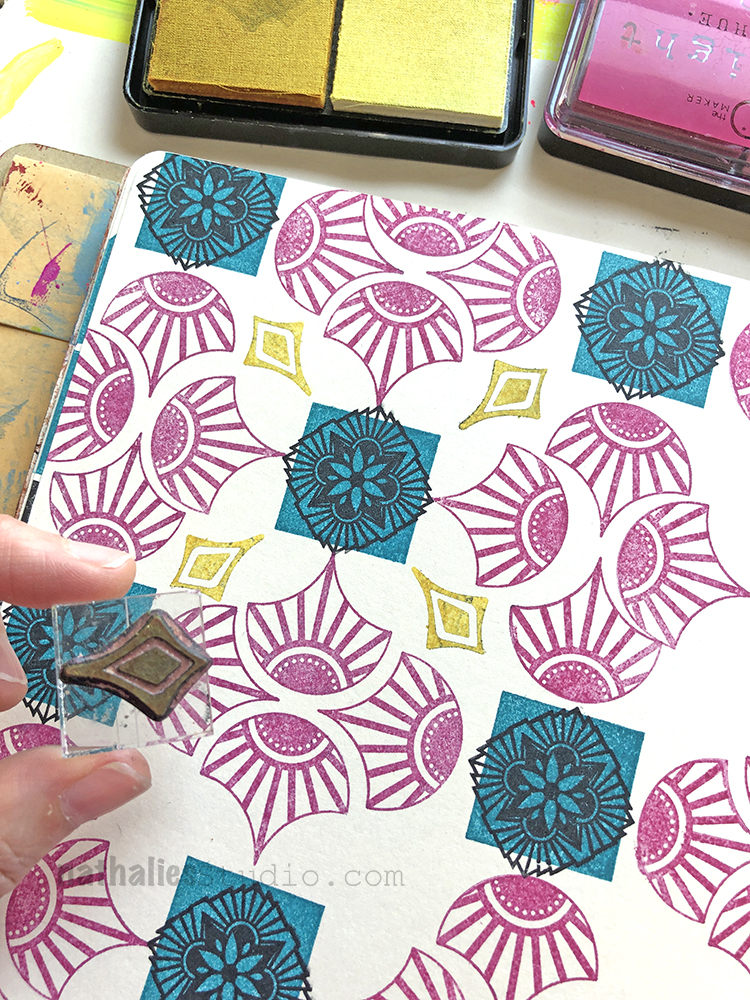
And the finishing touch on the pattern was one of the Fanfare stamps – these are perfect for giving a pattern those little elements that bring it together.
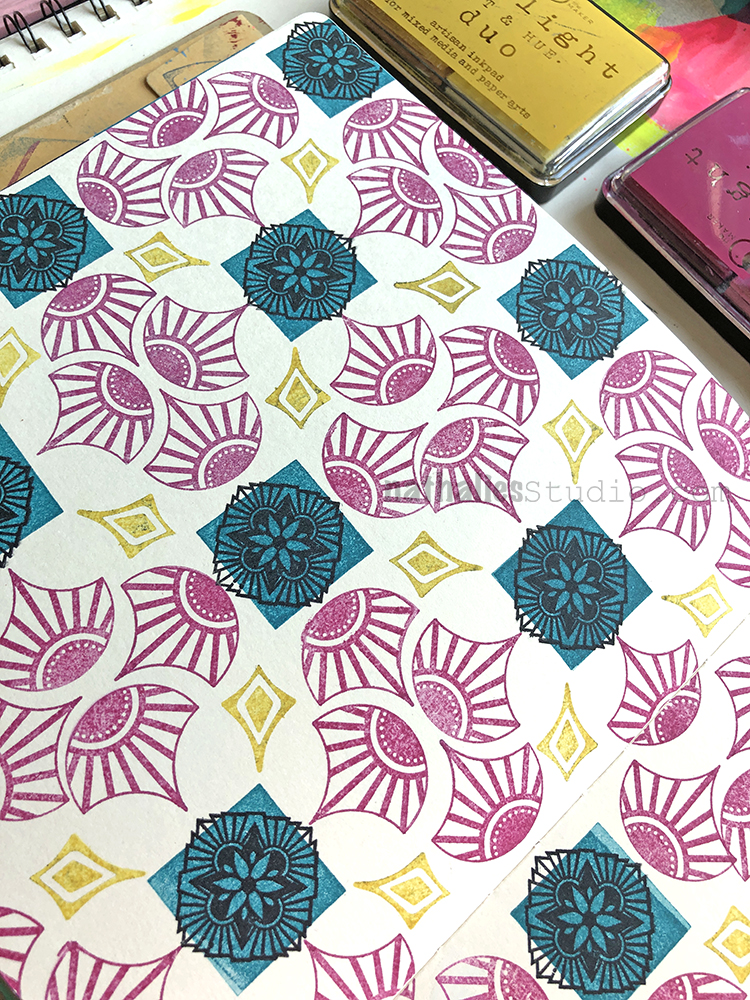
Look at that lovely pattern! Well….
Oops. Can you spot the mistake? That’s what happens when you set your stamping block down the wrong way on your nice art journal background and it leaves a little ghost square. Oh well, it happens.
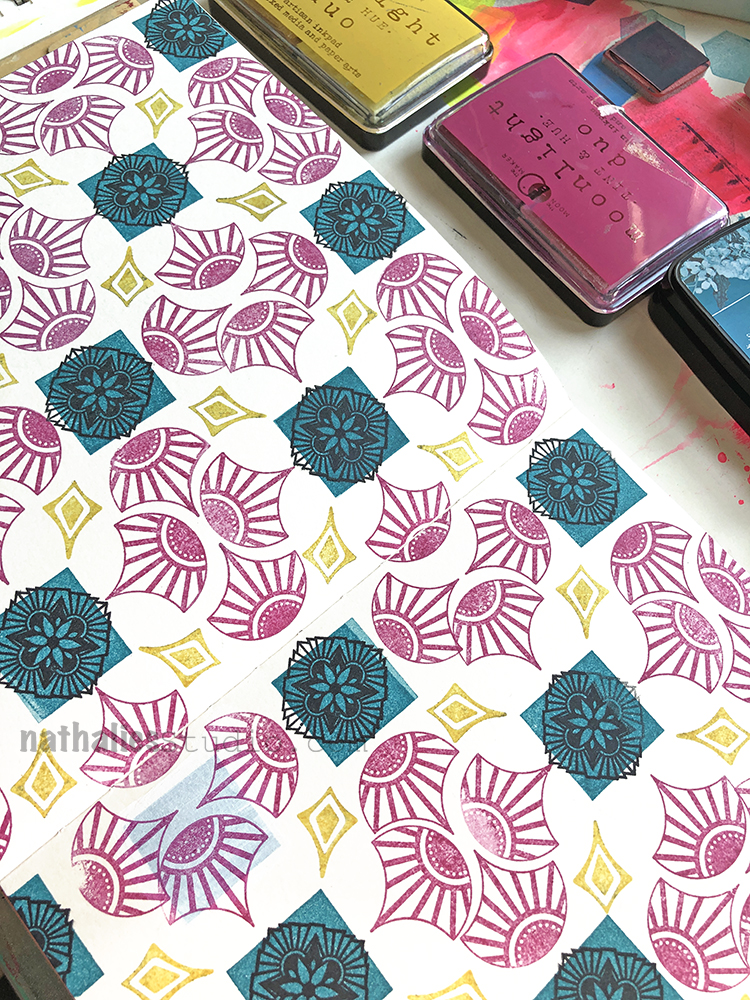
Time to focus on the positive :)
…Knowing we can always “Turn the page” in the end and start anew.
I love the pattern and the colors you used Nat. I never get stamps on the paper the way I want to. It is better when I stamp on a mouse pad or something like that but I’m just never satisfied with the final product. Yes, I see your creative “mistake”. ;-)
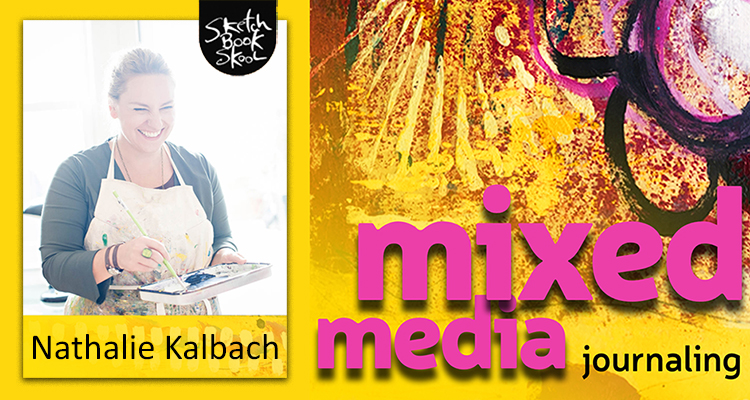
I’m so excited to tell you that I will be teaching with Sketchbook Skool for their new online workshop Mixed Media Journaling! I will be joining 3 other amazing teachers – Mary Beth Shaw, Seth Apter, and Kecia Deveney for this 4 week course that begins on November 11th. Check out the gorgeous promo video and sign up HERE today!
For those of you who know Sketchbook Skool, you know it is THE place to learn about the art of drawing and sketching. This new course focuses on creating from a mixed media slant, and wow it is really nicely done – they know how to film and produce top quality videos and this is no exception. It also includes an emphasis on community, so in addition to learning, you will enjoy interacting as well.
Come join us for this online course with a focus on mixed media and enjoy learning from teachers who are both fun and inspiring. Sign up HERE.


The house is beautiful. Love it and your strolls. I even do them now when it’s not 100 degrees
Reply