Currently Digging – Creative Squad Edition with Maura Hibbitts

It’s time for a special edition of Currently Digging – with my Creative Squad! Once in a while I like to share with you some nifty finds – like an Artist who’s work caught my eye…, some Inspiration that got my creative juices flowing, and Tools & Techniques I am currently digging. Today we asked Maura Hibbitts from my Creative Squad what SHE is Currently Digging :) Hope you enjoy this.


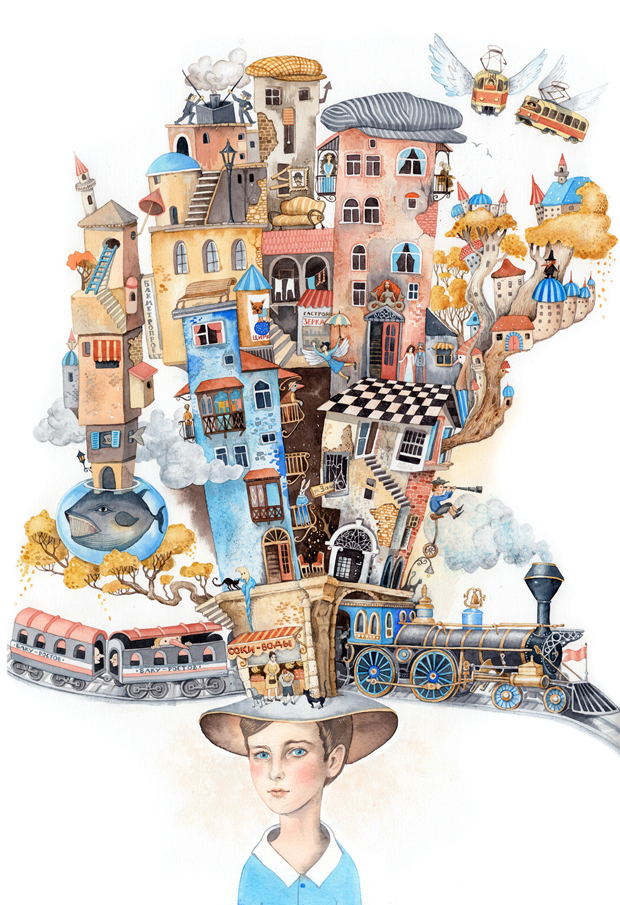
Sveta Dorosheva – I’ve been fascinated with Sveta’s illustrations since receiving her book “The Land of Stone Flowers” for Christmas. I love her imaginative approach to art and storytelling, and the wonderfully intricate designs she creates. I am drawn back to the images repeatedly and each time I discover something new, which fires my imagination.

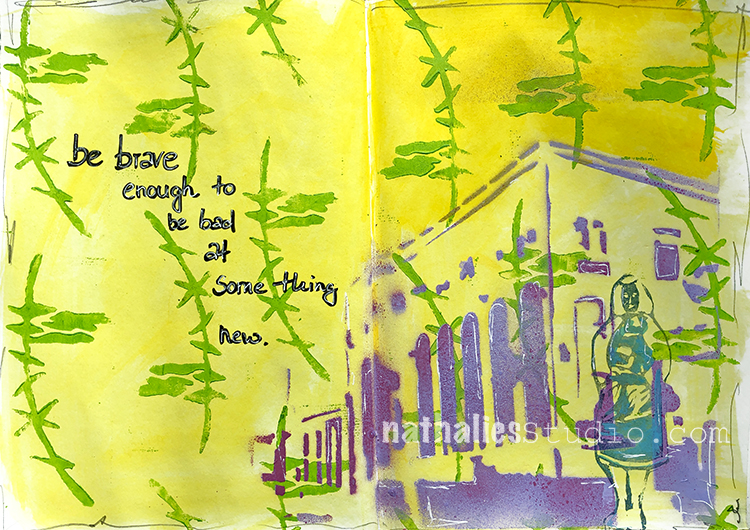
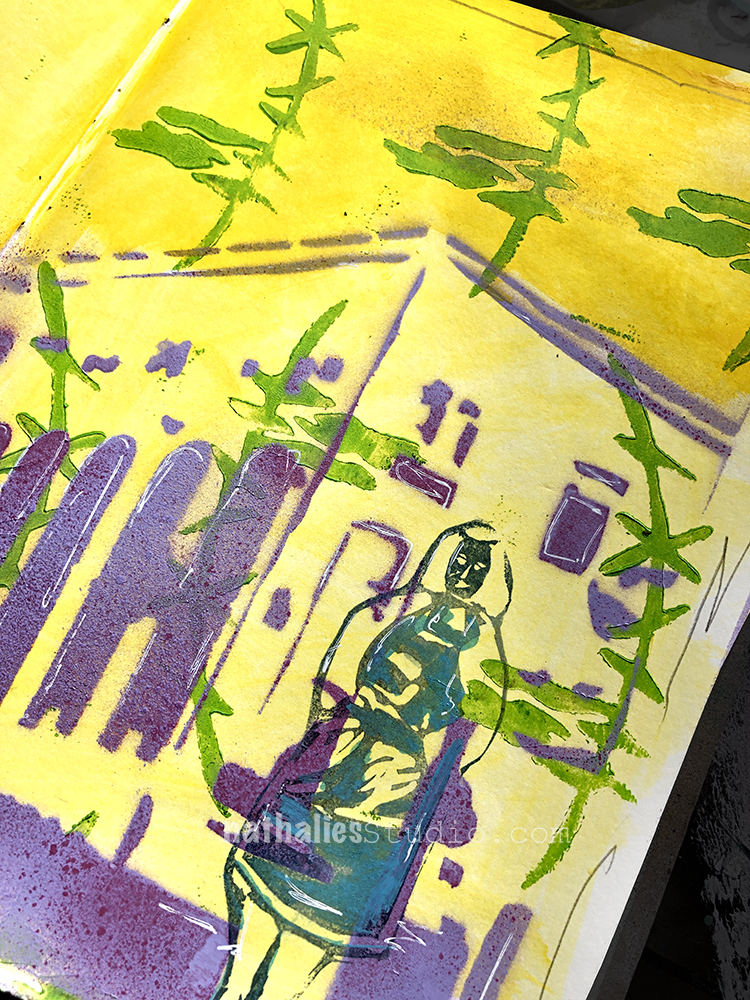
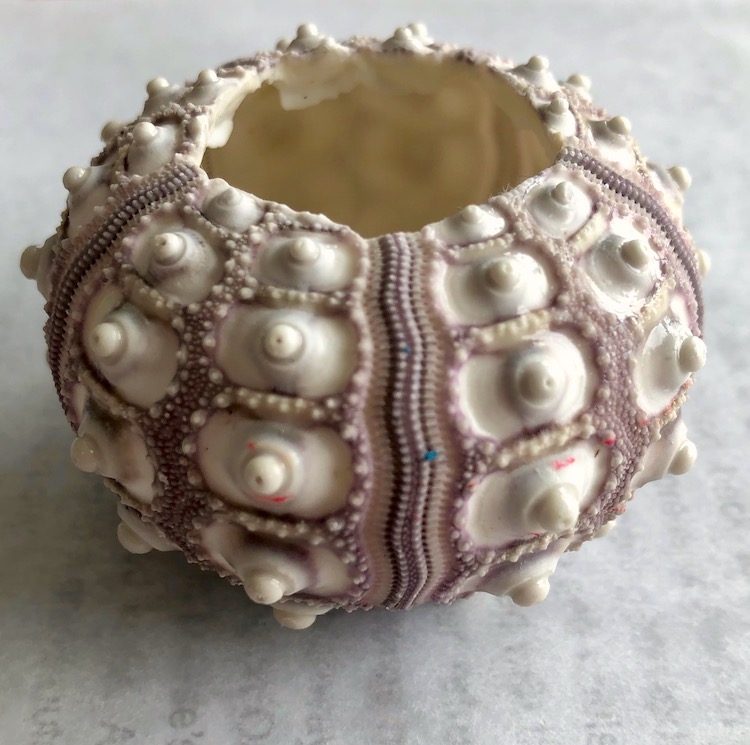
Natural Patterns and Colors – I am always looking at the world around me for inspiration, and lately I’ve been drawn to patterns in nature. Frost and ice designs, shadows on the snow, clouds passing overhead have their own intricate designs to share. Recently though, I headed to sunny Florida, and started observing patterns in sand, rocks and shells on the beach (and in shops). I am amazed at the beautiful patterns created by nature.

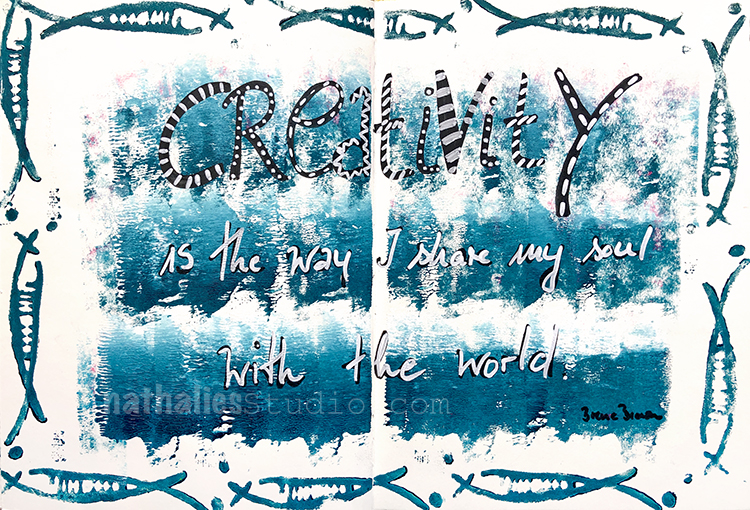
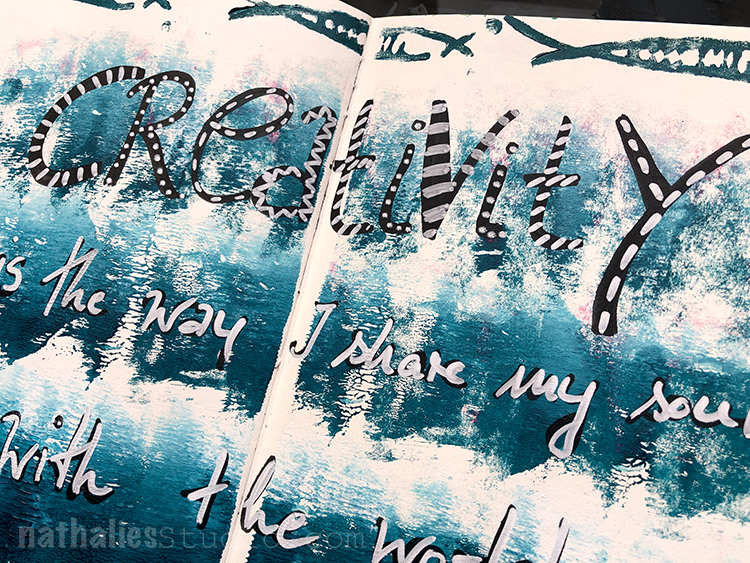
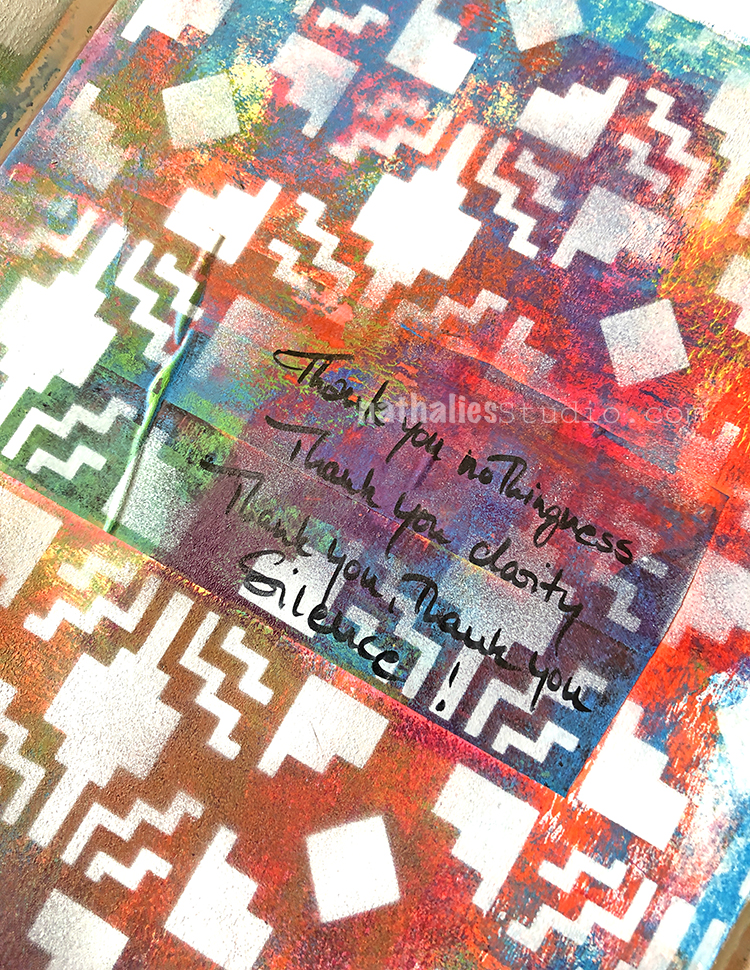
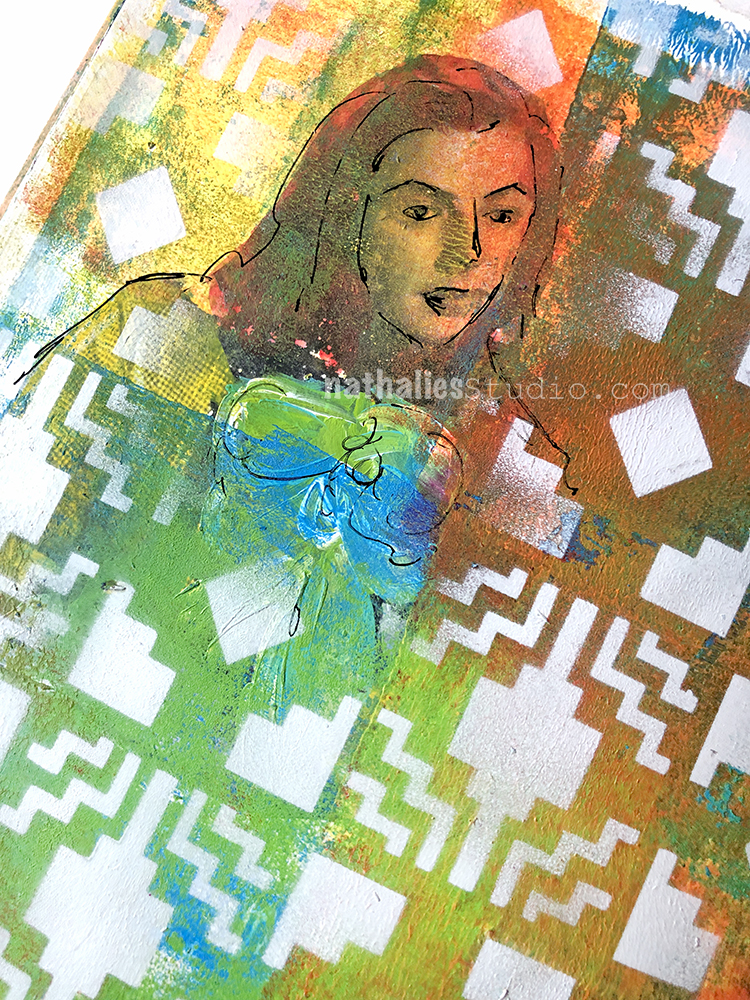
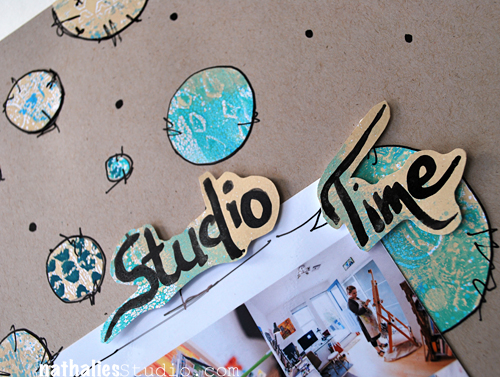
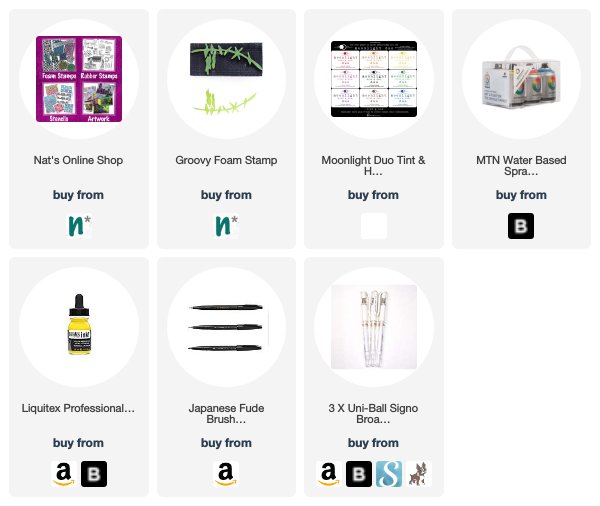
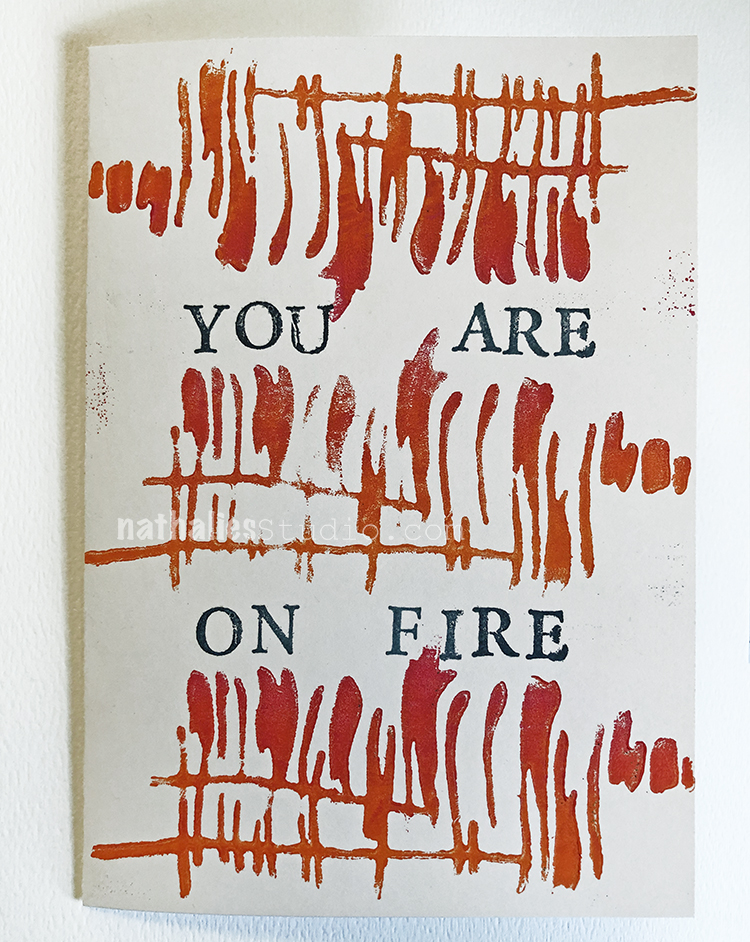
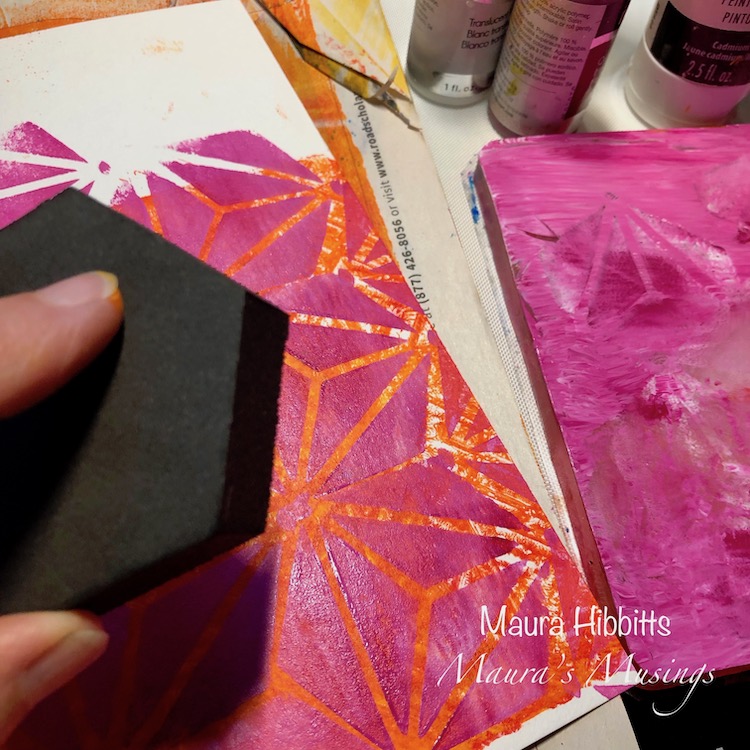
Gel Plate – I find myself frequently reaching for the gel plate when I am working on projects. Not only do I like to use it to create my own prints and papers, but it also makes a great surface to stamp into as well as pick up paint on a stamp. Nathalie’s Art Foamies work really well with this technique.


Thank you Maura! I hope you all enjoyed hearing a bit more about what inspires Maura as an artist. Stay tuned for the next Currently Digging Creative Squad edition for more from our other members :)

Leave a comment

Dina Wakley Pouring Medium – Ranger Challenge 2019

It was fun being invited by the peeps at Ranger to participate in the 2019 Ranger Designer Challenge with the focus on Dina Wakley Pouring Medium. The pieces are yearly displayed at Creativation former CHA -a big Craft and Hobby Trade Show happening every January.

I have played with pouring medium before and it was especially fun to play with Dina’s Cell Creator.

Here is my piece for the challenge


It was really fun to play with Dina’s products – even though it was a bit out of my box as it is so different from what I usually do and use. But hey- it is called challenge for a reason ;)

It was also fun to spy the piece here and there on social media since I didn’t go to the Show this time

Here are the supplies I used:


Leave a comment

Today We Smile – Tania Ahmed


Hello again from the Creative Squad! Today we have a video from Tania Ahmed who is rocking some distress inks and embossing with my Maiko and Running rubber stamps. The theme this month is: Today We Smile – They say smiling can lift our mood and maybe improve our overall health. Let’s try it! Think about what makes you smile and share it with all of us. After all, smiles are also known to be contagious :)


This month’s theme for the Creative Squad was Today we Smile and boy oh boy did I smile while making this card using the Maiko stamp set :)

I have made a video on how I made the card using lots of techniques with Distress Oxides, embossing powder and colour pencils.

I used a lot of things that make me really happy: stamping, heat embossing, ink blending, gold, and watercolouring! I hope you enjoy the video and please do let me know if you have any questions about any of the techniques or products used.

Step1: Stamp with Running Stamp and Heat Emboss cardstock panel with Gold Embossing Powder using an embossing ink pad.

Step2: Apply Distress Oxide to heat embossed background with blending brush.

Step 3: Stamp and colour in Maiko stamp using Distress Oxides as watercolours. Add details and shading with colour pencils.

Step4: Cut out Maiko image.

Step5: Assemble all elements together and add to top folding card base using foam tape.

Step6: Add sentiment sticker to finish.

Thank you so much for watching and taking a peek here on Nat’s Blog. Take care and see you all next month :)


Thank you Tania! What a gorgeous card!!! You can find my Rubber Stamps in my Online Shop and here are some of the other supplies that Tania used:


Feel inspired? Working on something yourself that you’d like to share?  I love to see how you interpret our monthly themes. Email me how you used my stencils and stamps with the theme and email me an image – I would love to share your projects in my next  “n*Spiration From Around the Globe“.

Leave a comment

The Stencilfied Journal – Prompt 6

My wonderful friend Tina Walker is at it again – she invited several people to join her Stencilfied Prompts. The prompts are music related and each week she is posting a song. You can be inspired by the lyrics, the video, the album cover or anything related and the only restriction is that you have to use StencilGirl Product Stencils. Here is my take on Prompt 6:

This week’s prompt was Alanis Morissette – Thank You. That one was tough – neither do I like the song- LOL- nor did the lyrics really do it for me- but I found a small part of the lyrics and I pulled them out :)

I used my Santa Fe Stencil on top of a really messed up background. I sprayed in white over the Stencil and I love how it made the otherwise already dull looking colors pop again.

I love how crisp the spray painted stencils sets off the textured grungy background.

Here are some of the supplies I used for this spread


Leave a comment

A Look Back – Cool Stuff You May Have Missed 02

A Look Back – a blog series to show you some projects and posts that you may have missed – sometimes going WAY back in the archive. I think it will be fun to revisit a few ideas that we haven’t seen for a while. I’m excited to see how a little look back might inspire something new in the future :)

This time I’m going to show posts and projects using one of my favorite tools – bamboo sketching pens. I love to use them to add marks and writing to my pages and they usually help me loosen up too. Here is A Look Back at some ideas. Enjoy!


Let’s start with the essentials :) Yes the bamboo sketching pen is right there (number 6), front and center, in my Art on the Go Kit. This is the stuff I travel with so that I can create whenever and wherever the mood strikes me. Check it out.

How about some sketching with the bamboo pen on deli paper and then collaging it into your art journal? You can see the full spread here. I also used my Amsterdam stencil for the subtle background pattern and my Grove Street foam stamp for the circles.

Here’s a blast from the past – 2015 to be exact. And I used the bamboo sketching pen for some lettering in a scrapbook page. I also added some cool patterns to the circles in the page using my Marks stamp set – still have a couple of those left in the online shop where they are super on sale ;) Check out the entire page here and you can even catch a video of me talking about my products in that post!

In this art journal page I used the bamboo sketching pen for sgraffito – scratching into the paint in the background. And then I used it to draw with acrylic ink around the figure. See the original post from 2015 here.

And Finally, I like to use the pens also just to draw – as I have done here with the two women. It is a loose way to draw and a lot of fun. Here is the original spread. I used my Central Ave,  Broadway, and Grove street foam stamps for the circles in the background and my Downtown foam stamps for the patterns at the bottom.


I hope you enjoyed A Look Back through my archive and maybe you are inspired to try some of the bamboo sketching pen techniques I shared.

Here are some of the supplies that were used in these pieces:


Leave a comment

Be Bad – Art Journal

Ha- lol – I am not sure if I like this or if I feel slightly pushed into a psychedelic 60s comic – but I sure had fun playing ;)

I loved mixing up a hand cut stencil, my hand carved rubber stamp and my new Groovy Foam Stamp. I used spray paint with the stencil, an ink pad for the rubber stamp and acrylic paint with the Groovy Stamp.

Once all was dried brushed on yellow acrylic ink over the whole spread – and there you go …you feel like you landed in a 60s Bugs Bunny comic LOL.

Here are some of the supplies I used


Leave a comment