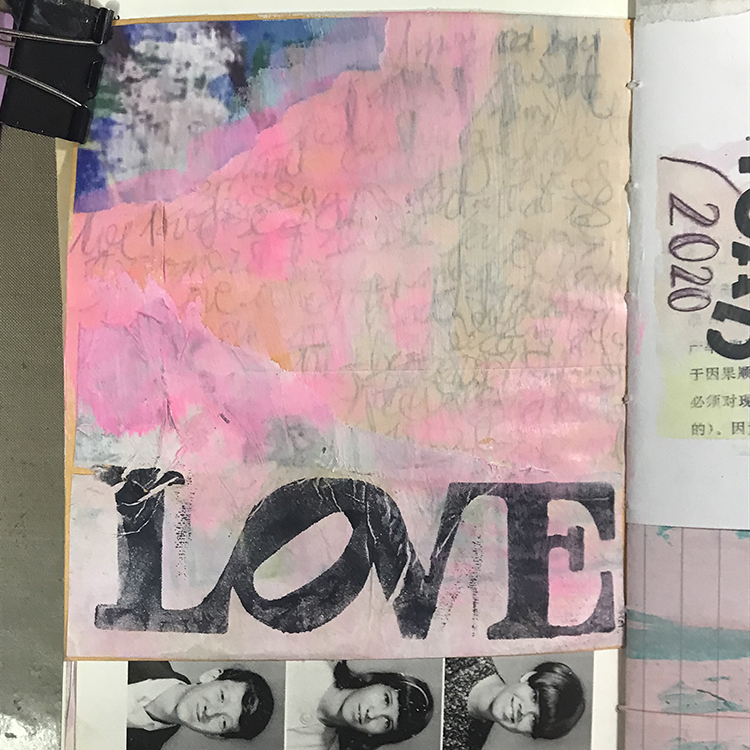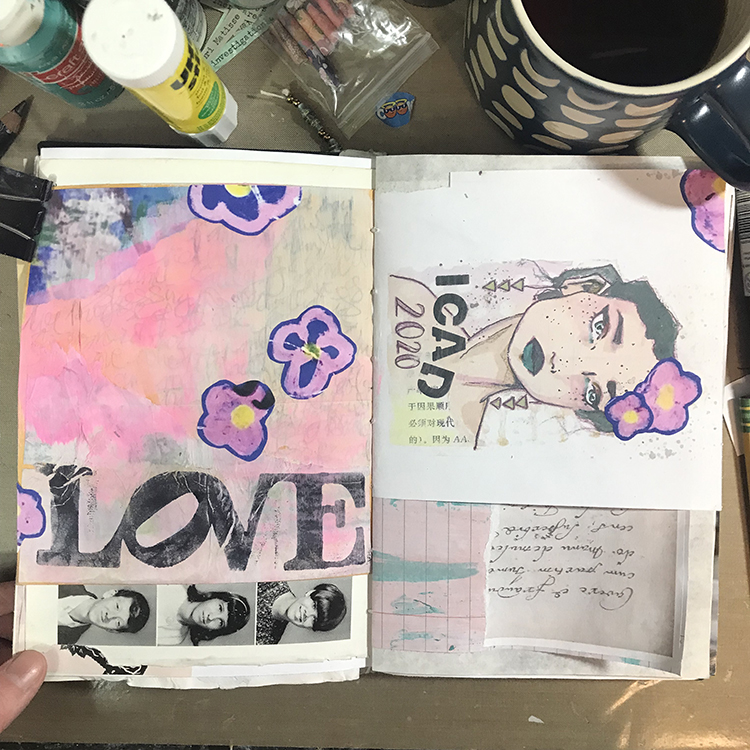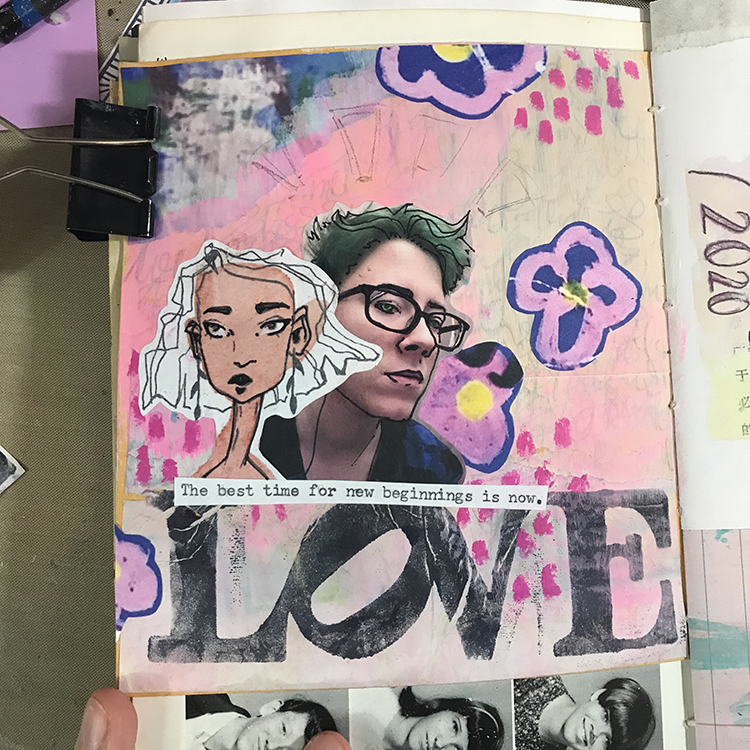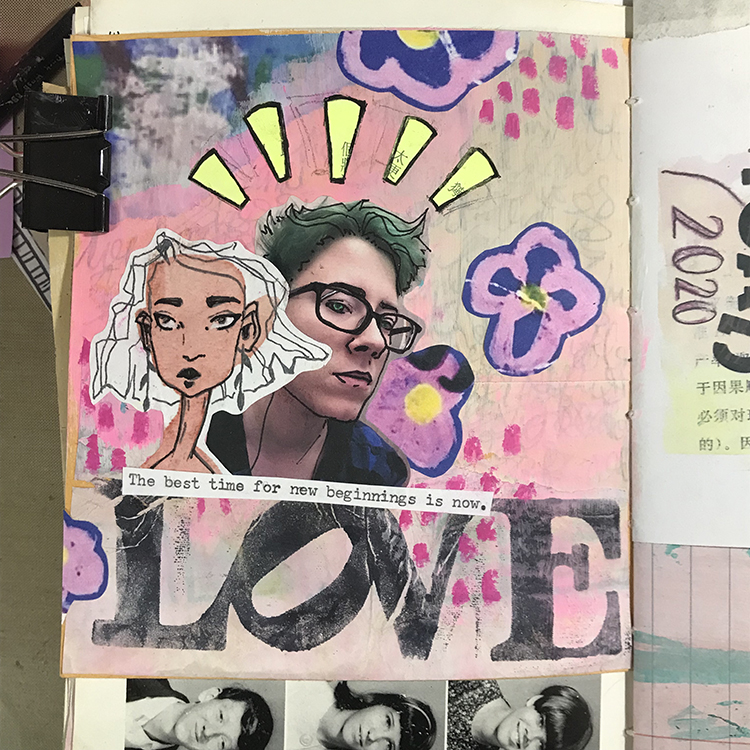
LOVE Cards from my Creative Squad

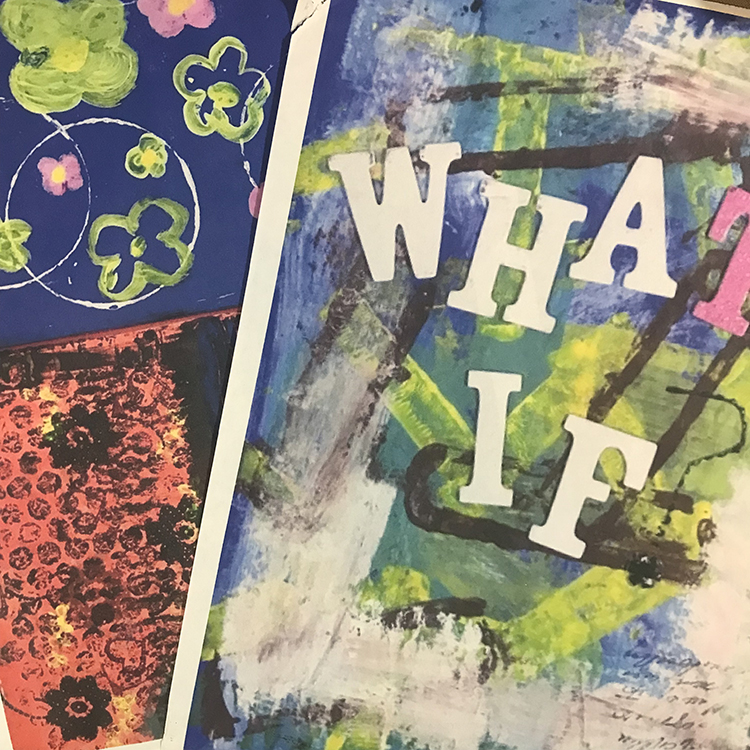
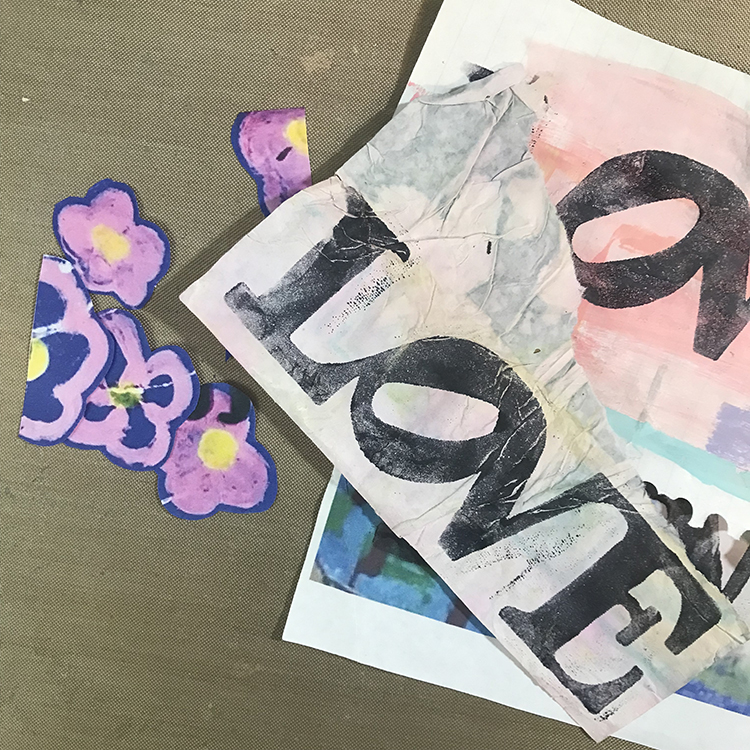
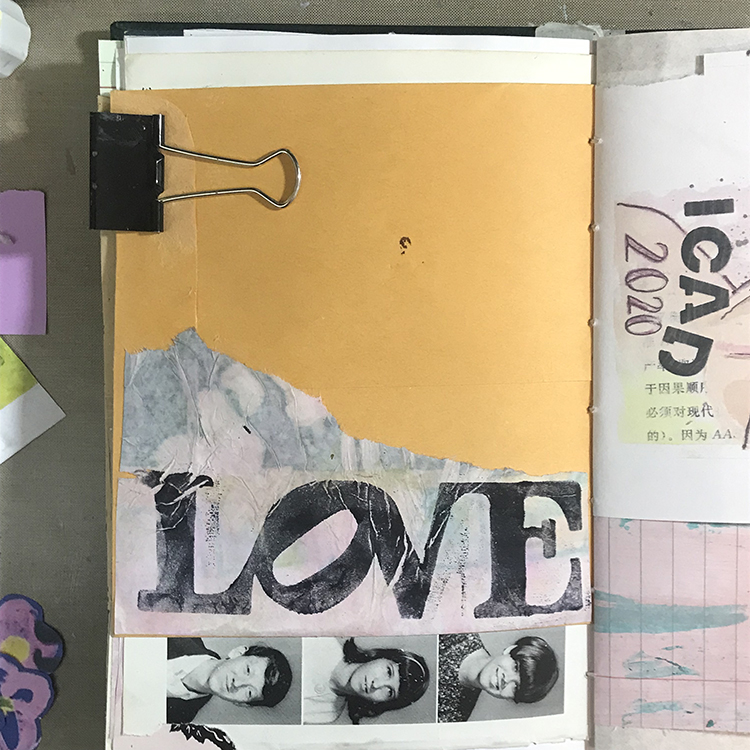
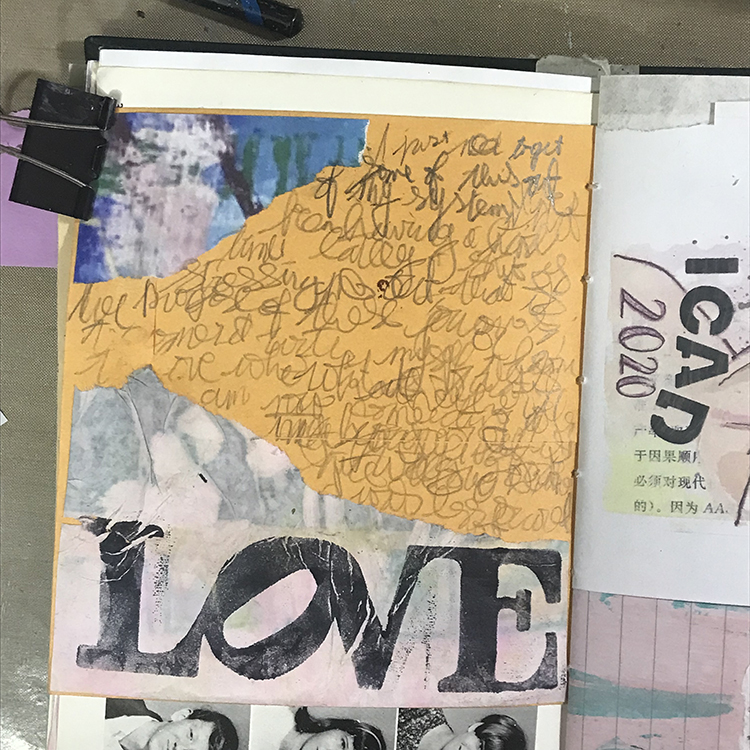
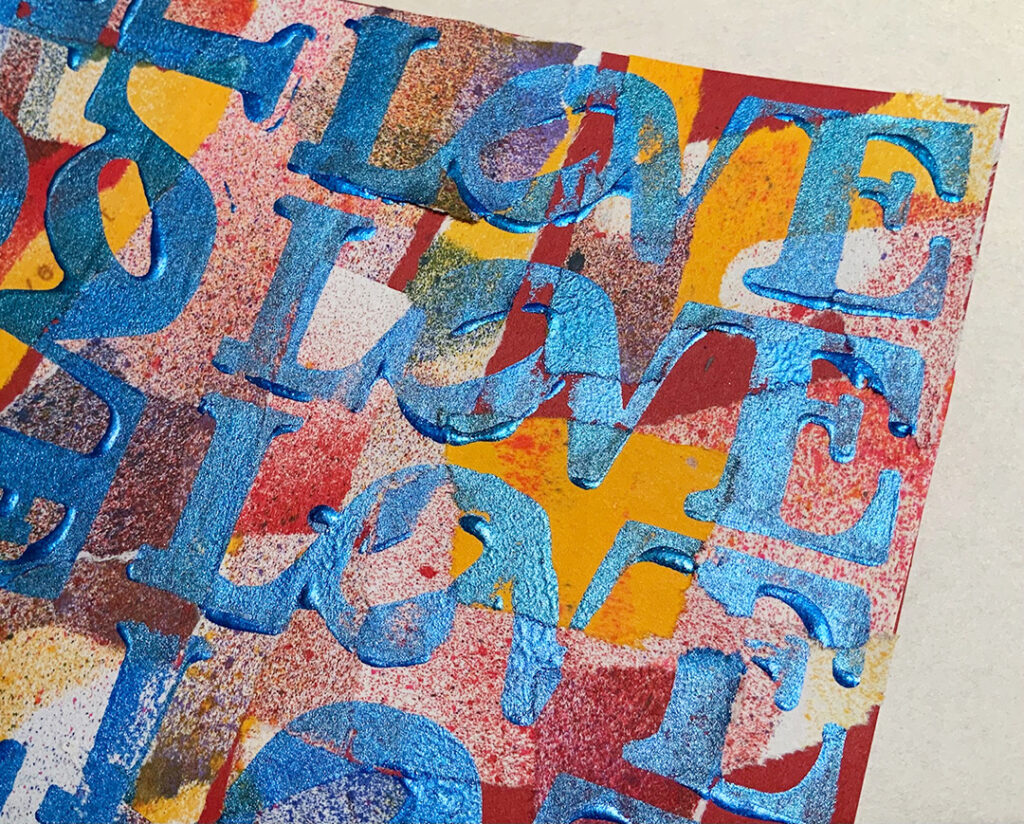
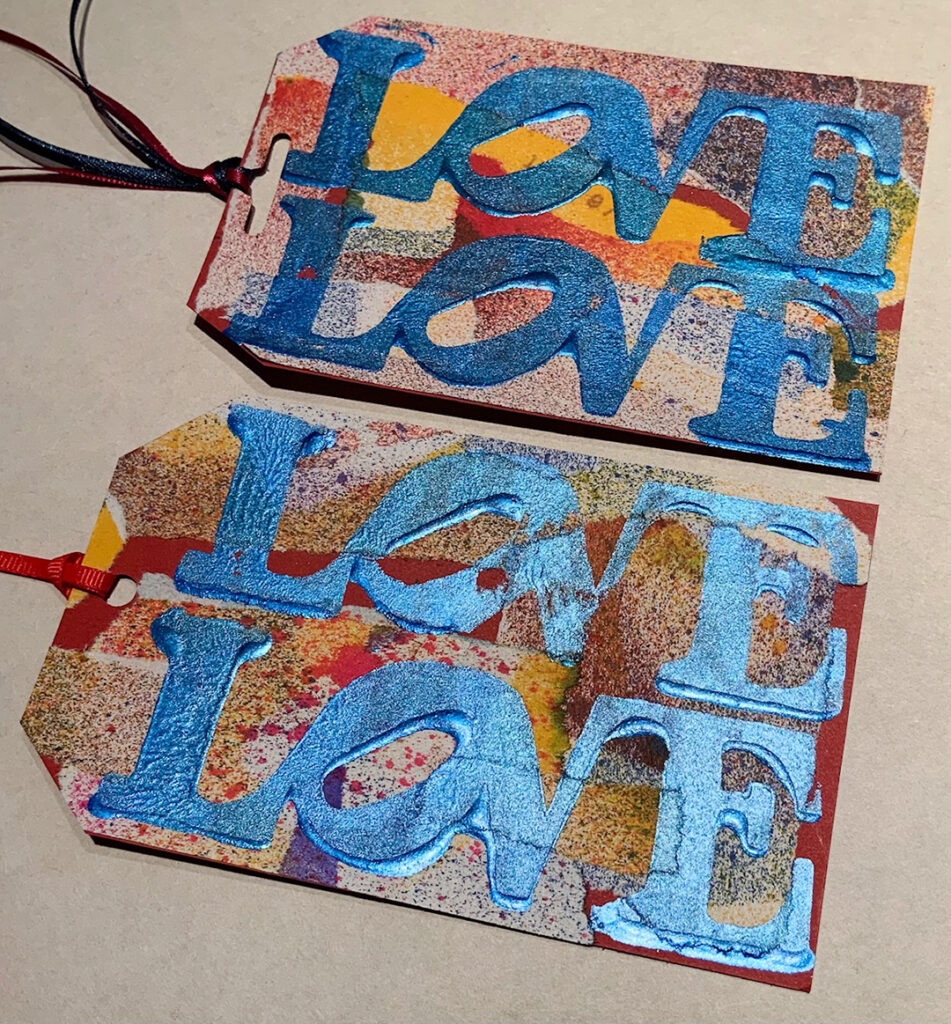
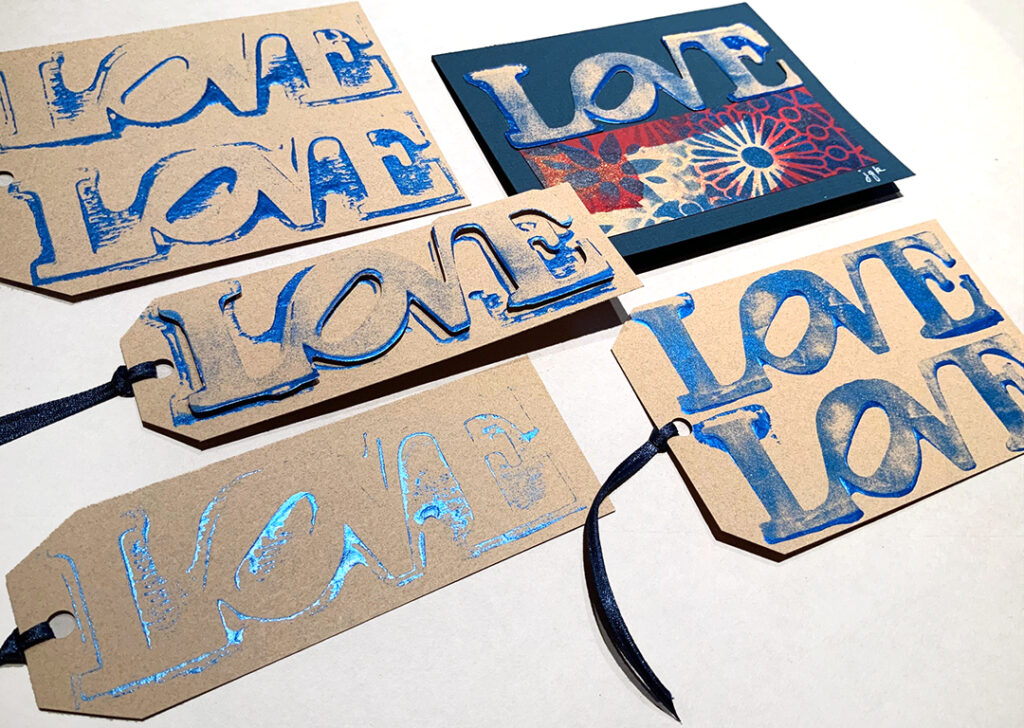
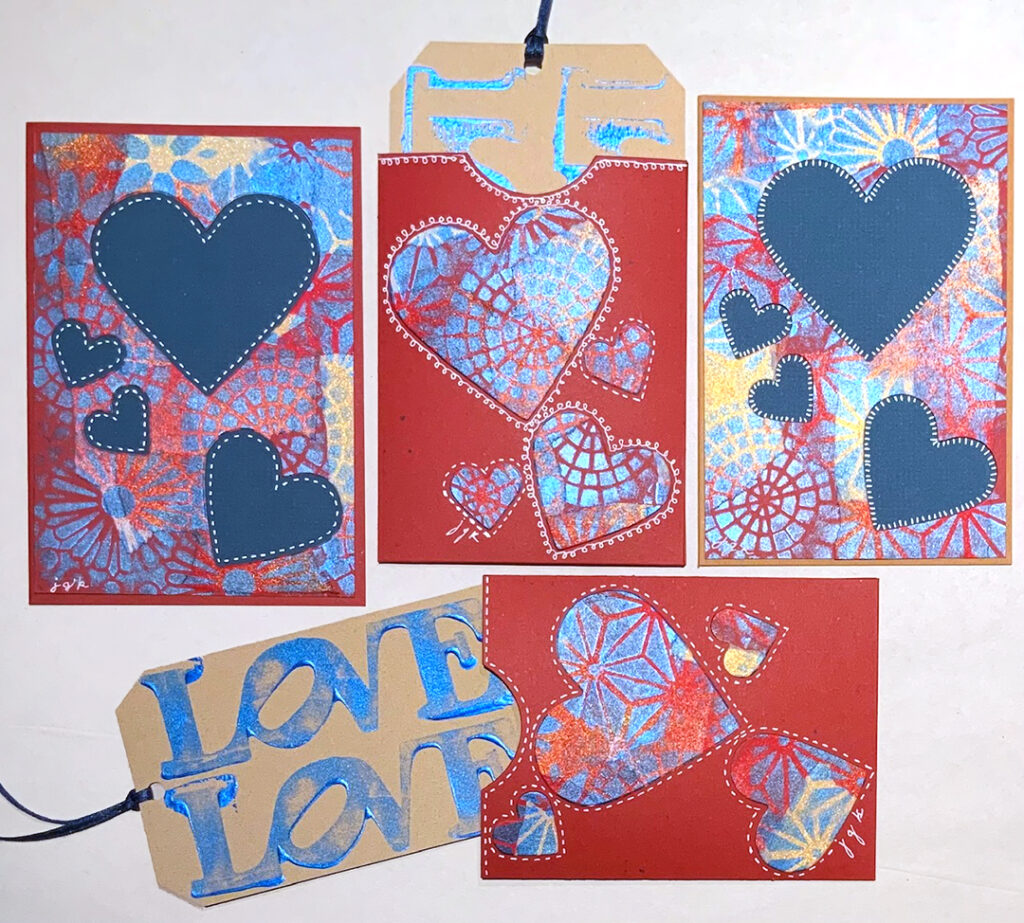
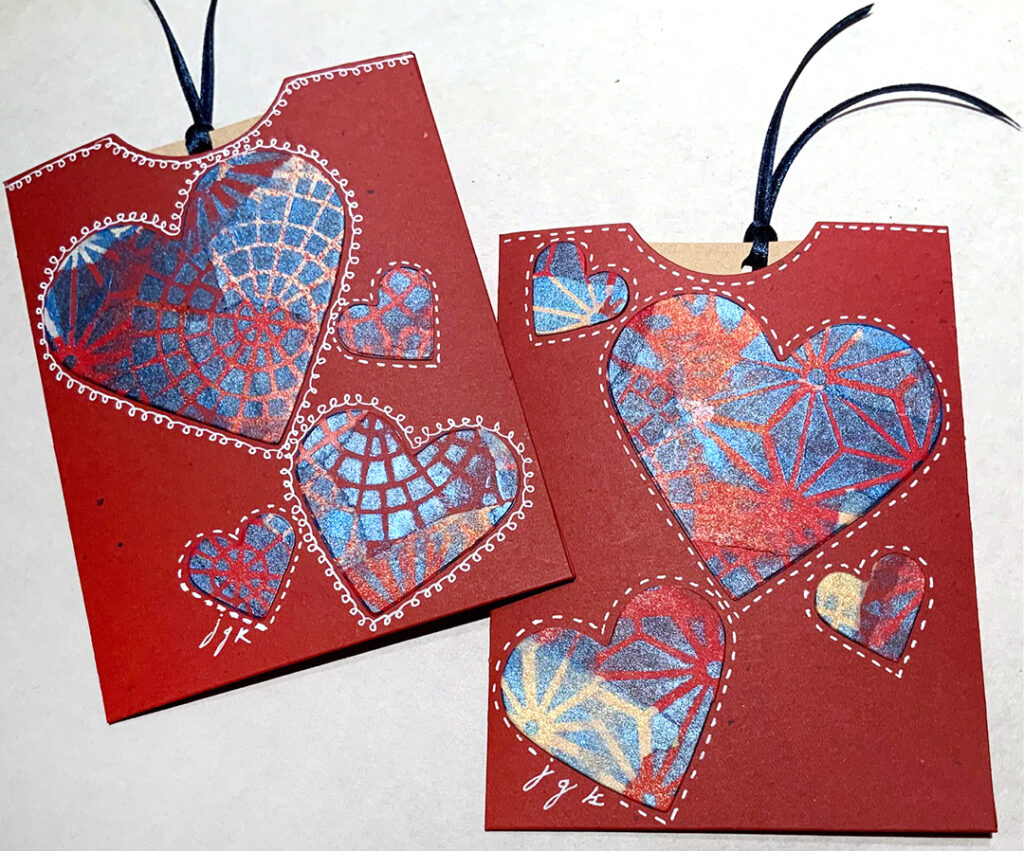
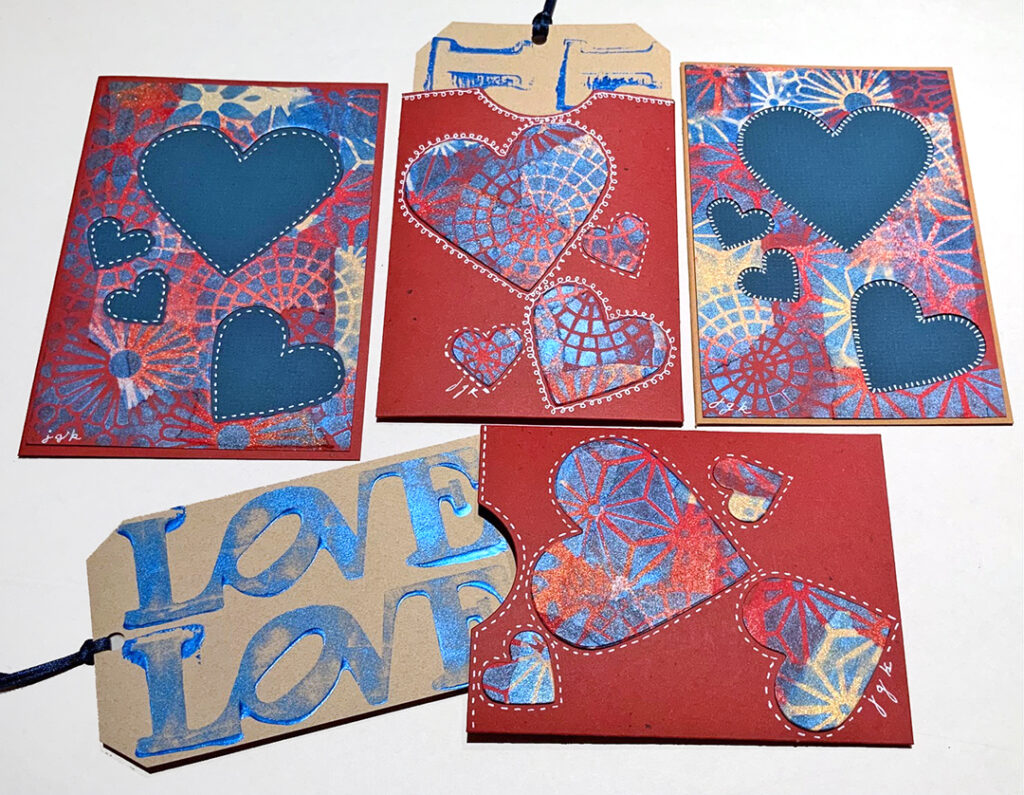
Today we have card making inspiration (Valentine’s Day is coming up….) from Creative Squad member Judi Kauffman who is using my LOVE foam stamp and some collaged paper bits to create cards and fun sleeved tags too. Check it out:


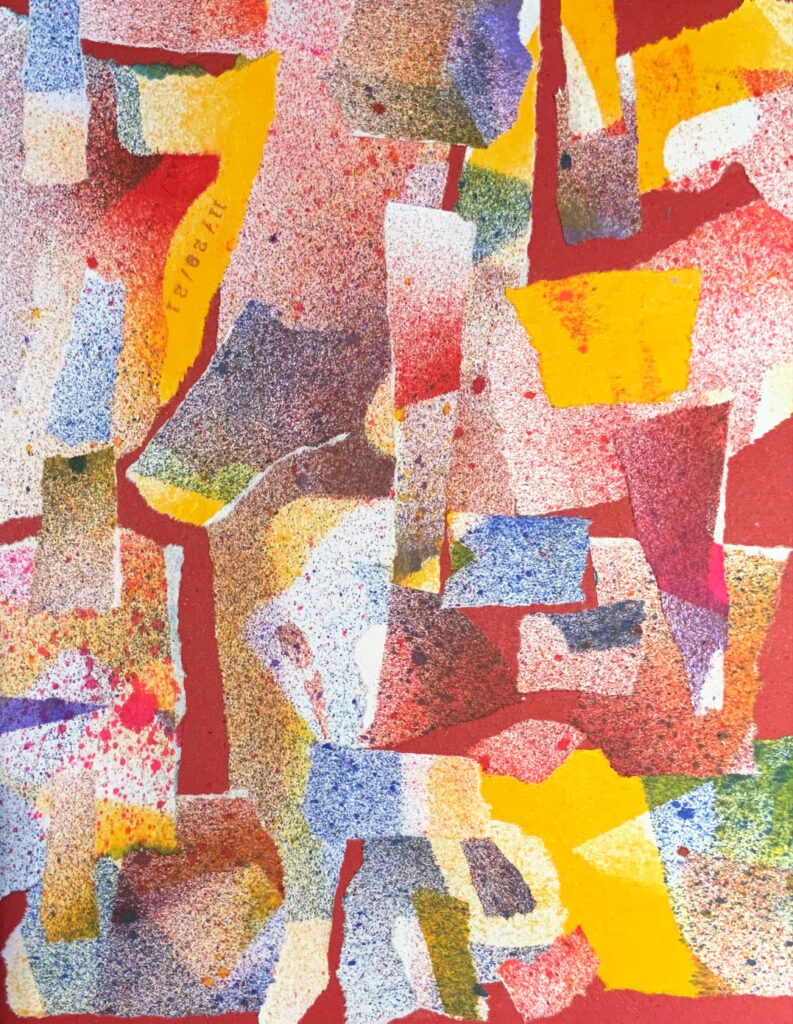
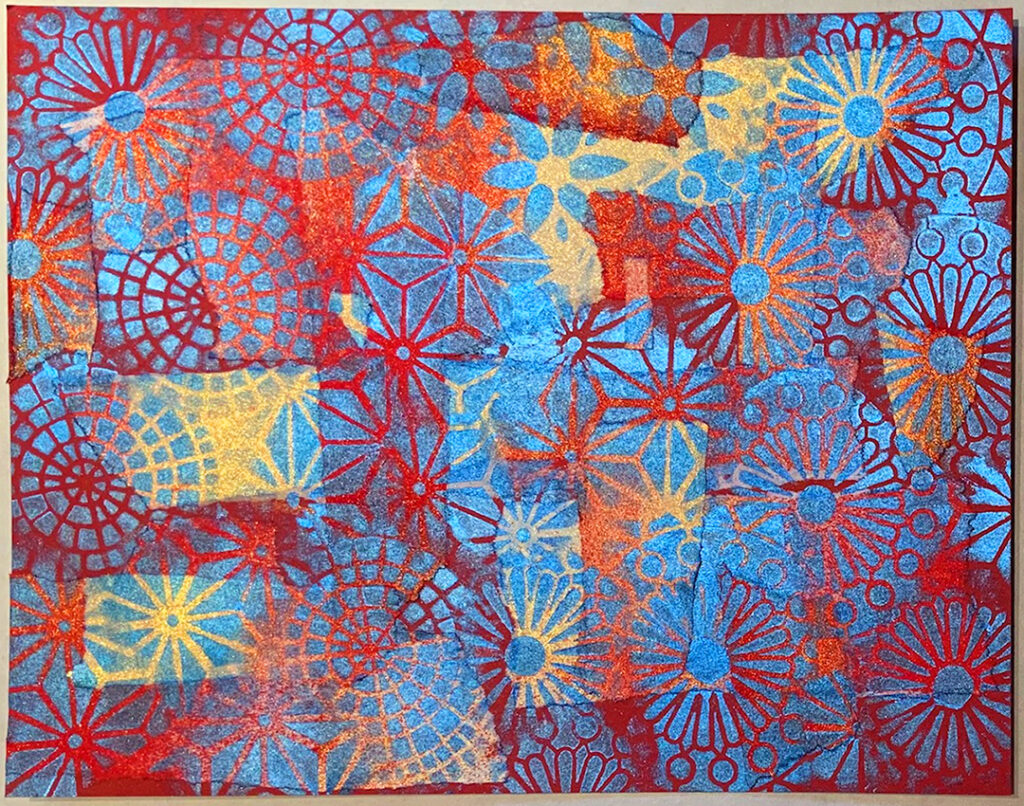
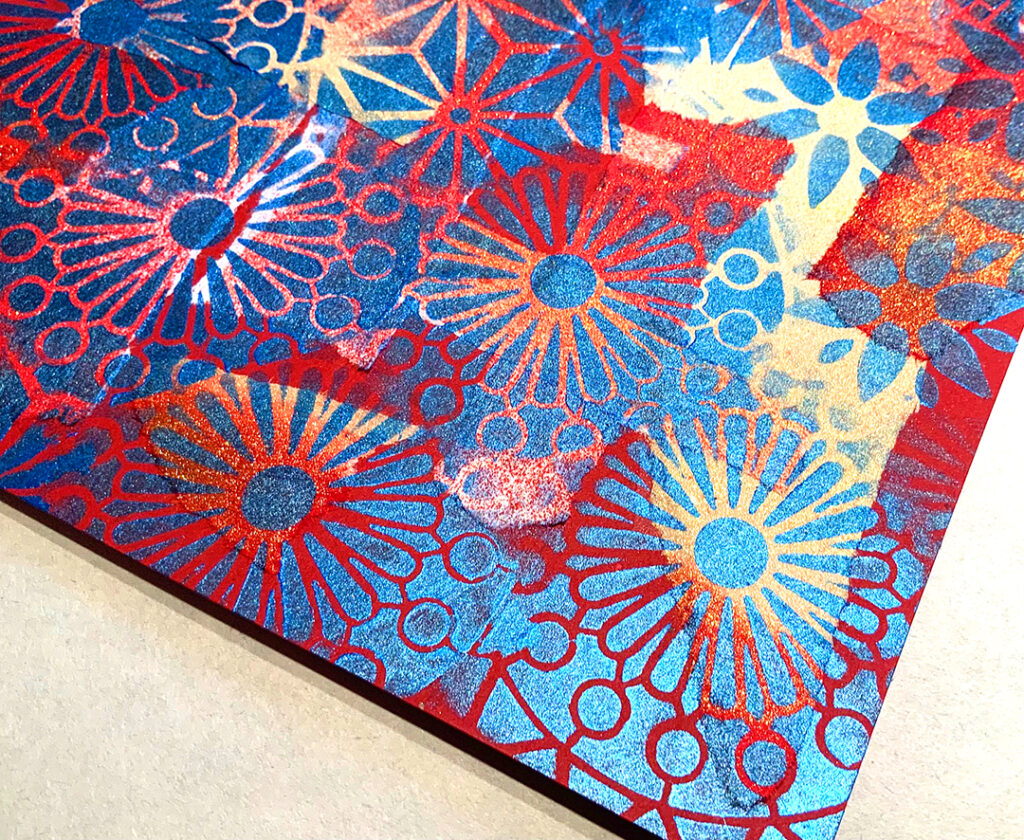
I glued torn paper leftover from doing some spray painting onto 8.5×11 red cardstock…

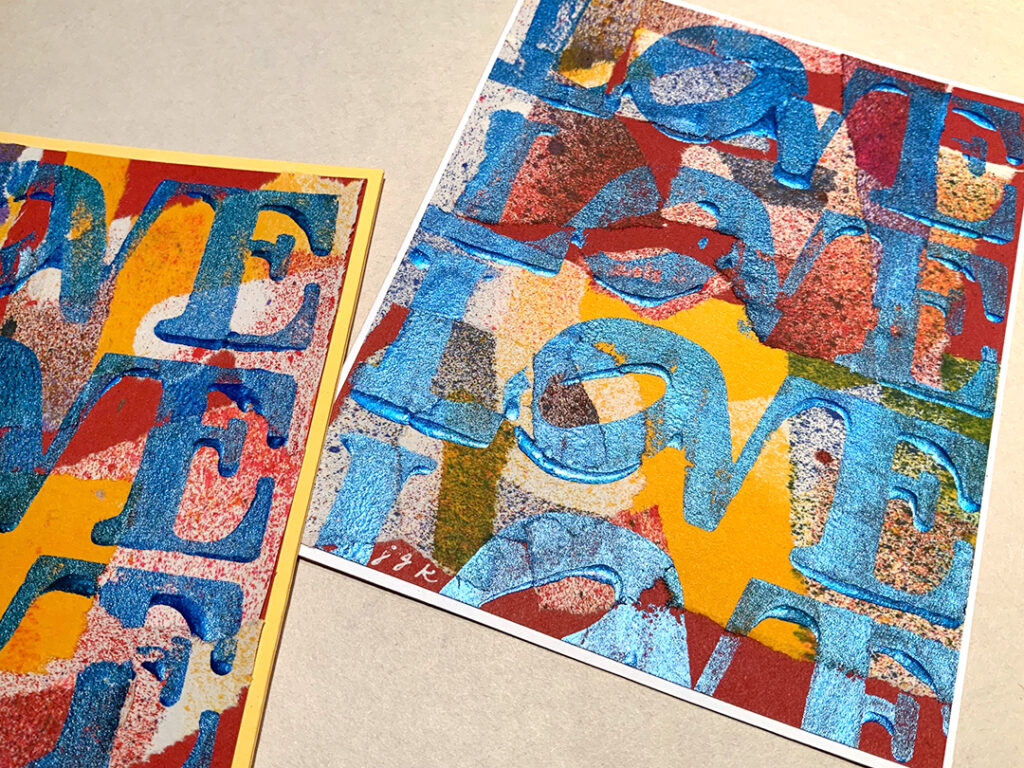
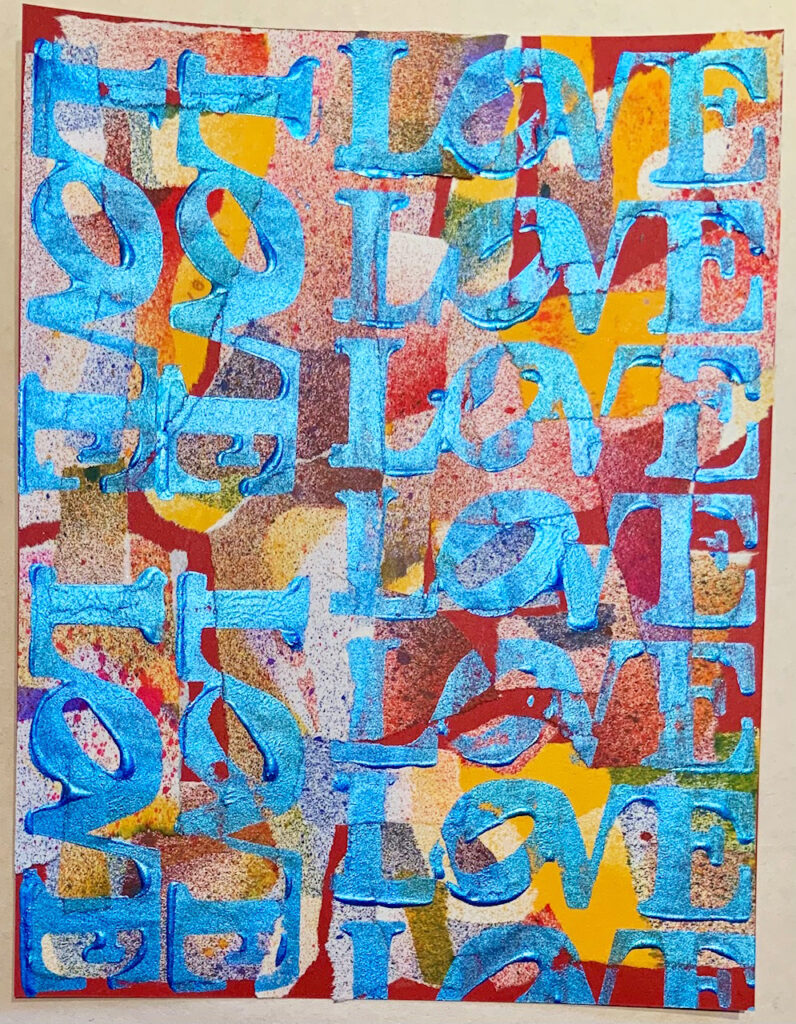
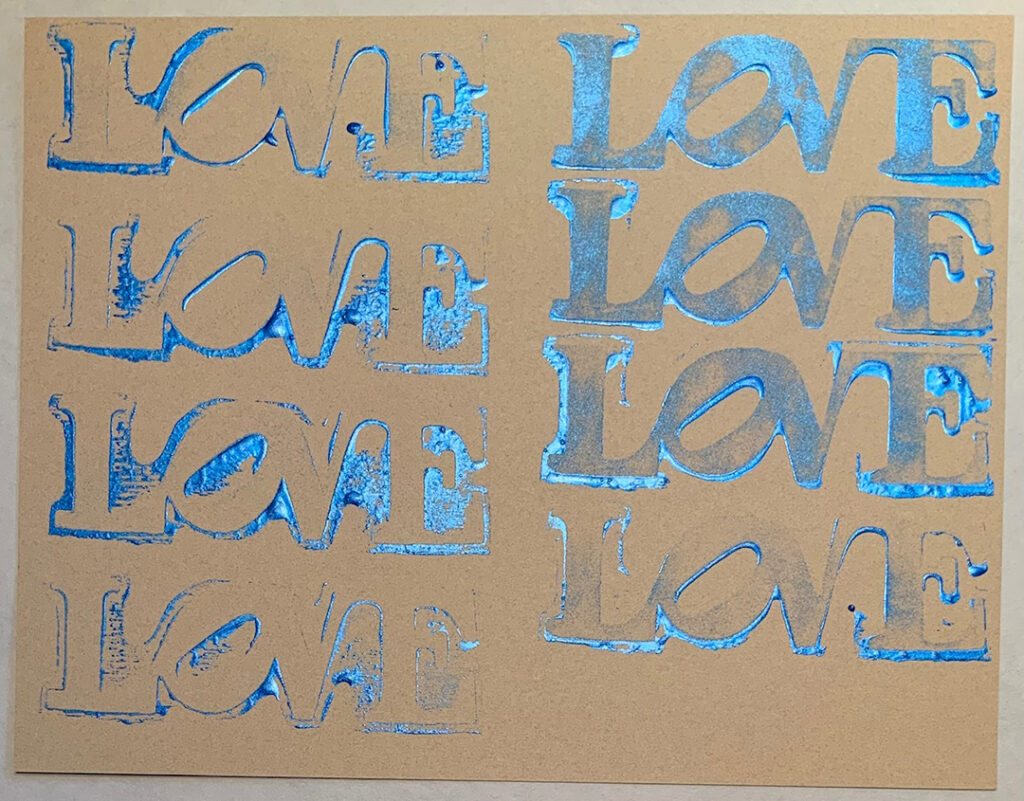
…then I stamped onto one of the sheets with the same metallic blue acrylic paint that I used on the envelopes (seen here).

I intentionally brushed the LOVE stamp with a thick layer of paint instead of using a brayer so I’d get nice thick shadowy textured edges on the letters. I used the tail end of that paint from the stamp on tan cardstock before washing the stamp.

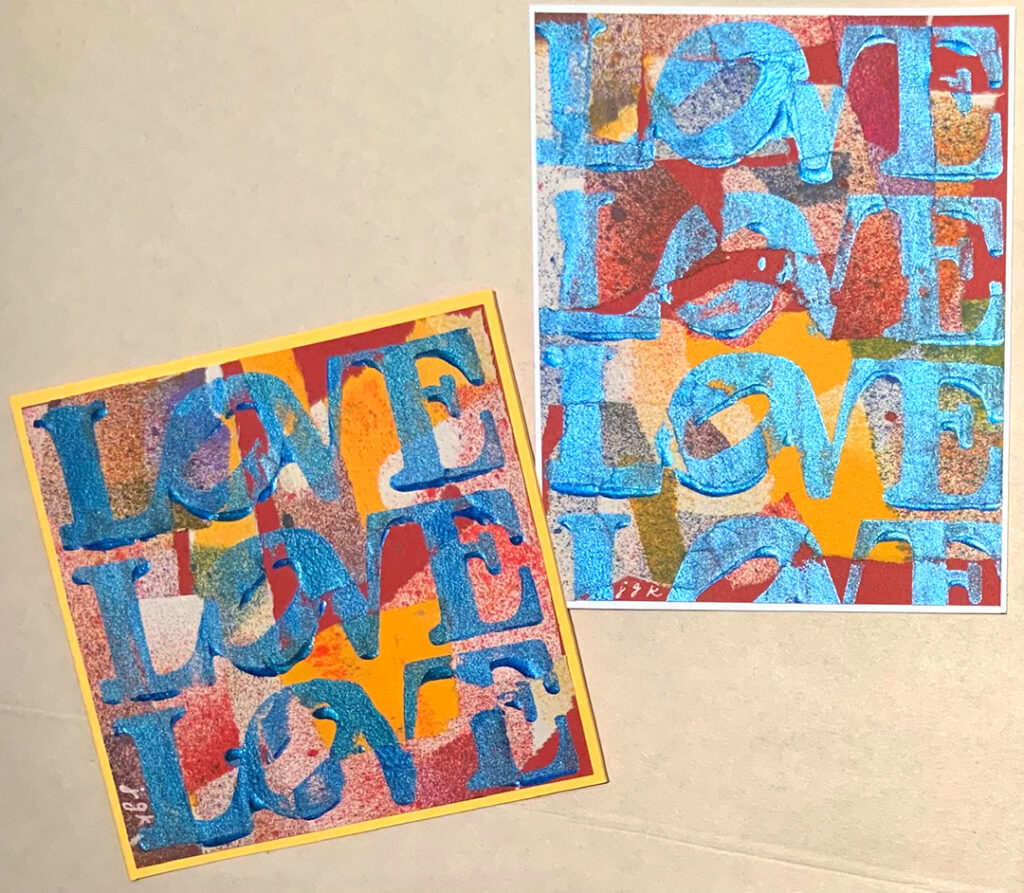
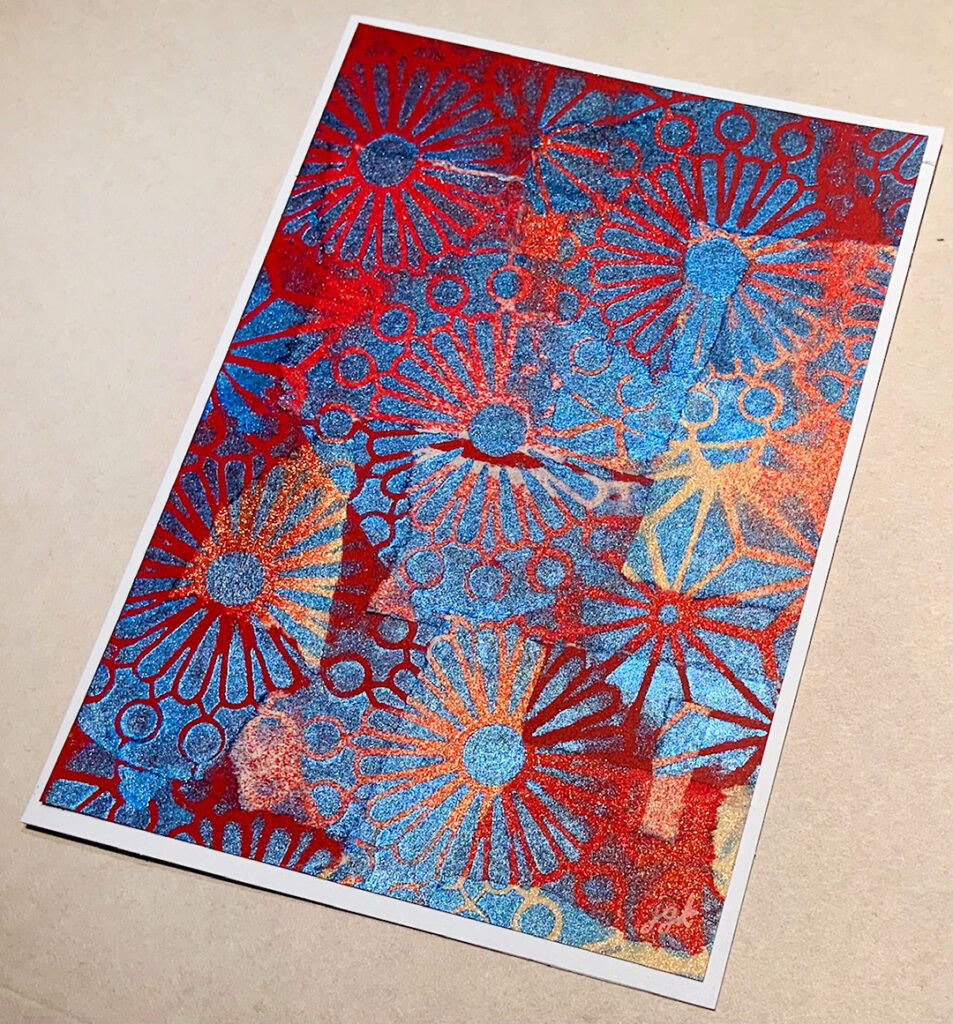
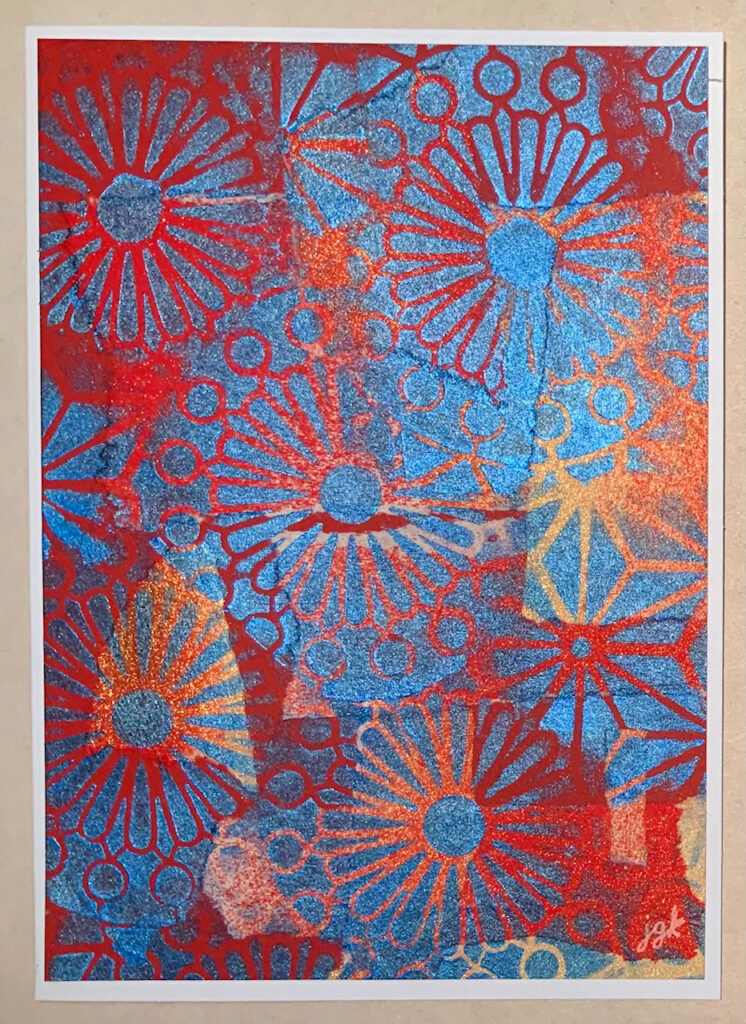
Here is what I made with the cardstock:


Thanks for sharing Judi! I hope that gives our readers some nice ideas for Valentine’s Day wishes or just everyday reminders of LOVE.

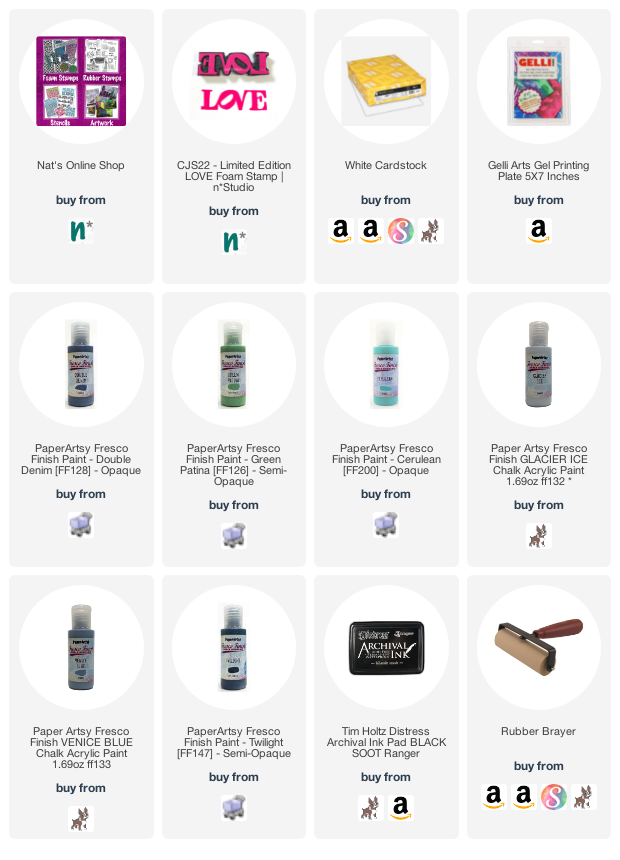
Give it a try: you can find all my Foam Stamps in my Online Shop and here are some of the supplies Judi used:

Comments (1)

  • Jean Marmo

    |

    Hi Judi, these are so colorful and fun. Love that LOVE stamp..

    Reply

Leave a comment

Stroll Through the Hood – January 2022

Strolls through my hood get me out of my studio, they help me get unstuck and often I get inspired by what I see and get new ideas to create something. It is part of my philosophy about Artful Adventures in Mixed Media – which is the subject of my book. Here are some photos that I gathered in the last couple weeks.

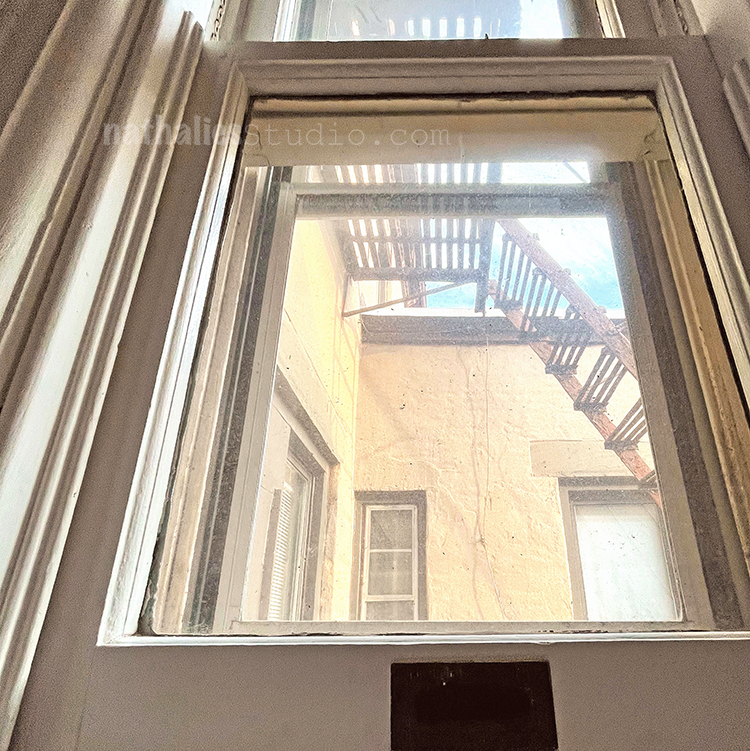
I love a good fire escape view :) This one is actually from our new house – nothing speaks American City more to me than a fire escape…I know I know …Europeans LOL

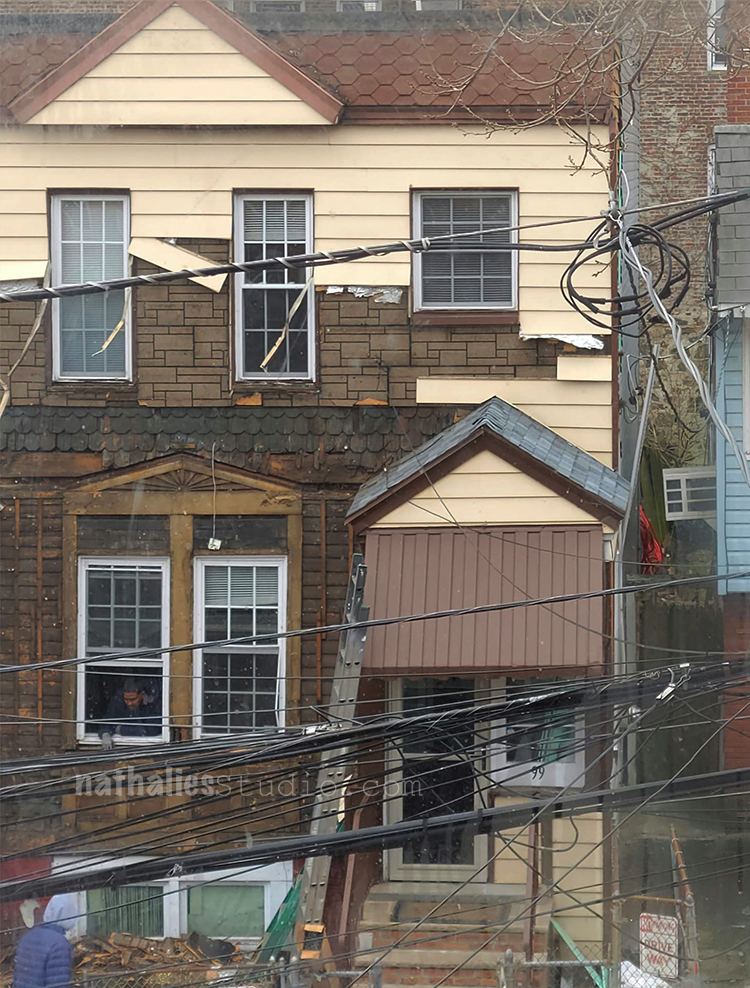
Ever wonder what is underneath those boxed in houses? When you are in our city you might be deceived as to how old this city really is …a lot of houses are from around 1890 but they just look as if they are from the 50s 60s 70s because they have siding on top. On this house which is from 1890 you can actually see several layers of siding going down to the old wood siding with shingles, you can also see the windows used to be bigger ..there is a super cute house underneath the siding …but fear not …the aluminum siding is back on … This house is just an example why I always stroll through the hood wondering how the houses look underneath that stuff.

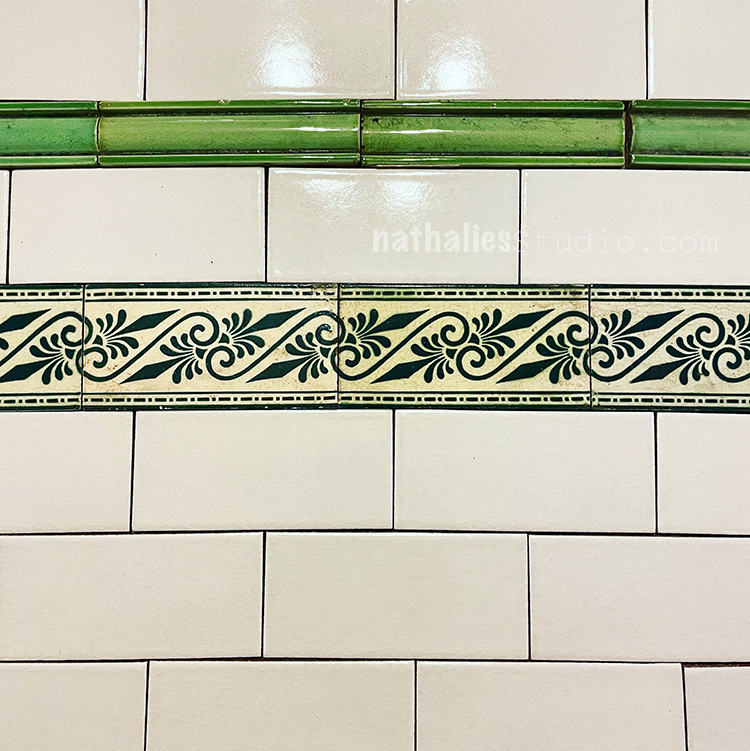
Playing around with kitchen tile – we bought some antique tiles for our new kitchen and I was playing around how to best arrange the new subway tile with the old ones. I am excited …I am in love.

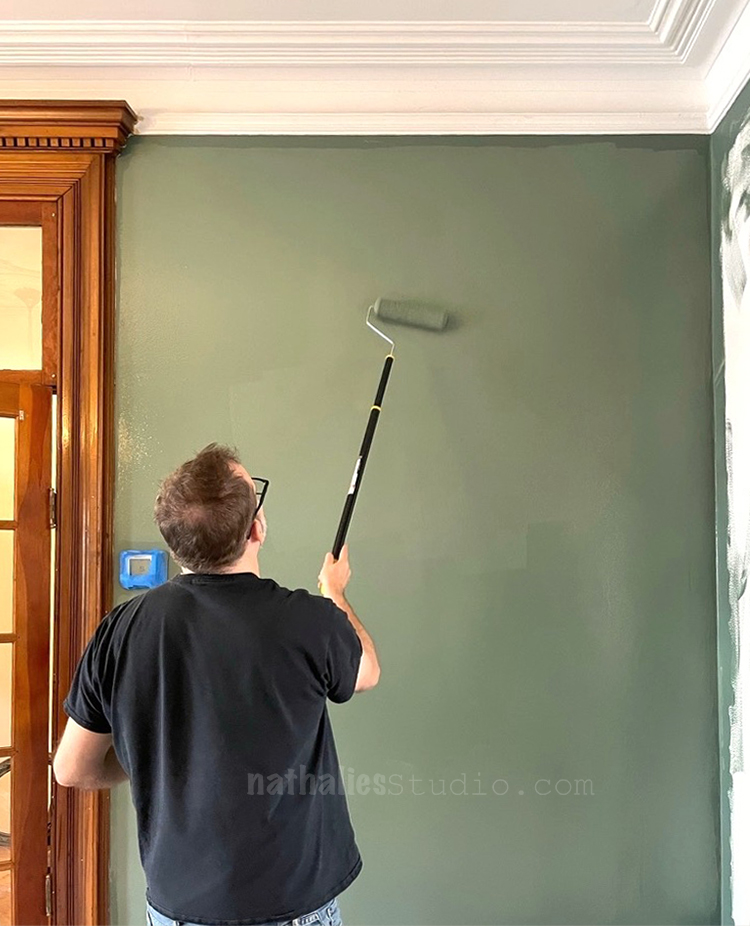
And speaking of green, well I didn’t really speak of green but here you go …this is the color of our new living room…I feel so bold hahaha. See the funny thing is that even though I am bold and colorful in my artwork and art journals, I am actually usually a kinda white wall person. Maybe because as a child I helped taking off landfills of wall paper and painting several times over colorful walls (that is what you get when you move several times to old apartments and houses). But …well…the color bug took over since we are convinced these rooms need a bold color statement. Let’s see how I feel living in it LOL- I will keep you posted.

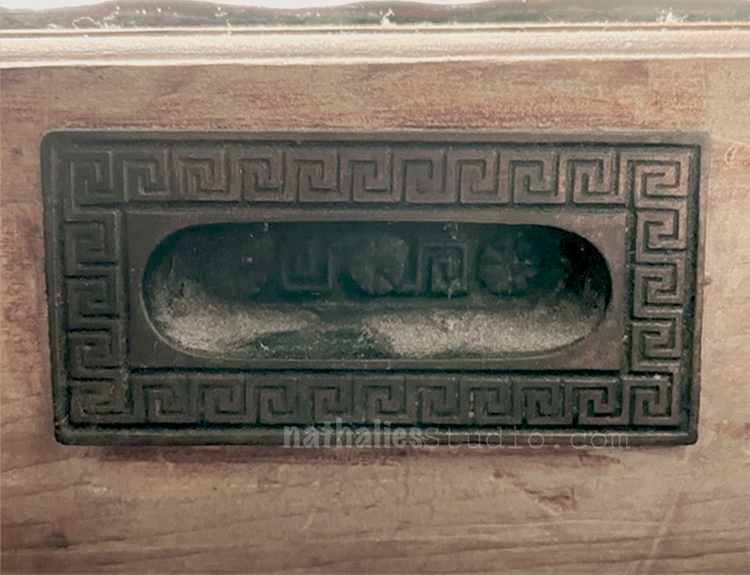
How can you not love this wonderful window handle with a greek key pattern but also some pattern inside the handle.

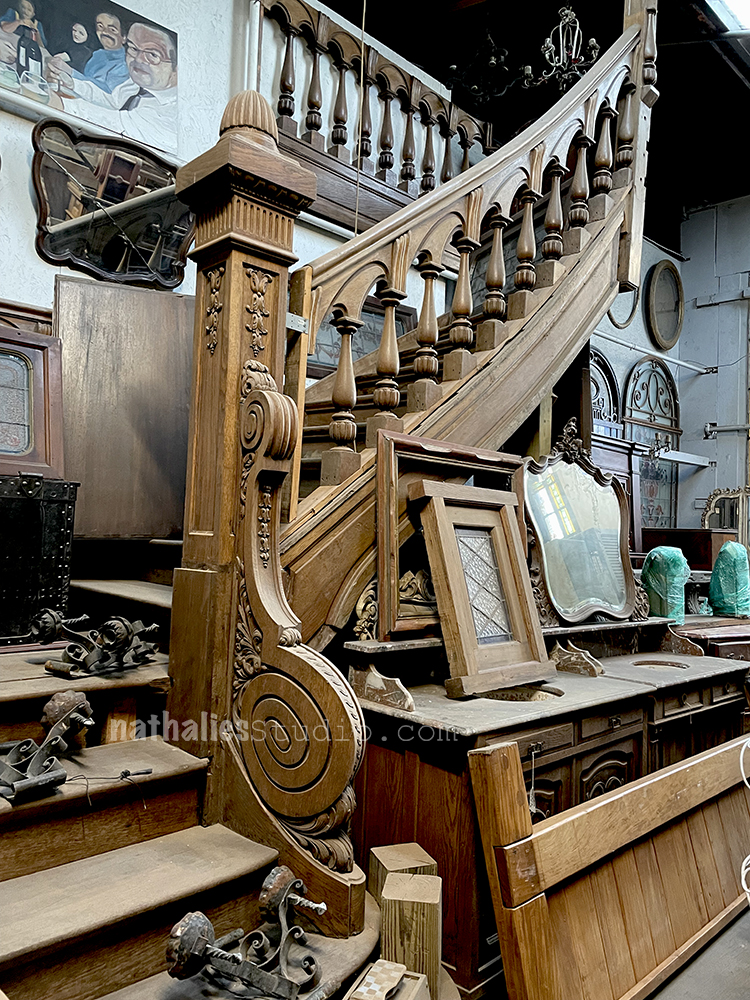
Speaking of Tiles …I am jumping around here- I love the architectural salvage place here in Jersey City- it is mostly totally out of our budget ..but we have been here several times for antique tiles and I am always in awe by the stuff they have.

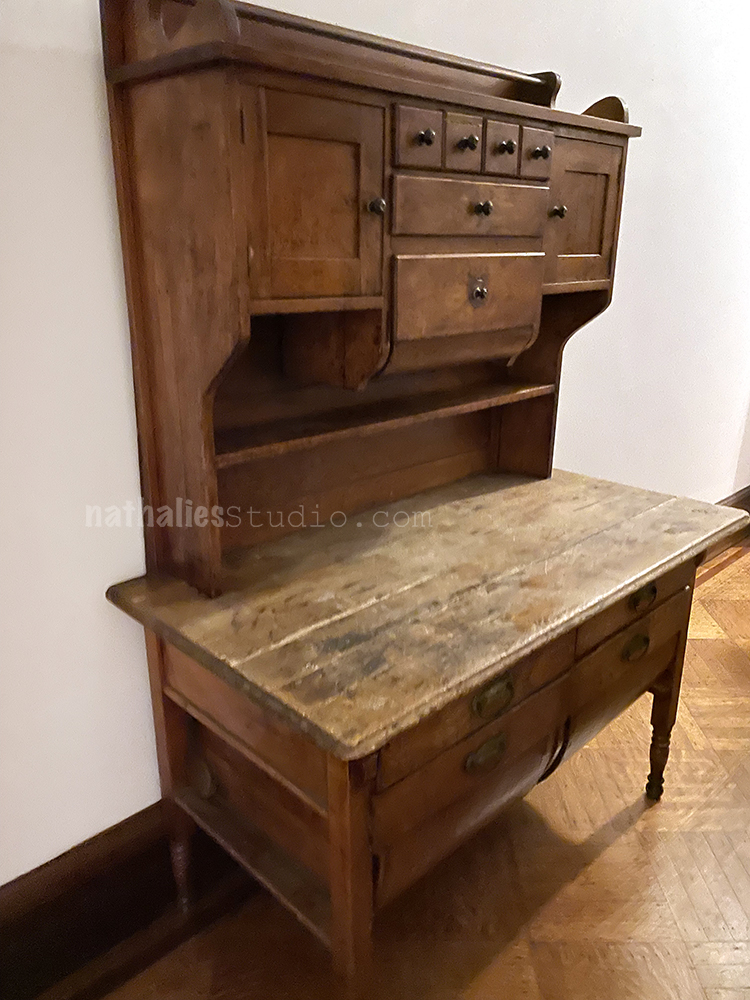
This Possum Belly Baker’s Cabinet is moving into the hood – we saw it several months ago in Pennsylvania and we decided it will will be a wonderful addition to our new kitchen. So we had a fun little road trip.

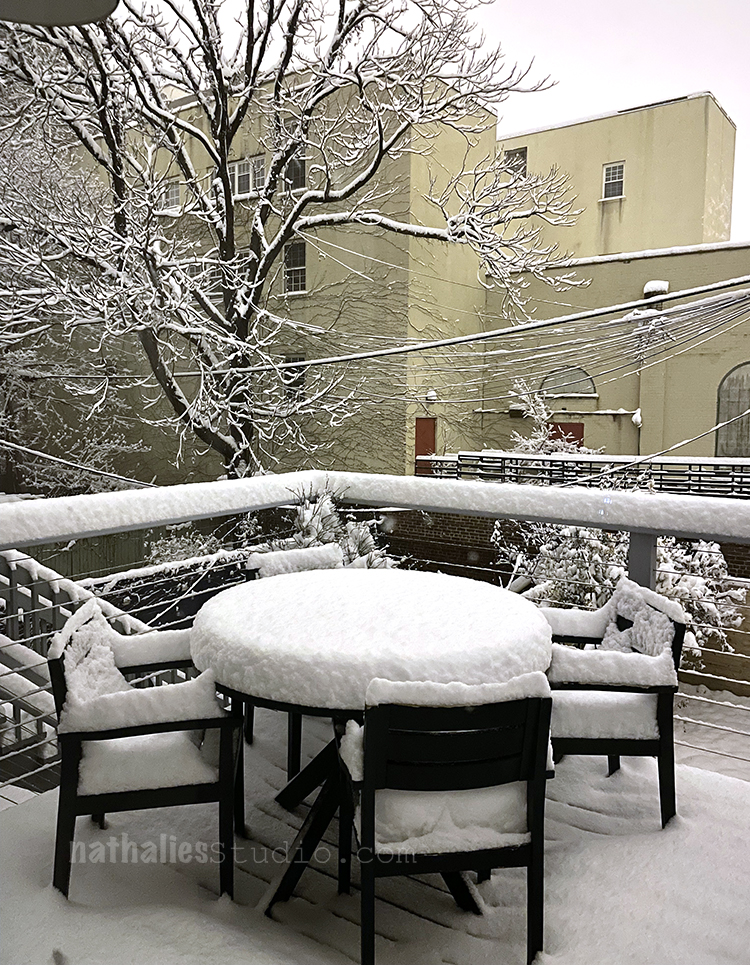
Love our current deck and the tree with snow …It wasn’t there too long …but it was pretty

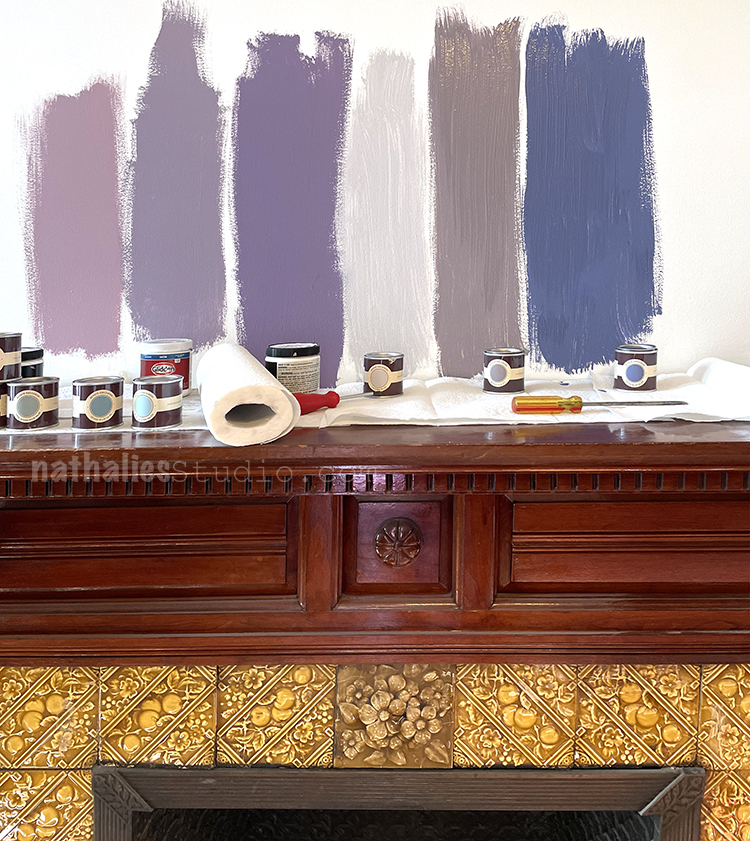
When you try to convince your husband of the color choice you already made but you humor him and yourself by putting all kinds of other colors on and then the color you really want ;) – Can you guess which one “we” picked? I will reveal next time ;)

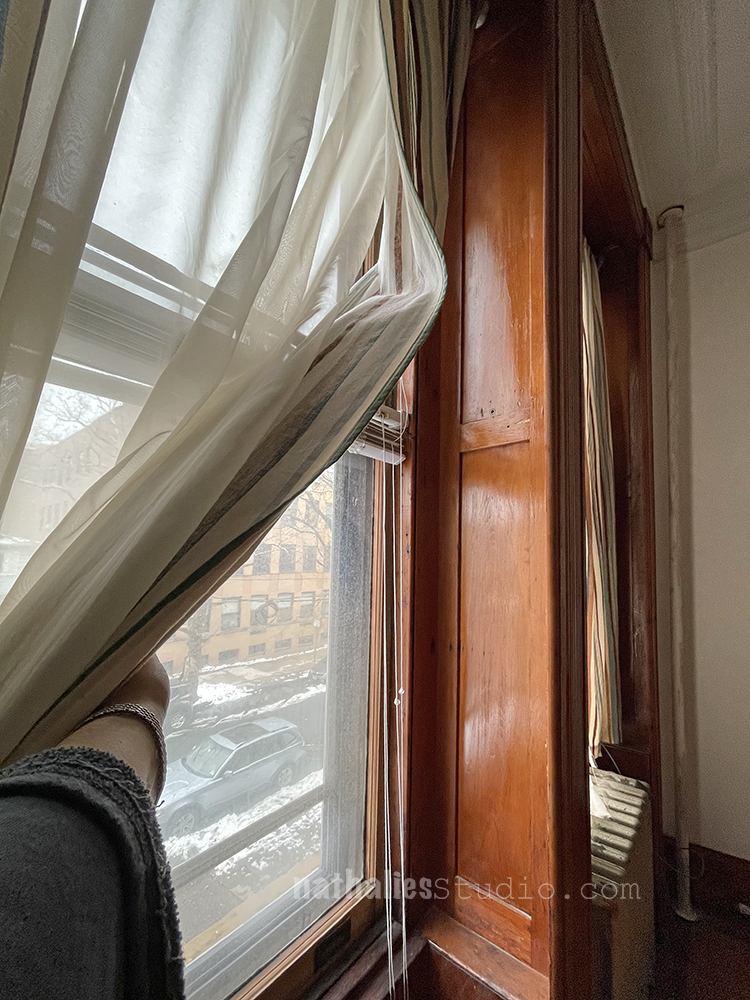
A while ago I saw a house that was restored in the neighborhood and they had wonderful wooden shutters placed inside the windows. I squealed with delight when I actually realized that this is an historic feature we used to have in our house as well …pocket shutters. To be honest I wouldn’t have put 2 and 2 together if it wasn’t for those strolls. They vanish into the pockets on the sides of the window. Ours are unfortunately gone but you can still see the holes where they were hinged on. I am inquiring about having them back as the horrible plastic blinds and the old curtain need to go (like yesterday)

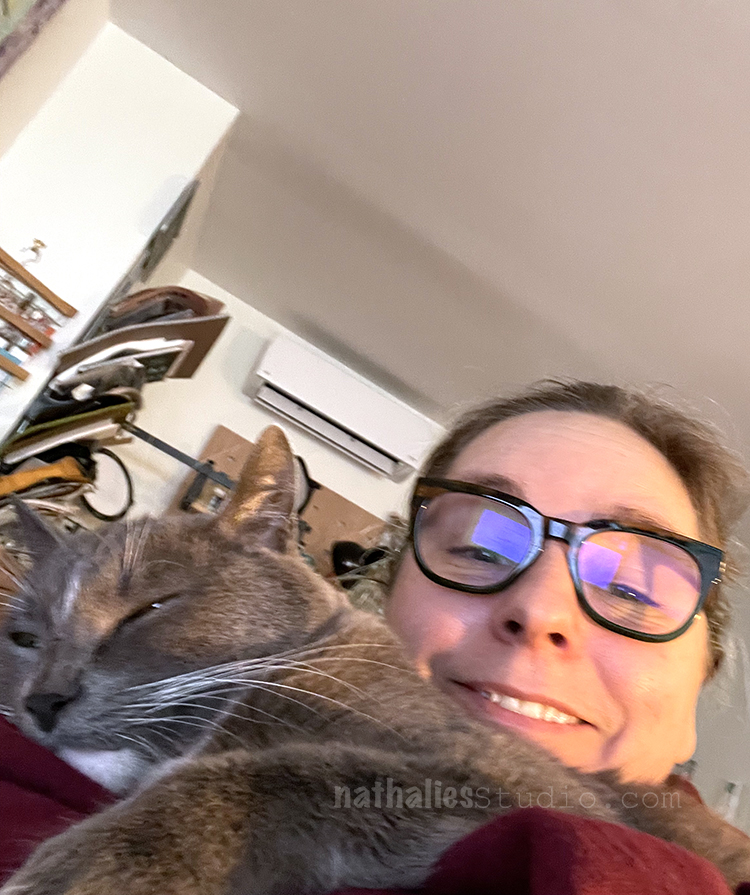
And there I leave you with a picture of Pretzel who jumps onto me when I am here and work on CJS22 – he misses having me around all day but we just have so much to do with renovating etc. right now- his cuddle time is a bit more limited when he is used to the last two years.

Comments (1)

  • Eunice Wallace

    |

    wonderful photos and the commentary pulls it all together. Thank you for sharing. Love the results of your walks.

    Reply

Leave a comment

Beautiful Feelings – Art Journal

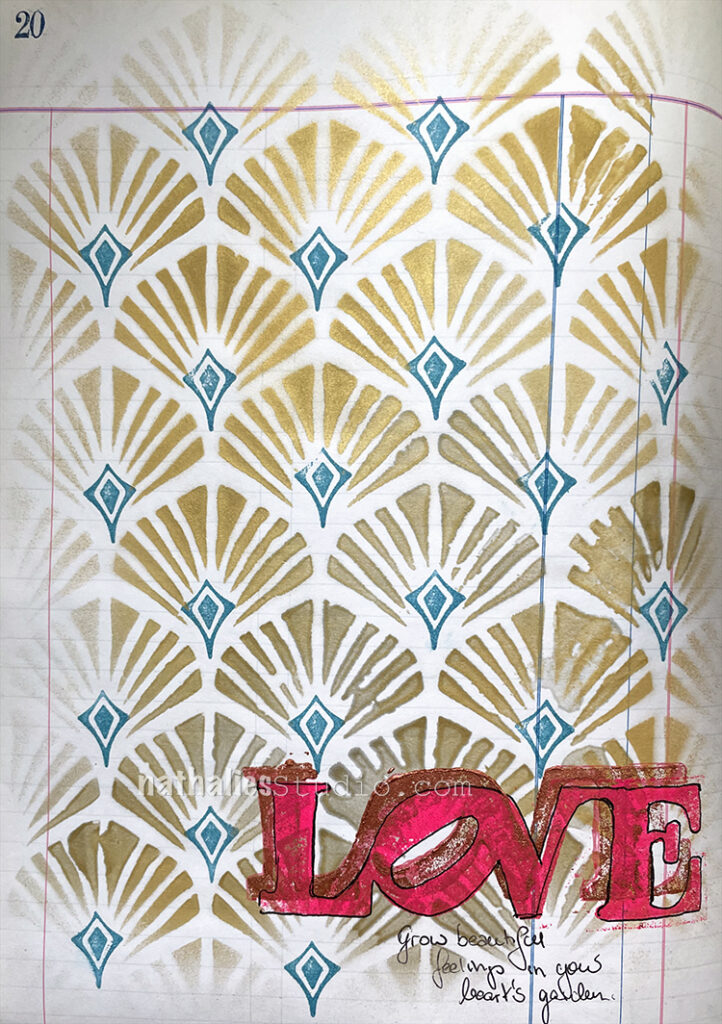
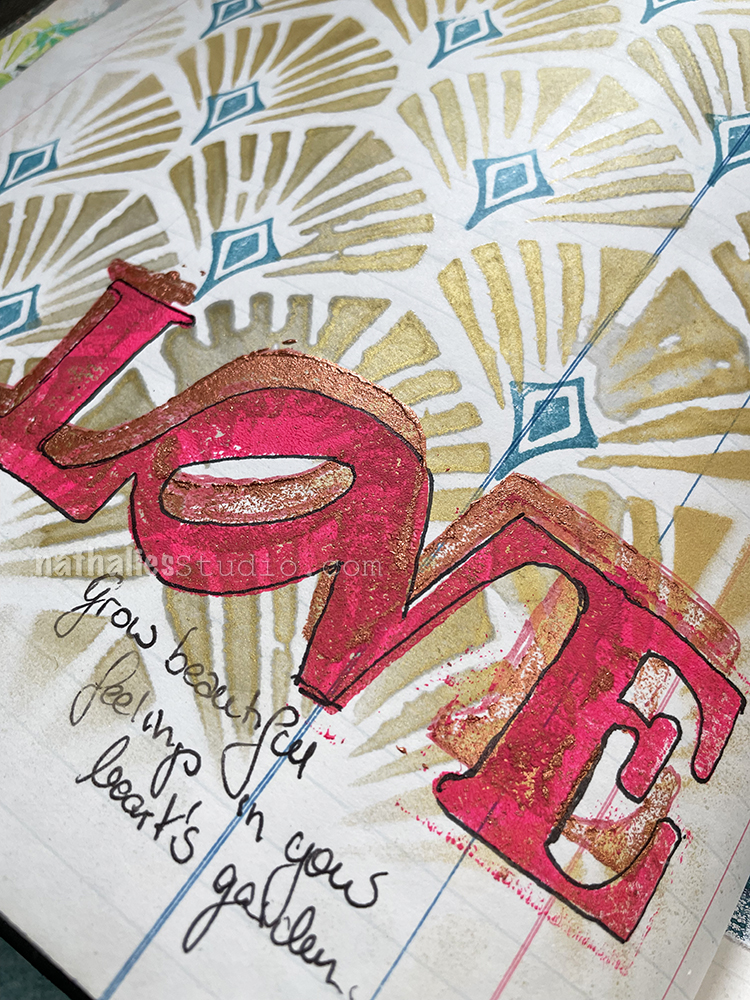
Grow beautiful feelings in your heart’s garden!

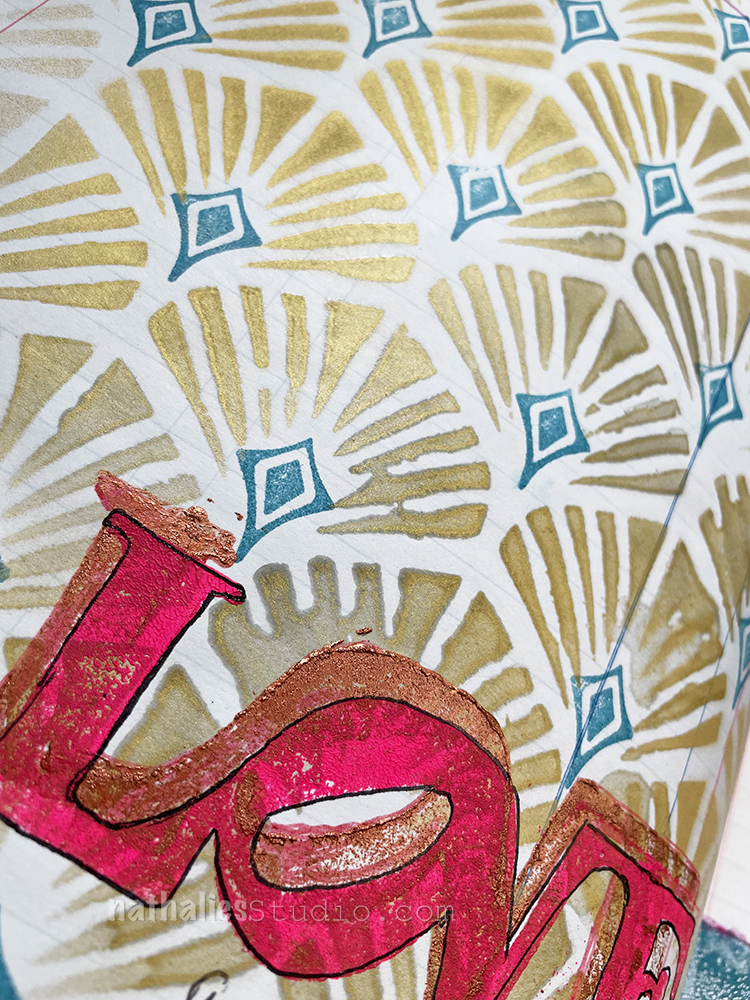
I used my Art Deco Wallpaper Stencil with golden Mtn spray paint and then a Versafine ink pad with one of the Fanfare stamps. I stamped my LOVE foam stamp with copper acrylic paint and then created an offset print with pink acrylic paint.

Finally I used a Sharpie ballpoint pen for outlining and journaling. Simple but love doesn’t need to be complex ;)

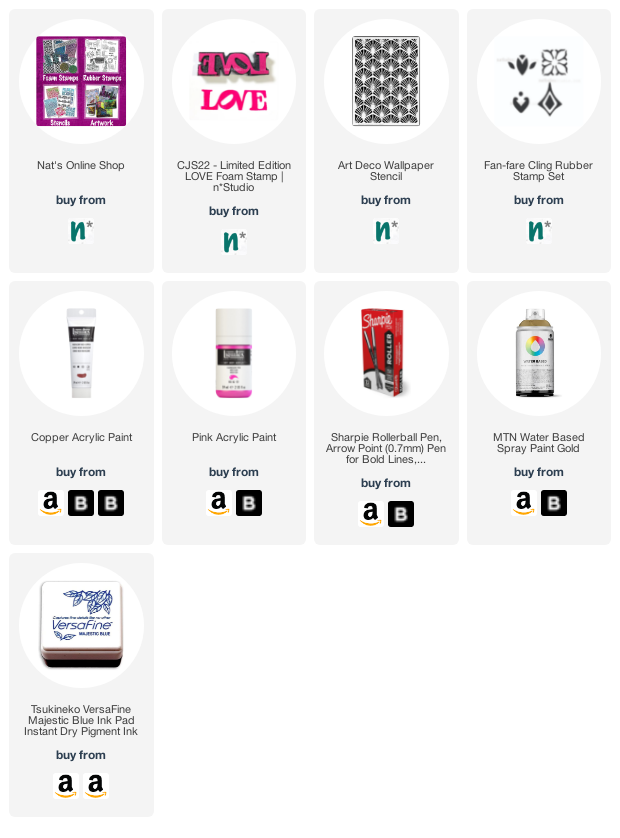
Here are some of the supplies I used:

Leave a comment

Creative Squad: Creating Connections – Robin Seiz

Hello from my Creative Squad! Today we have a post from Robin Seiz who is sharing a mixed media piece using my LOVE foam stamp, Running rubber stamp, Crackle stencil and our theme: Creating Connections – We’re playing along with the Creative JumpStart 2022 theme Creating Connections and exploring how our artwork connects us to the world around us, our community, our favorite supplies, or maybe our artmaking choices. Connections are everywhere when we create!


Happy New Year Friends. I hope your New Year has started out full of possibilities. Like many of you I have been following along with Creative Jump Start 2022 and it’s been wonderful. There are so many talented artists and I always learn something. In keeping with the theme of CJS our January blog focuses on Creating Connections. 

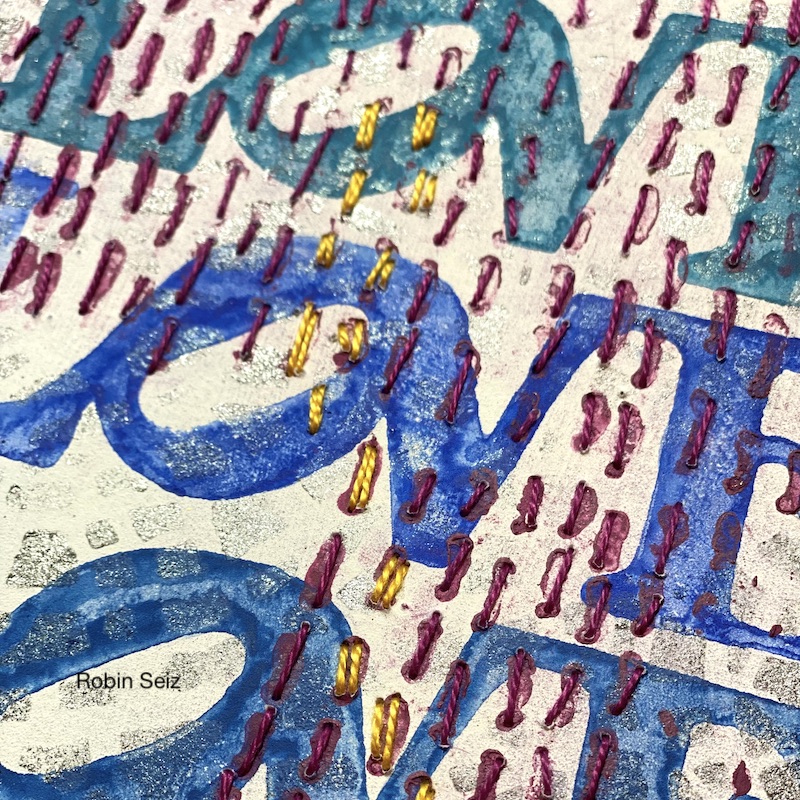
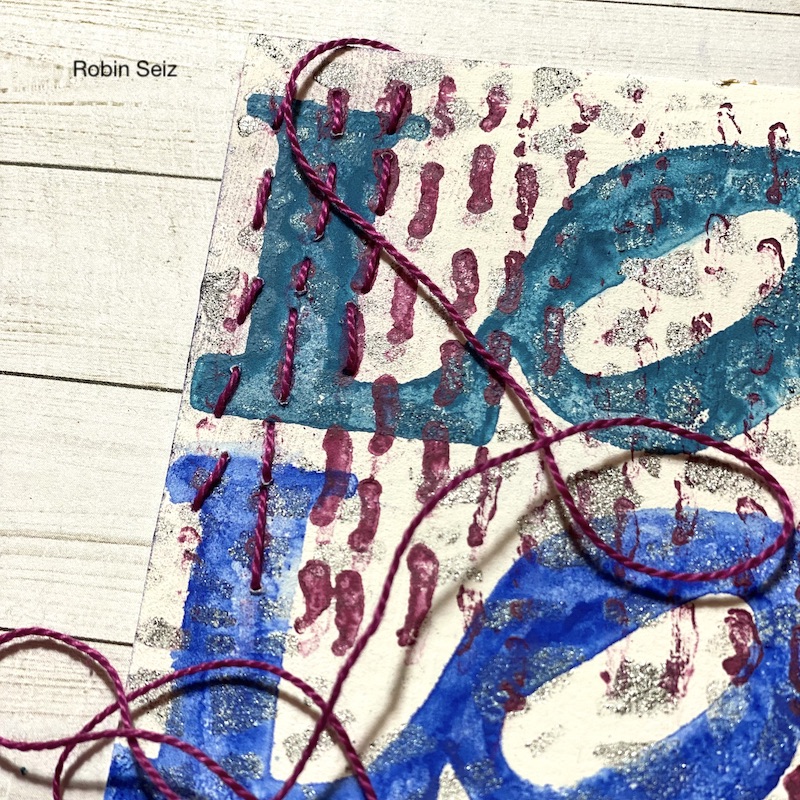
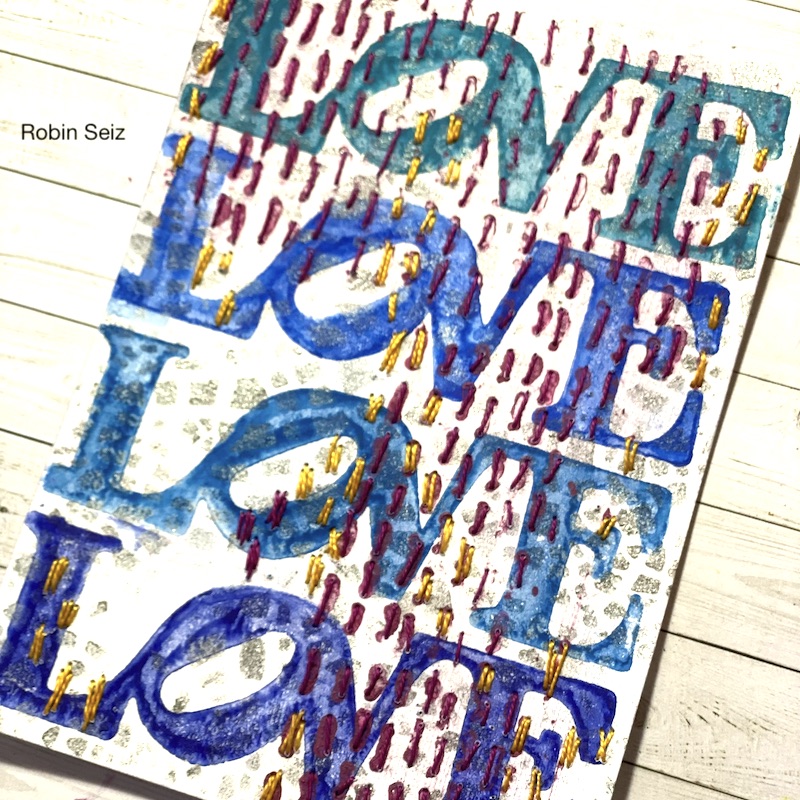
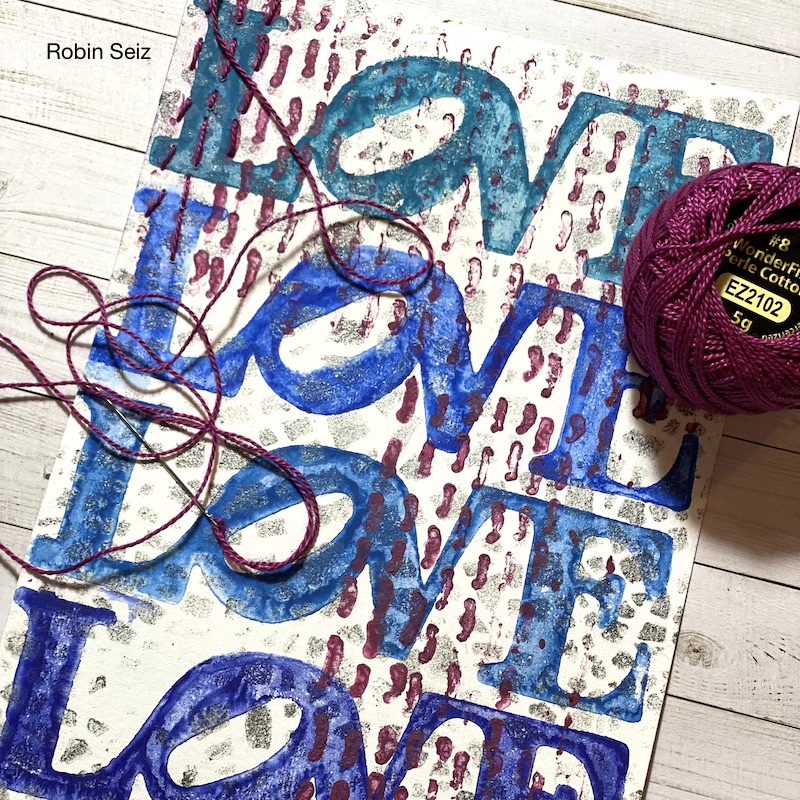
This project I created uses Nathalie’s LOVE stamp,  Crackle stencil, and Running Rubber Stamp. When I started out in mixed media several years ago, the first projects I created were made by machine stitching on paper. I always left the strings hanging; the pieces had a messy organic look to them. Today, I often incorporate sewing in my mixed media projects. 

I have recently started slow-stitching; it has the magical power of connecting me to myself. It’s a mediative process which slows me down and allows me to be in the present with every stitch. It has had the added benefit of connecting me to a whole new on-line community of artists. This project has brought me back to where I started using some new skills I have learned along the way.  

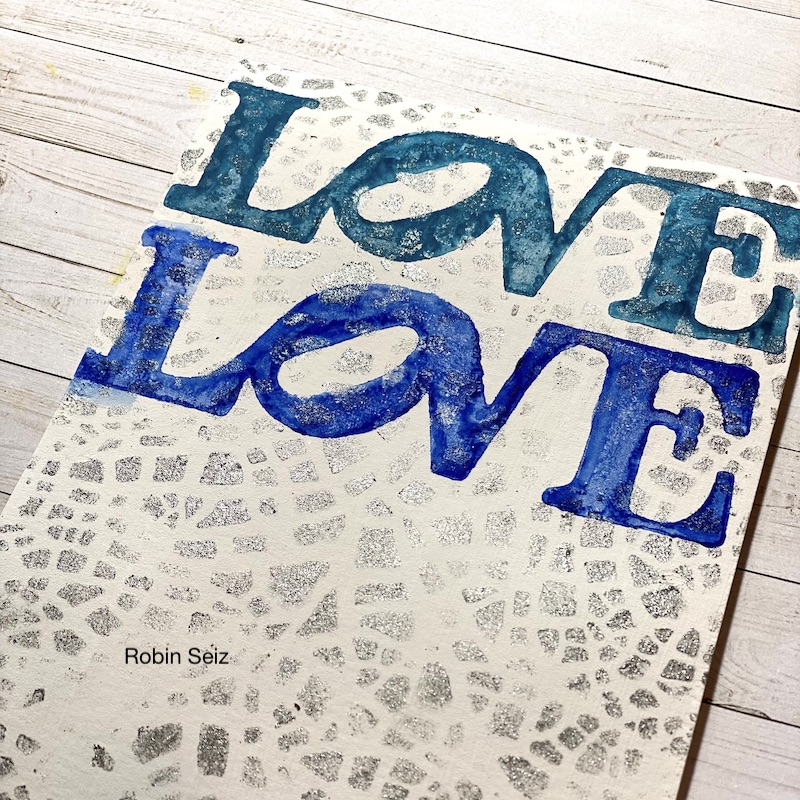
I began with a piece of 5’ x 7” watercolor paper. I spread watercolor grounds on the paper because I wanted more texture on the paper and I wanted a grungy look. Once it was dry, I used Nathalie’s crackle stencil and applied Golden’s fluid Iridescent Stainless Steel with a make-up sponge. 

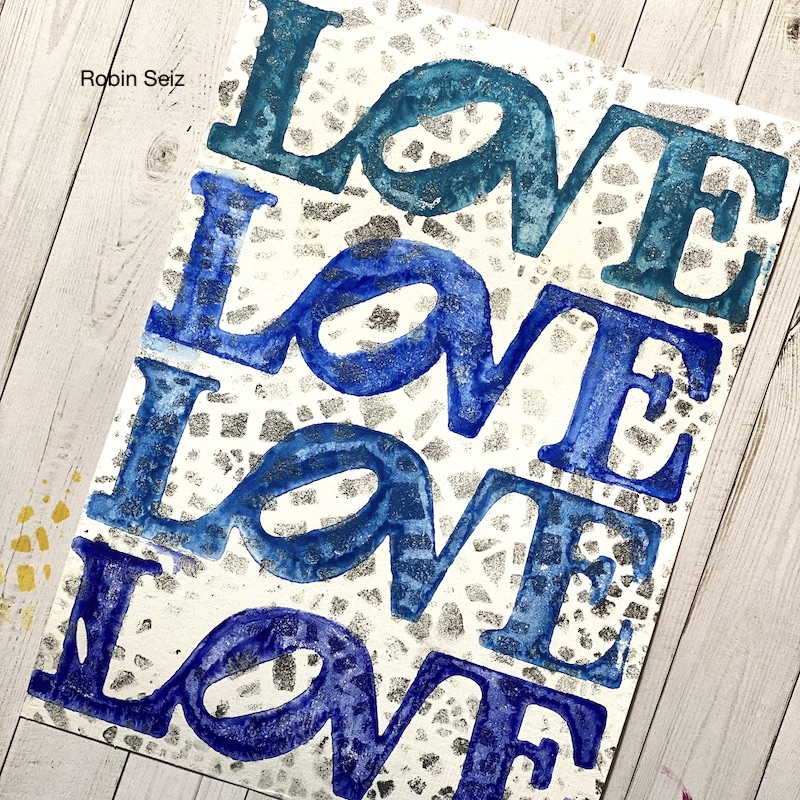
Next I used Derwent Intense Sticks, wet them, and applied them to the LOVE Stamp. I gave the stamp a little spritz and laid down the stamp.  I wanted the crackle pattern to show through the stamped image and I wanted a mottled uneven image. Often a less perfect image is more appealing to me. I love how the watercolor pools and makes a pattern of its own. If you are more precise than I am, you could move the watercolors with a brush while they are still wet. 

I continued to stamp with three more colors.

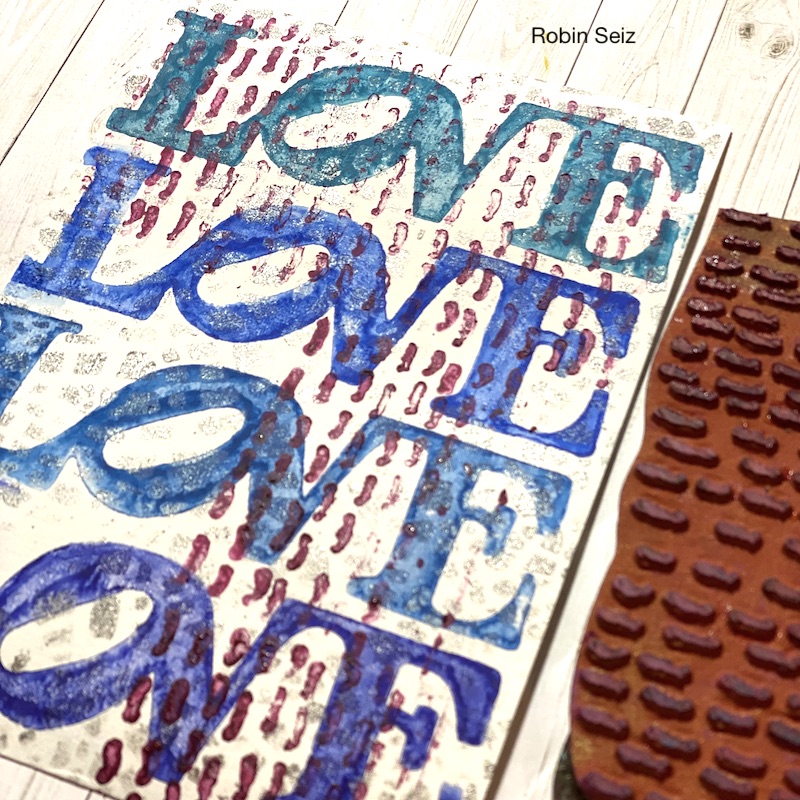
Once the watercolor was dry, I used a Derwent Intense Stick, in a complementary color, to stamp Nathalie’s Running stamp so that it was compositionally pleasing to my eye.

Once all of this was dry, I began hand stitching with Perle Cotton thread; I used the running stitches as a guide. I added a second complementary color and even sewed where there were not stamped running stitches. This again was based on what I felt was compositionally pleasing. One note about hand stitching this project — it’s tough going through thick watercolor paper. I would recommend two things. 1) A thin needle, and 2) a thimble to protect your thumb and finger. I didn’t use this and my thumb is still sore! 

When I stepped back from this project, it reminded me of the days when my children would sew on sewing cards;  another pleasant connection. I plan to frame this small piece and hang it in my studio. 

I hope you enjoyed this project. Please let me know if you try it. Post your project and tag me on social media. I can be found on both Instagram and facebook. 


Thanks for sharing Robin and so cool how you used the Running stamp as a guide for your own real stitching!

Give it a try: you can find all my Stencils, Foam Stamps, and Rubber Stamps in my Online Shop and here are some of the supplies Robin used:

Looking for more projects? Follow the Creative Squad on Instagram here.
Leave a comment

Wearable Art from Judi Kauffman – Creative Squad

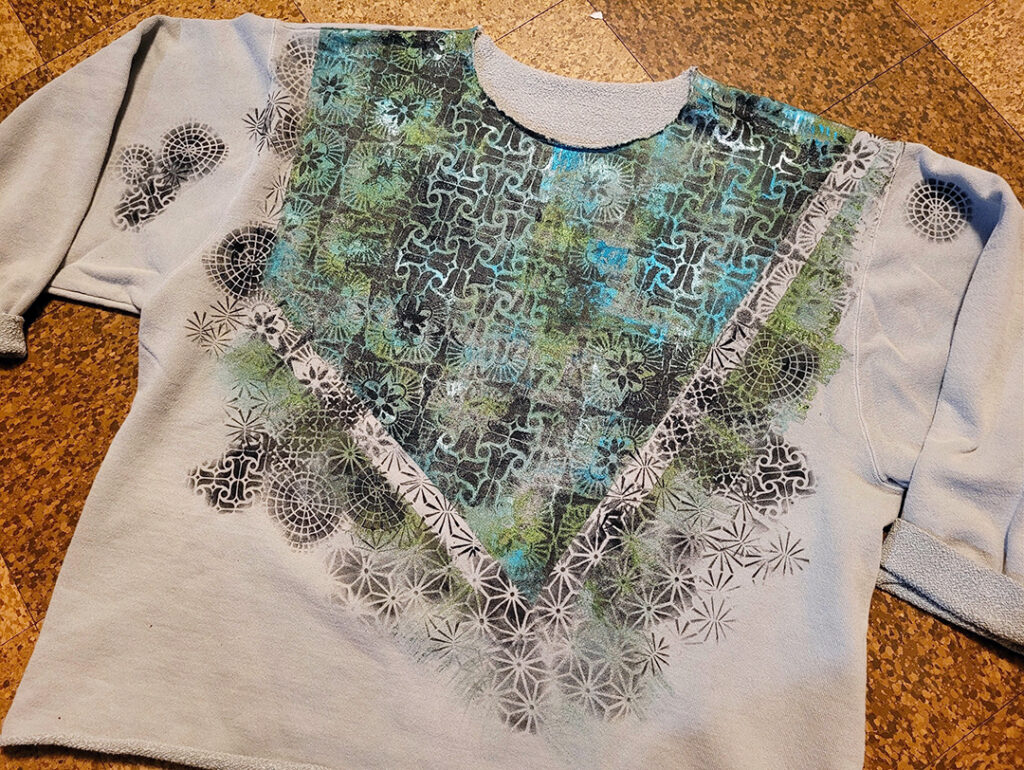
So excited to share this project with you today because, well, I definitely want to give it a try too! We’ve got a sweatshirt re-do from Creative Squad member Judi Kauffman who is using my ATC Mixup, Amsterdam, and Hamilton stencils to completely give new life to an old sweatshirt. Check it out and then time to dig through your own closets for some contenders :)


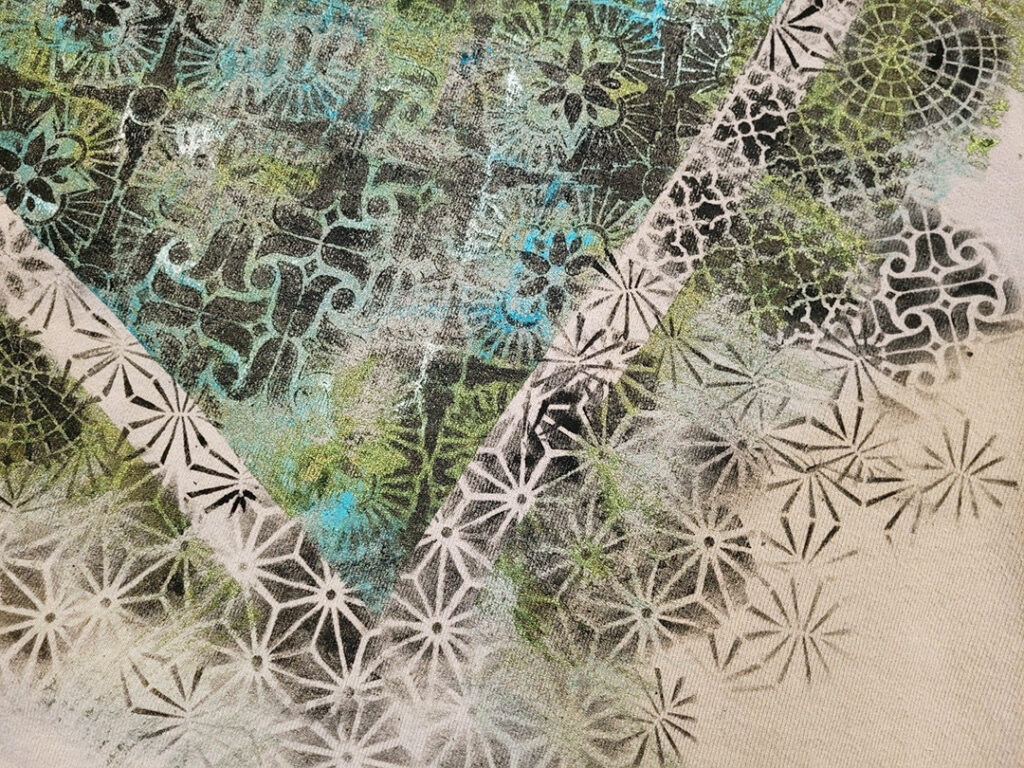
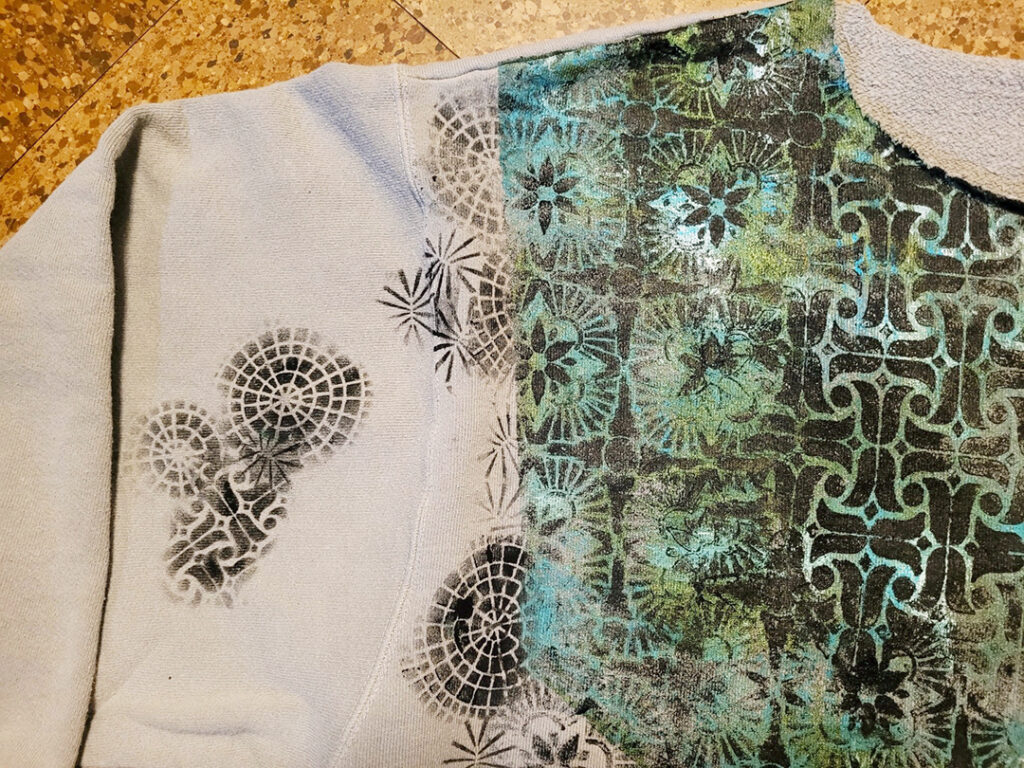
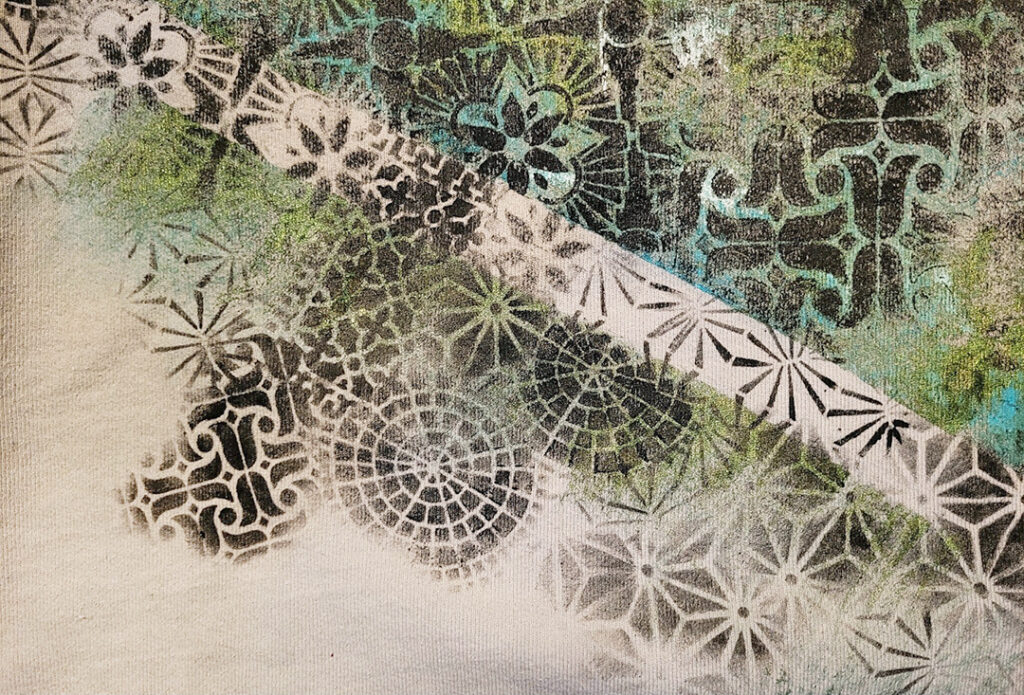
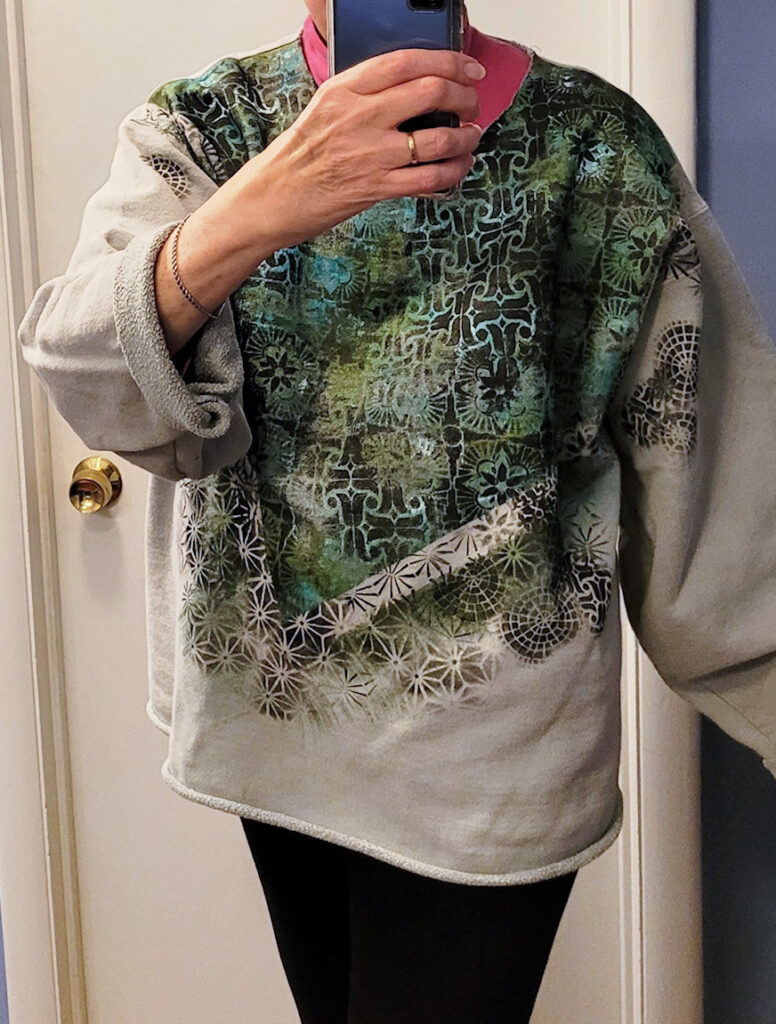
Nothing beats a comfy baggy sweatshirt, but when it gets a few stains it’s time for the rag bag OR my preferred option: a facelift! I cut off the ribbing at neck, sleeves and hem, delineated an asymmetrical section of the front with masking tape and used green and turquoise metallic paint to fill the section, and green paint to create ‘fringe’ around the edges of the tape. 

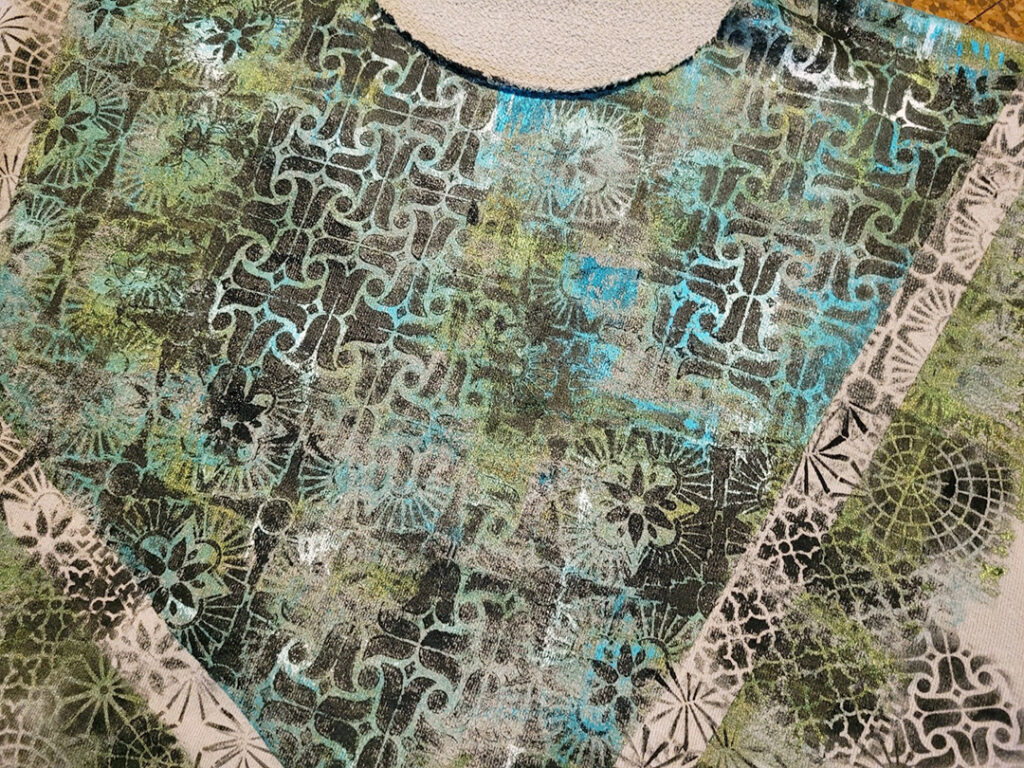
Then I stenciled with black paint within the center section using two 9×12 stencils before I removed the tape and continued. I used Nathalie’s ATC Mixup to create smaller patterns. I extended onto the sleeves a bit, too. If it were the 80s I’d now be adding beads and dimensional paint. (I’m mighty tempted…maybe I could revive the trend!)


Thanks for sharing Judi! I love this transformation and what a fantastic idea for updating some clothing that maybe hasn’t been worn in a while.

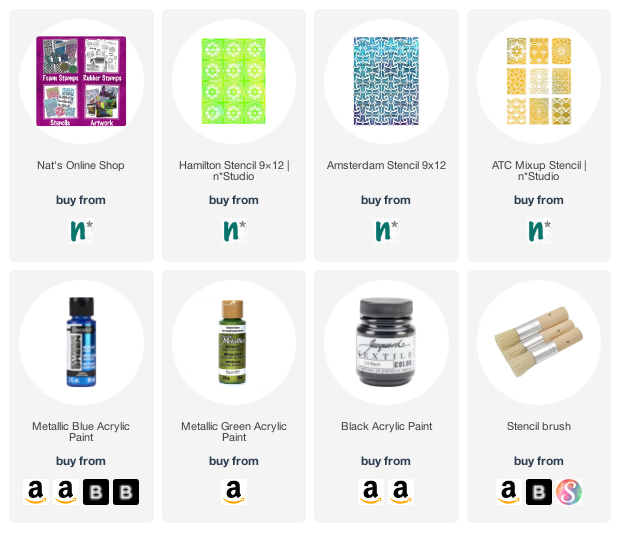
You can find all of my stencils in my Online Store. In addition to a comfy old sweatshirt, here are some of the supplies that Judi used:

Looking for more projects and inspiration from the Creative Squad? Check them out HERE on Instagram.

Comments (1)

  • Denise M. Krueger

    |

    Judi Kauffman this sweatshirt is amazing!!! Love, love, love what you did with it.

    Denise Krueger

    Reply

Leave a comment

Creative Squad – Bookmarks for Bookworms

Hello from my Creative Squad! Today we have a post for all you bookworms out there – a collection of bookmark projects from the Squad to hold your spot and make you smile every time you crack open that tome. Enjoy!


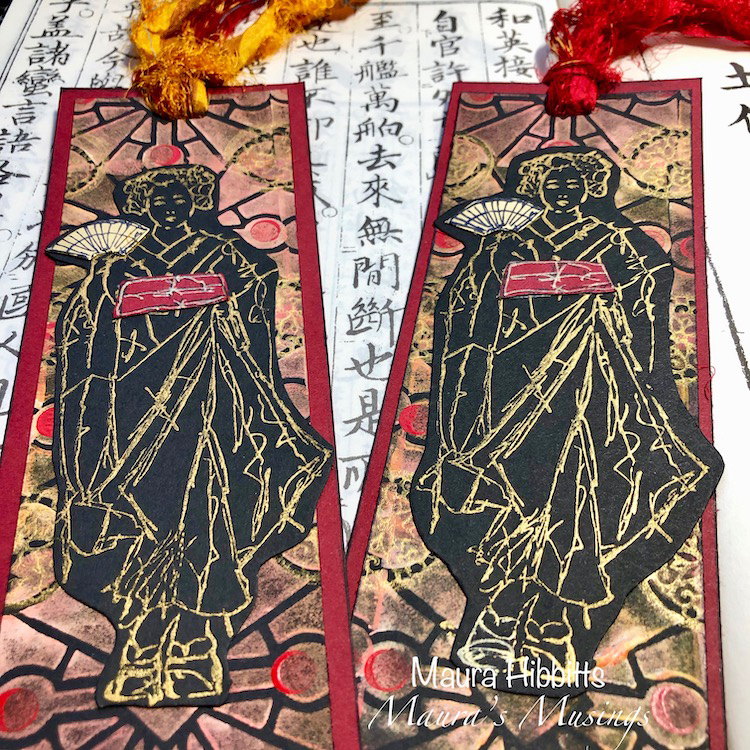
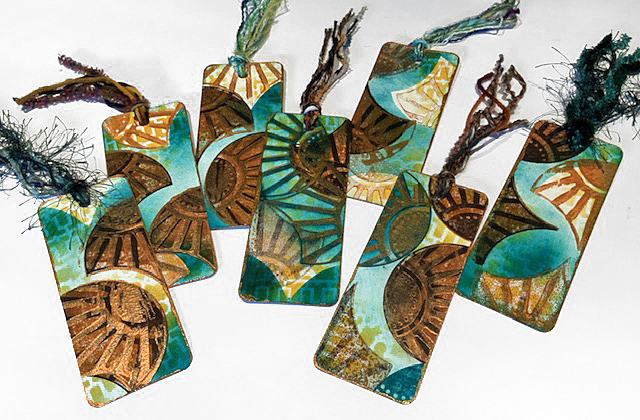
First up is a throwback from 2018 and Maura Hibbitts rocking my Maiko rubber stamp and Buenos Aires Tile foam stamp in these stunning bookmarks. I love the rich colors and the gorgeous sari ribbons at the top. You can check out the original post HERE to see how Maura layered these lovelies up.


Next we have Judi Kauffman and her upcycled manila file folder bookmarks using my  FANtastic Large and Solid Fan rubber stamps to create bold patterns that offset a beautiful muted palette. See her process in the original post here.

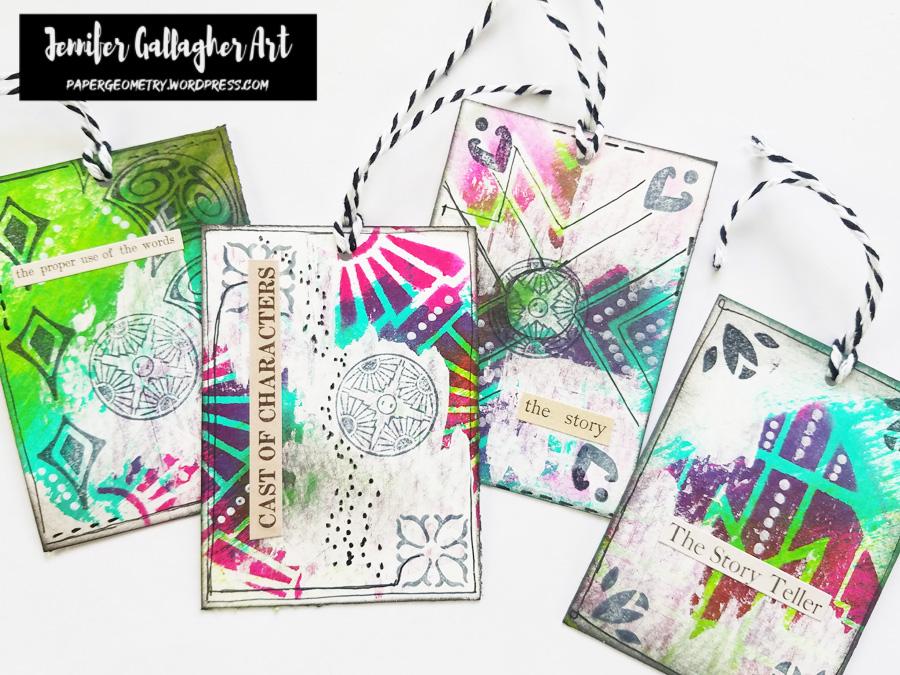
Squad alum Jennifer Gallagher turned fabulous ATCs into bookmarks in this project. Her expertly layered creations used my Broadway and Toledo stencils and my Fantastic SmallSmall Circle Jumble, and Fanfare rubber stamps to create mini masterpieces.


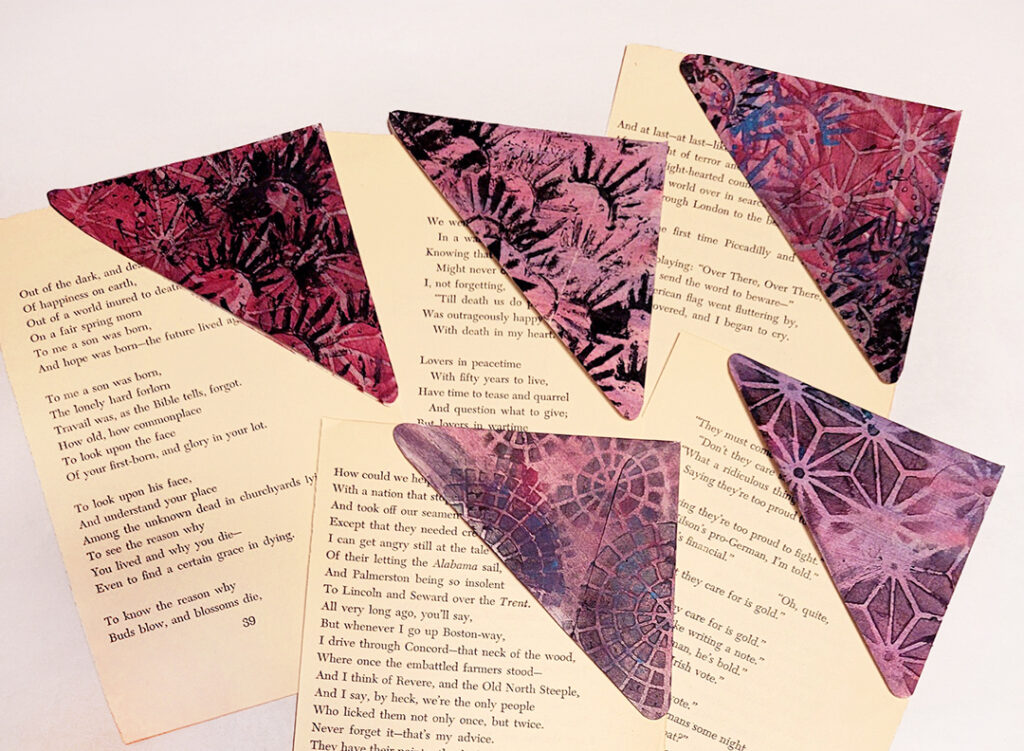
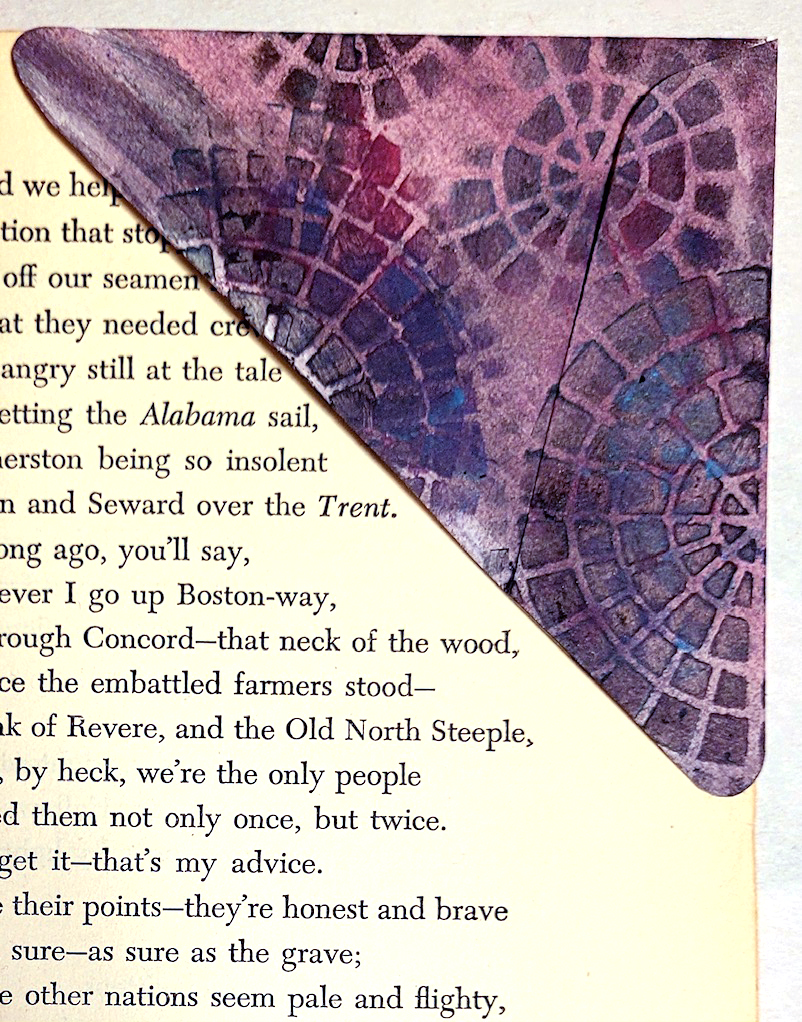
Finally we have one more project from Judi Kauffman with a set of unique bookmarks, made from upcycled envelopes!

Judi describes her clever idea:

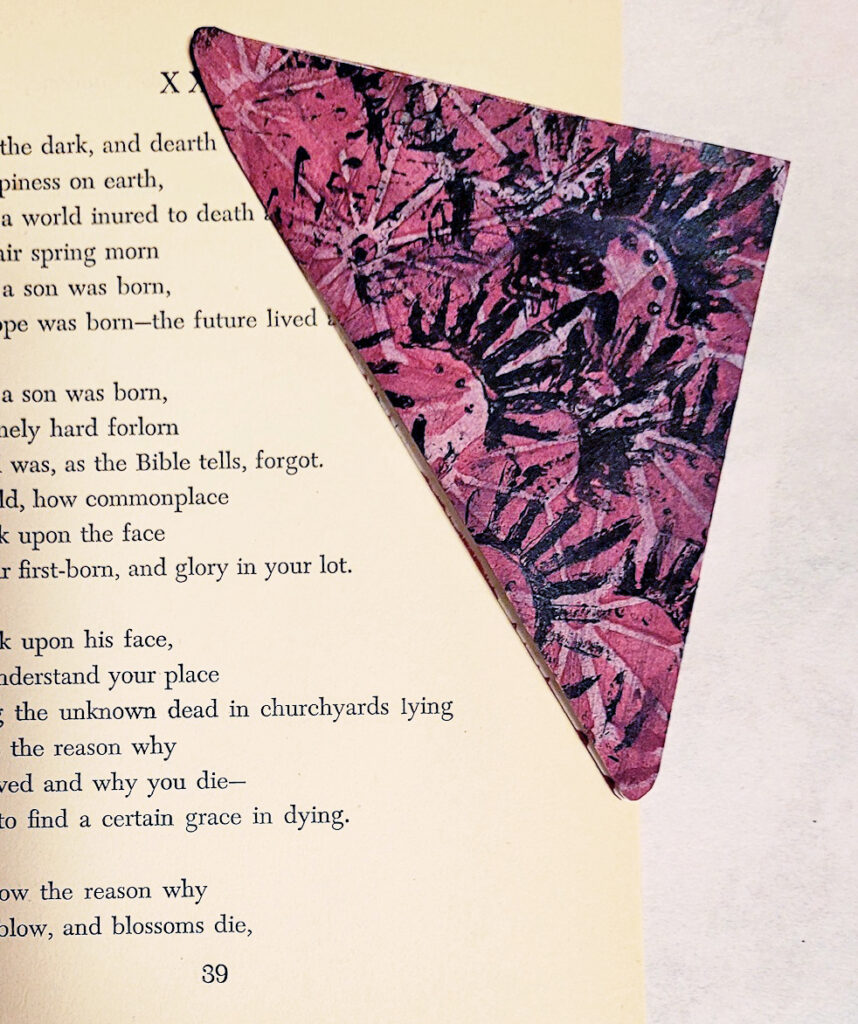
“When I was a kid we used to keep the corners of envelopes to use as bookmarks, choosing the ‘best’ ones that had pretty postage stamps. I revisited that idea this morning, but this time I chose a plain corner instead. The envelopes were white so I sponged on some pale ink before doing some random stenciling (ATC Mixup stencil) and smudging. I really love how they turned out. When I send them to a friend I’m going to include a page from an old, damaged book (as shown in the photos) so they get the concept. Without the page I think it might look more like a silly little party hat…”


I hope you enjoyed this roundup of bookmark projects and try making some of your own.

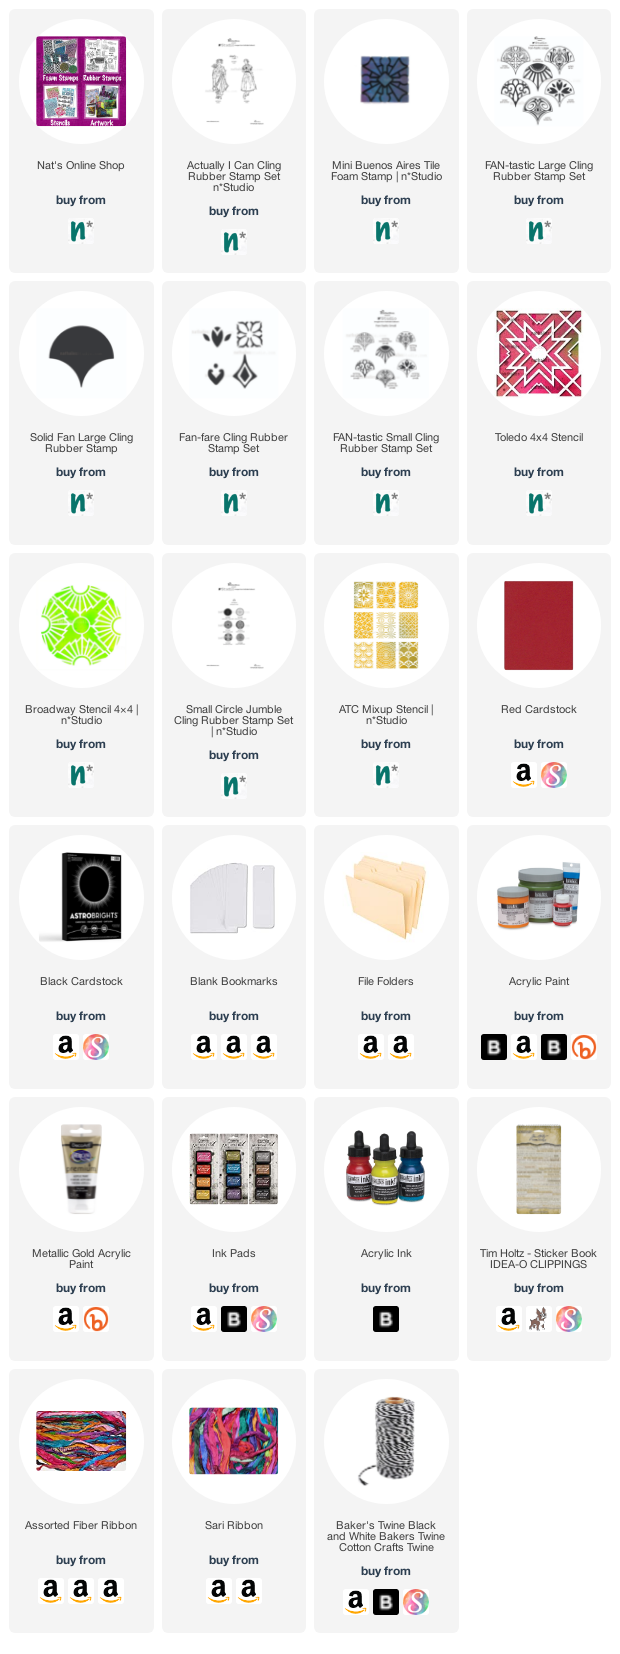
Here are some of the supplies the Squad used:

Comments (1)

  • Denise M. Krueger

    |

    Loved Judi Kauffman’s bookmarks. Using manilla folders is a great idea and I remember making corner bookmarks when I was a kid. Great ideas

    Reply

Leave a comment

Stenciled Card Design from the Creative Squad

Today we have a little card making inspiration from Creative Squad member Judi Kauffman who is using my ATC Mixup stencil and some collaged paper bits to create a stunning layered design.


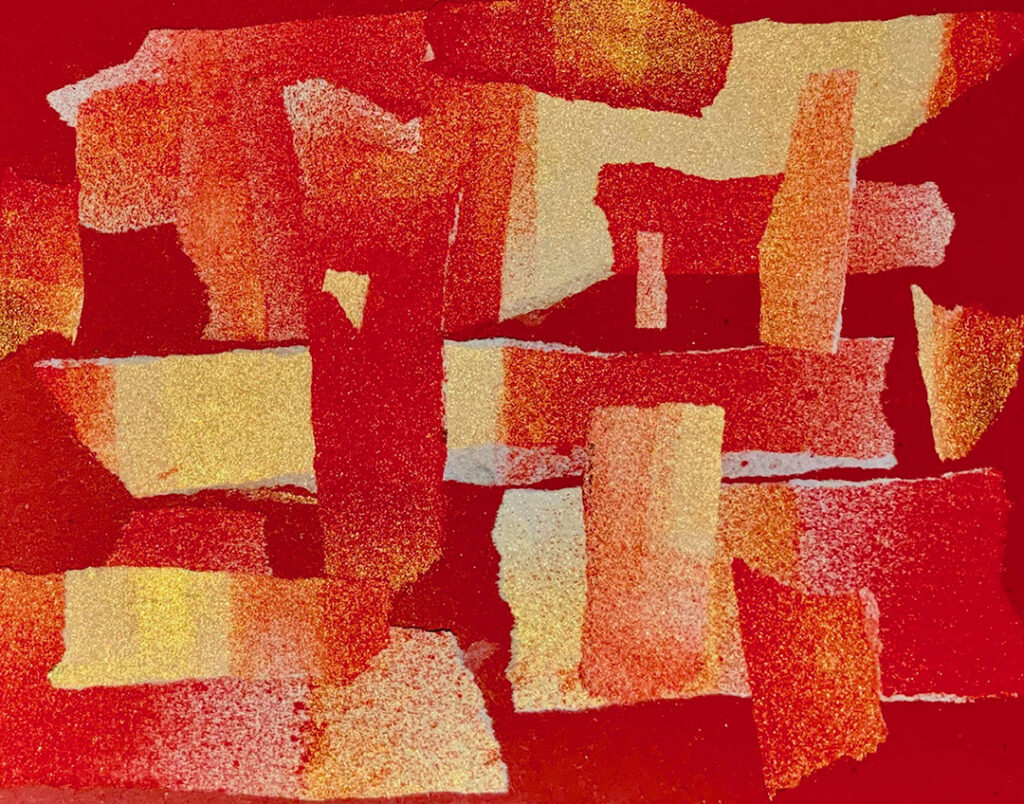
This is what I did this morning: I glued torn paper leftover from doing some spray painting onto 8.5×11 red cardstock.

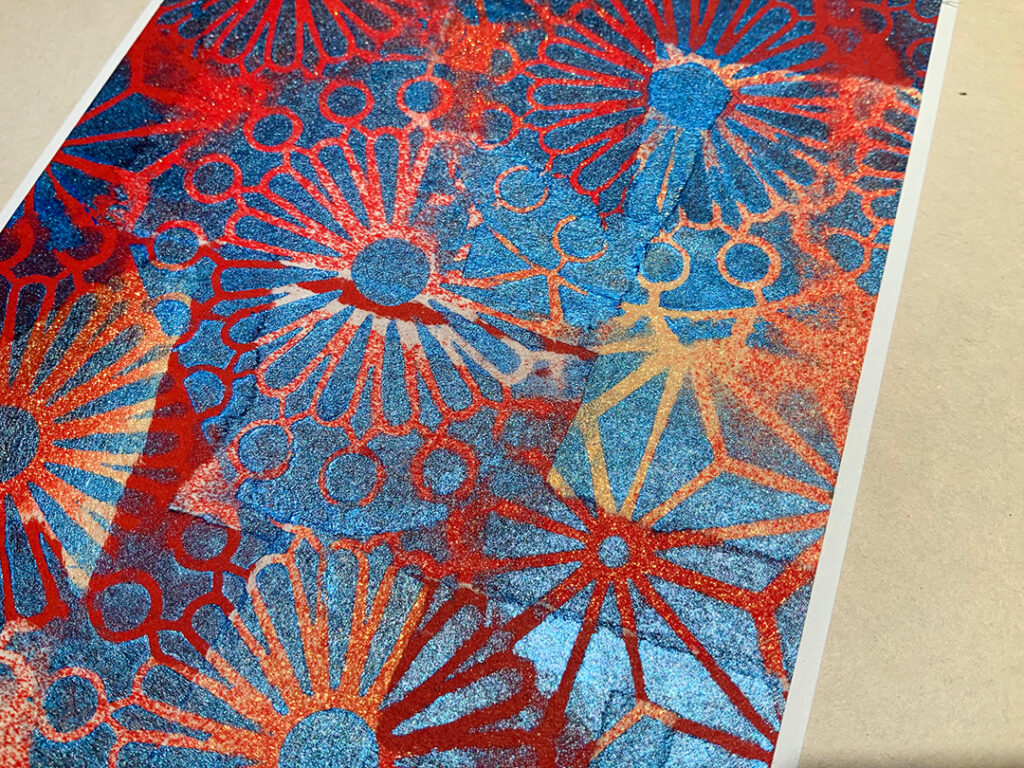
Then I stenciled onto the sheet with metallic blue acrylic paint and the ATC Mixup stencil. I turned the sheet into cards.


Thanks for sharing Judi – love this method of starting with a little random collage. It’s a great way to use up some of those painted papers and clean up sheets.

You can find all of my stencils in my Online Store. Here are some of the supplies that Judi used:
Comments (1)

  • rebekah meier

    |

    I love Judi’s work. You always get inspiration from anything she creates!

    Reply

Leave a comment

Creative Squad: Creating Connections – Riikka Kovasin

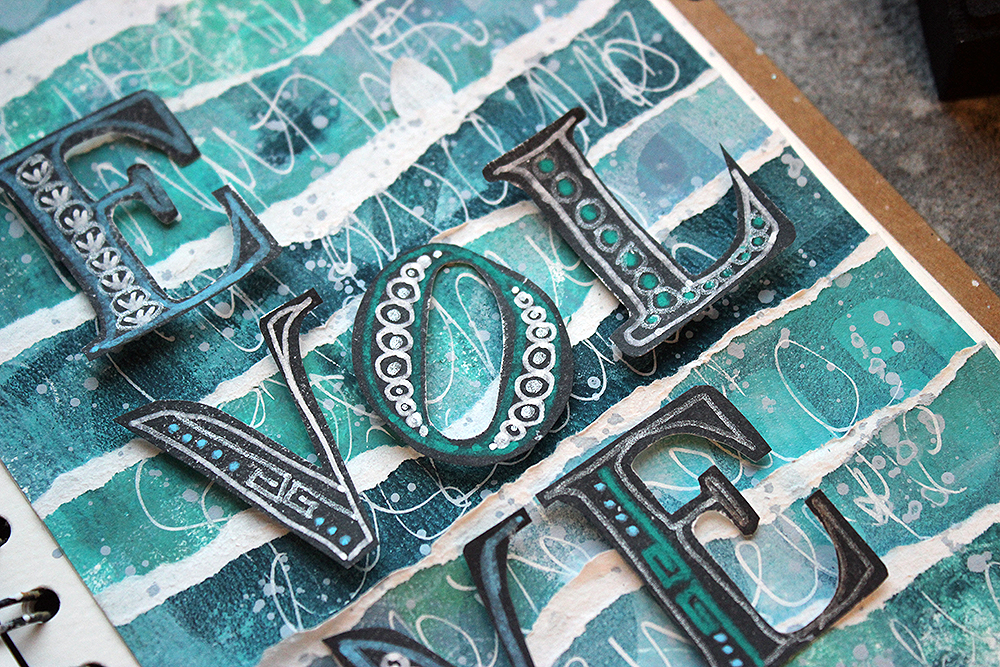
Hello from my Creative Squad! Today we have a post and video from Riikka Kovasin who has created a beautiful art journal page using my new LOVE foam stamp and inspired by our theme: Creating Connections – We’re playing along with the Creative JumpStart 2022 theme Creating Connections and exploring how our artwork connects us to the world around us, our community, our favorite supplies, or maybe our artmaking choices. Connections are everywhere when we create!


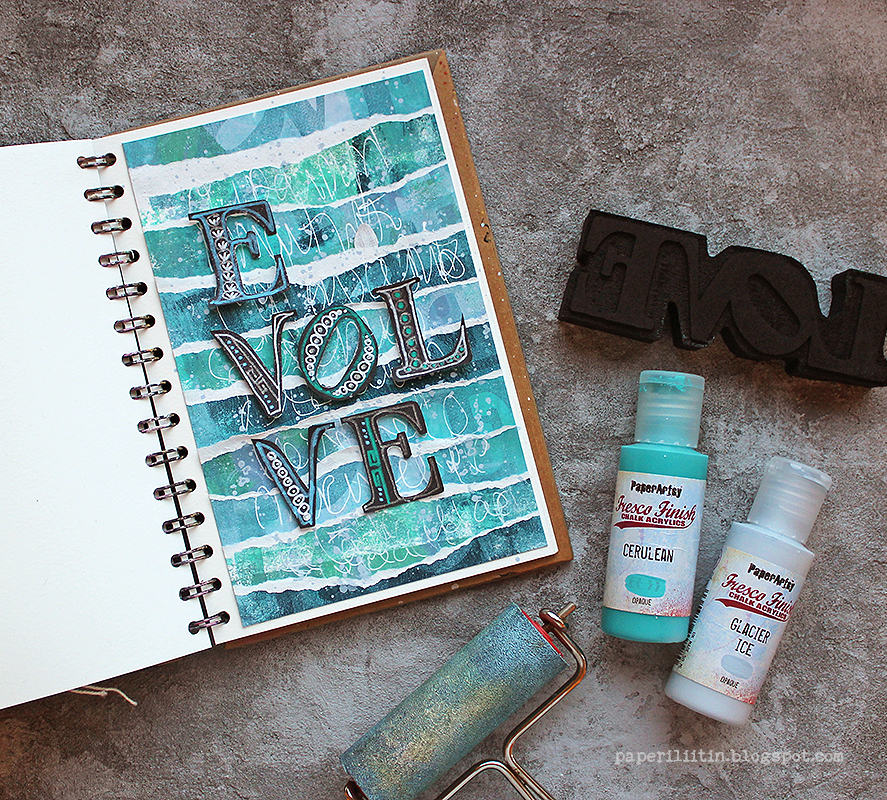
Evolve

Hello! It’s Riikka here today with the first Nathalie’s Creative Squad project of 2022! So exciting – a brand new year to unfold and inspire! As you probably know already, this month we’re drawing inspiration from Creative JumpStart topic “Creating Connections”.

I’m super honored to say that I’m one of the teachers in the CJS22. When Nathalie held the announcement live, I threw an idea about being inspired by your culture, creating a connection to that. Naturally, your culture is a part of you and probably everything you do is connected to you. You see the world though your eyes, your perspective, so your cultural heritage is bound to shine through one way or the other. But for this project I decided to use my culture more clearly, drawing inspiration from the national epic, Kalevala. 

The first thing I did was to see the LOVE stamp with a new pair of eyes, though. I didn’t want to use it as such, to have the title be “Love”. Instead, I thought what other words I could make using the same letters. I pondered both English and Finnish words and finally settled to “evolve” as I could use that so many ways. When I then had the theme word, it was easy to decide which Kalevala part to use. I chose to go with the creation of the world, the primordial sea and Ilmatar, the air maiden.
In the Kalevala the world is created when a spirit of the air, Ilmatar, descends from the skies to the sea to bathe as she’s bored. She becomes pregnant from the wind. She spends quite some time in the ocean and a water bird, a scaup makes a nest on her knee. When Ilmatar then goes into labor, she moves her knee and the eggs fall to the sea. The broken eggs make up the earth, sky and rest of the world. The baby of Ilmatar on the other hand is Väinämöinen. He’s the hero of Kalevala, a skilled sorcerer and one of the main characters of the epic. I find it intriguing that the epic puts the start of the world to the ocean like the scientists nowadays think life started, in the primordial sea. With this on my mind as well, I set out to make a sea.

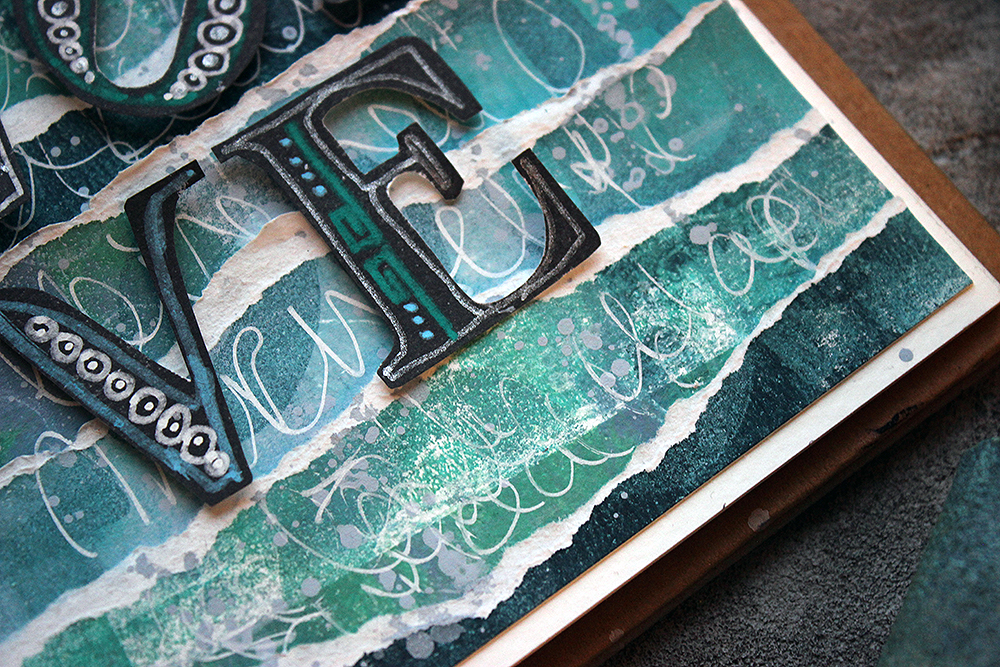
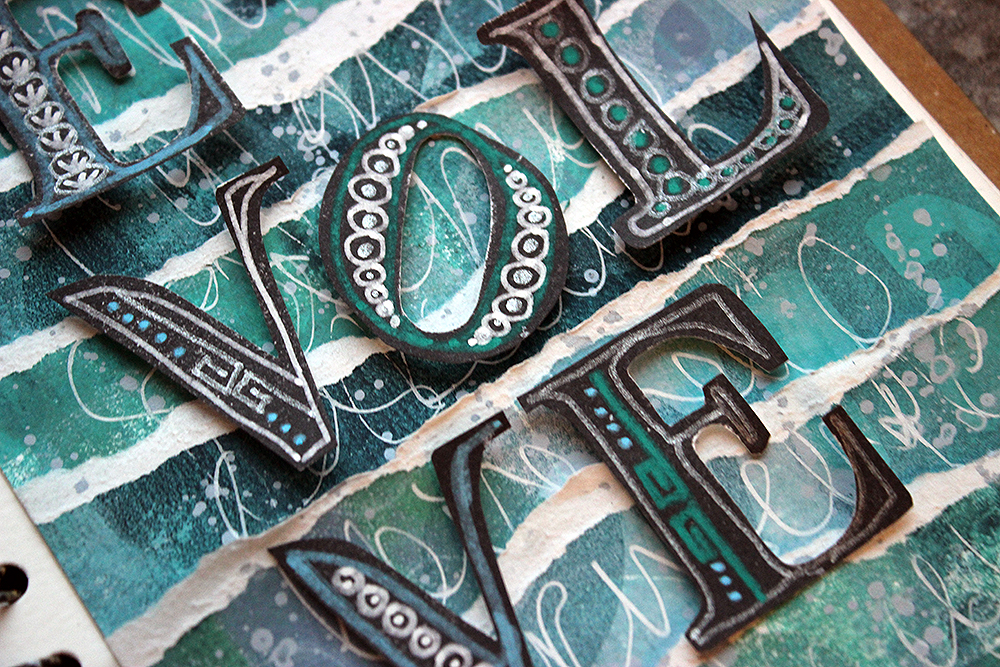
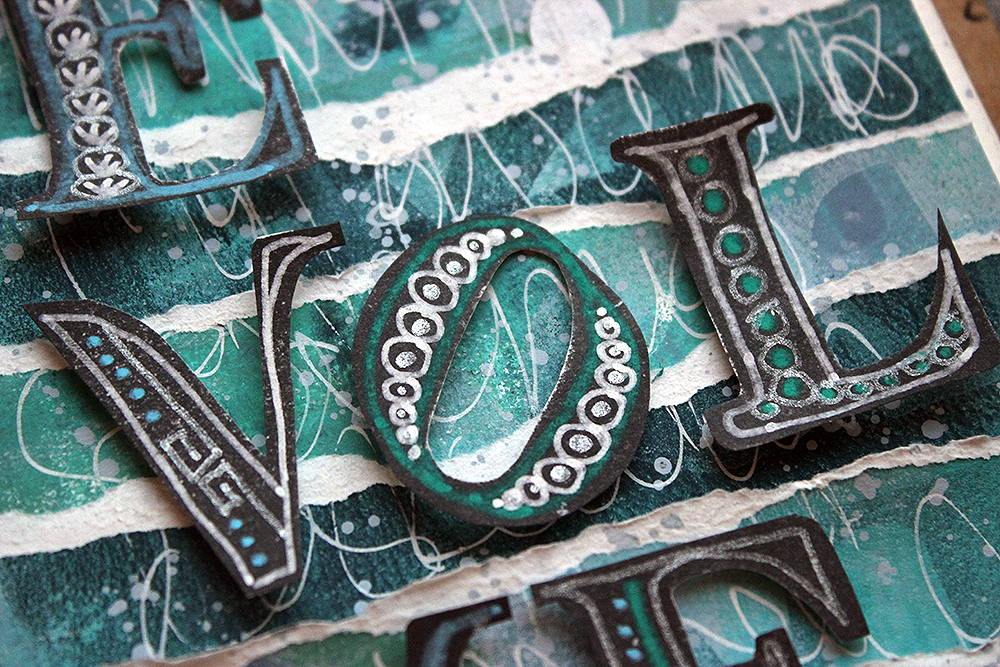
I used a gel printing plate to make myself a stash of blue papers first. For those I used the stamp as it is, spelling “love”. I also patterned the prints with a packaging from glue sticks. I’ve come across of the piece previously and it stayed in my mind as I then failed to gather it to my stash. But now that I happened to run into it again, I took it home. The pattern is really nice and you can use the part two ways, either leaving dots or rings to the plate. I then tore the printed papers in strips and layered them partly on top of each other making a sea with foam on top of the waves. If you want to see yourself how I made it, please see the video underneath.

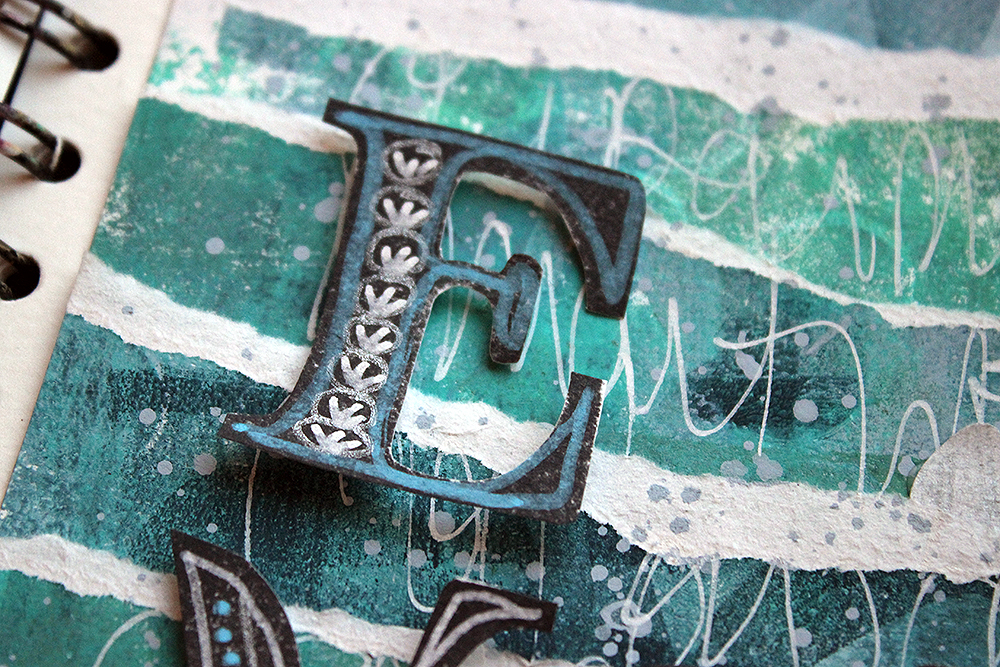
As you could see from the video, I patterned the letters by using paint markers. I chose patterns that I connect to Kalevala, like the joined stylized hands, a pattern a little reminiscent of running dog pattern. It’s another connection created!

Thank you for stopping by today! Wishing you a splendid 2022! Xoxo Riikka


Thank you Riikka – loved learning this legend and seeing how that inspired your page, and seeing how you reconfigured the letters in the foam stamp to create something different!

Give it a try: you can find all my Foam Stamps in my Online Shop and in addition to some packaging material, here are some of the supplies Riikka used:

Comments (2)

  • Robin Seiz

    |

    Rikka,

    It’s so awesome that you saw the word love in a totally different way! It’s a beautiful page, I love the colors too.

    Robin

    Reply

  • jjhere

    |

    Gorgeous! I love those colors and what a beautiful story of how you are inspired to create this.

    Reply

Leave a comment

New Year, New Envelopes with the Creative Squad

Are you sending out New Years or Thank You cards in the coming days? Don’t forget to give those envelopes some love too! Here is a nice idea from Creative Squad member Judi Kauffman who is using my ATC Mixup stencil to give plain white envelopes a little bit of pizzaz!


Here are some super fast envelopes for you. These are 6×9 envelopes for oversized cards, plenty of room for stenciling. 

I’m crazy about the ATC Mixup stencil patterns. By not going to the straight side of any of the stencil patterns the soft edges make it nice to overlap the designs, I think!

Blue metallic paint shines only where it’s applied in the darkest areas – the rest of the time it mutes out and just looks blue.


Thanks for sharing Judi – love seeing how the patterns work together and it shows how handy the stencil is with 9 patterns on one sheet to choose from.

You can find all of my stencils in my Online Store. Here are some of the supplies that Judi used:

Leave a comment