
I often get emails asking me about my favorite tools or supplies and I actually love those emails because they make me think of why I tend to use some things all the time.
Is it laziness? What is it about these items that make me grab for them whenever I create a Mixed Media Project?
One of the answers that came up for almost all of them is “I use them because of their versatility of usage” . That is an easy guess for an answer- LOL- since I named my favorite Online Workshop series Über*Media playing on the fact that you can use some items so MANY different ways.
But let me take you the next couple weeks on a little journey on my favorite Mixed Media essentials and explain why I could bathe in them and show you where I used them.
If you missed the other posts in this series – you can catch up here
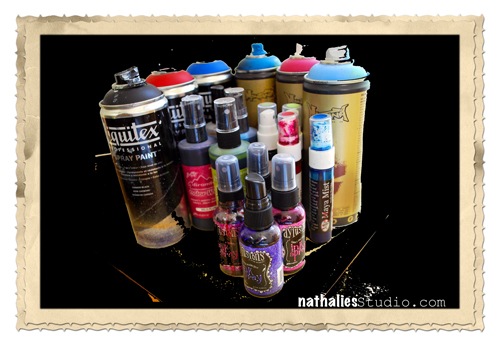
6. Spray Paints
I am a big fan of spray paints. If you say spray paint…you get me interested…keep that in mind if you ever want to get my attention during a conversation ;) I have neglected spray paints a bit in my workshops in the last year, simply because I have been teaching sooo much with a certain spray paint, that I had to step away a bit from teaching with it. But in my personal playing I use spray paints in almost EVERY Mixed Media project.
I tried many different spray paints and right now I stick to the ones in my list below…but it might change over time here and there. Some of the spray paints are better for certain uses. But it doesn’t make the spray paint bad if a certain technique can’t be as well archived as with another one. I refer to this as to flour in baking in your kitchen. There are different kind and grades of flours you can buy. You need a different grade flour for pizza dough and bread then for biscuits and cakes- it doesn’t make one flour bad…it just is something to know and keep in mind to get the result you aspire !
Here are my thoughts and uses- a supply list at the bottom
What I love about Spray Paints:
- there is a huge variety of different spray paints out there and for every technique or liking there is the right one
- you can create beautiful background mixing spray paint colors
- once you know their specifics you can use them with other paint media for some really cool effects and techniques
- you can create vibrant art using spray paint colors
- you can evenly spray all kinds of materials with the right spray paint
- you can use stencils in an amazing way with them which is different from the outcome of using them with acrylic paints
- you can afford them- even if some come as a pretty big investment in the beginning, most are pretty long living and highly pigmented – they go a long way
- you can create layers with spray paints and add dimension in a way that is not always as easy as with other paint media
- you learn to use the sprays super fast and get the first awesome results quick. If you take a bit time later learning more about your spray paint and it’s specifics you have a power medium in your hand
- like with stamping, the outcome is not always perfect, which makes it for me more desirable to use as you embrace the outcome not striving always for perfection
- you can add visual texture with spray paints
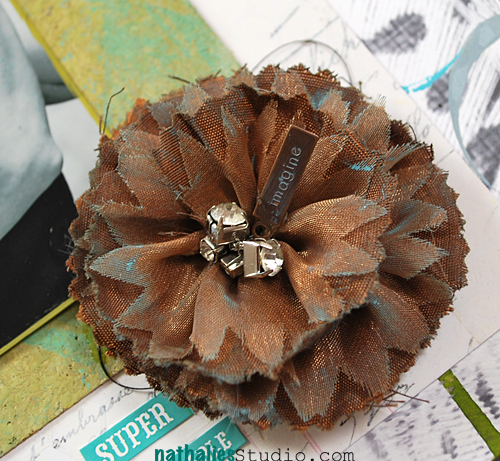
- you can use it to quickly to alter embellishments or alphabets so they fit your projects
Here are some examples:
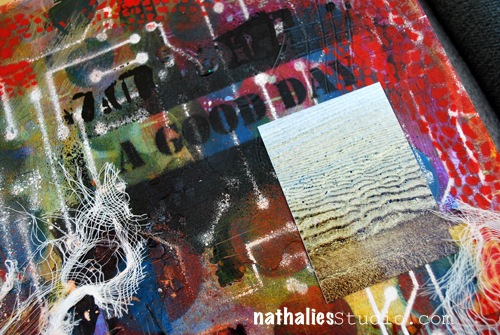
Revealing fabric texture with Maya Mists

revealing gesso texture
Layering using Ranger Color Wash

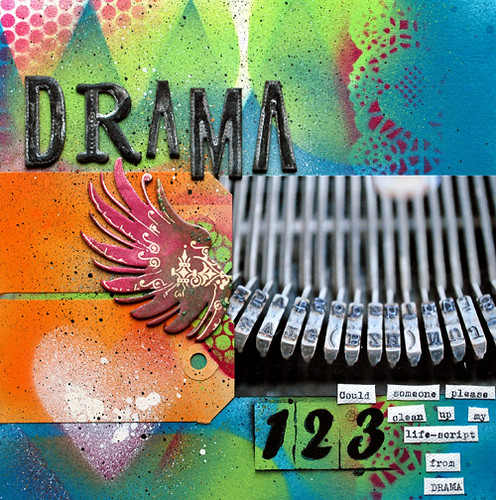
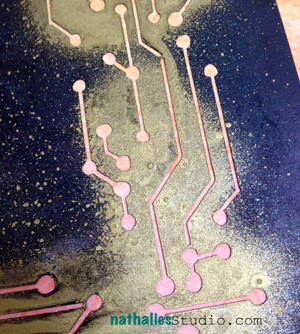
using spray paints with stencils on a canvas board

Using Golden Montana Spray for an outdoor plant pot

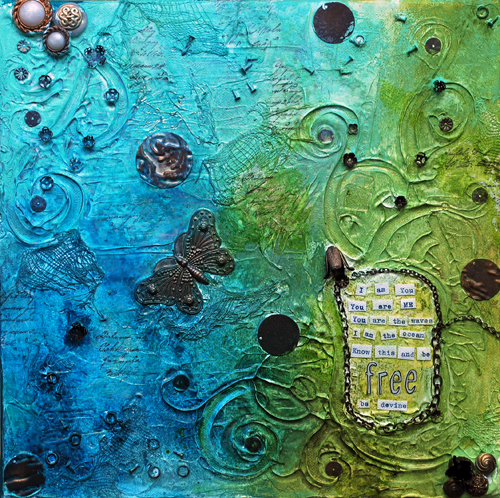
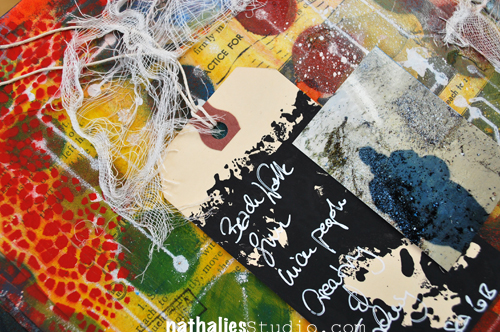
Grungy background with Liquitex Professional Spray Paints

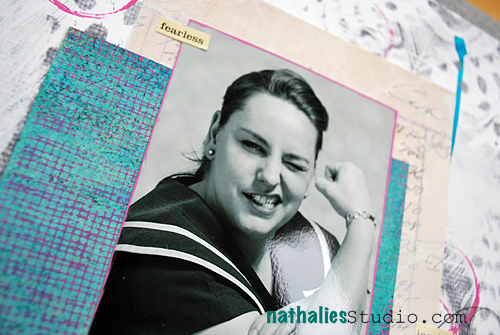
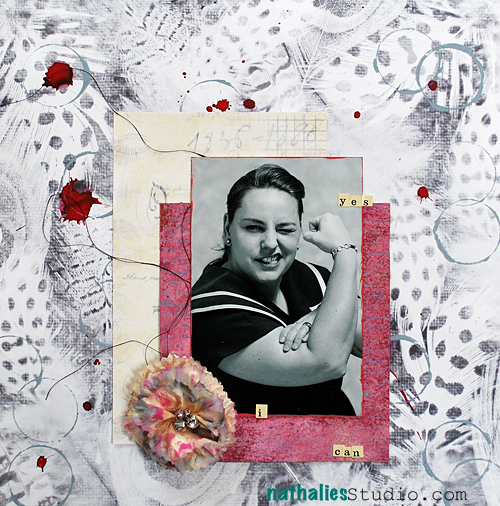
Using as an accent on simple scrapbooking pages

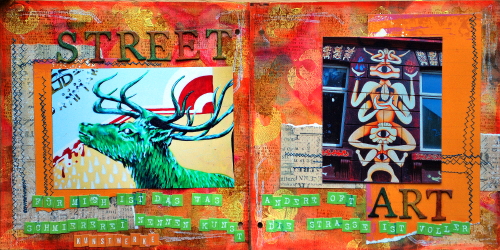
using spray paints to change the color and mood of a patterned paper for a scrapbooking layout

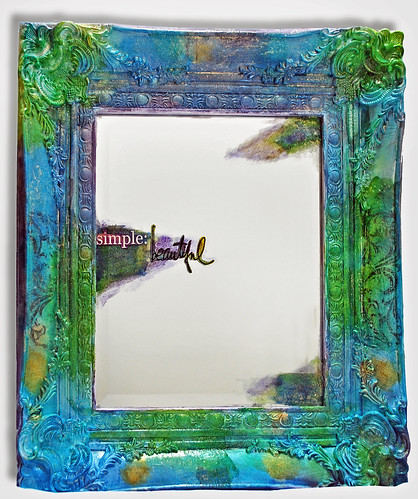
using spray paints to alter home decor items -like this mirror
layering it on with Golden Montana for my own pattern paper
using spray paints on fabric

using Dylusions Ink Sprays with Derwent Art Bars

using Liquitex Professional Spray Paint to highlight small areas
using spray paint to change embellishments and alphabets color and appearance

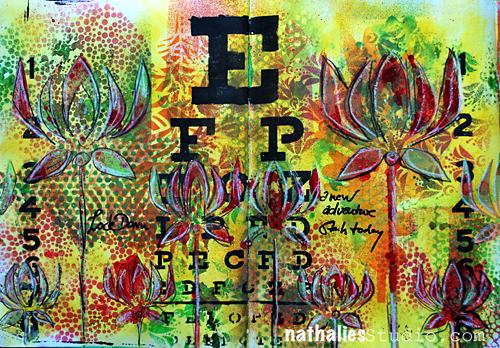
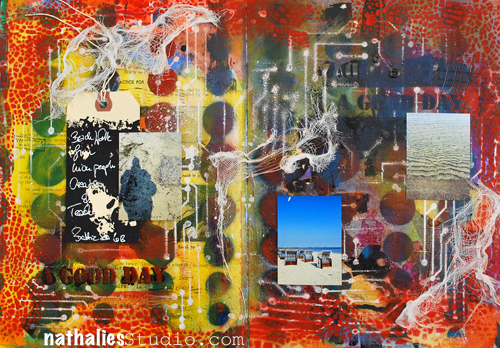
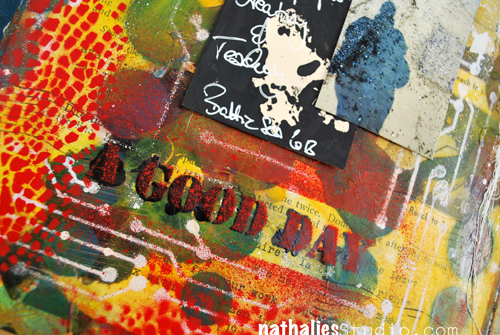
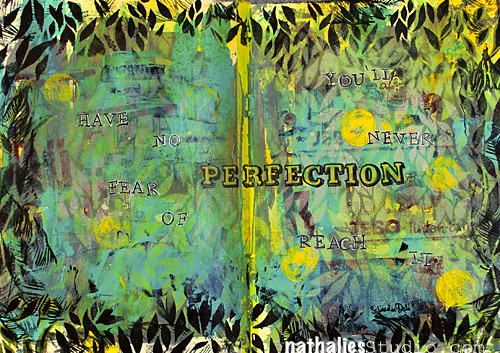
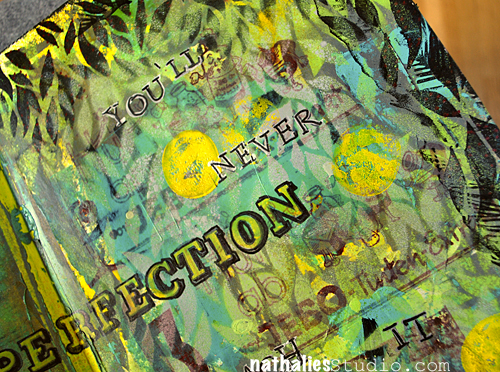
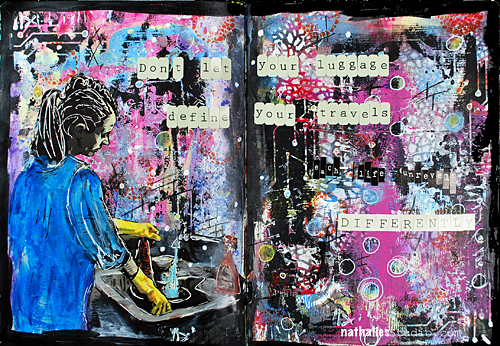
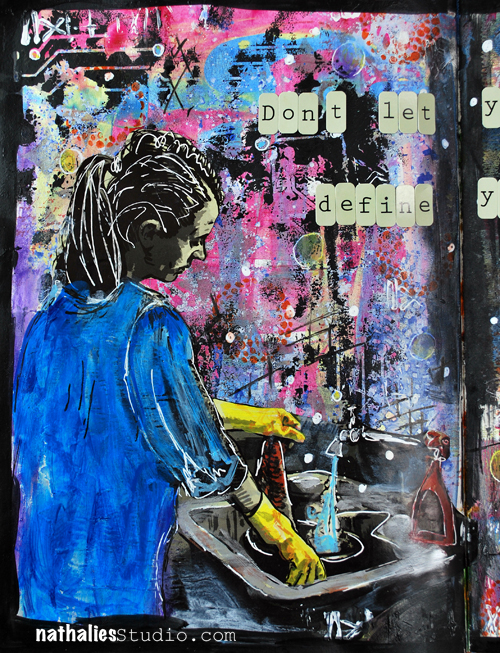
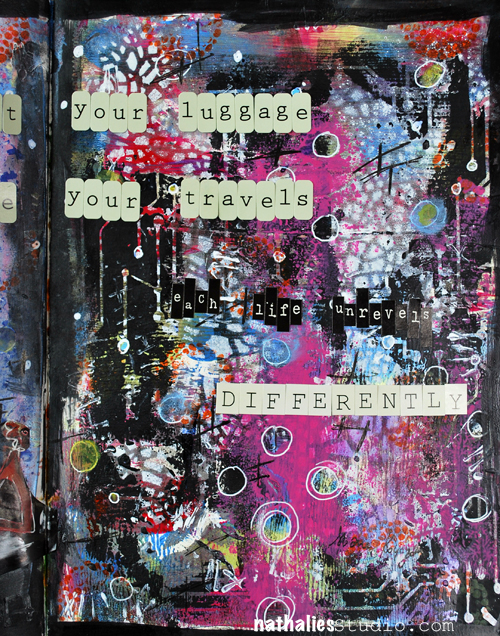
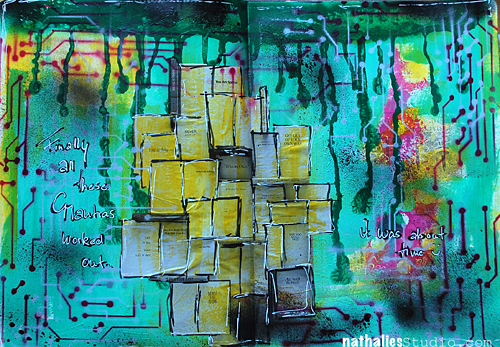
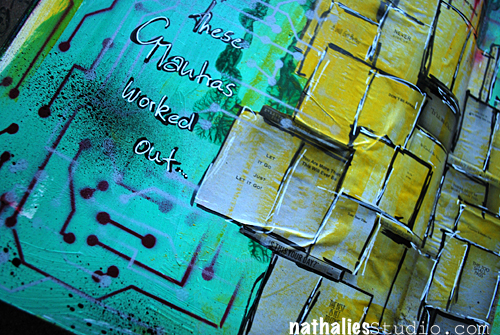
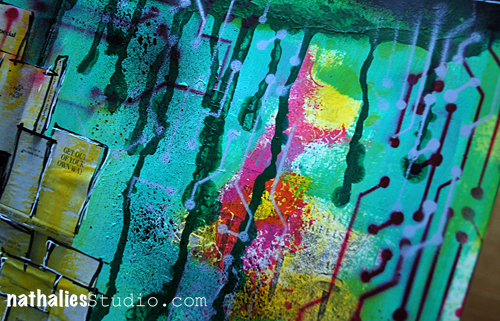
Art Journal Background
Another Homedecor Canvas with Liquitex Professional Spray paints

boy- that was hard to just pick a few…are you still with me?
My favorite Spray Paints at the moment:
As always in this series- the answer to this question is based on my preferences, my style and my experiences.
Dylusions Ink Sprays are my go to sprays when I work inside and can and want to use spray paints that are going to be water reactivated. Meaning once I put something wet on top, the colors will reactivate again. This means if you work with for example gel medium or other wet media on top, it will get activated again and bleed. Some people do not like that…but I say, it is what you need to know about your spray paint and then you can use it for your advantage. I love using Dylusions for ghosting techniques or to blend in other colors and paint media. The vibrancy of those colors is amazing. And you can use them inside, without a mask and you can wash it off if it goes somewhere else when your project ;) I also have to say that clogging wasn’t an issue for me yet with these spray paints probably because they are dyes. If the colors are used on wall art though – say canvases, the colors tend to evaporate quick in sunlight though at least if there are on top of acrylic media, so I stopped using them on canvases that I hang on the wall.
Maya Road Mists – I love that those colors are also very vibrant, some have a nice shimmer, which I used to love a lot but I am now getting away from the too shiny shimmering stuff. Seems my magpie times are a bit over ;) What I love about Maya Mists, which are pigment based is, that you can heat set them, so they won’t get reactivated anymore, meaning they are permanent then and therefore can be used on fabric that might get wet or washed too. Like the Dylusions you can use them inside and they cover for example chipboard in the best possible way. Actually they are my favorite when working with chipboard. The clogging is bearable – it happens- and it is nothing you can prevent forever with any given pigment spray paint. Yes…sometimes you force it by not spraying the “right way”….but often times it is just the way those spray nozzles are made that you cannot prevent the spray paints from clogging. They are wonderful on Gesso-ed surfaces- so that is their plus in comparison to the Dylusions but some techniques like the ghosting have on the other hand a better outcome with the Dylusions. So…see it is all about what you want to archive.
Aidorondack Color Wash – these are also water based textile dyes to use on porous surfaces. Like the Maya Mists you can use them on fabric and they can get heat set so that you make them permanent. They are translucent dyes but they cover pretty well. They are VERY concentrated and can be diluted with water a lot and still keep the color and vibrancy. They hold FOREVER. My bottles are very old- probably 5 -6 years (big bottles ;)) and the colors are still awesome and good to use. When you dry them the colorshift is not that high- they stay very vibrant– which I like too. For me it is important that a spray paint is not turning dull once I heat it. So that is definitely a plus here.
 Liquitex Professional Spray Paints are my absolute favorite at the moment -but that is also based on my acrylic paint high right now. These spray paints are acrylic based and highly pigmented. They take a bit practice to use..but oh wait till you get the hang out of them ;) Once they are dried they are permanent…as said they are acrylic paint based. They are super vibrant. They can be mixed with acrylic paints and the color shift is very low. Meaning you see the color wet as you will have the color dried- you get what you see :) Sometimes I am not sure if they are already dried as they shine so much and didn’t change the look much from wet to dry. They dry quick too – which I love, no heating required. They are low odor – which means you can use them in small quantity inside in a very well ventilated area. I recommend on top wearing a mask (I have several windows around and a skylight over my spraying station – so I do not always use a mask if I only use small doses- but do not recommend not using one, don’t sue me…use a mask !). The down side is that the spray nozzles of the Liquitex Professional Spray Paints clog easily due to the acrylic paint drying in the cap. The tip is that you should clear the tube and nozzle after using it by turning it upside down and spraying until it comes out clear. That doesn’t help always- but since the spray caps are industry standardized ones, I just buy them at a graffiti store in bulk (super cheap). I am not sure if in the States there is anything like a graffiti store- LOL- but Liquitex also offers replacement caps.
I also loved to use Golden Montana Spray Paints before Liquitex came out with their Professional Spray Paints. If you want to use the Golden Montana Spray paints you need to know that you can really ONLY use them outside and definitely have to wear a mask on top. I also dislike now that the odor of them hangs in the projects for a long time – which is not the case with using the Liquitex Professional Spray Paints.
For cleaning your fingers I actually recommend using Ranger’s Scrubbie I have never found a better thing to clean my hands after spray painting and believe me I tried A LOT.

The next part in the series is already in the planning. Which Mixed Media topic of favorite supplies would you like to see covered by me in this series?
huge hugs
Nat


Comments (3)
micki7764
| #
oohh all 3 are beautiful but my favorite is the one with the only other color being red :-). As for english translation for farbentupfer – color splatters…. is what comes to mind.
Reply
Sue Clarke
| #
fun LO for sure. i hear Popeye whenever i see that photo of you.
Reply
Elizabeth Kelly
| #
Great job Nathalie, with those “splashes of colour” …which might make a better name than “spots of colour” or even “colour highlights” ;)
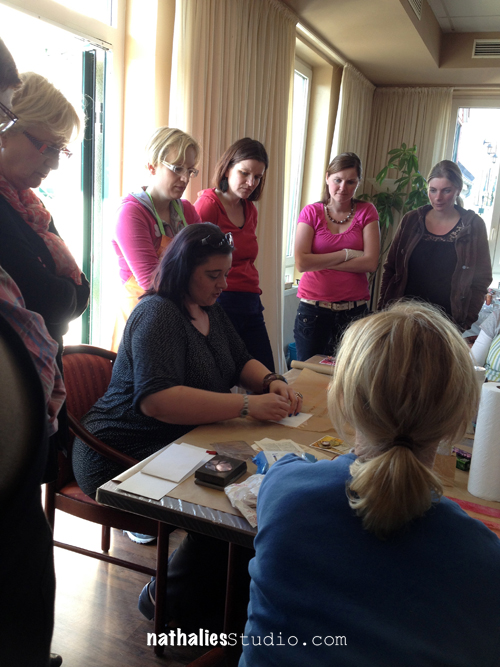
Very brave teaching a mixed media layout class in such a short time!
Reply