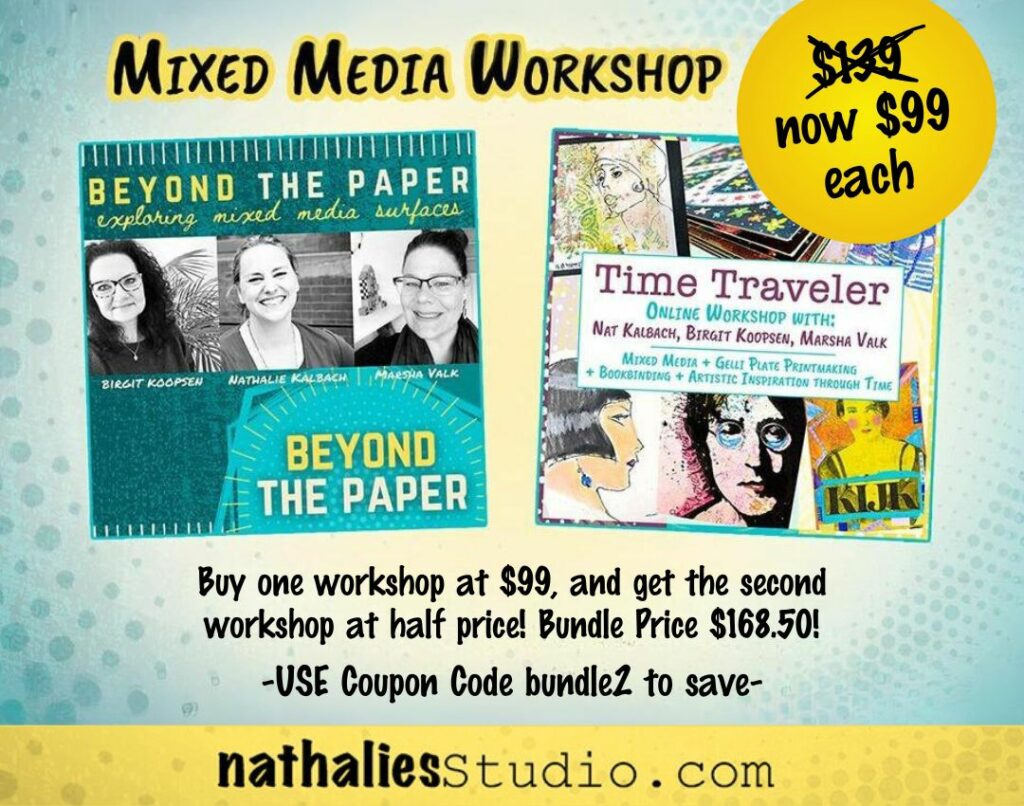
Are you ready to unlock new realms of artistic expression? Our acclaimed workshops, Beyond the Paper and Time Traveler, are embarking on their final journey, and this is your last chance to join us on this transformative experience!
Beyond the Paper: Join us, Nat Kalbach, Birgit Koopsen, and Marsha Valk, as we go beyond traditional substrates and explore exciting mediums like cardboard, Dura-Lar, and fabric. Discover innovative techniques such as foam stamping, printmaking, collage, and stitching. Plus, get your hands on a special Triple Play foam stamp set designed by us!
Time Traveler: Embark on a journey through design periods with Birgit, Marsha, and Nat. Dive into Flower Power, the Roaring 20s, and more, infusing historical motifs into your artwork through gelli plate printmaking and bookbinding techniques.
Starting today, April 23rd, indulge in our last-chance sale with irresistible discounts:
I added three new original artworks to my Shop – each with it’s own unique story to tell. Let’s dive right in and see what they are about:
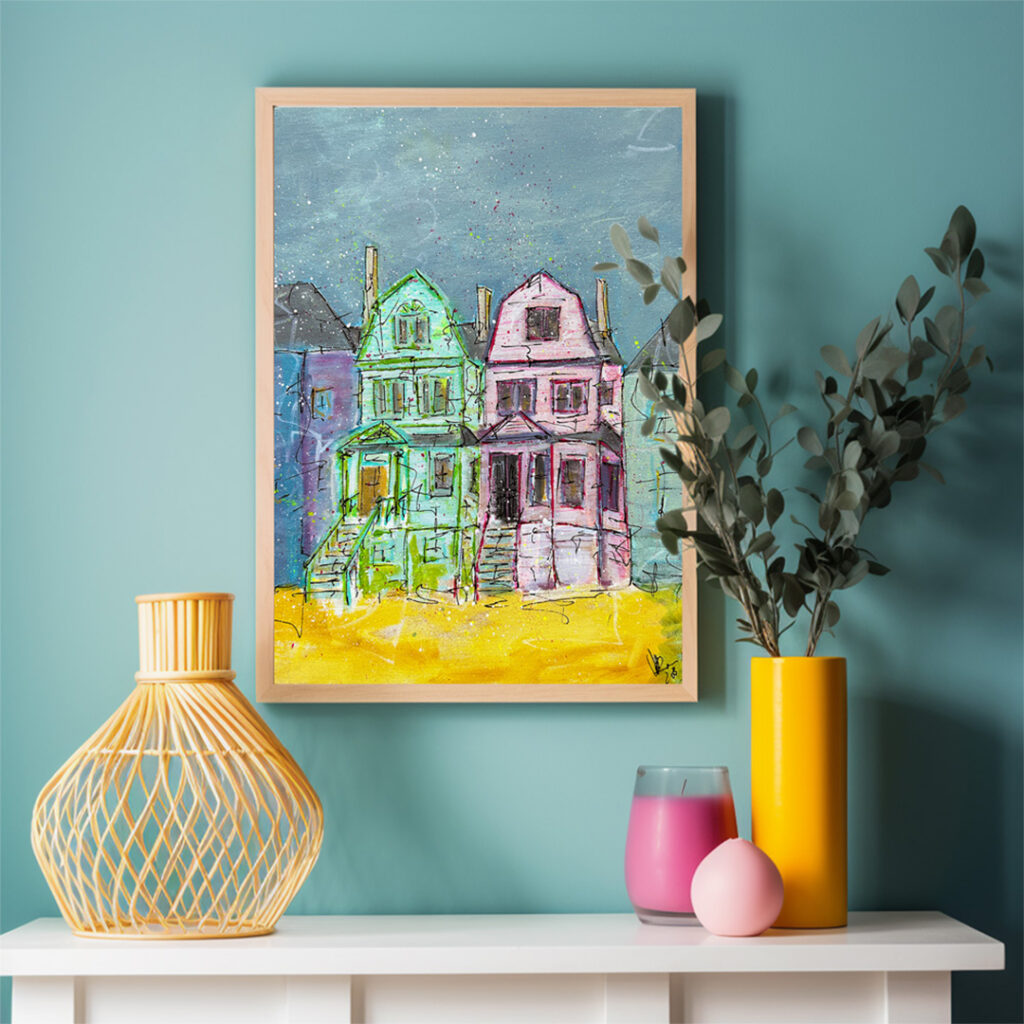
1. #SistersNotTwins
Dimensions: 16×10 inches canvas
Framed: Yes
These twin houses, born from the same blueprint, have aged differently through time. Each bears the marks of its own unique story etched into their facades, creating a captivating puzzle of their shared past. In the heart of Jersey City, such architectural ‘sisters’ continue to whisper tales of change and transformation. Dive into the mystery and charm with #SistersNotTwins. See painting and more details in store.
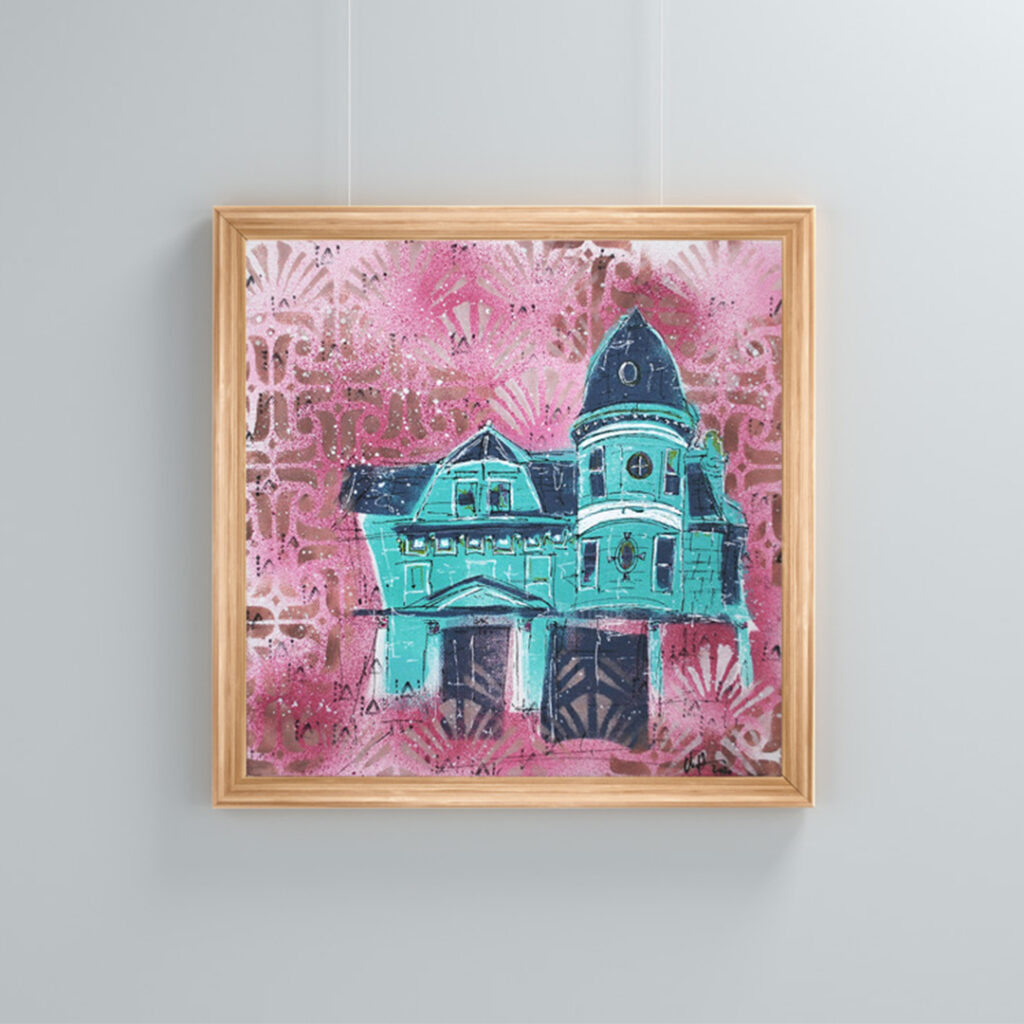
Step back in time to 1922, as Katherine Tennant, daughter of Judge George G. Tennant, exchanges vows in her Queen Anne home. The wedding was a splendid affair, with palms, autumn foliage, orchids, and yellow chrysanthemums adorning the venue. Immerse yourself in the romance and elegance of Katherine’s Wedding. See painting and more details in store.
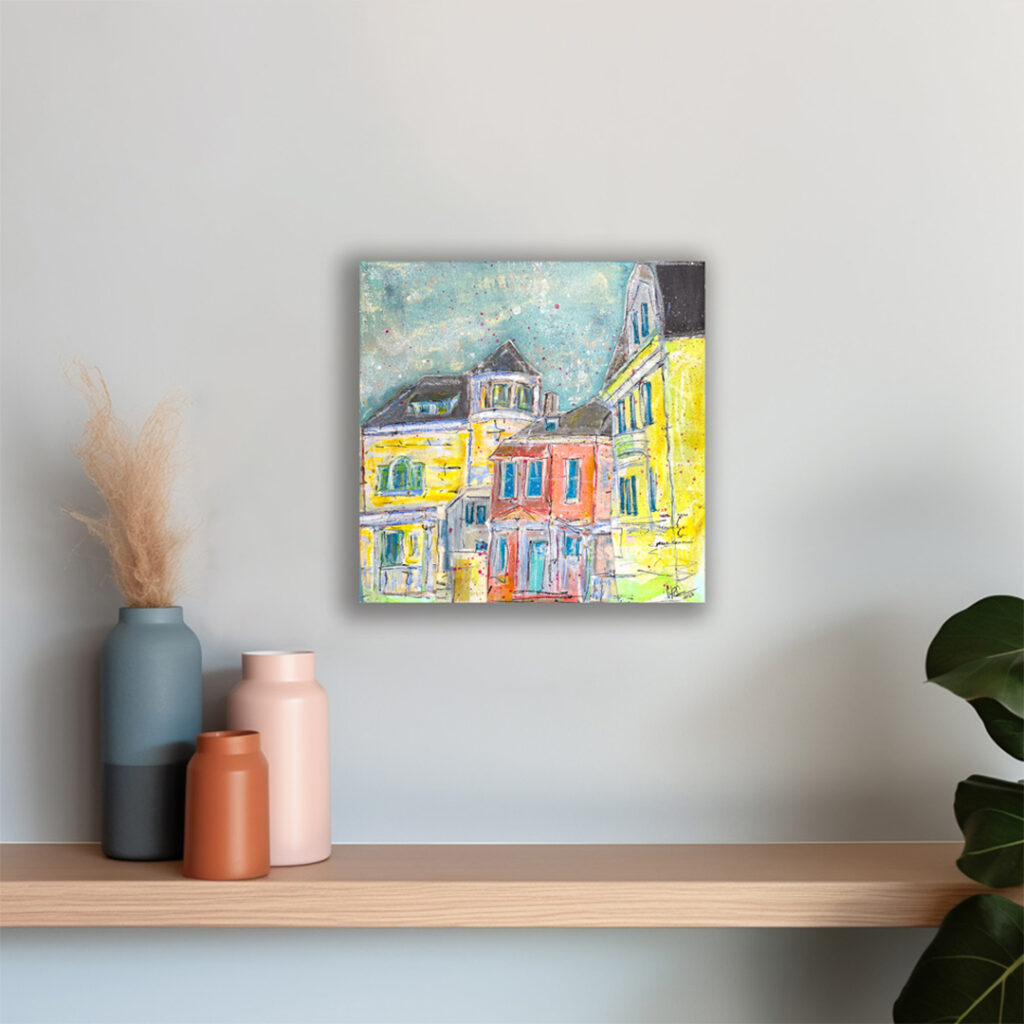
American Brilliance – named for its exceptional brilliance due to the high lead content of the glass – takes you back to a time of opulence and prestige. The Jersey Journal often mentioned people’s houses in connection with families who owned exquisite cut glass, symbolizing domestic grace and societal prestige. See painting and more details in store.
I hope you’re as captivated by these pieces as I am. If you have any questions or if one of these artworks speaks to you, feel free to reach out. Let’s find a forever home for these pieces- it would mean the world to me.
I hope this post finds you wrapped in the warmth of creativity! I am excited to share some delightful updates with you!
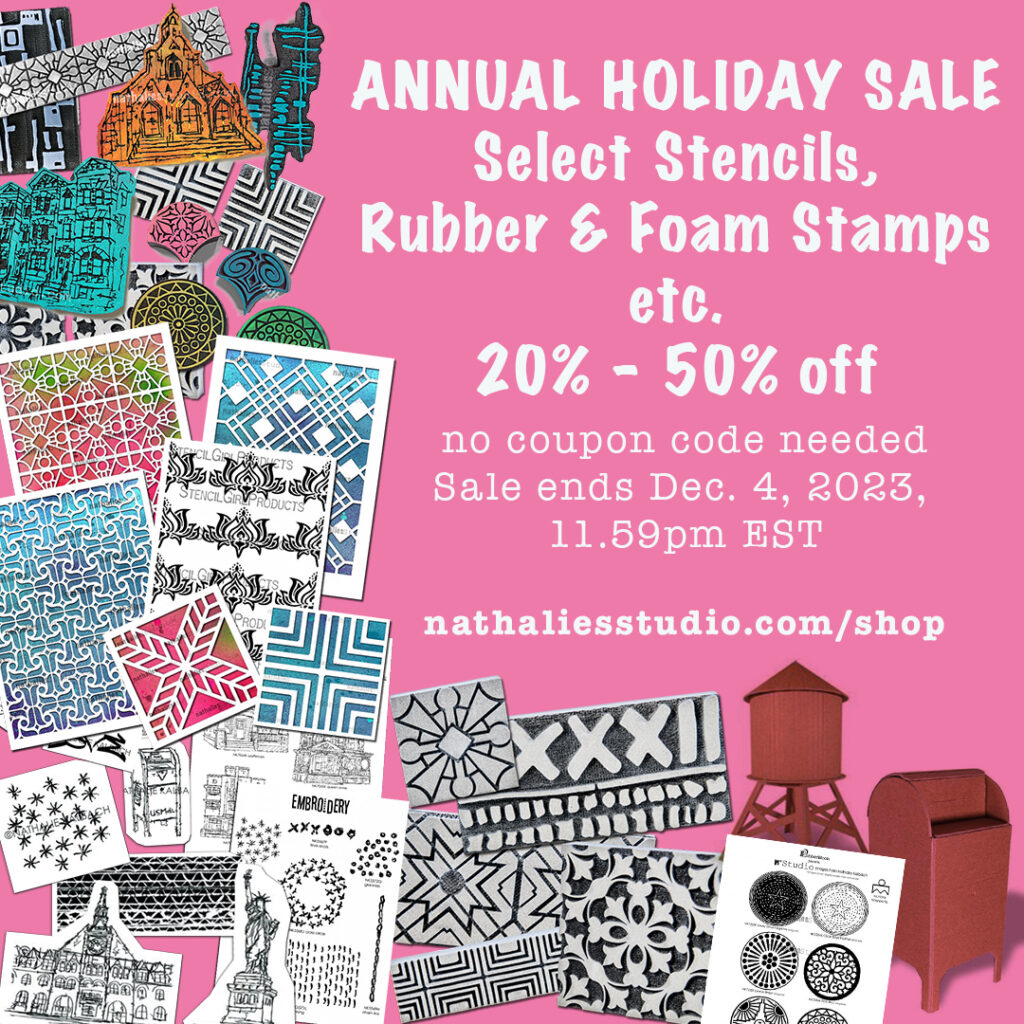
ArtFoamies Foam Stamps, Stencils, Rubber Stamps, Original Artwork, and Online Workshops – All on SALE! 🌈
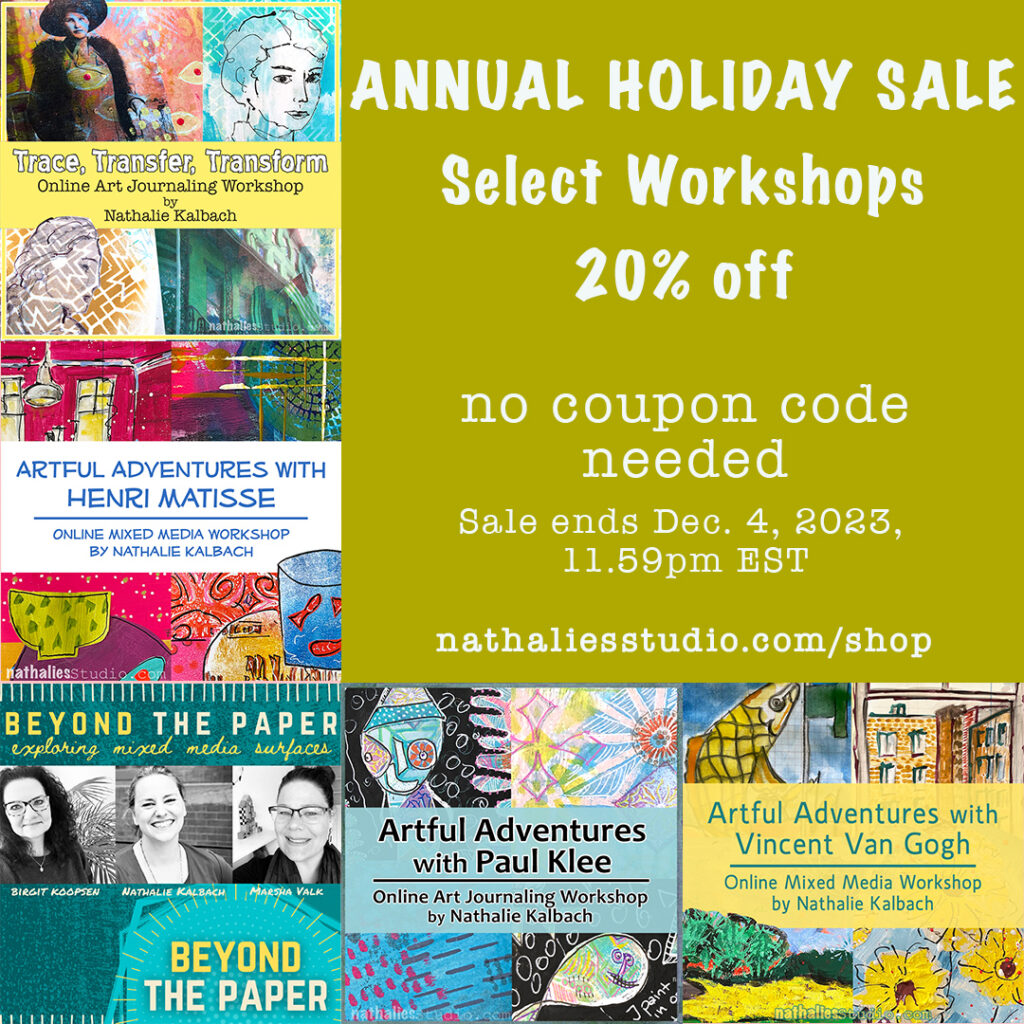
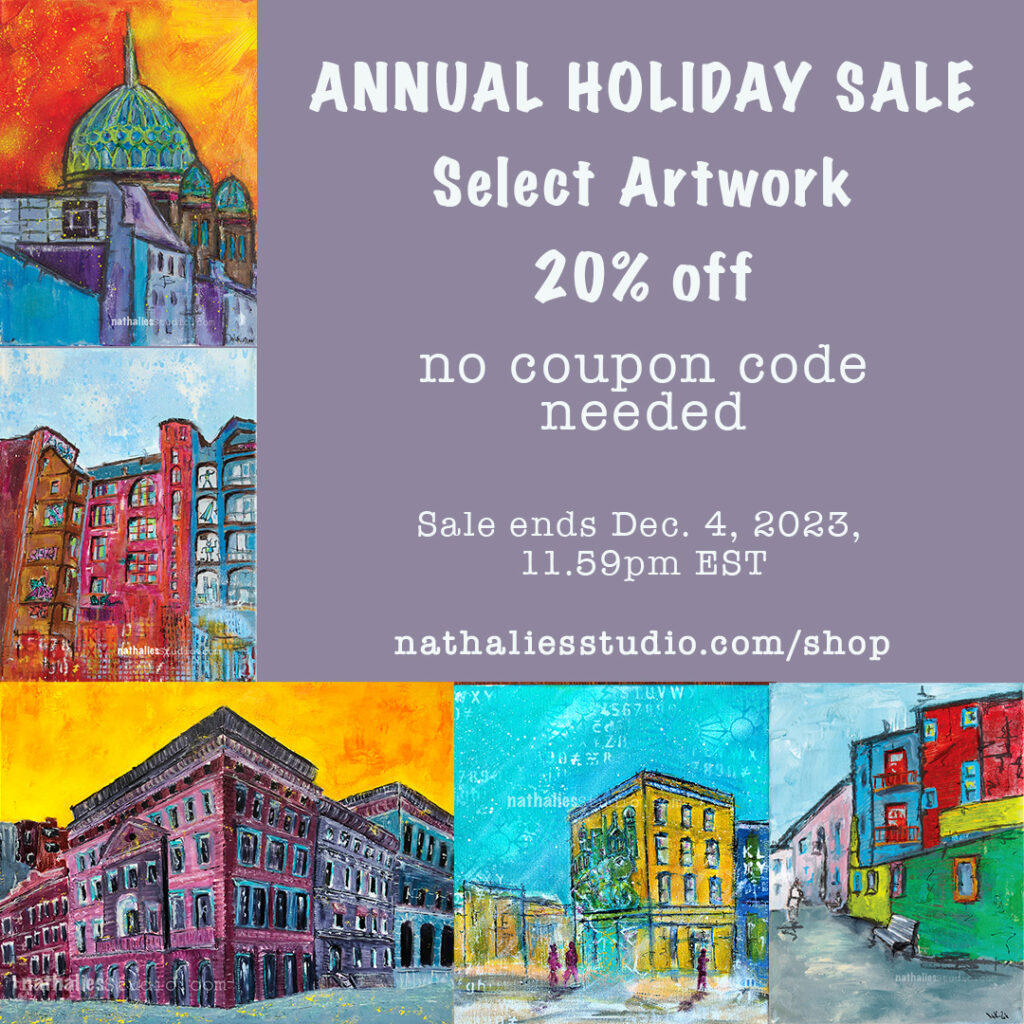
Now, not only are my favorite Foam Stamps up to 50% off, but I’ve also added select Stencils and Rubber Stamps to the mix, all at a fantastic 20-40% discount! That’s not all – selected pieces of my original artwork and online workshops are joining the celebration with a 20% off deal!
No coupon code needed, and the sale is on until December 4th, 11.59 pm EST or while supplies last. Don’t miss this chance to bring a burst of creativity into your holiday season!
Image transfers can be done in lots of ways and I personally love experimenting with them in my artwork and art journal. Sometimes you want to include a photo image directly into your work and a transfer is a way to incorporate it more seamlessly.
I cover some of my favorite techniques in my Trace, Transfer, Transform online workshop to help you get started with image transfers. It can be daunting and a bit of practice and guidance can be just the thing. One important aspect about transfers to remember is that even imperfect transfers can add to your piece in unexpected ways.
Experimenting and playing will get you in the groove and open your eyes to the possibilities.
It is like a form of visual collage that adds to the layering and texture. And it’s just really a blast to fool around with to see what happens. Sounds like the kind of thing for you? Here’s a peek at my Trace, Transfer, Transform workshop:
Hello from my Creative Squad! Today we have a post from Jordan Hill who is sharing an art journal page with a special self portrait technique to take on our theme this month: I am a Collage – We are all complex beings with many different facets. Create a “self portrait” piece using collage to represent parts of yourself, either literally or in an abstract way.
Happy October, everyone! I’m really happy to be here and sharing this project with all of you! When I was presented with this month’s theme of “I Am A Collage”, I immediately had an idea for a technique that I wanted to experiment with, which is quite different from things I’ve done in the past. I hope you enjoy following along with me!
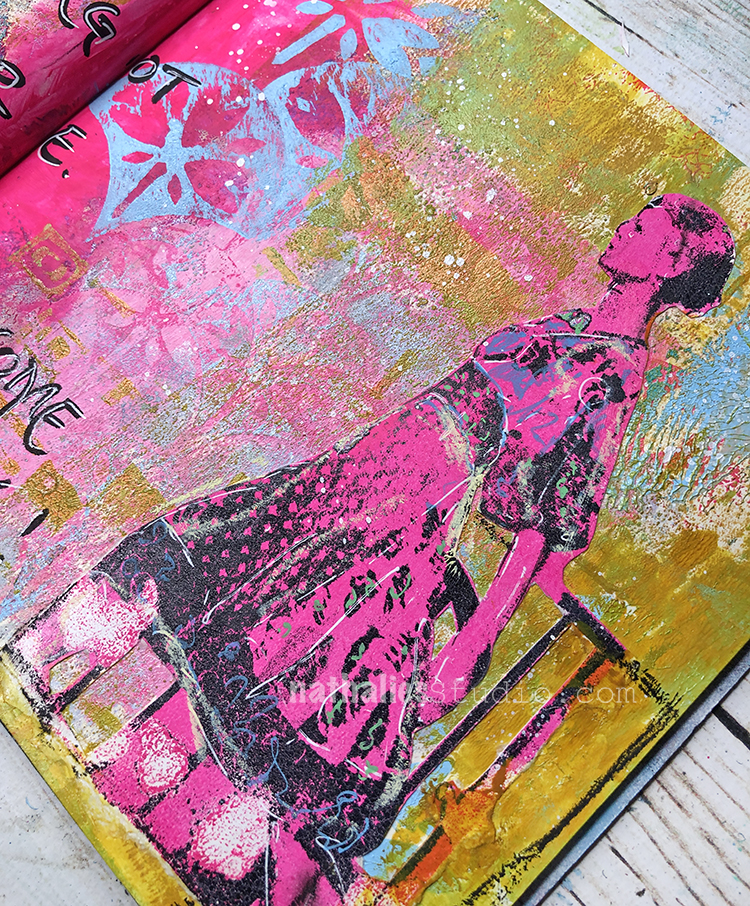
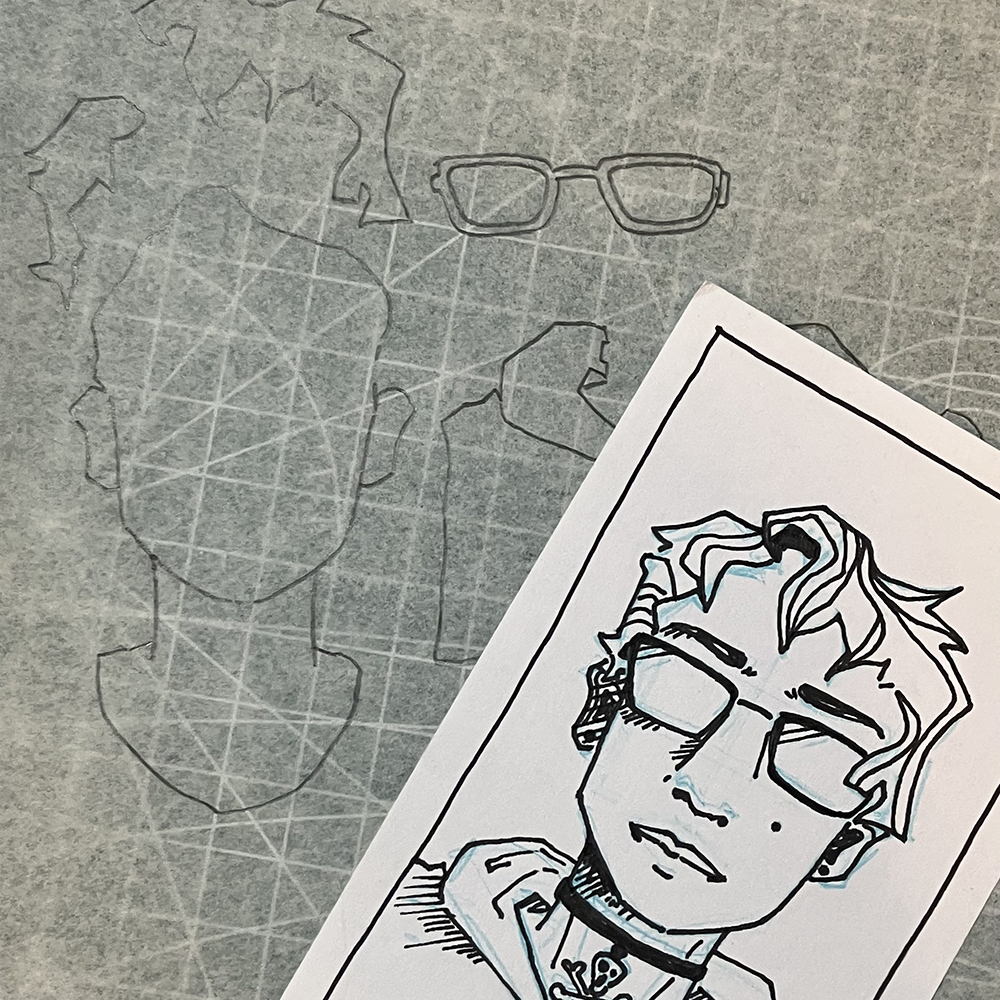
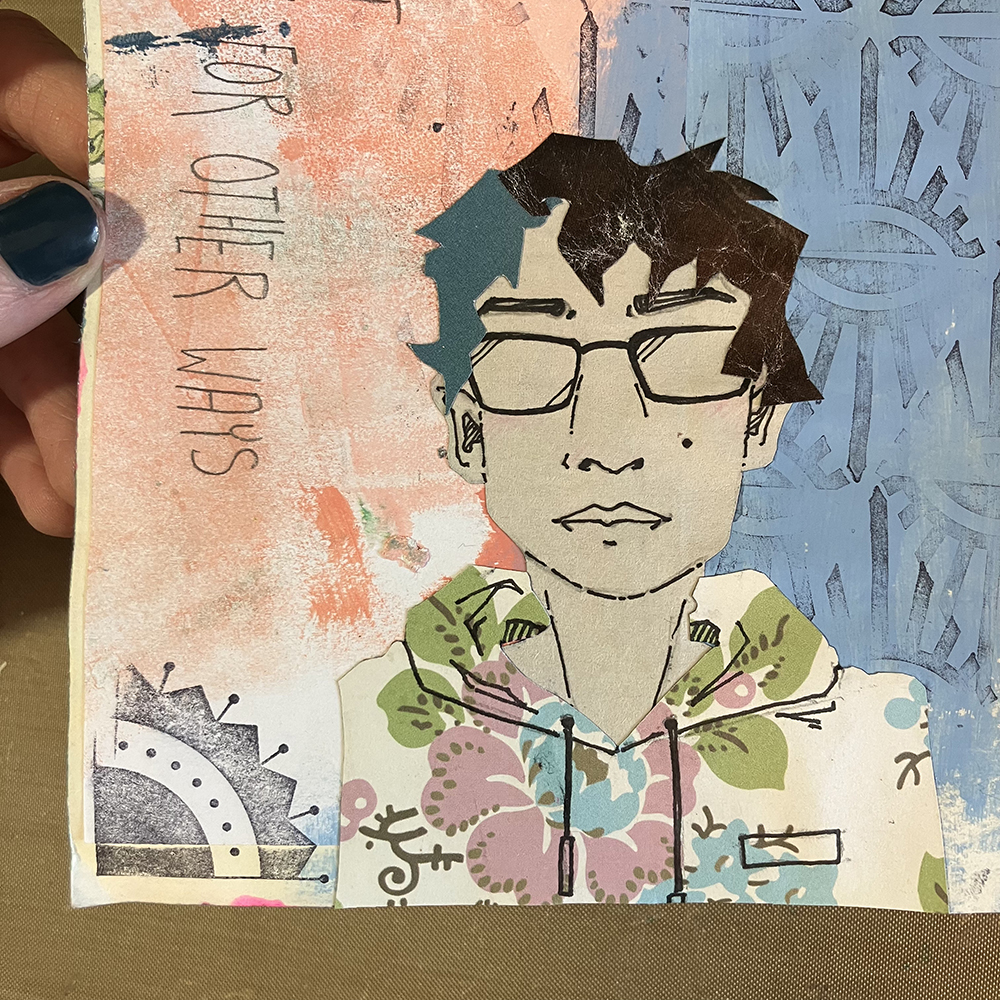
I started this page with a self portrait I had already drawn and a piece of tracing paper. You could just as easily use a photograph to achieve a similar result, but I really liked this drawing and wanted to work with it. I then placed the tracing paper over top of the self portrait and drew the portrait in chunks. I did one chunk for the face and neck, one for the shirt, one for the glasses and two separate pieces for the hair (the left and right sides). I don’t end up using the glasses.
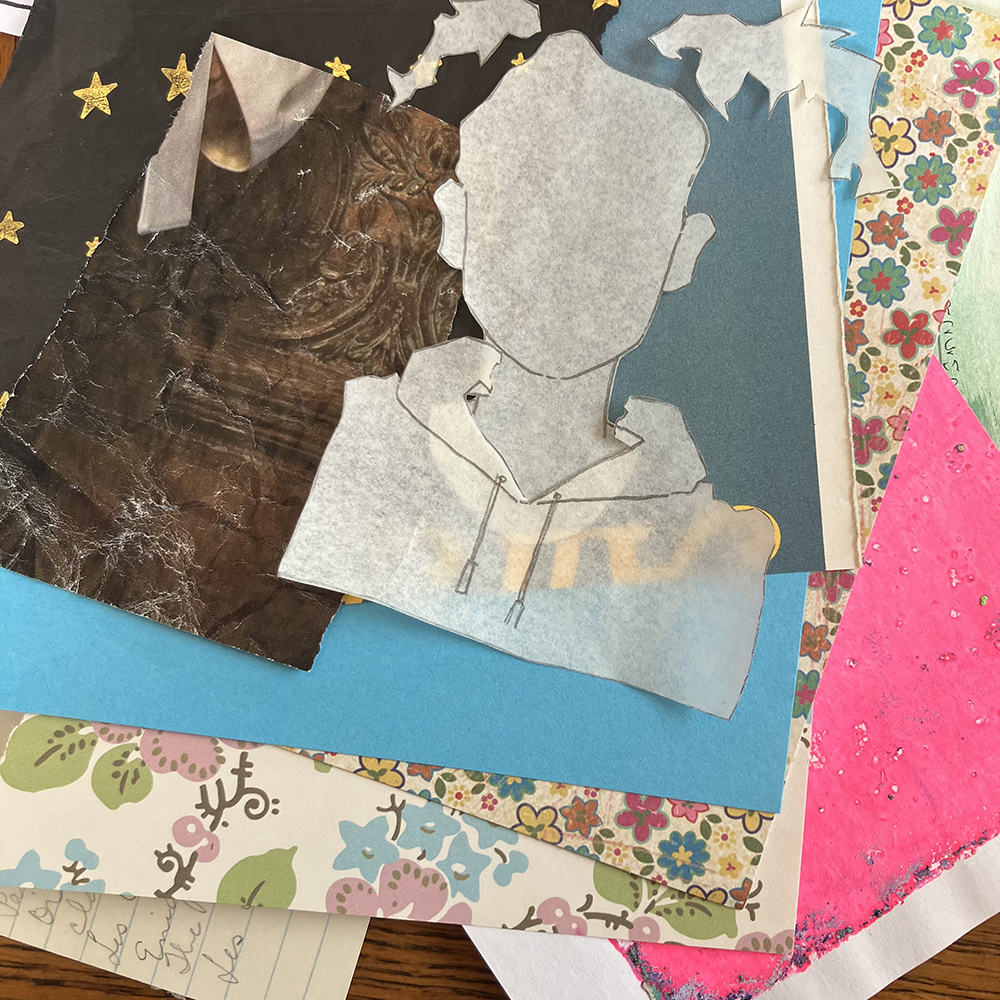
Next, I cut out the individual pieces of tracing paper to create patterns. I then selected some scraps of paper, traced my patterns onto the back of them, and cut them out with scissors. For more intricate pieces, you might consider using an X-Acto knife.
Once my pieces were cut out, I added a few more details onto the pieces using a black ink pen. This allowed me to add in the facial features and some folds and wrinkles to the sweatshirt without as much trouble as a lot of fiddly paper bits would have given me.
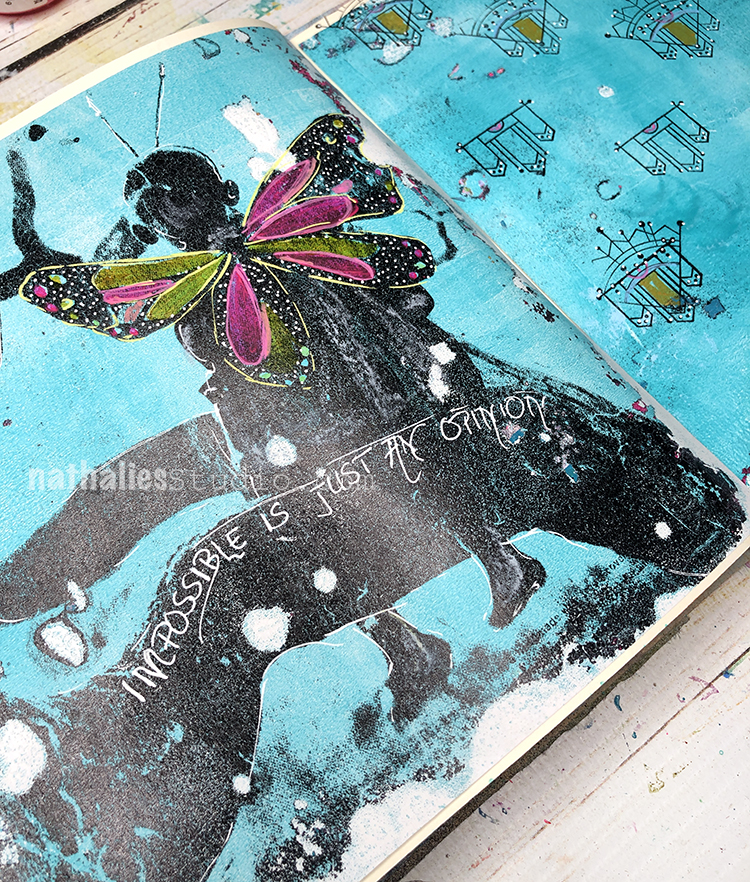
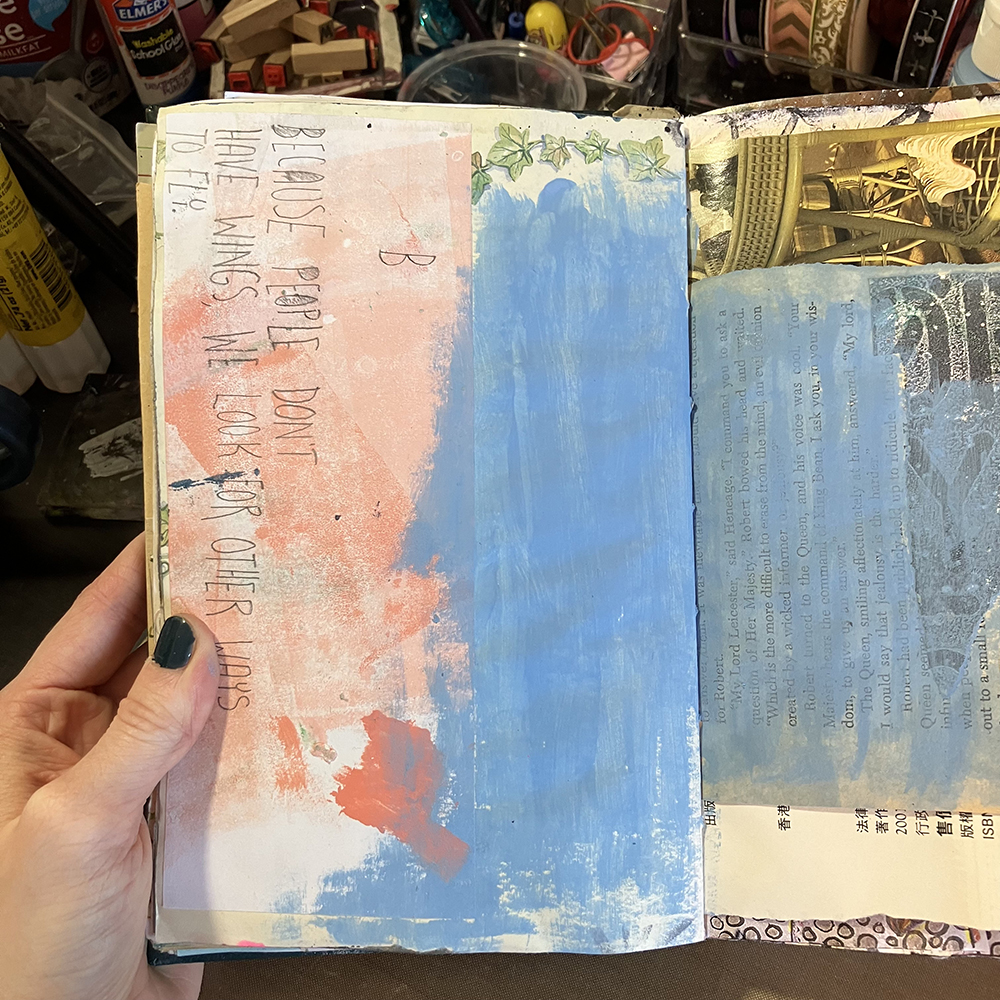
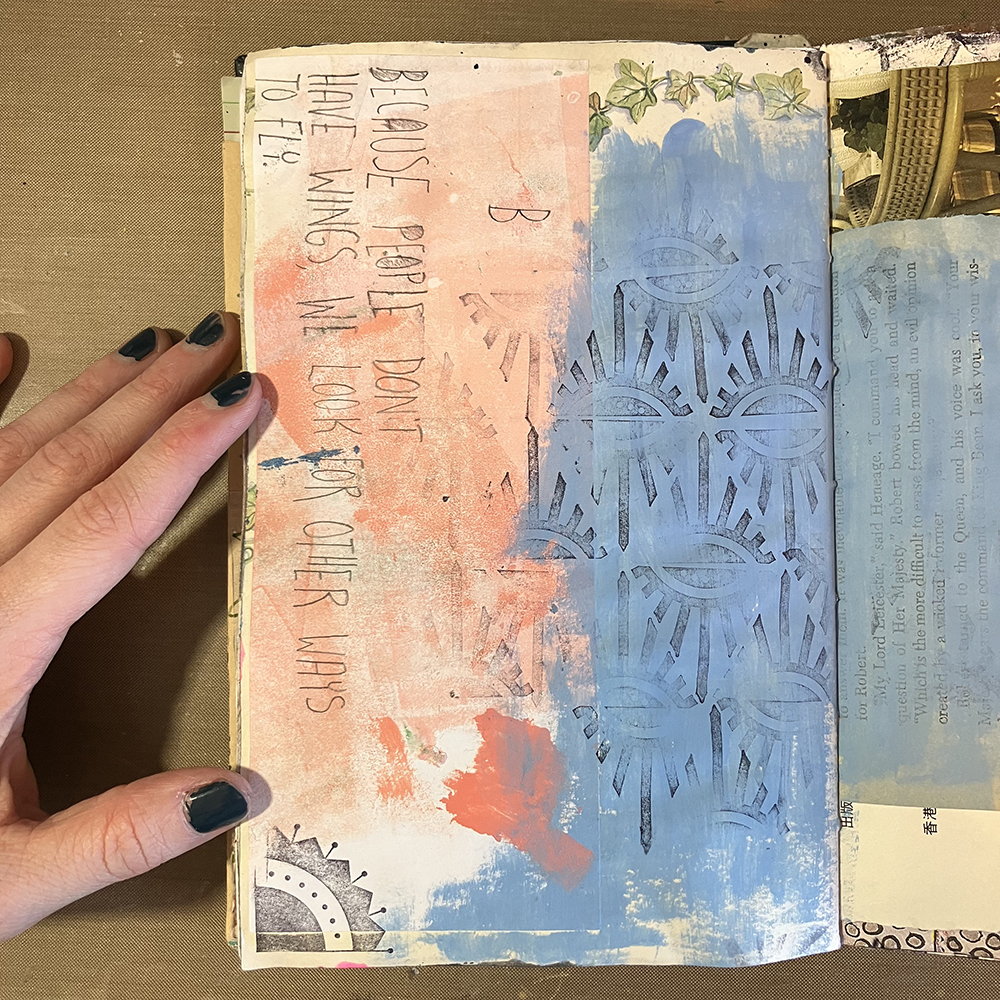
I then selected a page in my journal to work on. I ended up going with this one because of the quote along the left hand side of the page. I actually used this same quote on the Creative Squad project I did back in April; it is from a show/manga called Haikyuu!! I figured that it would be fitting to use something that is that important to me as part of this month’s theme.
Next, using two of Nathalie’s rubber stamps (the Empire Triangle Stamp and the Arts and Crafts Motif Stamp), I added some texture and interest to the background. I used the Arts and Crafts Motif in the lower left hand corner, and used the Empire Triangle Stamp to create a pattern across the background.
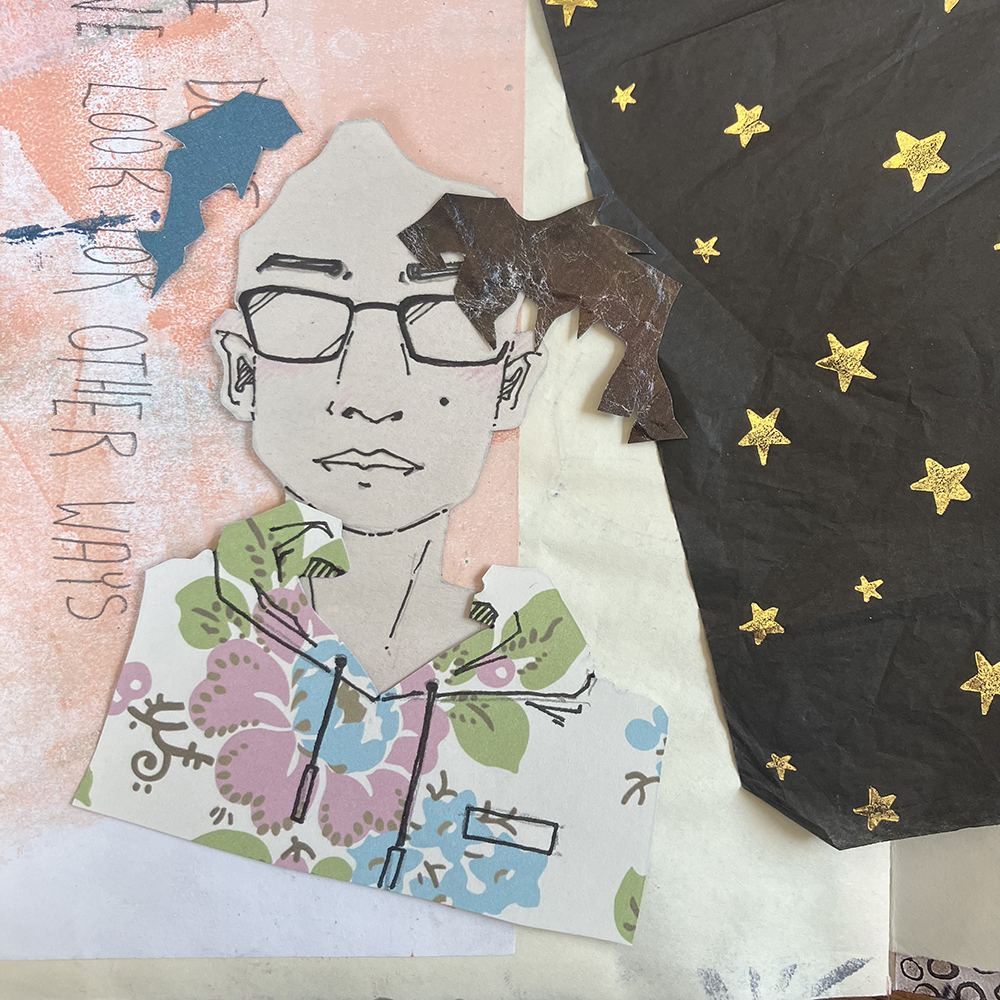
It was then time to add the focal point. Using the different pre-cut scraps of paper, I glued them to my background in layers, overlapping where necessary. I used a glue stick to adhere my pieces.
After my collage pieces were adhered to the page, I added more details to the pieces. I outlined some areas in solid black in order to help them stand out against the page and used a few Crayola markers to add color to the face. I also gave myself a nice Halloween-esque skull choker, which was part of the original self-portrait.
Finally, to finish the page off, I added a thought bubble shape using black acrylic paint and outlined it several times with a white gel pen. I haven’t added anything inside this thought bubble yet, but I think it will be a great place to add some journaling in the future. I hope you enjoyed following along with the process of this page and that you consider trying this technique for yourself in the future!
Thank you so much Jordan! I love how you created the self portrait and how you added different elements with various amount of details – it is a perfect example on how complex we are as human beings – we do have many facets.
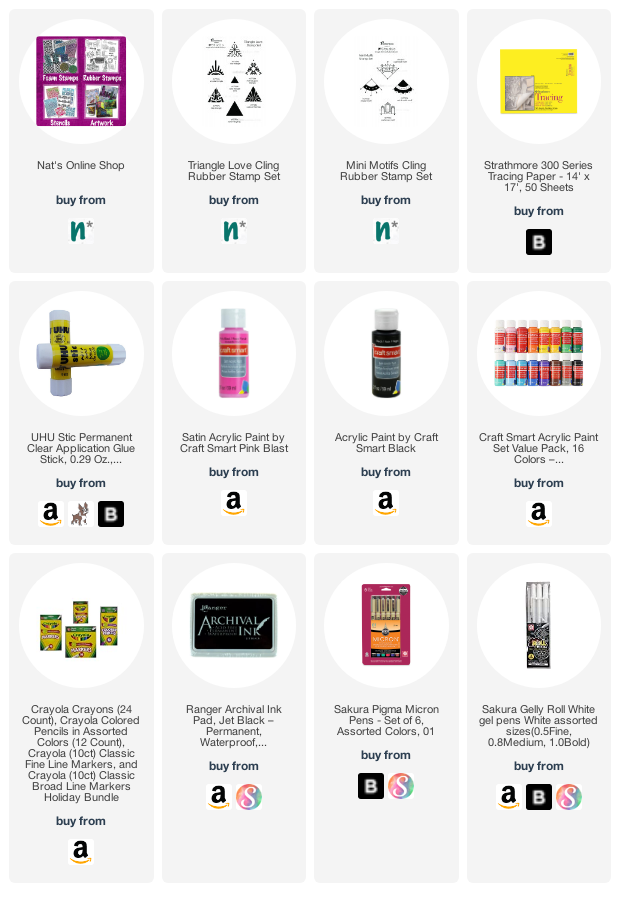
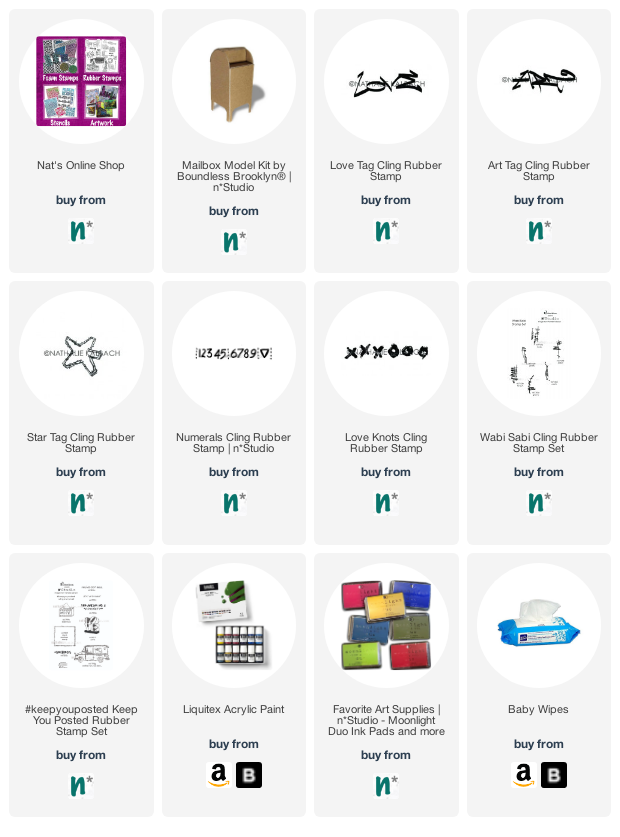
Give it a try: you can find all my Rubber Stamps in my Online Shop ; here are some of the supplies Jordan used:
Looking for more projects? Follow the Creative Squad on Instagram here.
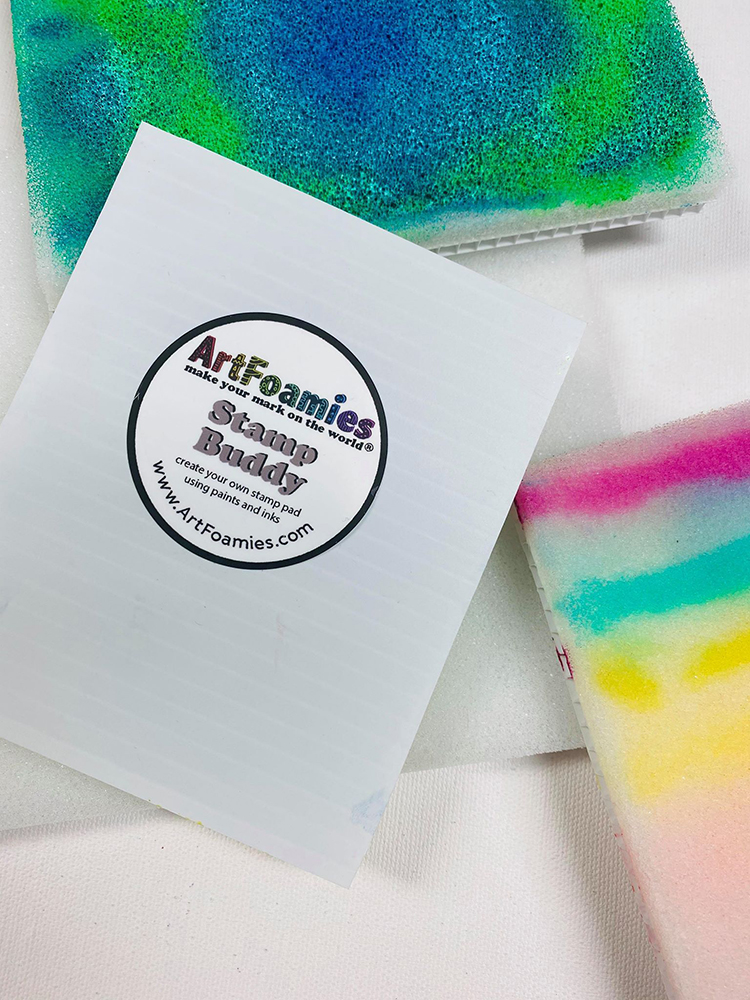
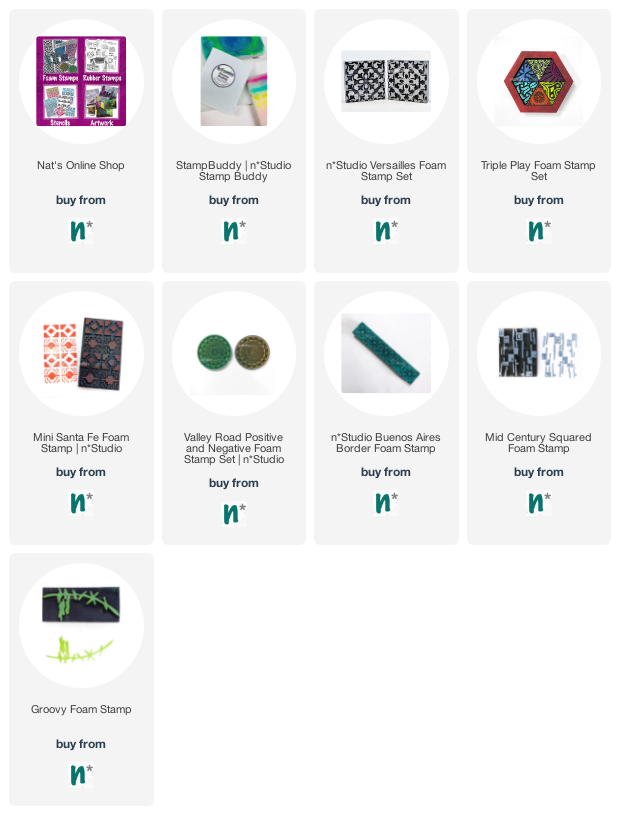
I want to share with you one of my favorite tools to use with foam stamps – a StampBuddy! It’s a nice soft nappy foam surface that you can use with paint media so that it becomes an ink pad for your foam stamps. This is my go-to technique when I want to do a lot of repeat stamping for say making a repeating pattern, background, gift wrap, and such. If I know I want to stamp the same color over and over in an efficient and clean way, I use a StampBuddy.
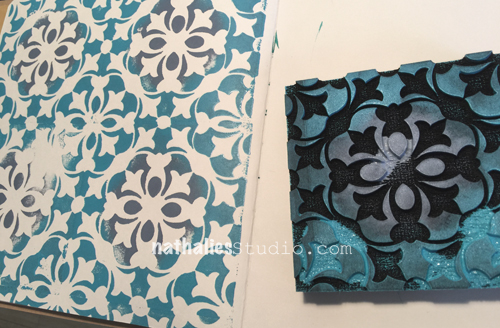
A Stampbuddy holds your paint media, keeping an even amount ready to go for your stamping. I generally apply paint to it using a paintbrush or an old gift card/key card, spreading it around in the area I need. You can get a good overview of my process in this blog post where I use my Versailles Positive Negative set and a few colors of acrylic paint for a colorful pattern. Check out the post here.
See a StampBuddy in action – here’s a recent video I made for the Beyond the Paper workshop that shows how you can use a StampBuddy for complex patterns with multiple colors. In the video I am using the Triple Play stamp set.
In the video, you see a trick that I use often – stamping onto the StampBuddy with an archival ink to have a guide. This helps me use multiple colors at the same time and it helps with registration. You can see me doing it in this video as well:
Of course you don’t have to do this. Creative Squad alum Michelle Rydell shows us in this post how she stamps the Versailles set with excellent results:
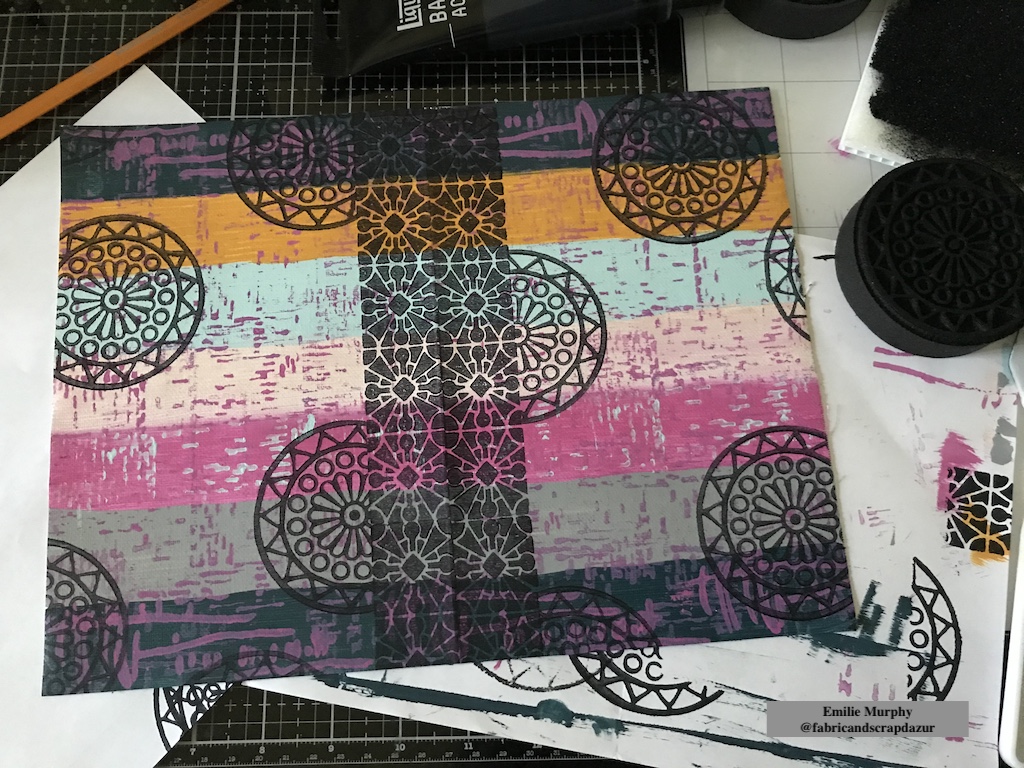
Using one color is a snap too – it helps make crisp, efficient impressions. In this post Creative Squad Alum Emilie Murphy uses her StampBuddy to stamp my Valley Road and Buenos Aires Border stamps with black paint.
Maybe fabric paint and sewing projects are your jam? I’m a fan too and I recommend taking some pointers from Creative Squad alum Marsha Valk in this post – she uses a StampBuddy with my Mid Century Squared and Groovy foam stamps, along with acrylic paint and fabric medium. After stamping on her fabric, she creates a really cool tote bag.
The StampBuddy will hold a lot of paint, so use it only if you have time to actually use it up in one session or when you want to do the different color method.
You can store the StampBuddy with paint in a ziploc bag for a day or two if you want to continue stamping the next day but if it is not a lot of paint in there, it will dry into the StampBuddy and then you cannot use it anymore- be careful
I used the paint up by stamping a sheet of gift wrapping paper – boom – one sheet down for the next presents.
Clean the StampBuddy when you are done with your creative time, wash it out with water until the water is clear. The stamped archival ink impression will remain on your StampBuddy. Do not let paint dry on the StampBuddy
Clean your Foam Stamp – I know there are different approaches- I do not clean it super crazy scrubby, but I want most of the acrylic paint off. For me this is a foam stamp and it should remain cushiony as this is what creates this kind of impression and it also lets me use other paint media than just acrylic paint on it.
Onlyuse a small amount of paint with your StampBuddy – you will be surprised how far it will get you and it also prevents paint from seeping into the creases of your stamps- which a) wastes paint, b) makes it harder to clean up your stamp, and c) gives less nice stamped images.
I hope this has helped you see how you can use a StampBuddy the next time you get your ArtFoamies out for some fun.
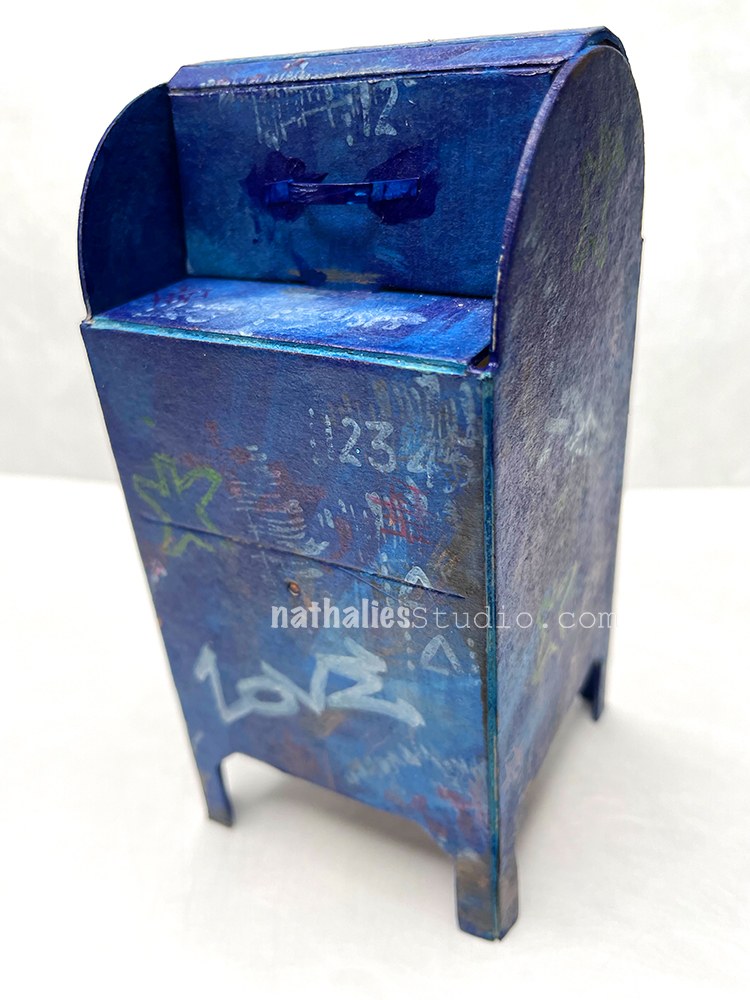
Since I was a child I have always been obsessed with anything miniature and so I had to have this mailbox and some other stuff you can see here. These adorable model kits are super fun to build and then personalize with some mixed media supplies.
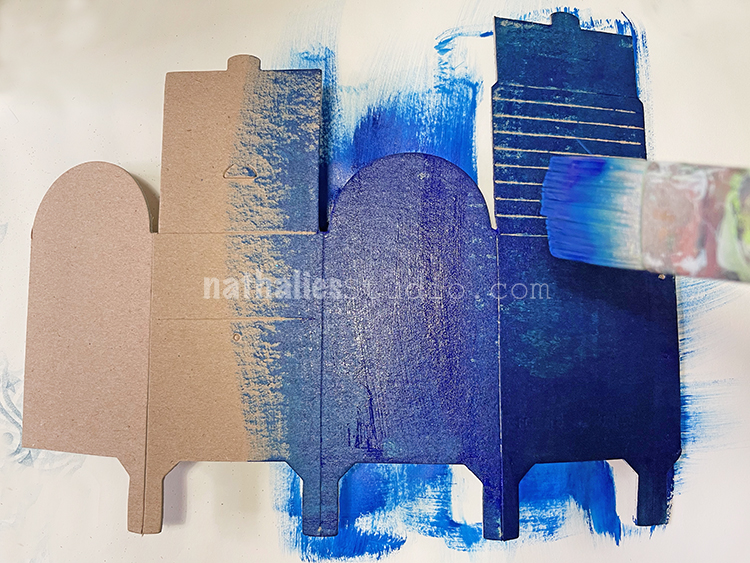
I painted the kit with acrylic paint – it arrives flat and includes glue dots for easy assembly.
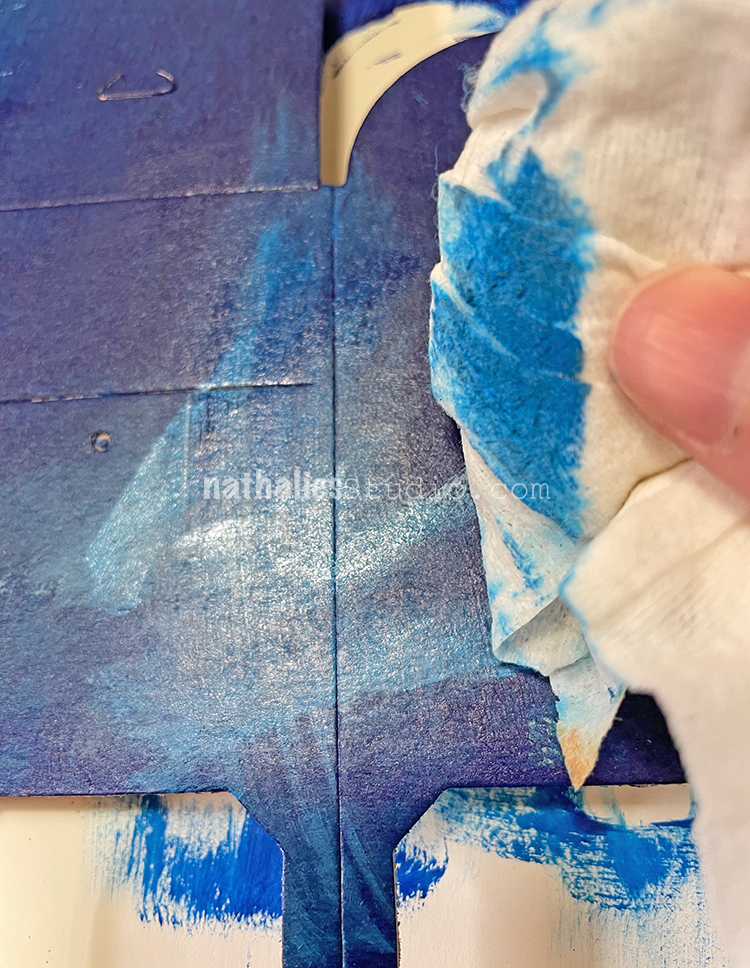
I added some lighter blue and brown with a babywipe to make it more weathered looking.
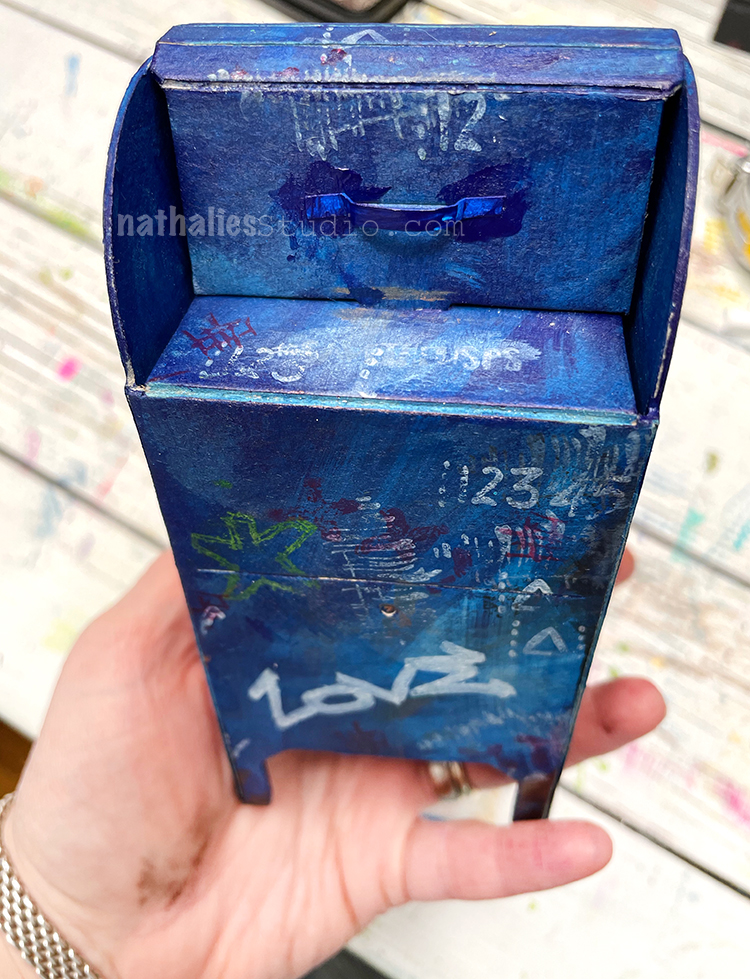
Then I pulled the form together and secured with the glue dots. Looking pretty awesome already – just like the real USPS mailboxes you see on street corners in towns and cities all over the US!
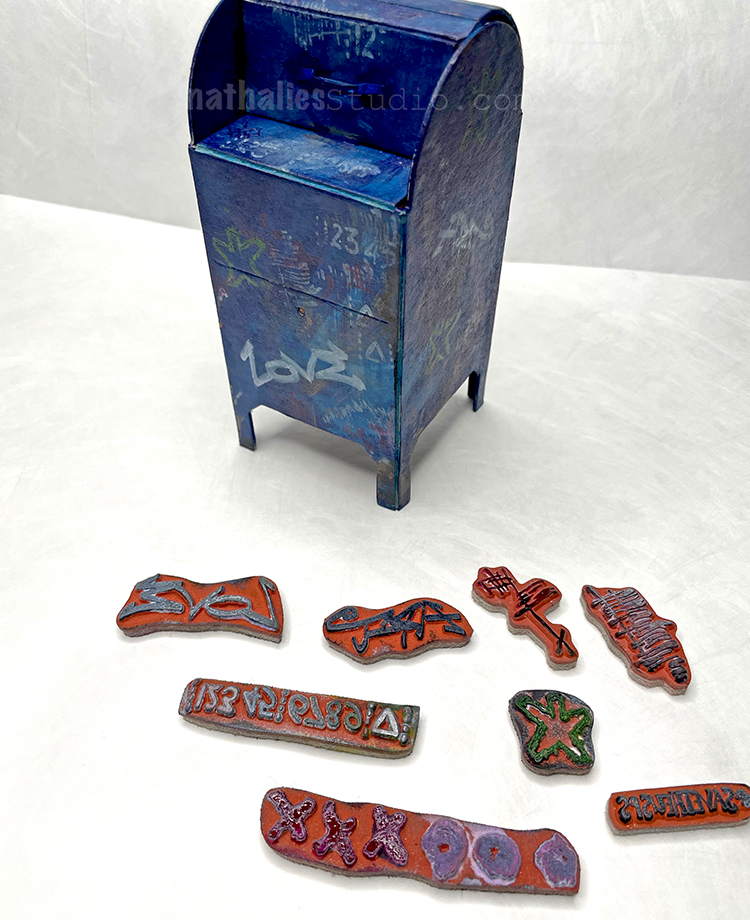
Next I spiffed it up with my Love Tag, Star Tag, Numerals, and some of my other rubber stamps and different inks – more layers to give it that real feel with graffiti and just general grunge. In my hand you can get a feel for the size – I can’t get over how cute this little Mailbox is :)
You could of course go with whatever color or stamp and stencil decoration that suits you.
Do you like this mini version of a mail box? I could build a hole city if you let me ;) LOL.
When I was a kid a million years ago there were mailboxes scattered throughout residential neighborhoods. We had one around the block from us & I would get great joy walking my Mom’s cards to be mailed there. She mailed cards to everyone for any occasion & I have to admit I do the same.
Oh my gosh!!!! This is adorable. I love the way you decorated it too! Mindy is obsessed with little things! This is a must have foe me! I’m ordering a few today!
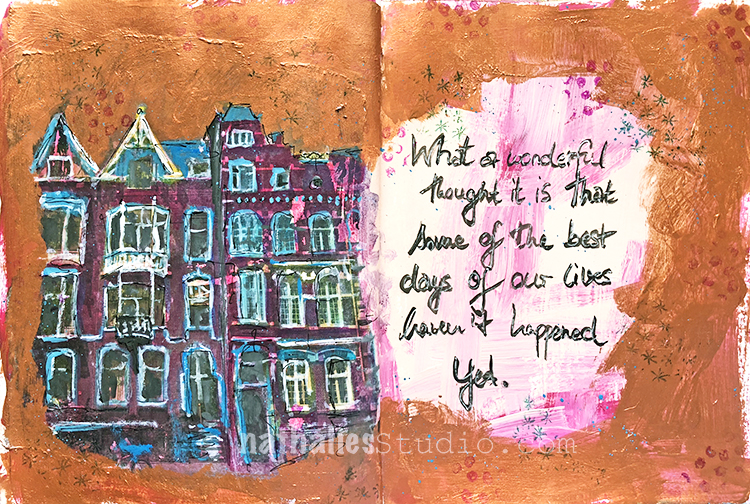
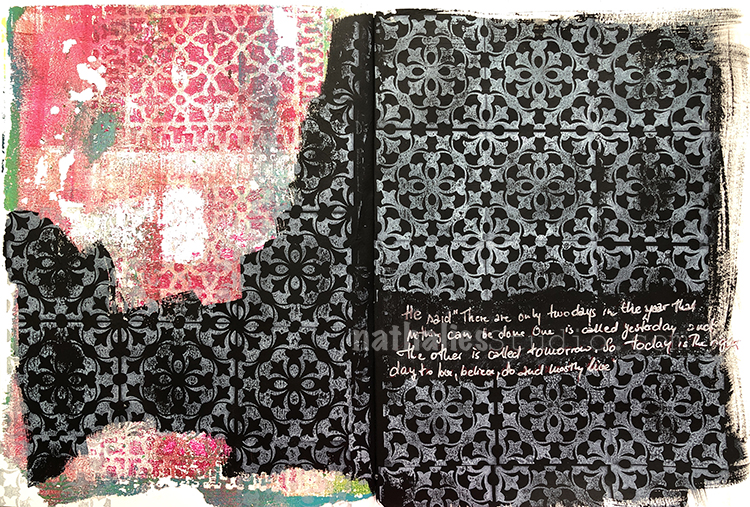
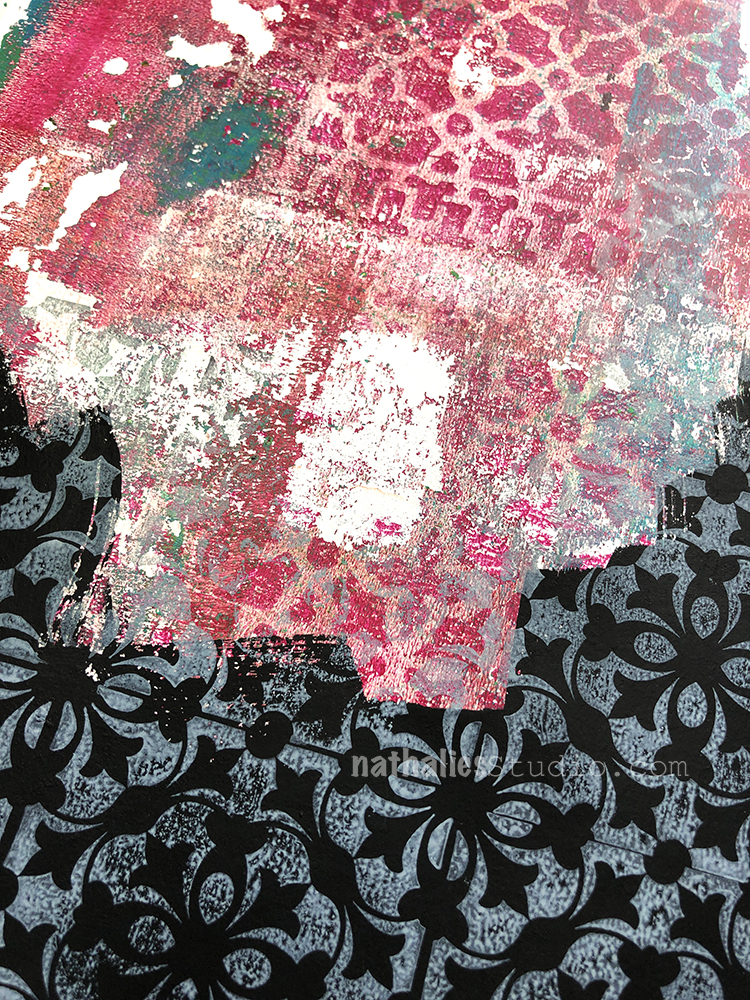
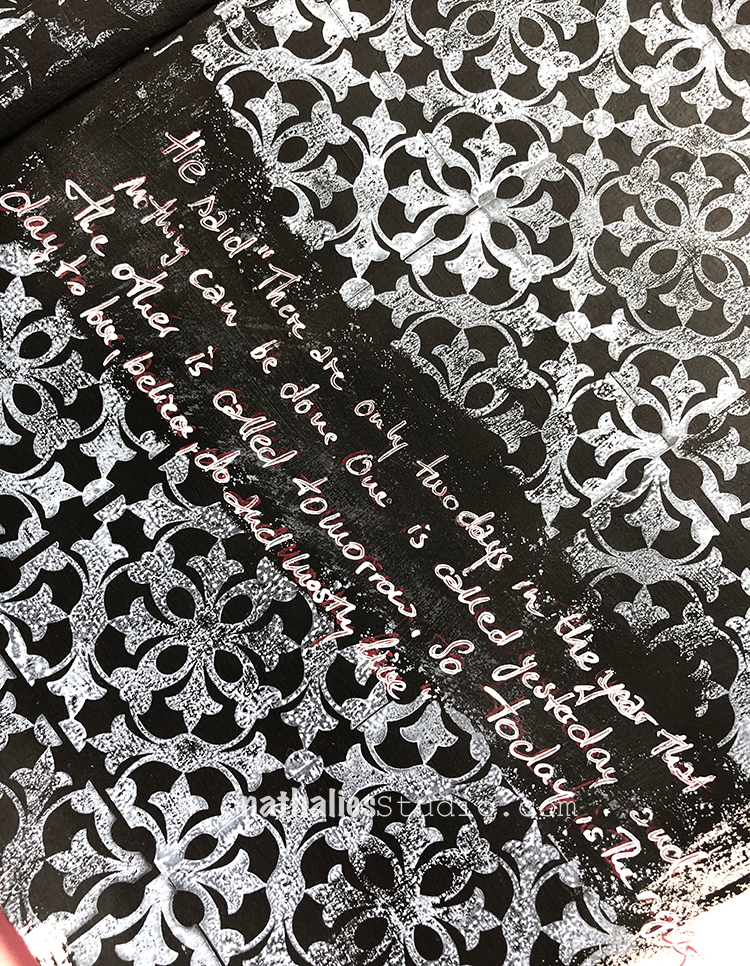
“He said: “There are only two days in the year that nothing can be done. One is called yesterday and the other is called tomorrow. So today is the right day to love, believe, do and mostly live.”
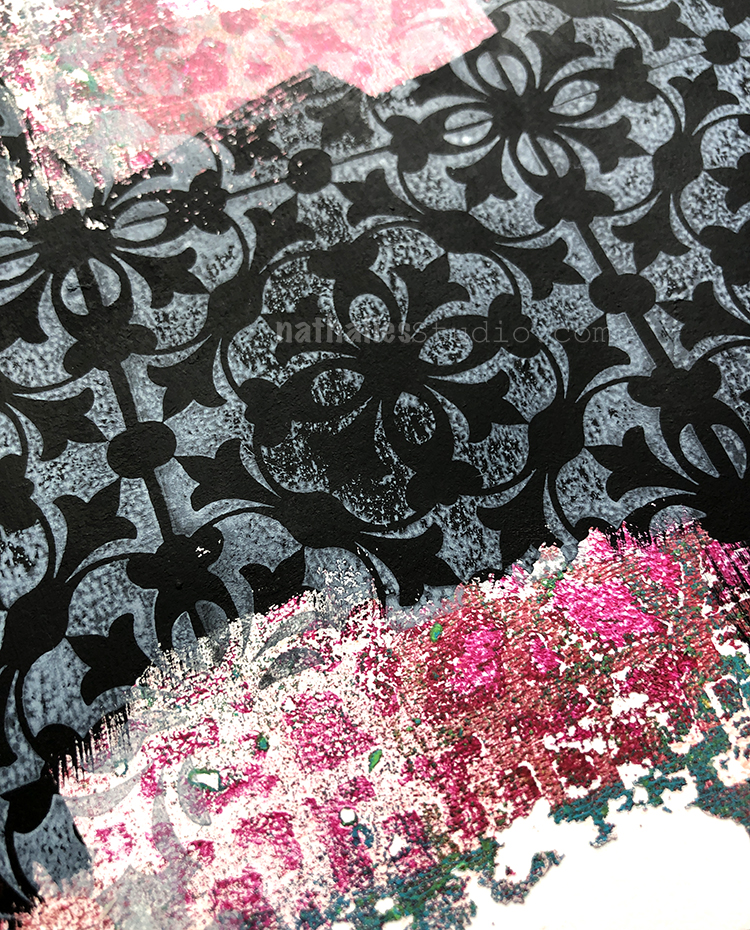
The red/pink part of the Art Journal spread was done with some mono printing on a gelli plate. I used my Downtown Foam Stamp onto the plate and love how the pattern came through.
I painted part of the spread over with black gesso and once dry stamped on top with the Versailles Stamps from my Large Floral rubber stamp Set. For the white I used the second white pad in the Moonlight Duo Stamp Sets. So cool – once the white is dry it is permanent and it is pretty opaque as you can see.
I really love how this turned out – there is something about the grungy look of the monoprinted part and the black and white that just speaks to me.
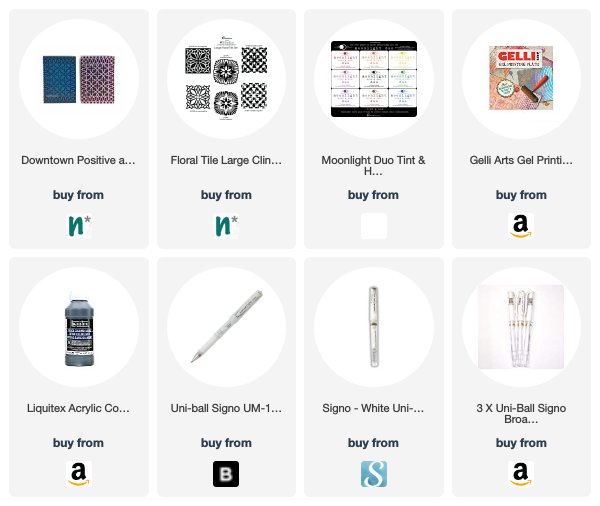
Here are some of the supplies I used for this page:
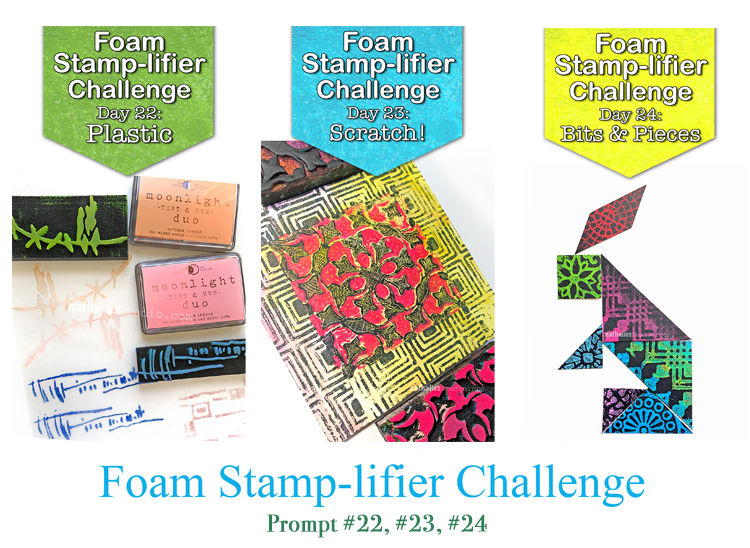
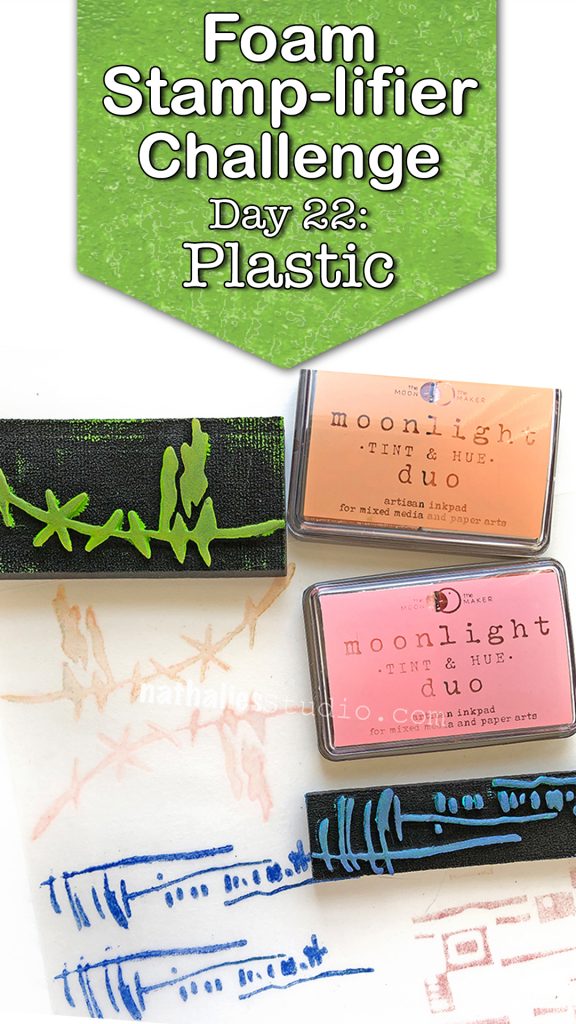
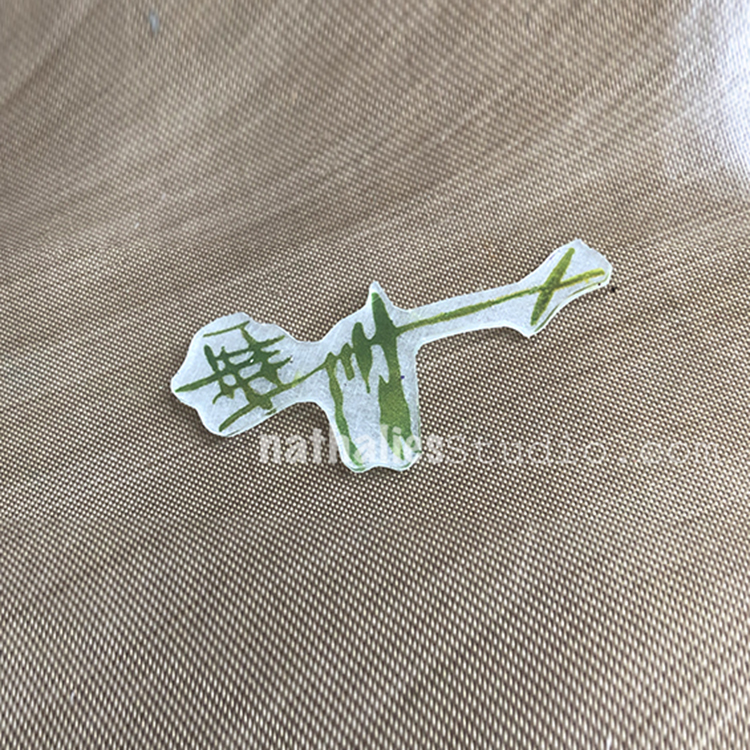
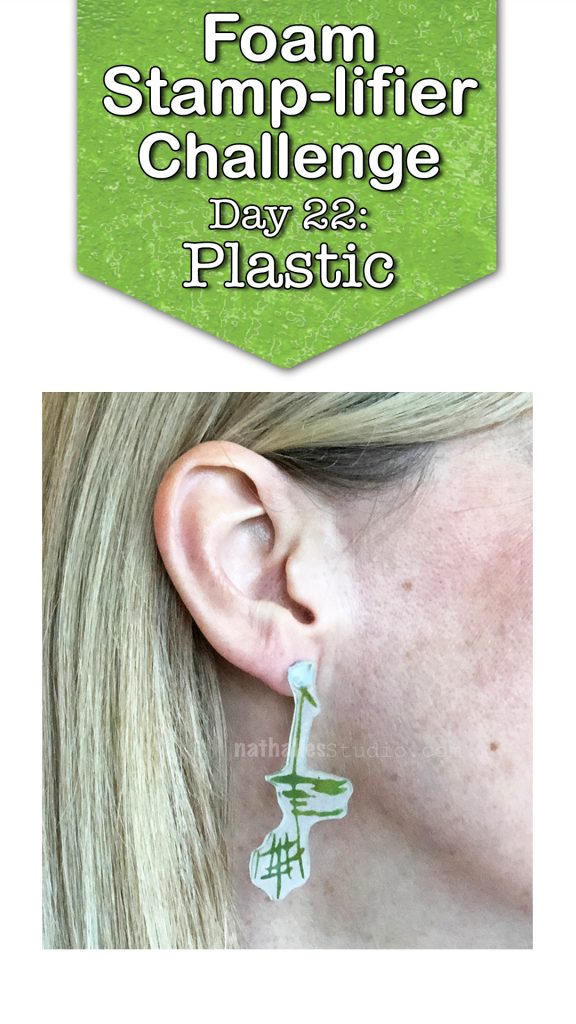
Printing on top of plastic sheets or overhead foils is a fun way to create transparent elements for your work or nice dividers for your art journal but my favorite of all must be using Shrink Plastic. From wine charms, to embellishments to earrings. Using the foam stamps with inkpads of your choice, stamp your desired images.
Then heat the shrink film up as the manufacturer recommends and you will get a tiny version of your stamped image. Too cute! Here is a sample where I used the shrink film to create myself some new fancy earrings.
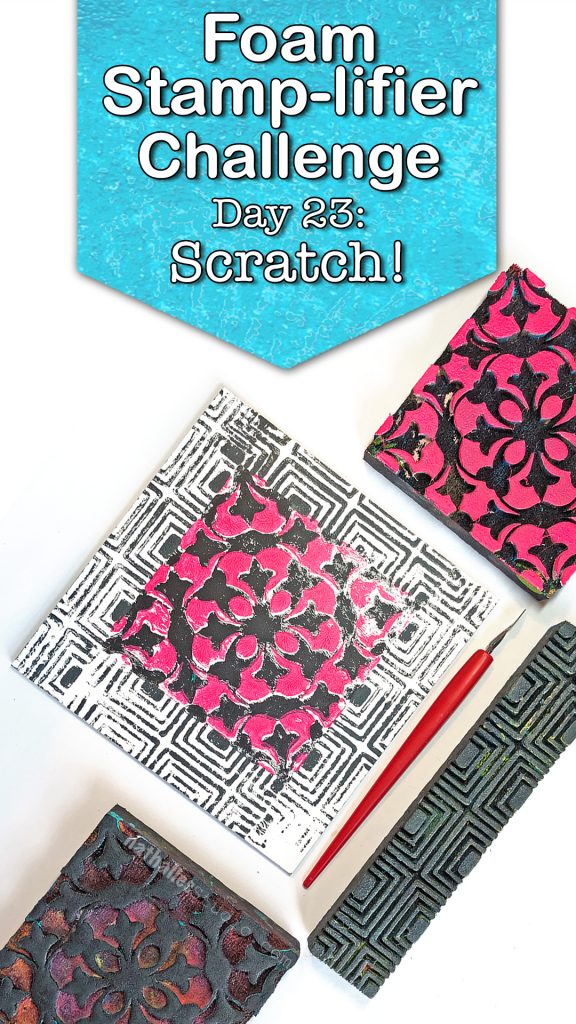
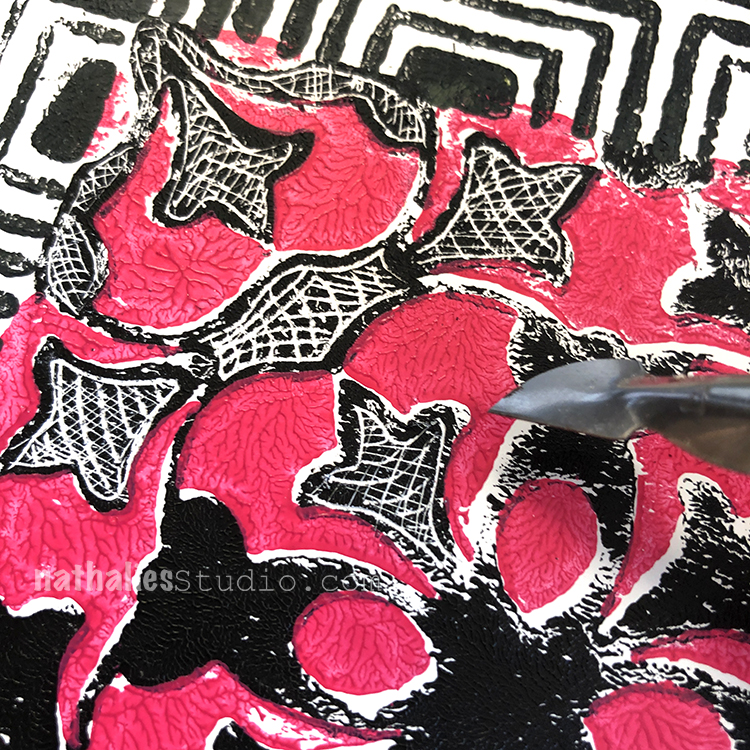
Day 23 – Scratch!
Another fun way to use Foam Stamps is to stamp onto some Ampersand Clayboard to create some great textured designs.
Stamp on top of the clay board with acrylic paint or spray ink or inks and then start scratching into the design. It is like doodling by scratching- better then coloring books- trust me!
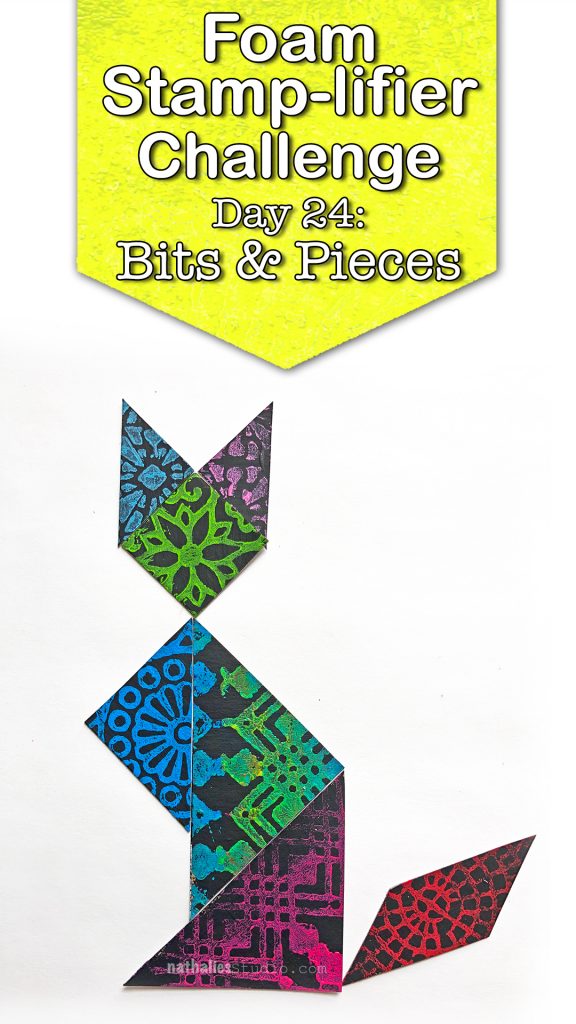
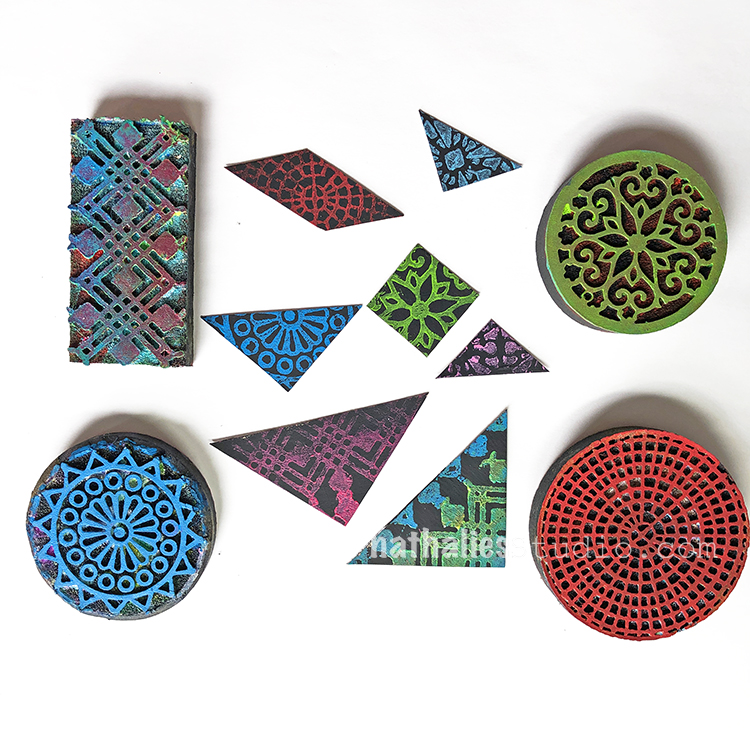
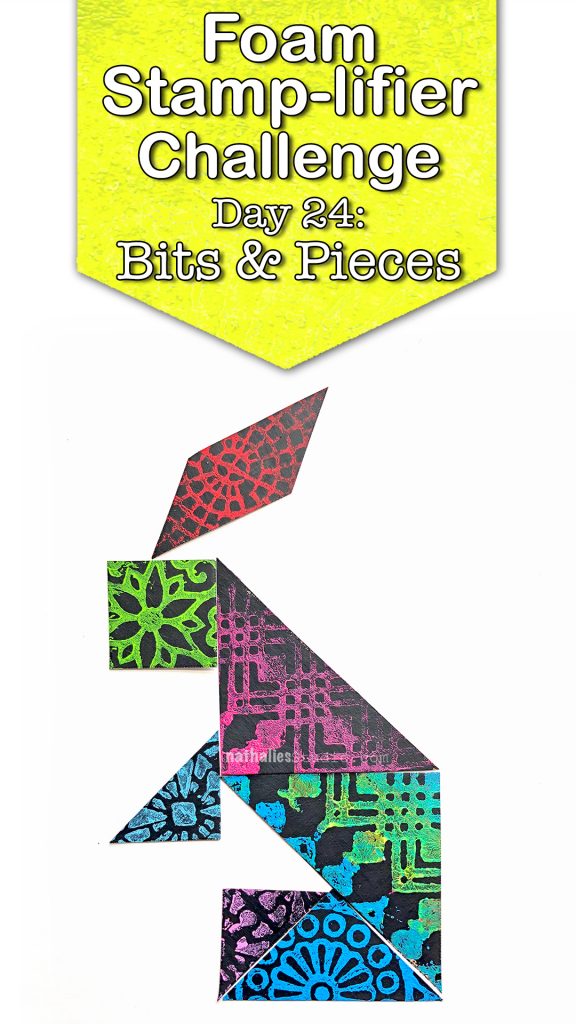
Day 24 – Bits & Pieces
How about using bits and pieces of foam stamped paper to create something new?
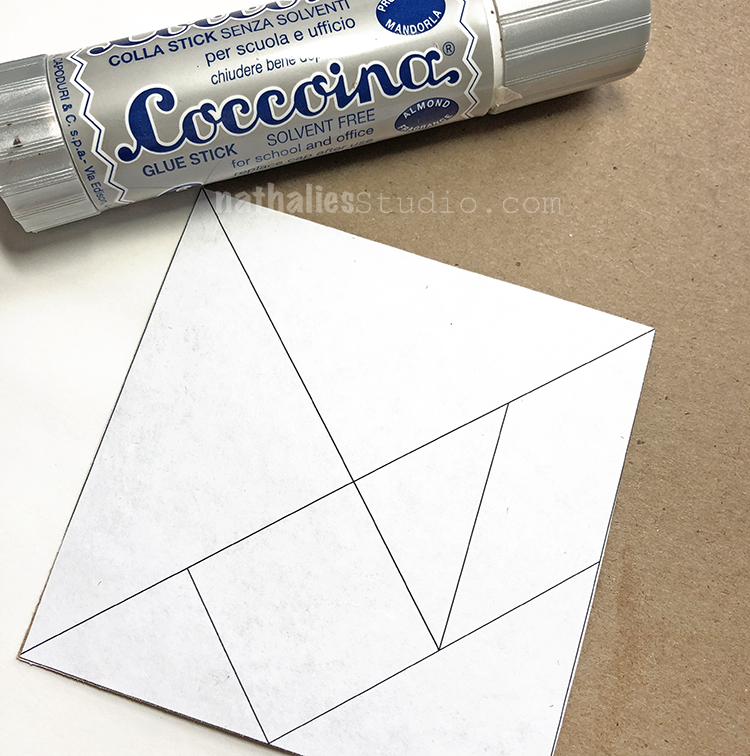
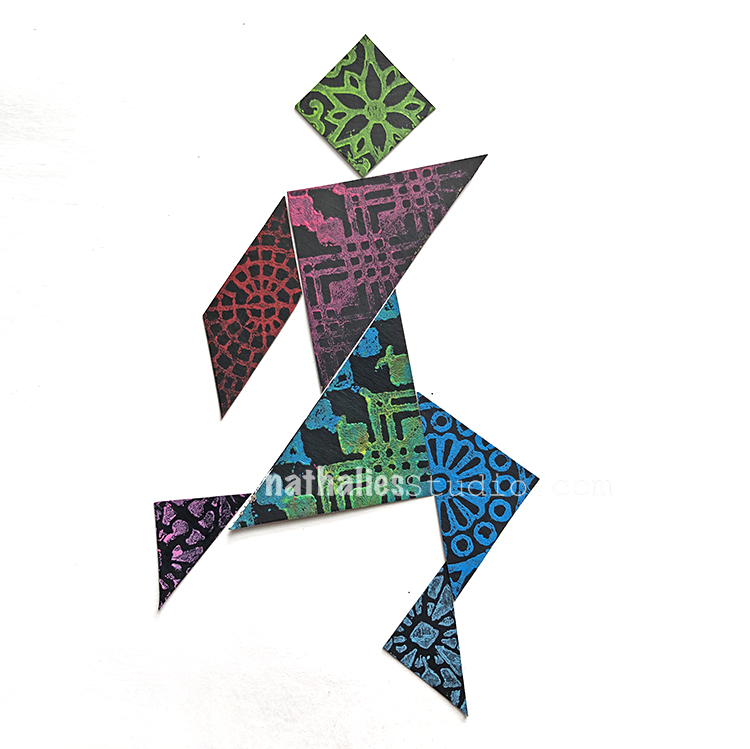
You could create a tangram which is a puzzle which consists of 7 flat geographic shapes which put together can create a new shape.
Simply google tangram, print out the template, glue it on some white or black paper, start stamping with your foam stamps and cut it.
And then go and play …
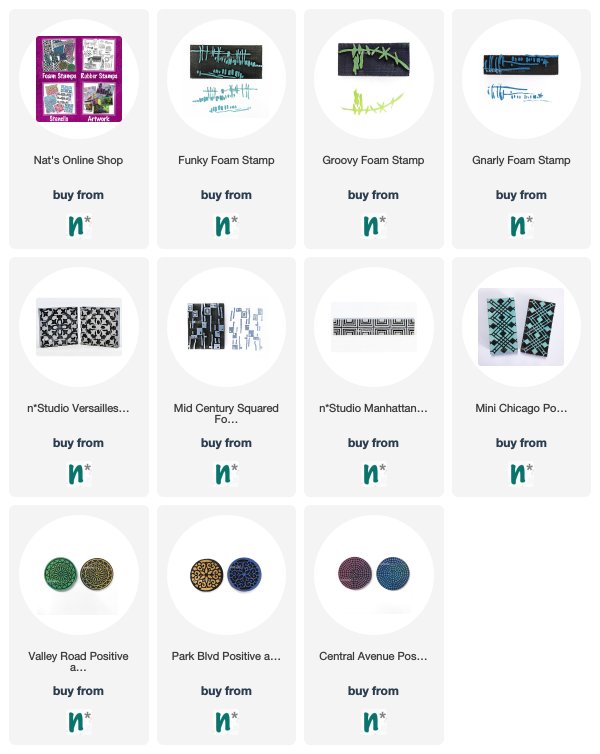
Here are the different foam stamps I used for these prompts

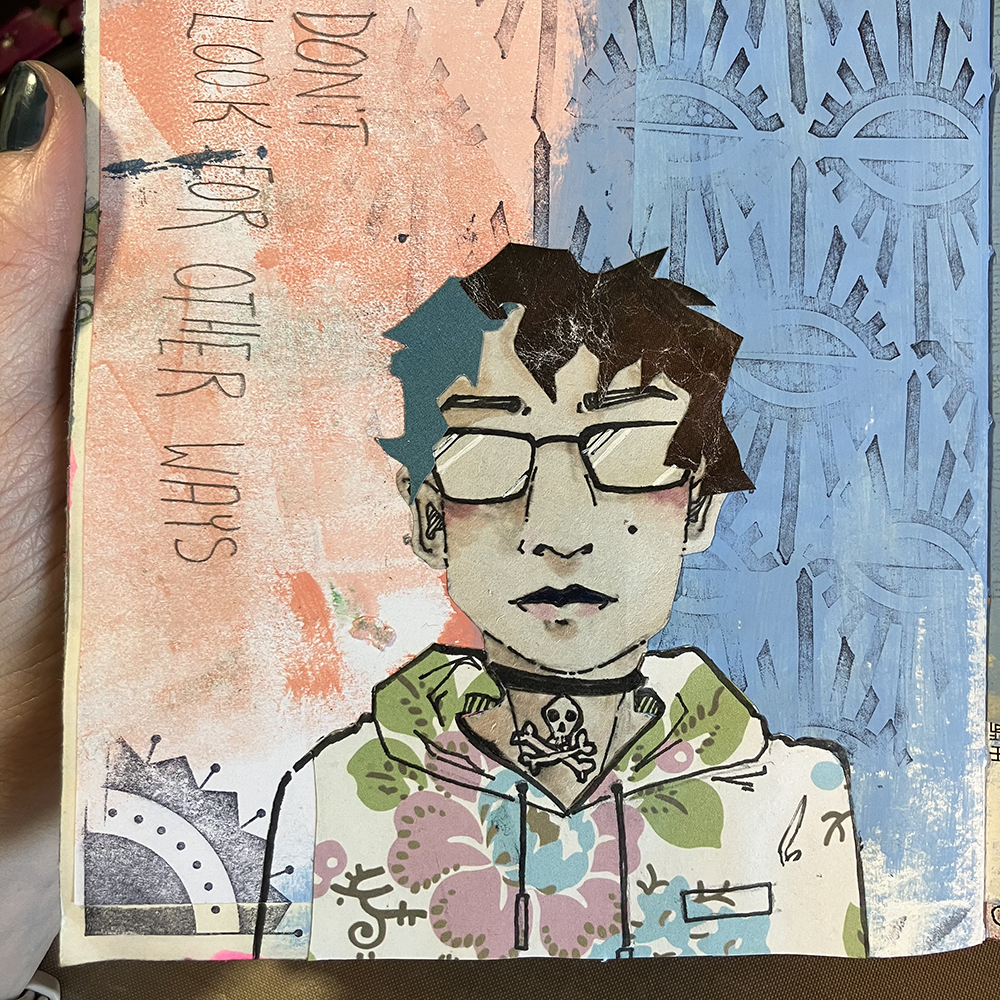


Layers, cool hoodie pattern, designs…love it Jordan!
Reply