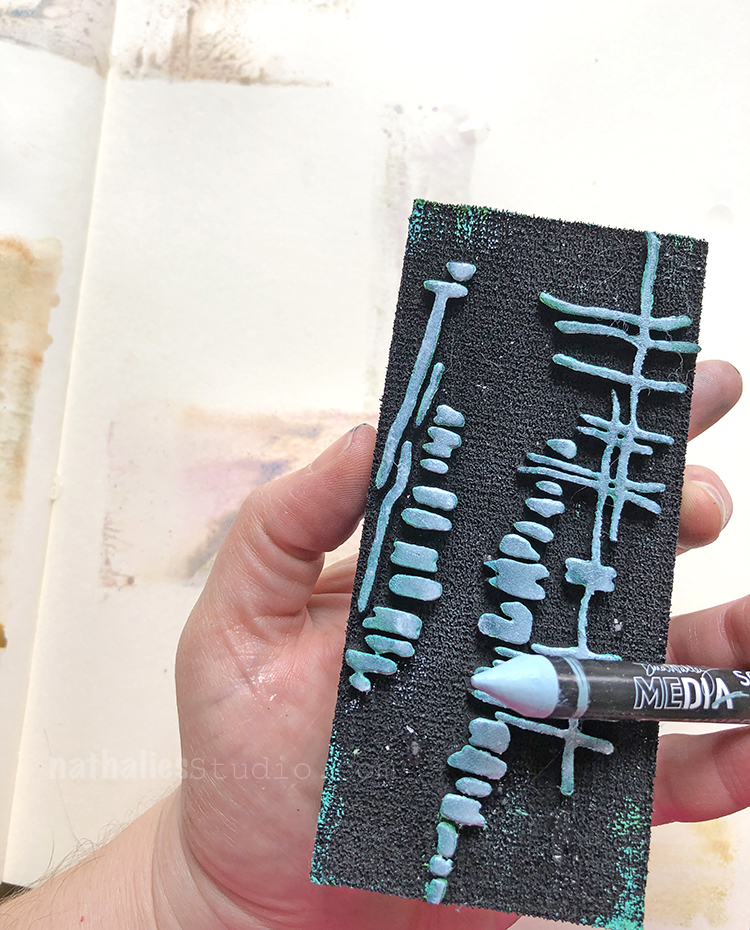
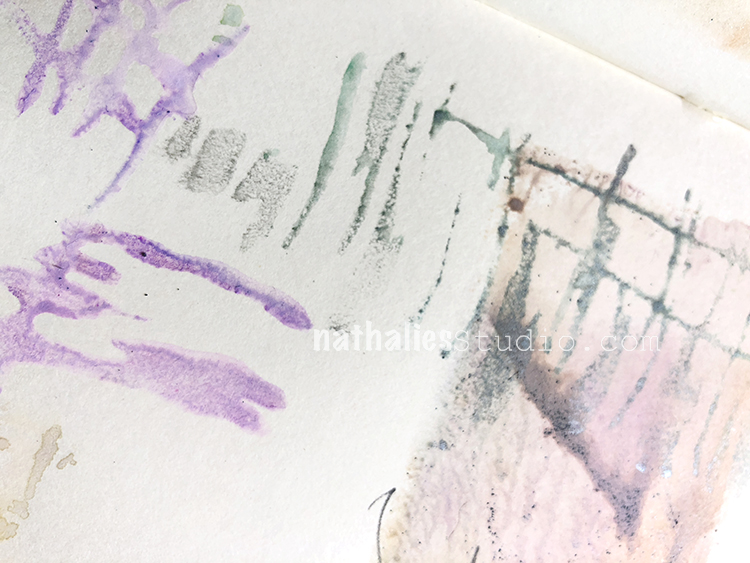
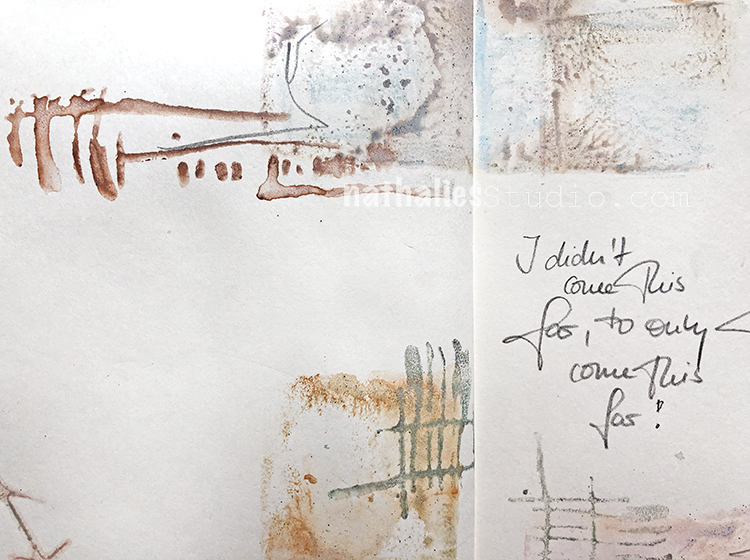
I received the Scribble Sticks set 3 as a thank you for playing along in the Ranger Designer Challenge in January. I wanted to test them out with my foam stamps. Here is my Funky foam stamp getting a bit of blue…
I wet the foam stamp back and applied the scribble stick and then stamped for the blocks of color. I did the same with the front for the designs.
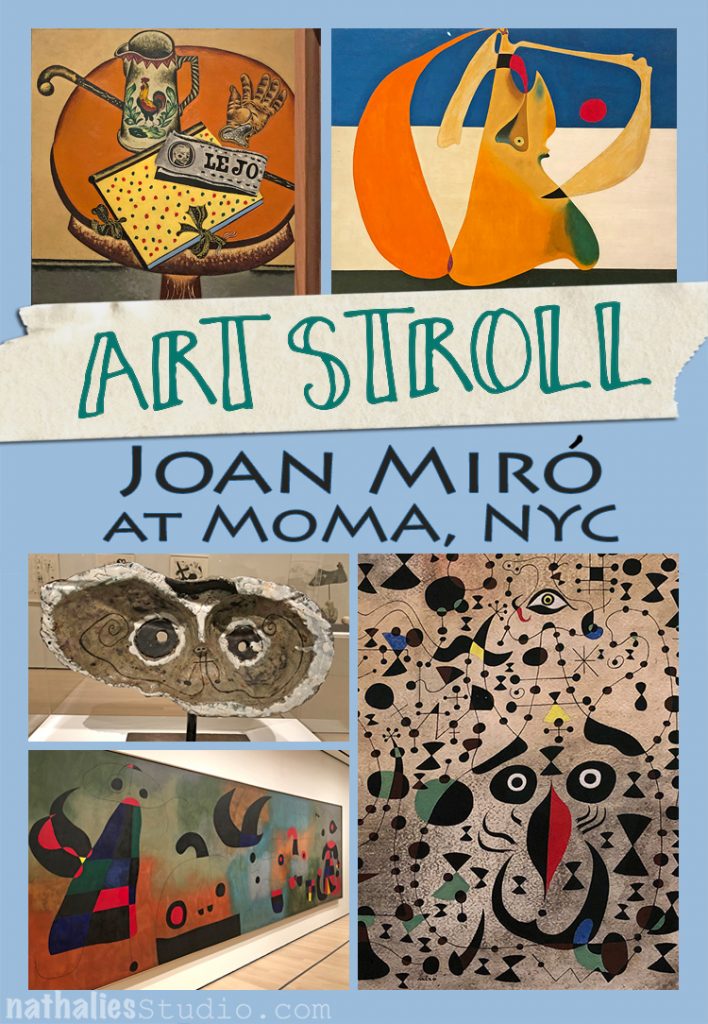
A couple weeks Kim and I went to the city to see the Joan Miró exhibition at MoMA.
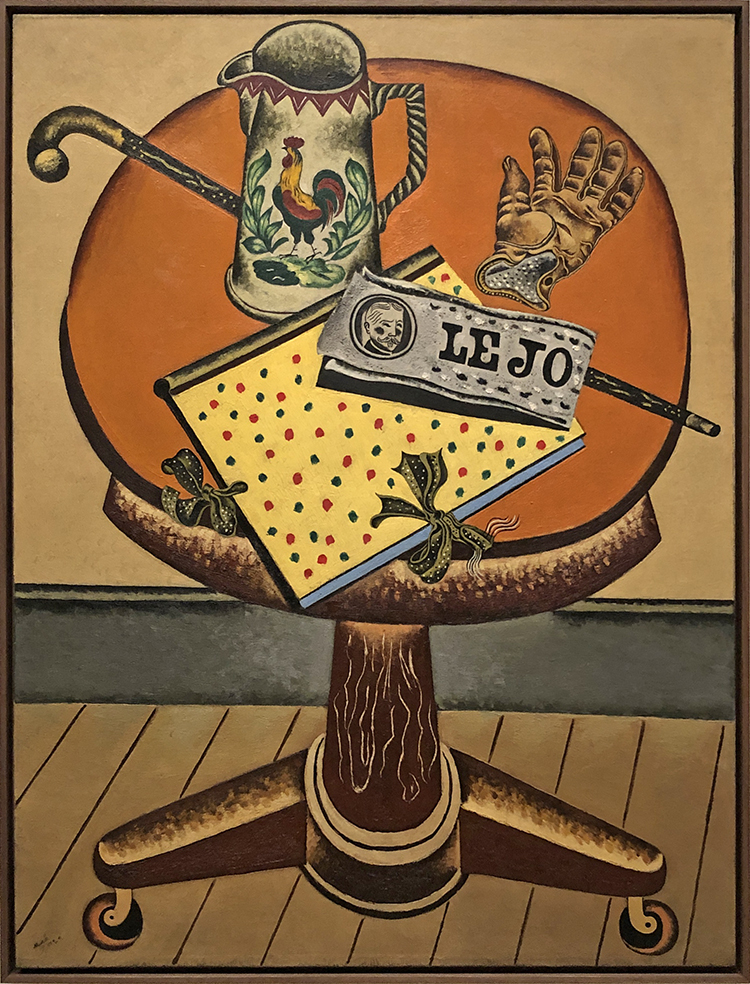
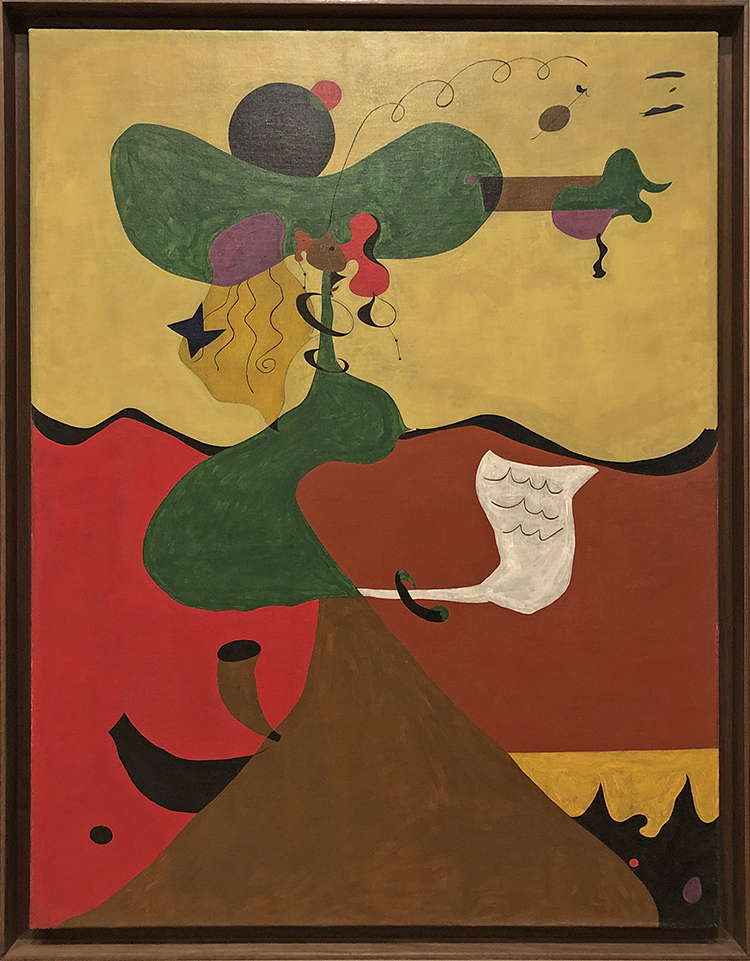
It was a real treat – and left me in a very good mood. It started out with these interesting still lifes from 1922-23
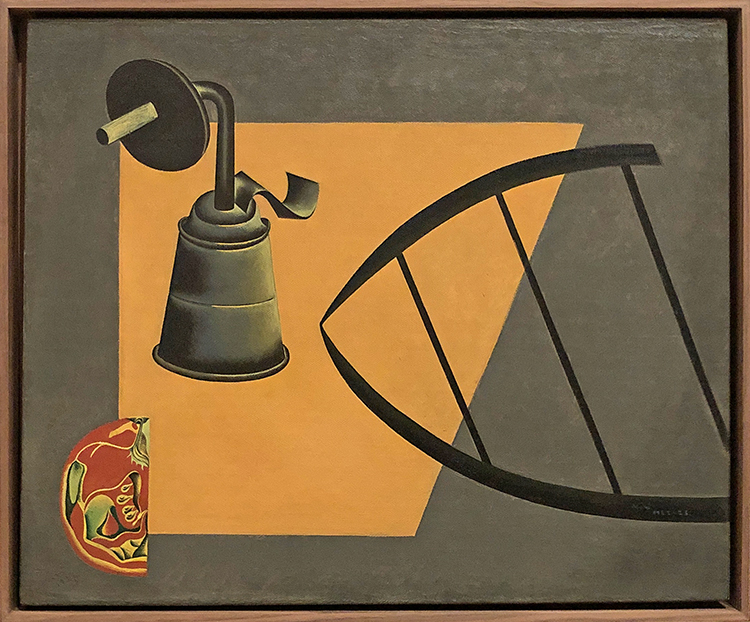
The one above is a still life with lamp, sliced tomato and an iron stand. I just love the way he painted the tomato – yes I am a weirdo LOL.
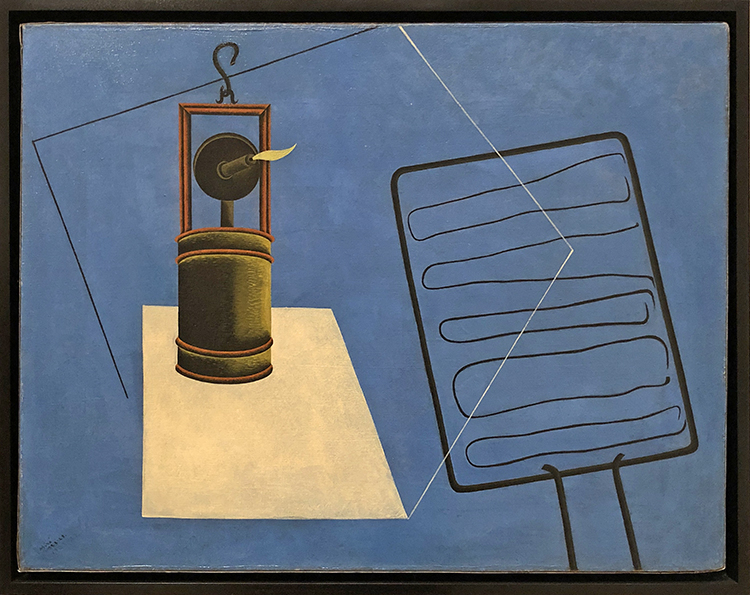
One of the striking things in the early work for me was seeing the colors but also the similarities to some work that I recently saw at the af Klint exhibition. Amazing!
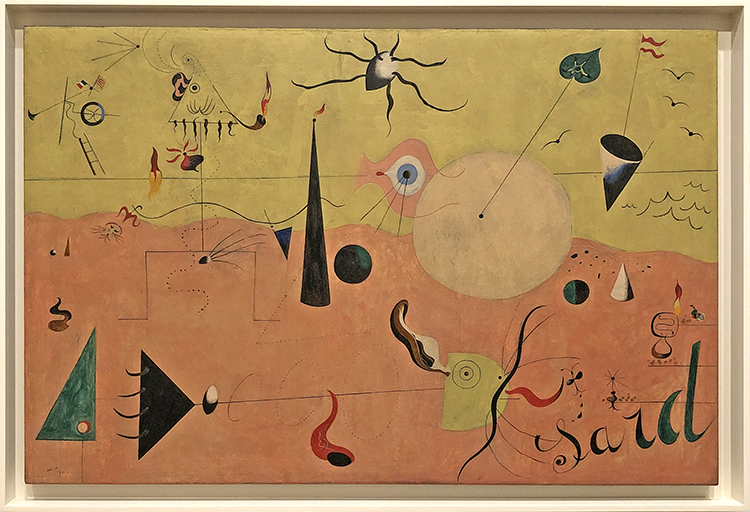
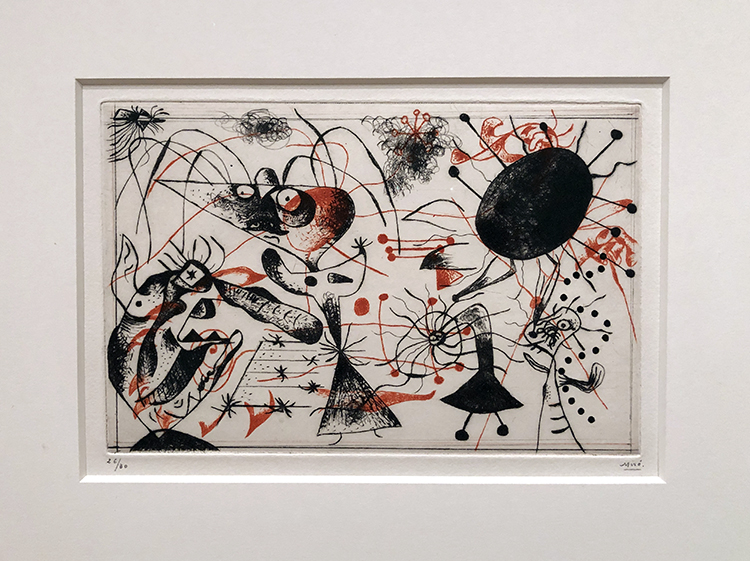
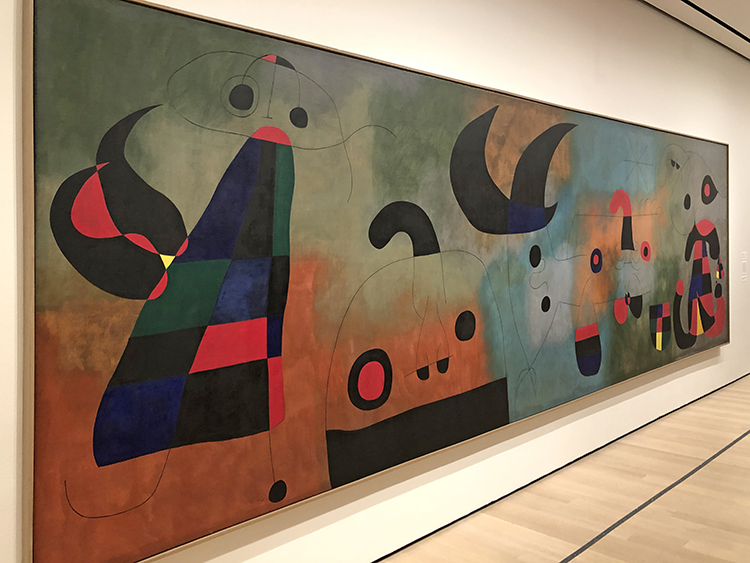
The Hunter (Catalan Landscape) 1923
I always loved Miró’s quirky little shapes and pictographs – do you see the fish sticking it’s tongue to catch the mosquito?
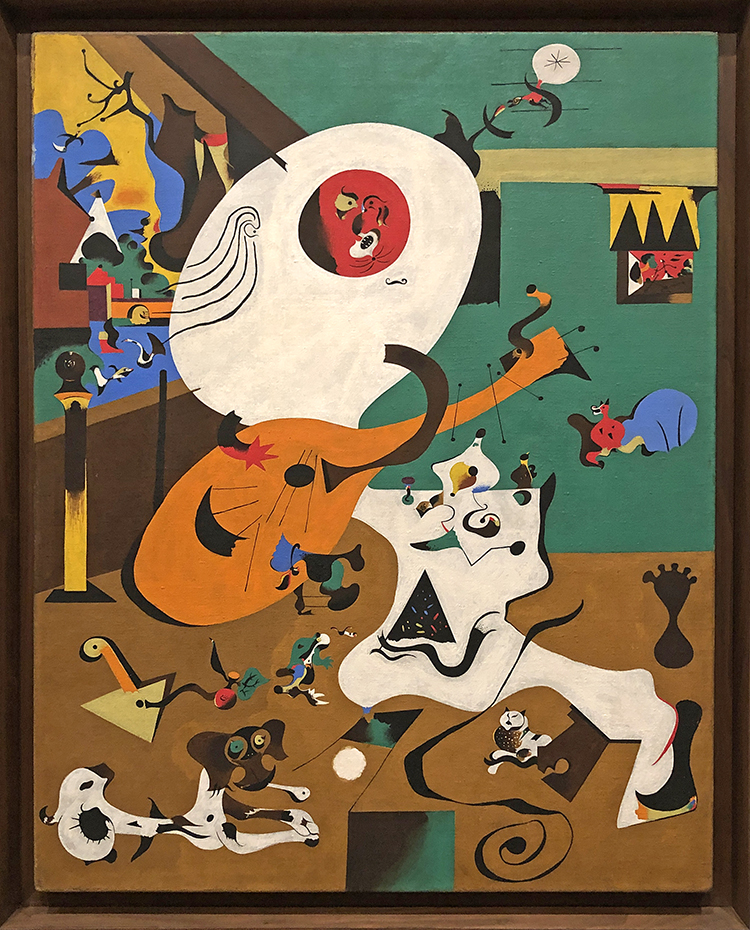
This painting called Dutch Interior I from 1928 is based on this 17th century painting depicting a lute player in a domestic interior.
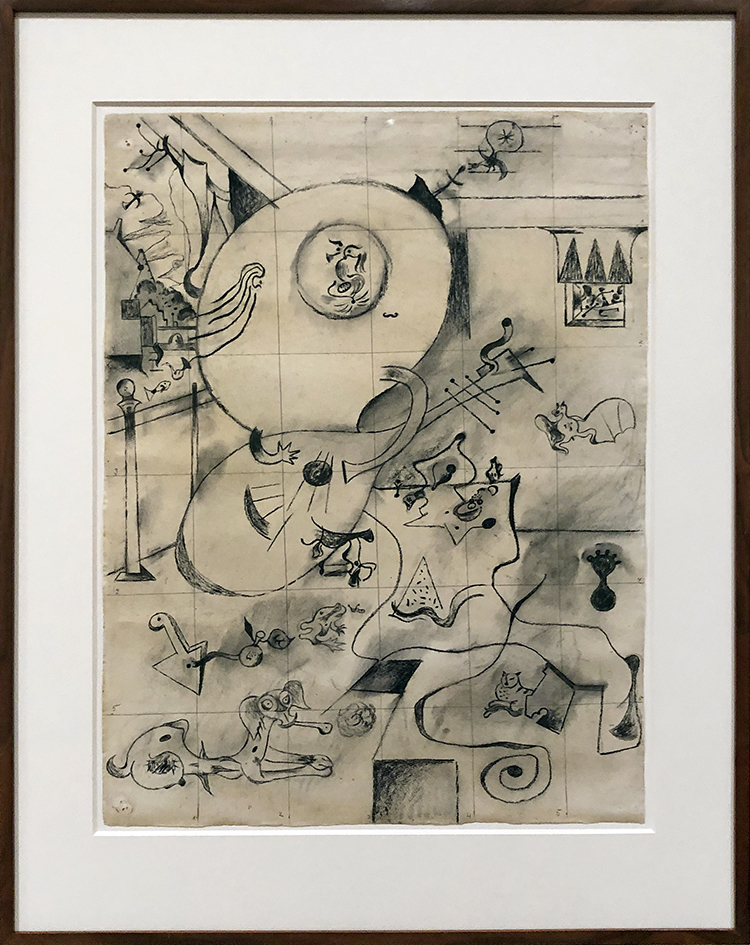
Miró had bought this postcard reproduction of the work by Hendrick Martensz Sorgh at the Rijksmuseum in Amsterdam and then mapped out his version below.
It makes me itch doing something fun like this as well :)
In a way some of his paintings are like painted collages.
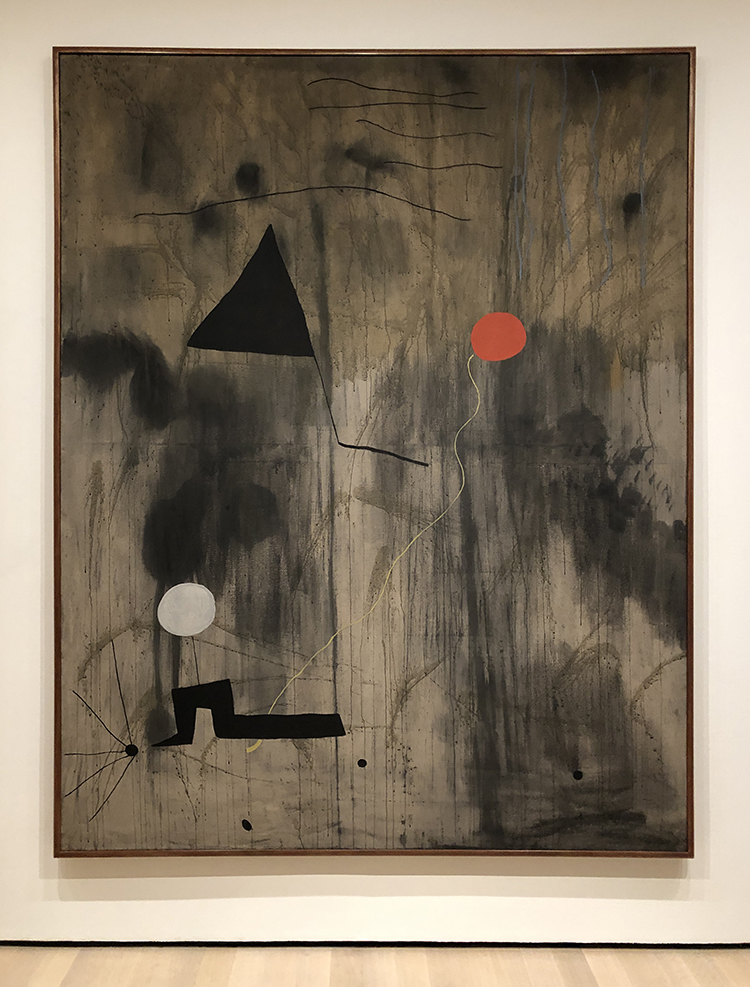
“Birth of the World” 1925
Joan Miró said that The Birth of the World depicts “a sort of genesis”—the amorphous beginnings of life. To make this work, Miró poured, brushed, and flung paint on an unevenly primed canvas so that the paint soaked in some areas and rested on top in others. Atop this relatively uncontrolled application of paint, he added lines and shapes he had previously planned in studies. The bird or kite, shooting star, balloon, and figure with white head may all seem somehow familiar, yet their association is illogical.
Describing his method, Miró said, “Rather than setting out to paint something I began painting and as I paint the picture begins to assert itself, or suggest itself under my brush.… The first stage is free, unconscious. But, he continued, “The second stage is carefully calculated.” The Birth of the World reflects this blend of spontaneity and deliberation.
This painting was way ahead of it’s time and received more love in the 50s when artists like Pollock and Frankenthaler would fling paint and wash raw canvases.
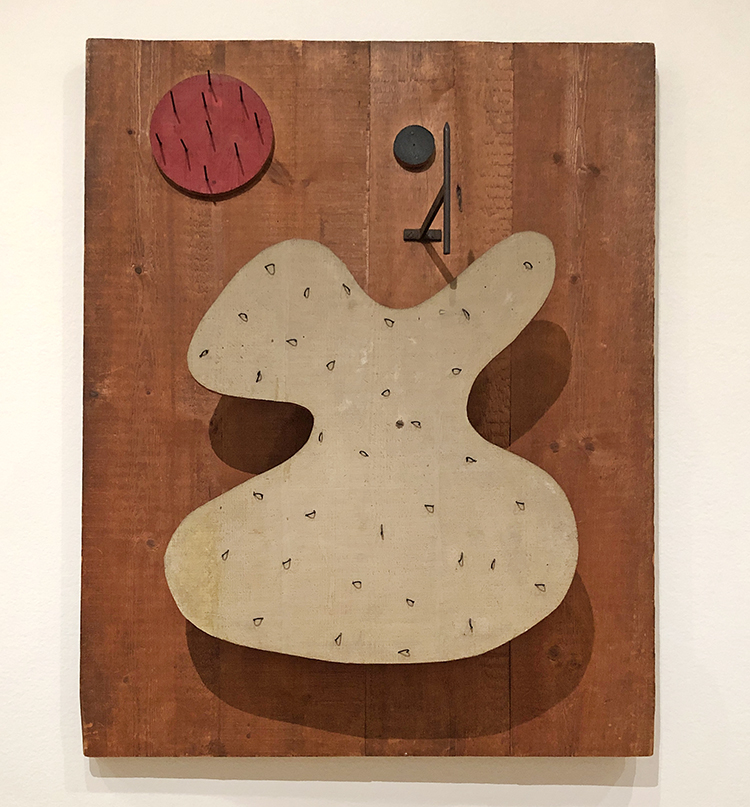
Relief Construction – 1930. Oil on wood, nails, staples, and metal on wood panel. In the summer of 1930 Miró moved away from painting to explore the possibilities of relief sculpture. Made from pieces of wood and metal that could easily have been found at a carpentry shop Relief Construction combines organic shapes. Miró identified the vertical metal spike as the neck and the head of the curved white toros like form. The red disk covered with sharp nails, he said was the sun.
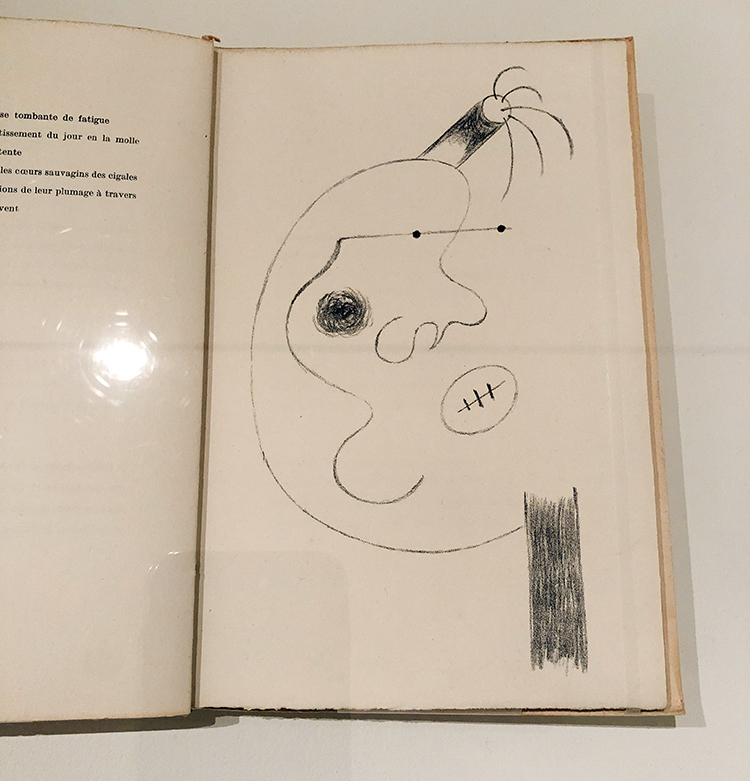
how fun are those? I loved especially Miró’s book illustrations
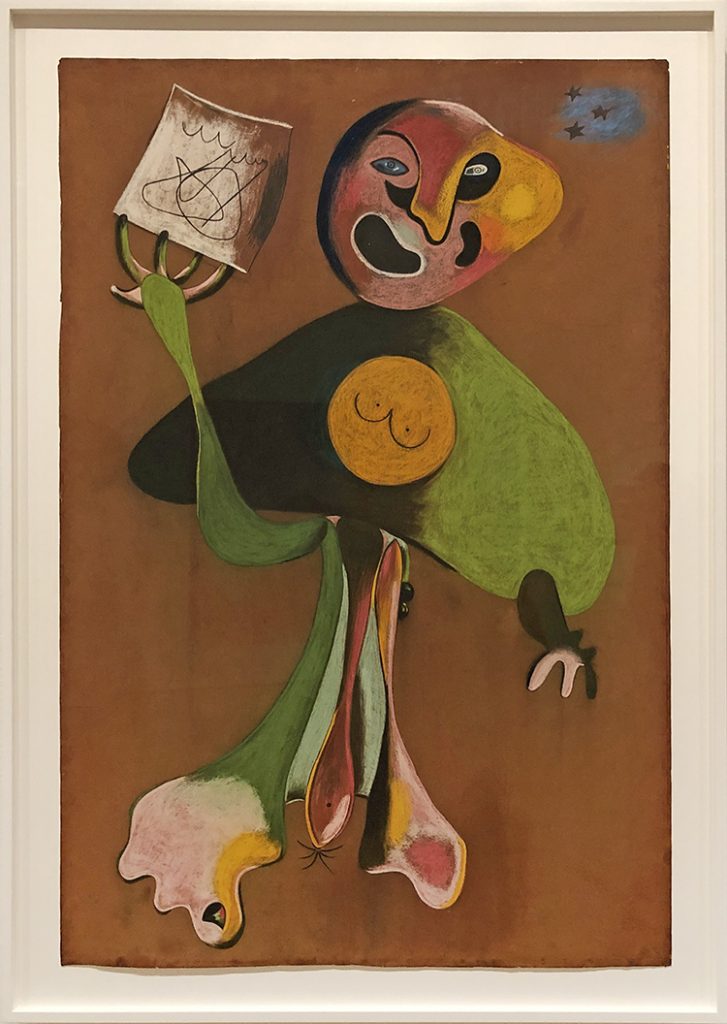
Woman – Opera Singer- 1934 – Pastel and Pencil on flocked paper
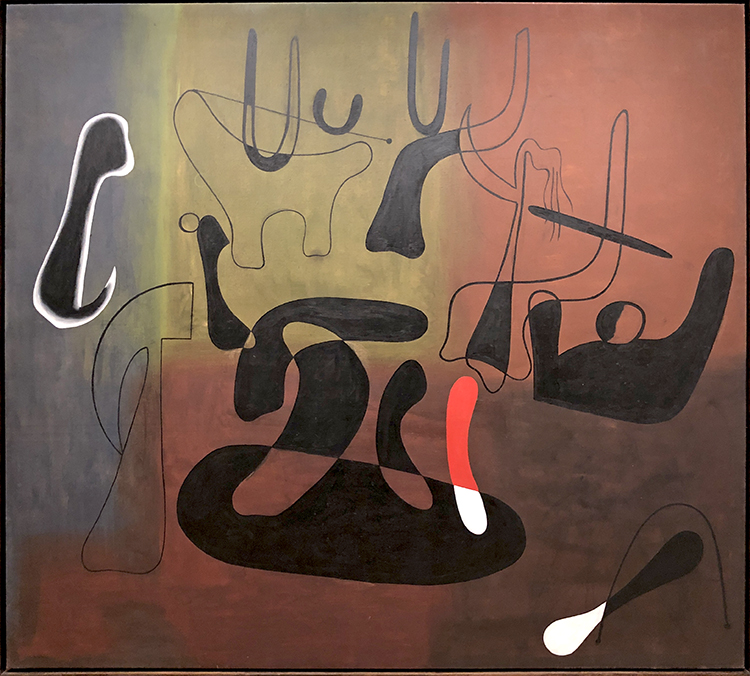
“Painting” 1933 – do you see the cat?
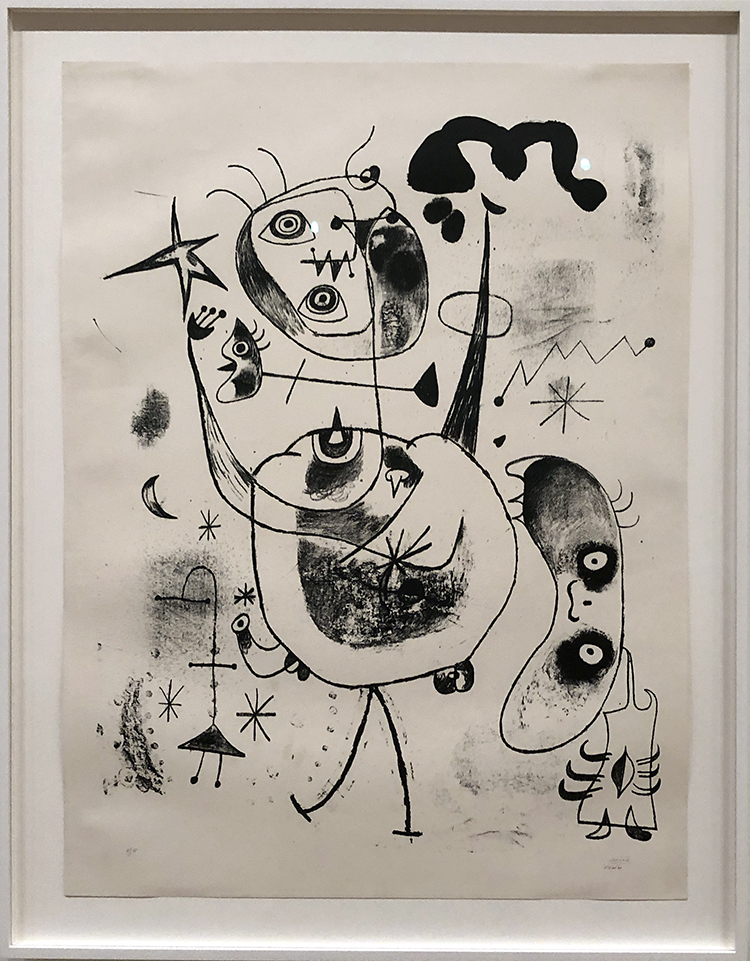
Eyes – looking at you out of his paintings ….
and this and the next and actually EYES everywhere!
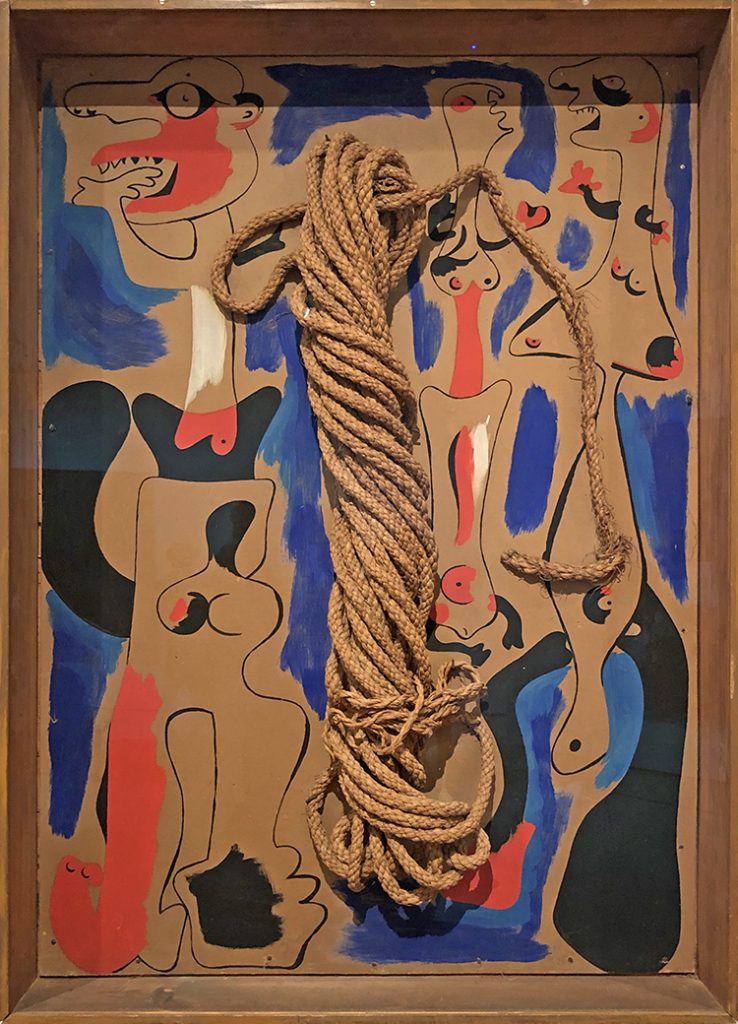
I love this one so much!!!
So striking with the red and black !
Interesting assemblage using rope.
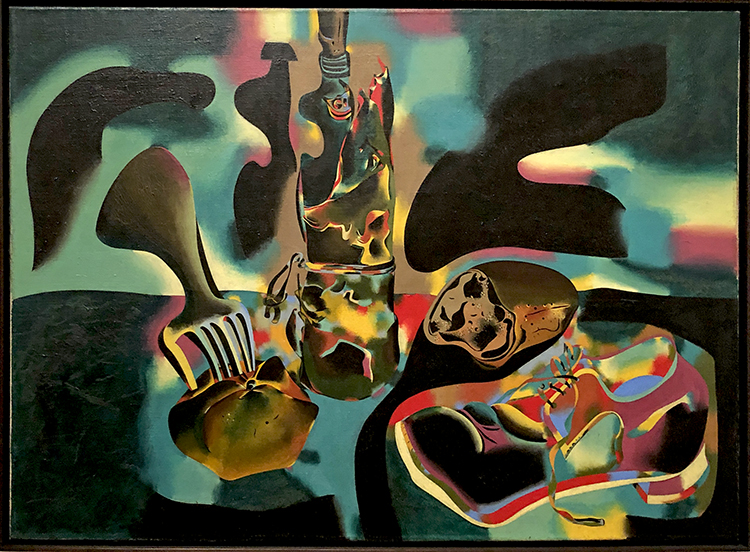
Still life with a shoe – 1937 was kind of a shocker- I mean doesn’t that looks like something ultra modern and not from that time with the colors used?
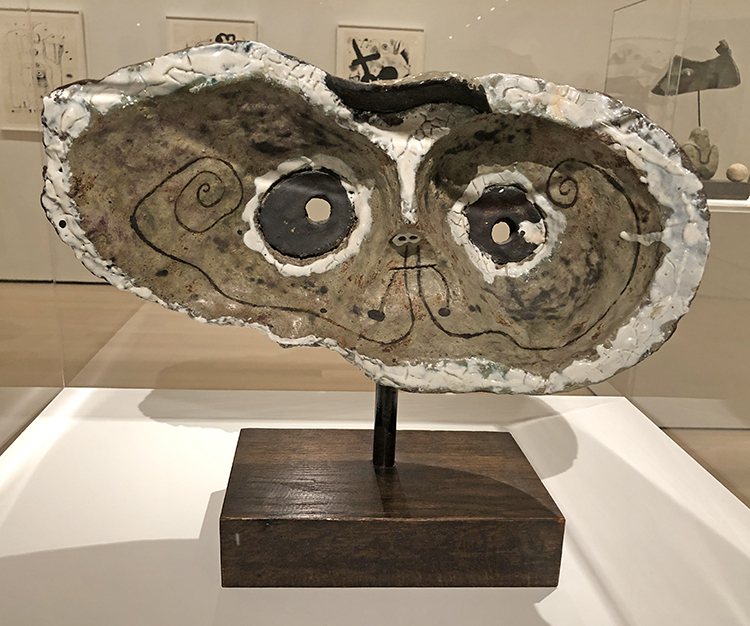
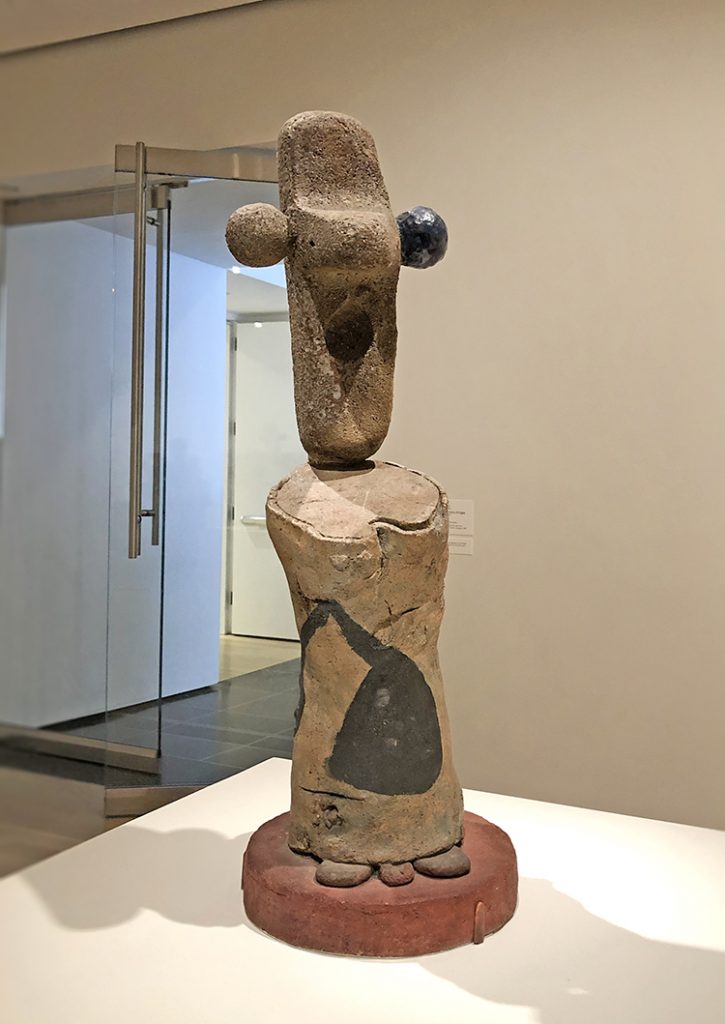
And this sculpture- I mean seriously LOVE
It fascinated me how he very lightly used color – like a wash on the background and then painted so bold and with black and bold colors on the top.
Mirò said once in an interview: “I always have my feet on the ground and my eyes on the stars”
Another gorgeous sculpture.
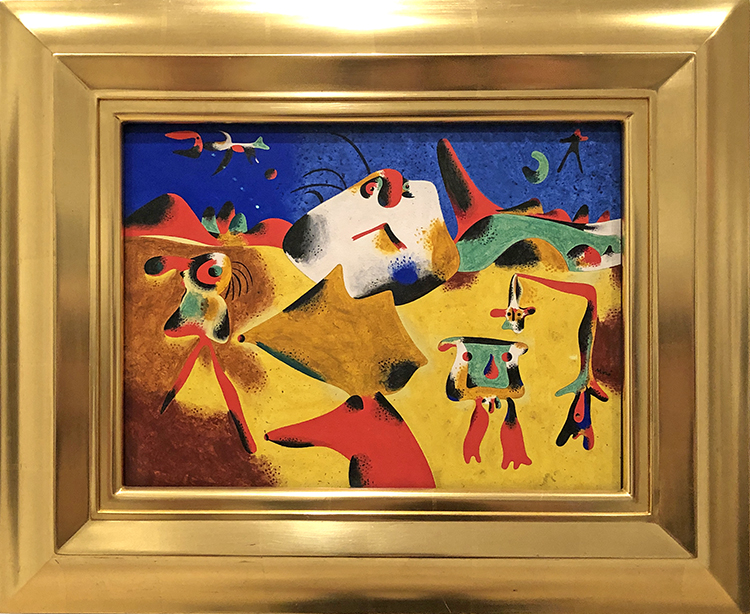
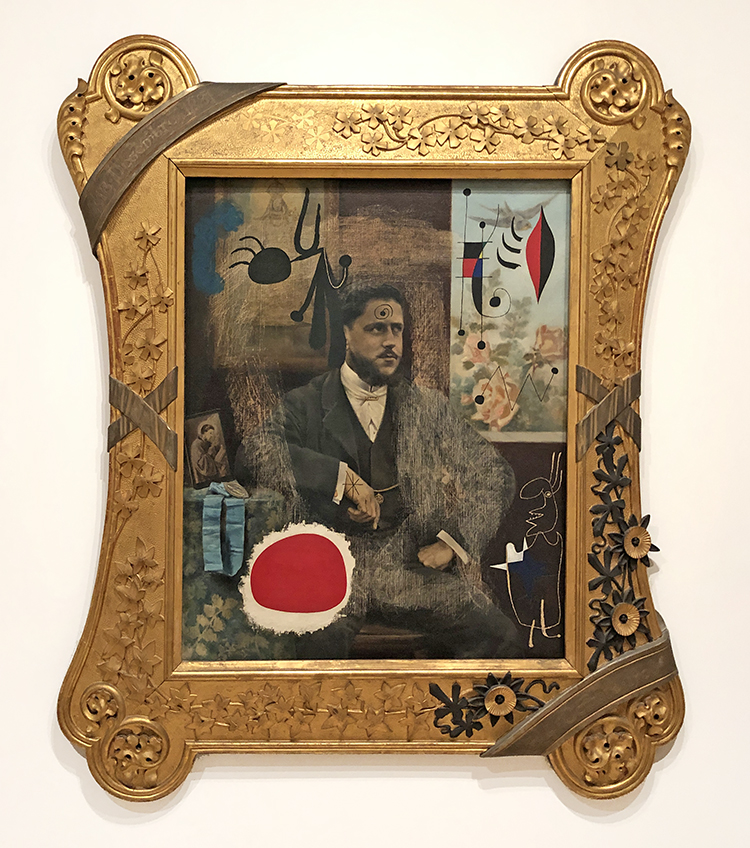
Portrait of a Man in a Late Nineteenth-Century – Frame – 1950 – Oil on canvas – is one of my favorite paintings in MoMA’s permanent collection. According to Miró his childhood friend Joan Prats came upon an ostentatiously framed, pompous portrait by an unknown painter and sent it to him as a joke. The sitter’s pose and costume, his upturned gaze of inspiration, the devotional medal and ribbon on his table, and the rose garden outside his window typify the bourgeois taste and assuredness of the late 19th century. Within this orderly, rational and humorless world, Miró mischievously inserted his own creatures and signs. As if tot suggest the man’s puzzlement at this unexpected interruption , he punctuated his forehead with a small swirling form.
Hope you enjoyed this little Art Stroll. Kim and I did for sure and I cannot wait to head out to a museum soon again :)
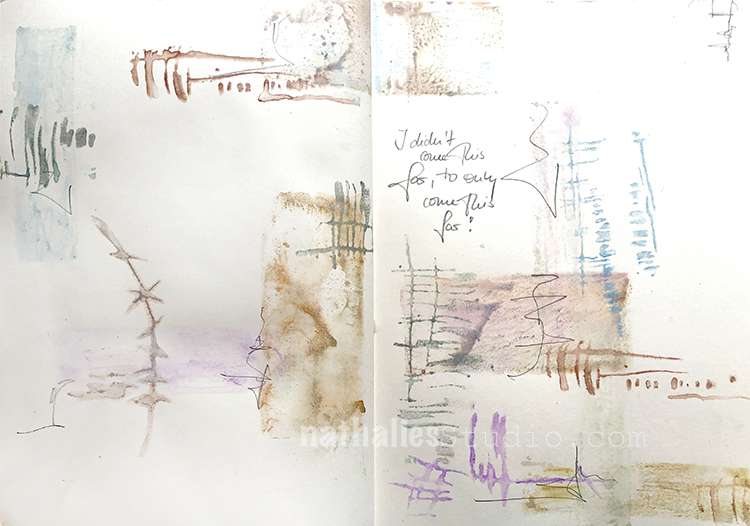
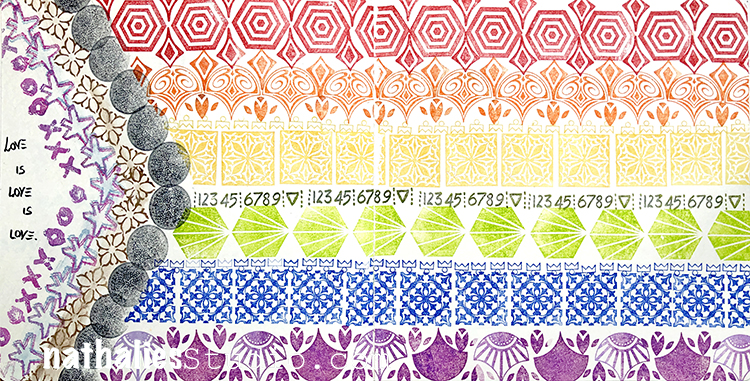
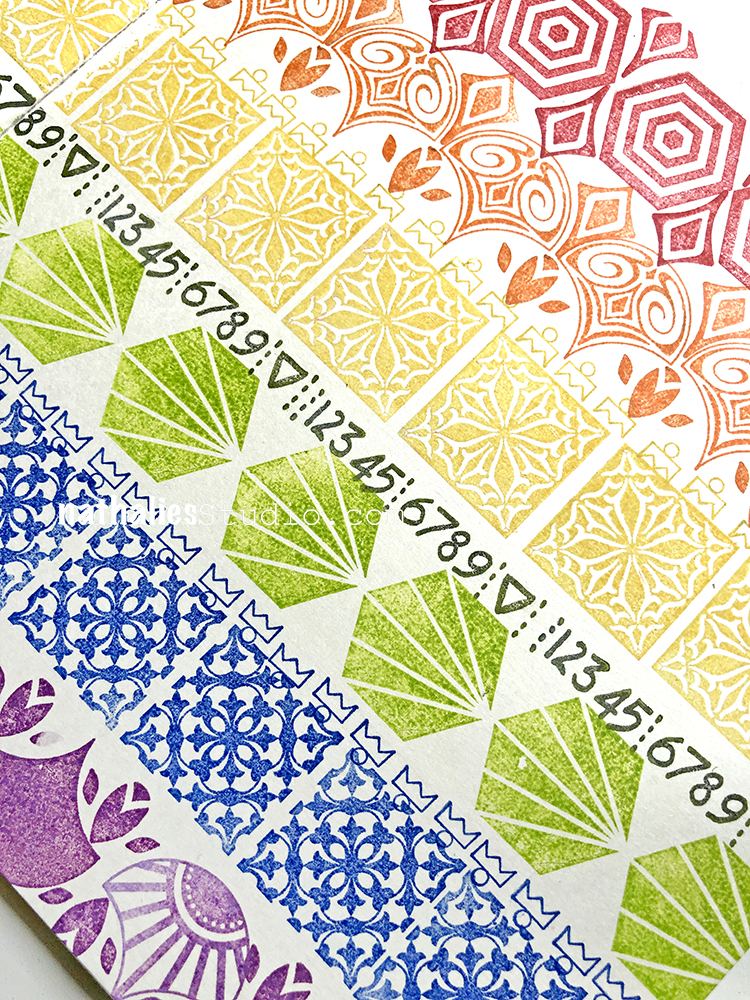
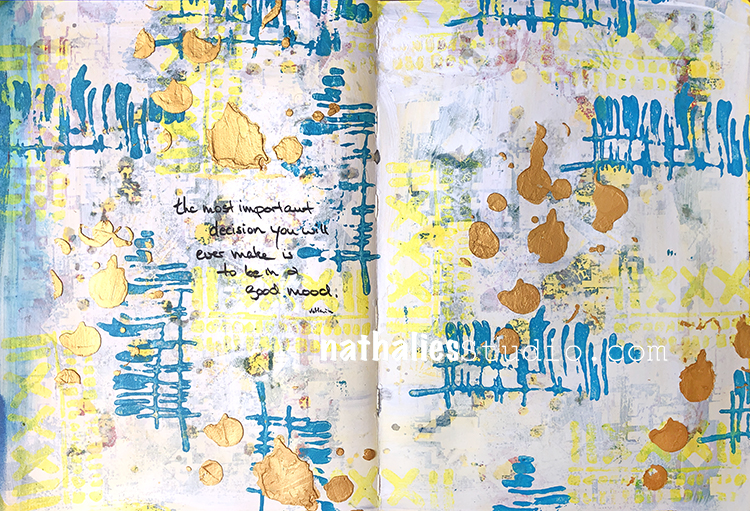
I stamped out a rainbow flag in my art journal using a whole bunch of my rubber stamps – they are all in the links below. I’ve been really into using colored ink pads since I got the Moonlight Duos. They work great with my rubber stamp sets and if you remember to clean your stamps in between colors you can get really clean colors.
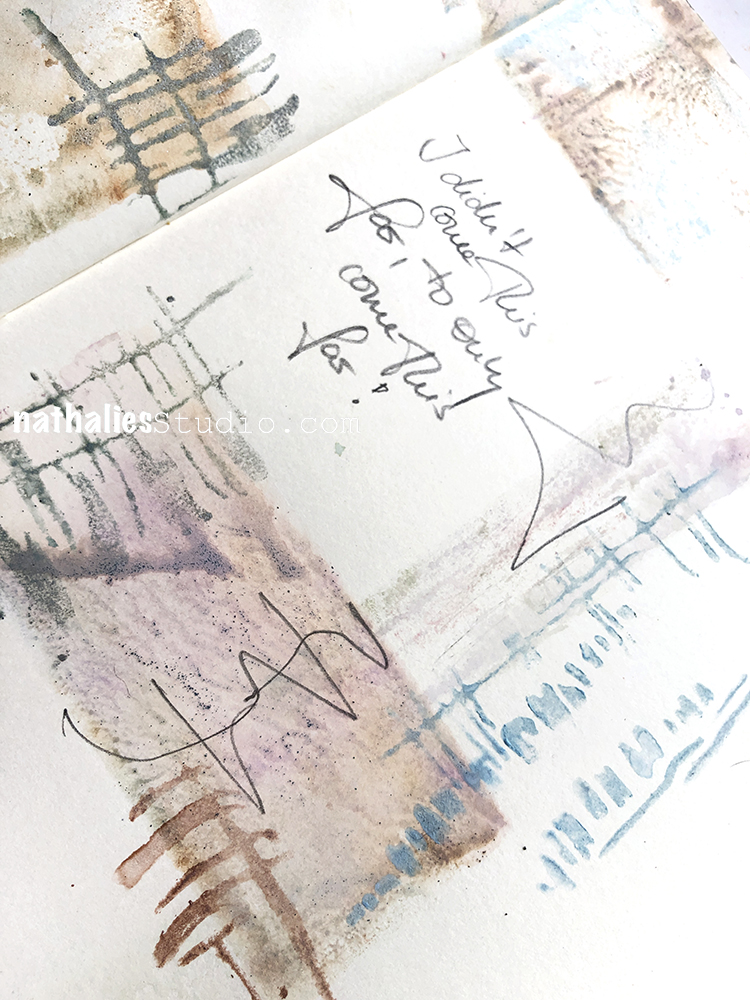
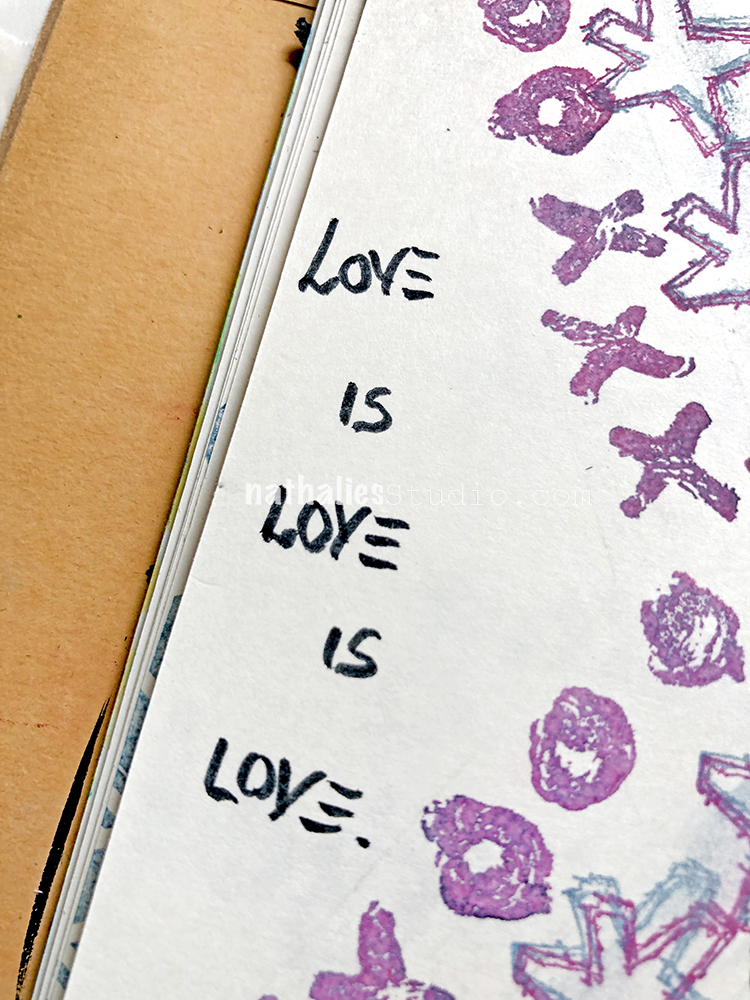
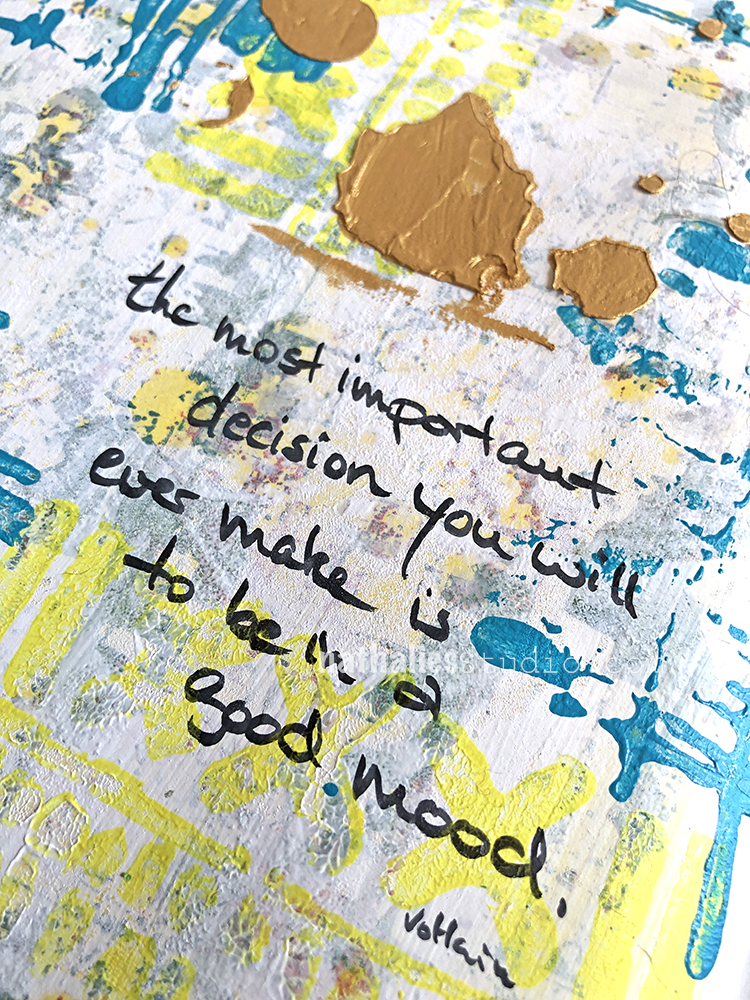
I finished the page with my Love Knots and Star Tag stamps, and my message with a Fude Pen.
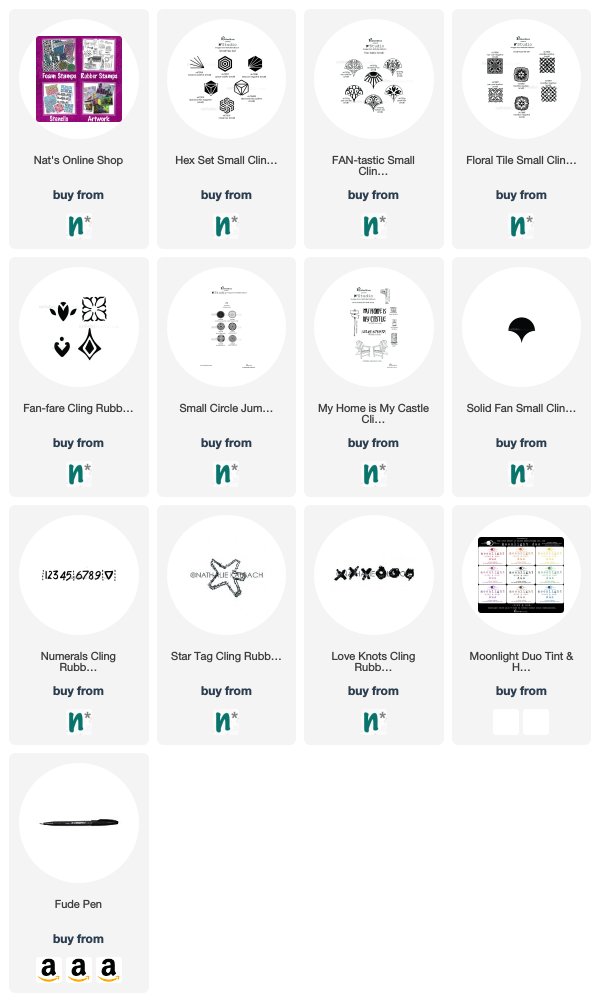
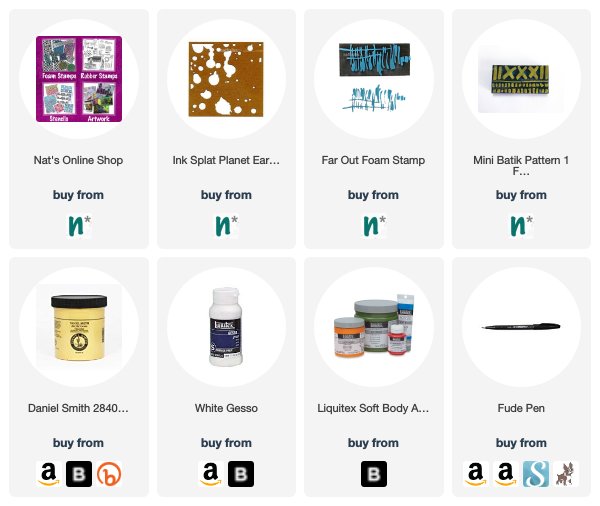
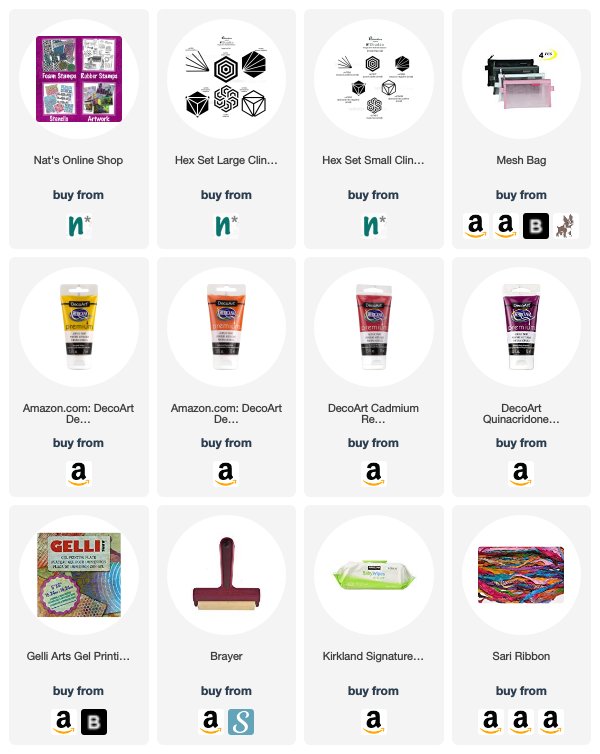
Here are some of the supplies I used, including all those different stamps:
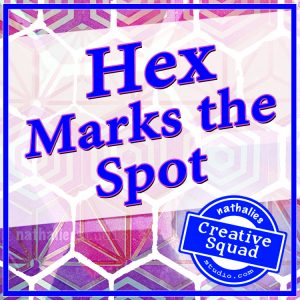
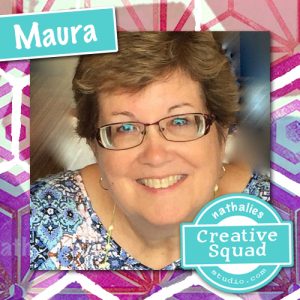
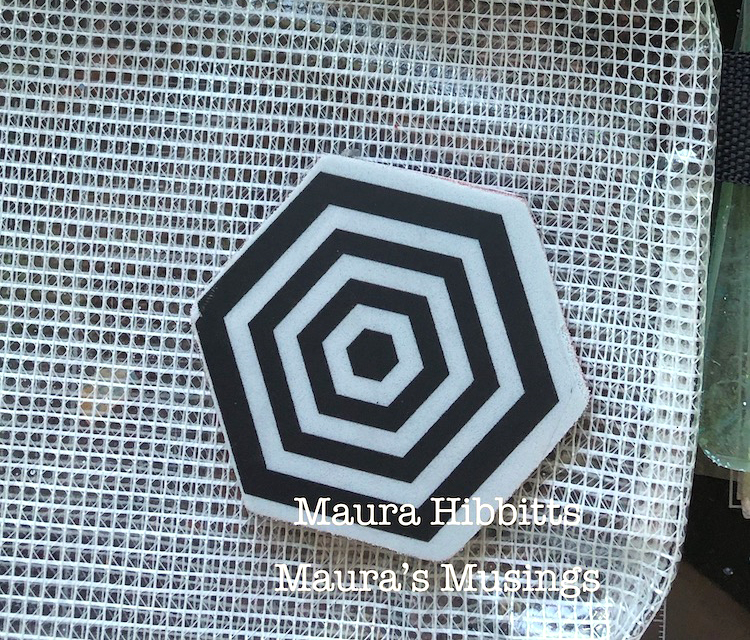
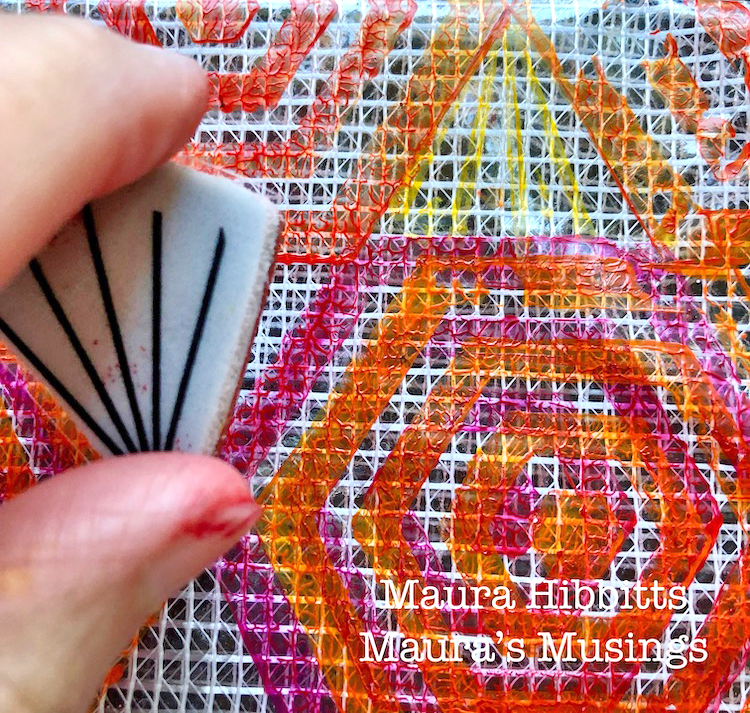
Hello from my Creative Squad today! Here we have a post from Maura Hibbitts, sharing an awesome little stamped pouch with us that will inspire you to get organized! She is using my Hex Set Large and Hex Set Small rubber stamps and this month’s theme: Hex Marks the Spot –In the days of pirates and lost treasure, a map would lead you to gold and jewels. Today we treasure all sorts of things – our family, friends, experiences, meaningful objects, accomplishments, etc. Think about what you treasure and how you found your way there.
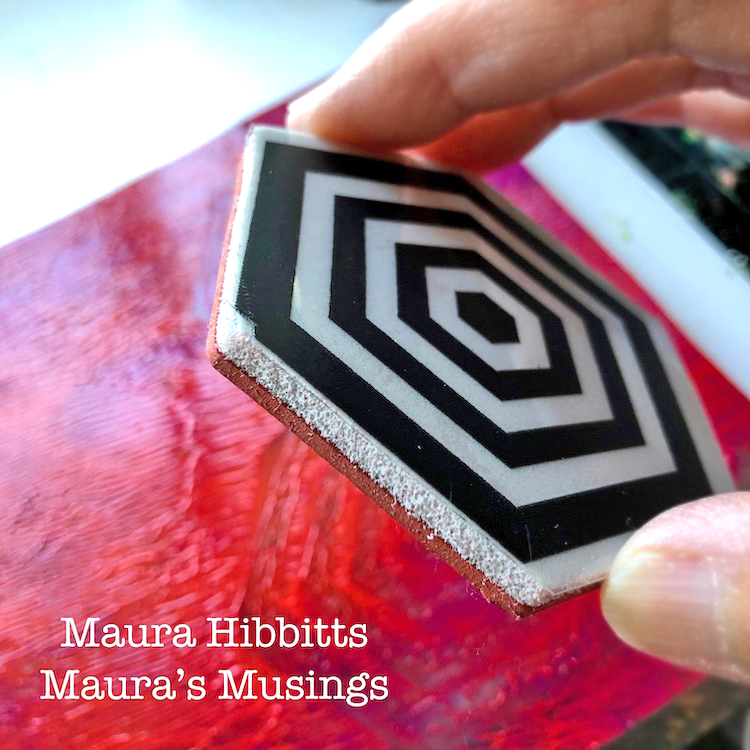
I love using pouches and bags to organize my art supplies, and have a wide variety of styles to choose from. Bags to hold pens and pencils, bags to hold paint, papers … you name it, and I probably have a bag for that supply. Some bags are boring and plain, like the mesh bag I started with here. It is so easy to transform a plain pouch into a mini work of art with some paint and stamps and make it your own.
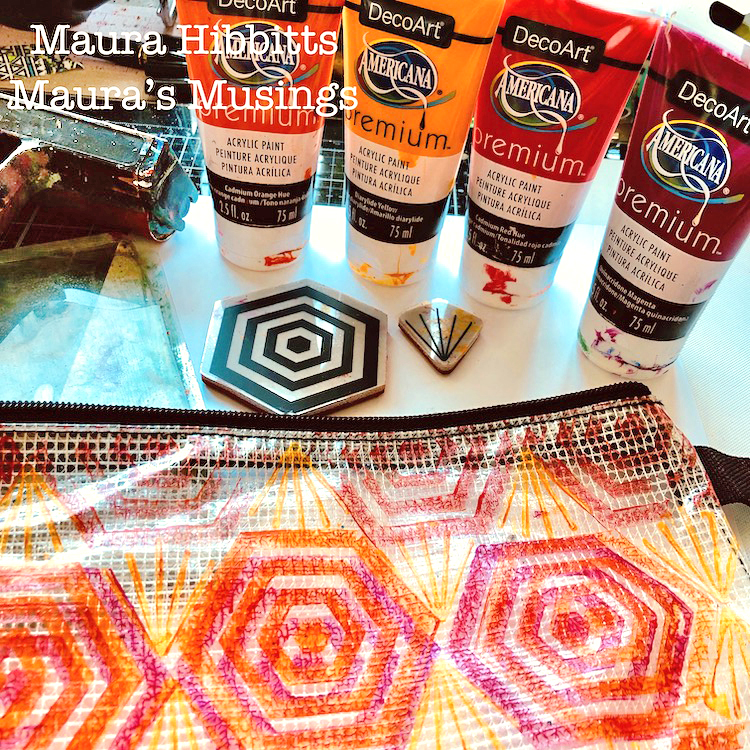
I like to use the gel plate to blend colors. I started with the red and magenta, and stamped the Space Oddity Hex stamp into it, then transferred the paint to the bag and repeated a pattern of three across the bag. Be sure to clean the paint off the stamps after using them. With a large design like these, I just use a baby wipe to clean them.
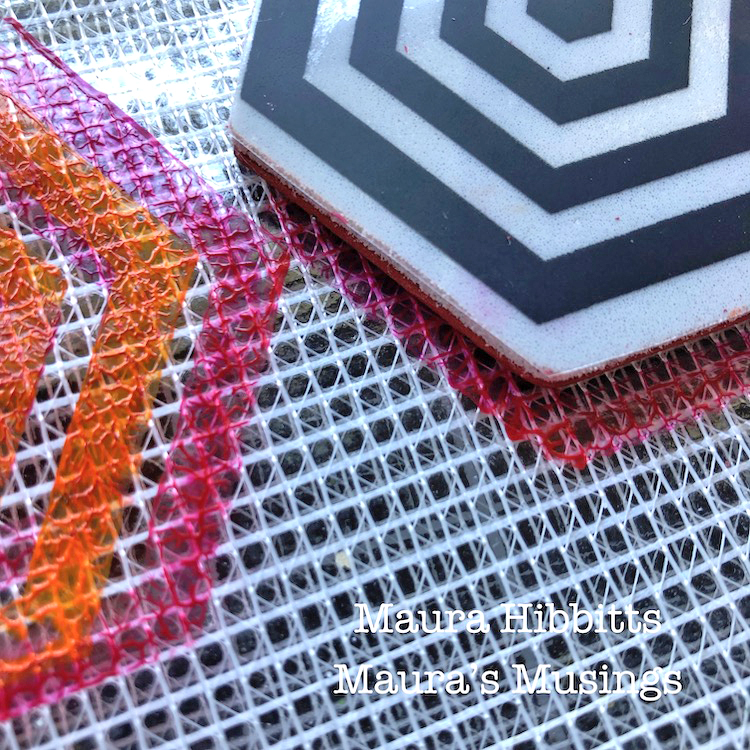
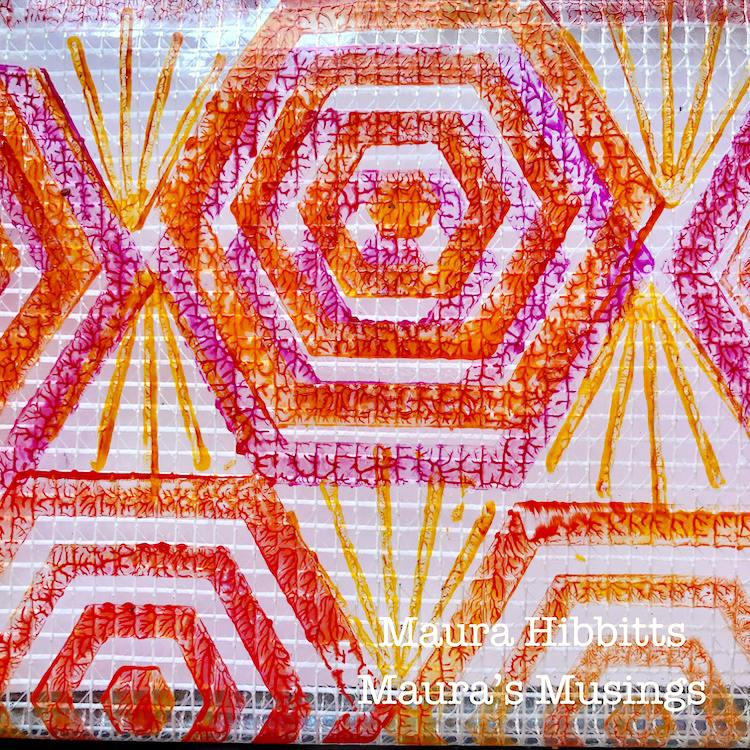
Next, I blended the yellow and orange on the gel plate with the brayer, and laid the stamp into it. I offset the hex stamp this time onto the previous stamped design. I also repeated a partial pattern at the bottom and top of the bag with the yellow/orange and then the magenta.
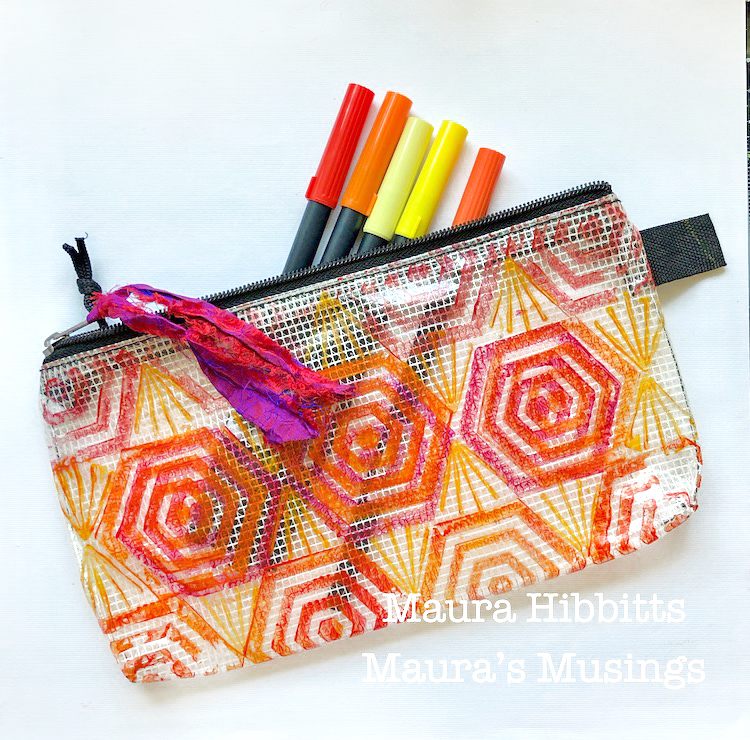
I spread the yellow onto the gel plate with a brayer, and used the small beacon positive stamp to fill in the design between the hexes. Final step once the paint dried was to tie on a bit of sari ribbon.
This is an easy project with minimal supplies. The process will work on any surface that will take acrylic paint.
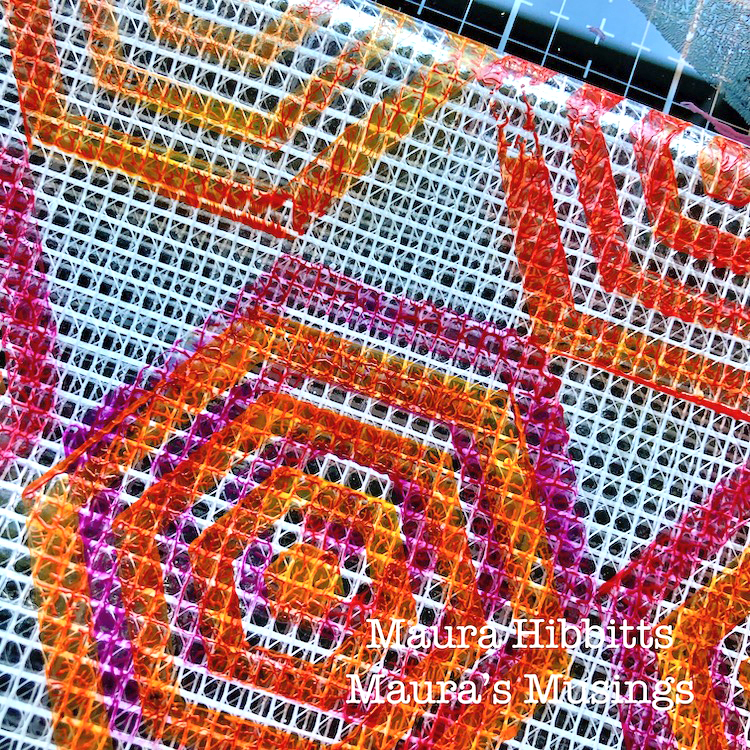
I challenged myself to work outside of my usual color choices, and I like the bright, cheerful feel of the altered bag. It’s ready to be filled with markers, pencils, tools…whatever I might need for a project. One thing is for certain, this bag won’t get lost in a crowd!
Thank you Maura! What a great looking little bag!!! You can find all of my rubber stamps in my online shop. Here are some of the supplies Maura used:
Feel inspired? Working on something yourself that you’d like to share? I love to see how you interpret our monthly themes. Email me how you used my stencils and stamps with the theme and email me an image – I would love to share your projects in my next “n*Spiration From Around the Globe“.
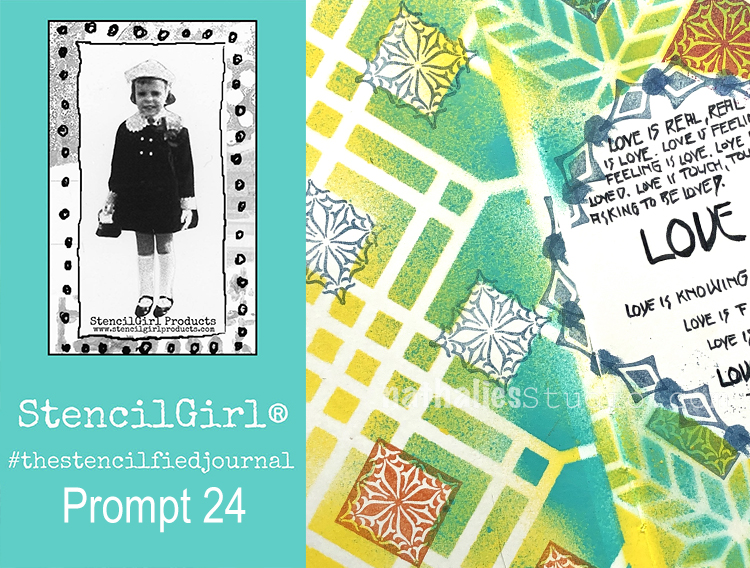
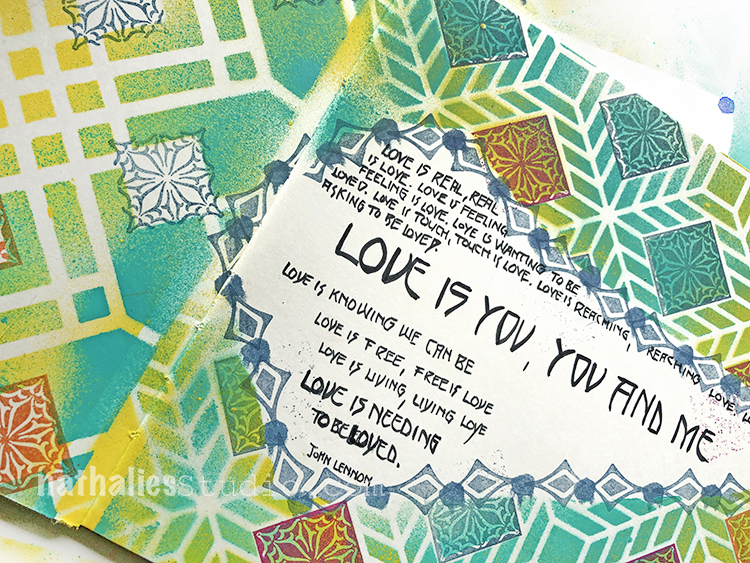
This is the final Stencilfied Journal post. My wonderful friend Tina Walker invited several people to join these prompts. The prompts were all music related and each week she posted a song. We drew inspiration from the lyrics, the video, the album cover or anything related to the song- the only restriction was to use StencilGirl Product Stencils. Here is my take on Prompt 24
This final prompt was a free song – your favorite song – tough one as I have a huge variety of songs I like and a bit of a grungy alternative rock taste- but one song I always loved and once in a while listen to is Love by John Lennon and Yoko Ono.
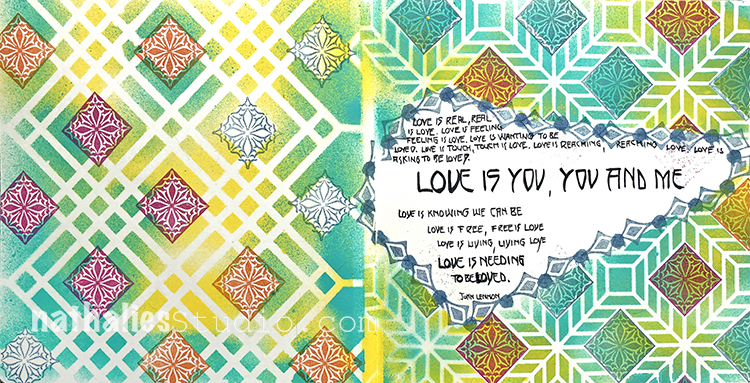
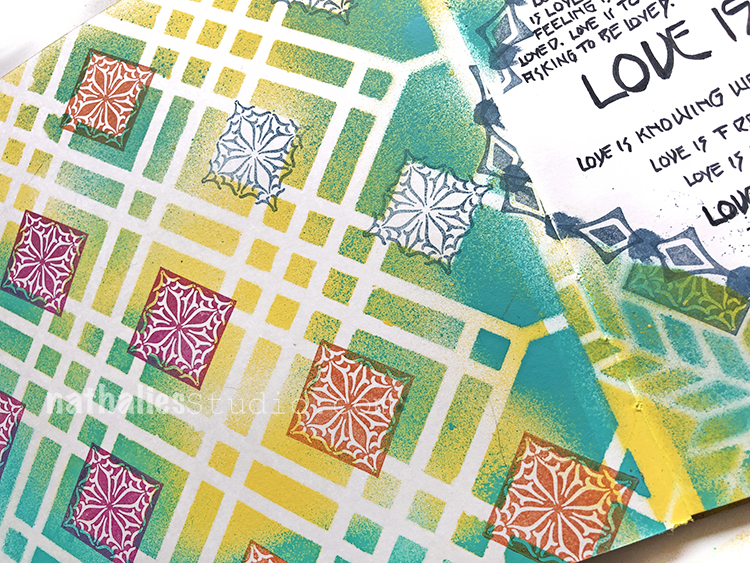
I covered up the area for the journaling – and then layered my Santiago and Chicago stencils on top and sprayed and stamped.
I love how my Small Floral Tile rubber stamps fit nicely into the squares of the stencil.
A Look Back – a blog series to show you some projects and posts that you may have missed – sometimes going WAY back in the archive. I think it will be fun to revisit a few ideas that we haven’t seen for a while. I’m excited to see how a little look back might inspire something new in the future :)
This time I’m looking at foam stamps and some ideas for using them in ways you maybe didn’t think about, even with the help of my March Foam Stamplifier Challenge. Here is A Look Back. Enjoy!
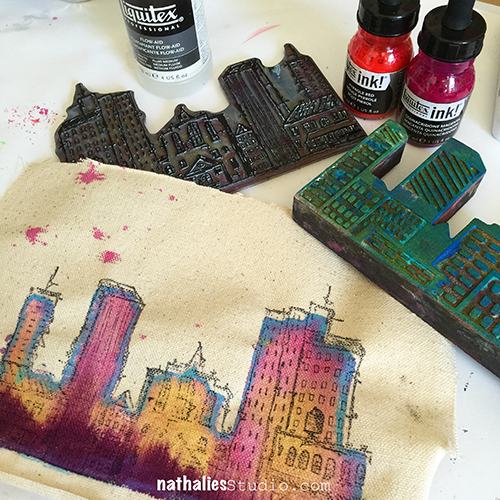
You can use foam stamps in the canvas staining technique – just prepare your canvas staining solution (I used Flow Aid by Liquitex in this 2016 blog post) and use with acrylic inks. The canvas readily absorbs the color in a soft, washy way.
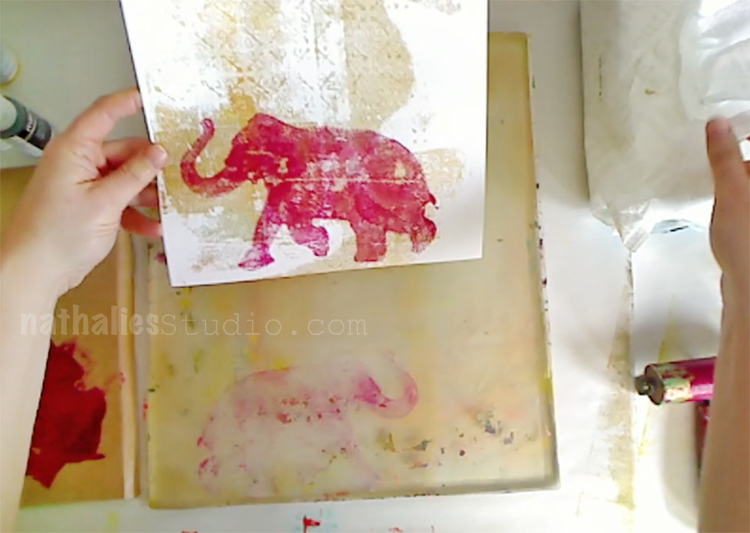
You can also paint directly onto a foam stamp with high flow paints as Cheiron Brandon did in 2016 for my Creative Squad. She spritzed the stamp with water and then got multiple colorful impressions from it on watercolor paper. Each was unique and super fun!
I made a little video here that may inspire you to try some different methods of “inking” your foam stamps. It’s nice to find the way that you are comfortable using foam stamps and in the video I show 3 easy methods.
In another helpful video I made back in 2016 I show how to reverse a foam stamp image using a gelli plate. This is an easy technique that you can use to create mirror images or patterns with a reverse.
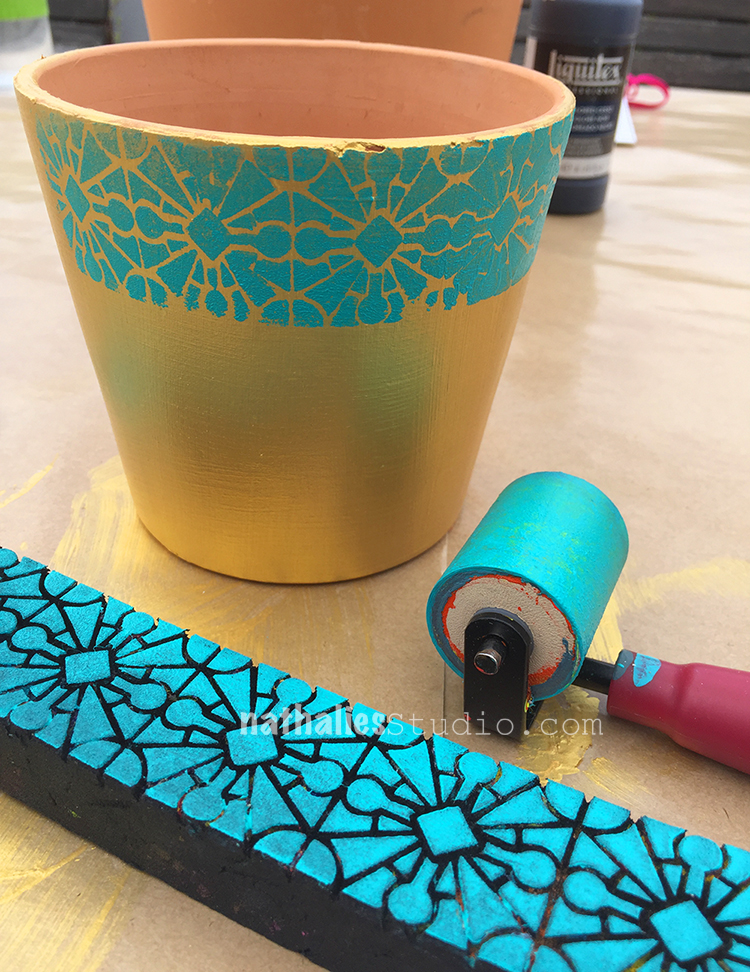
If you are looking for a summer project with your foam stamps, here is a flower pot decorating tutorial I made. I used standard clay pots and acrylic paint to give my herb pots that summer a bit more personality.
I hope you enjoyed A Look Back through my archive and maybe you are inspired to try some new things with foam stamps.
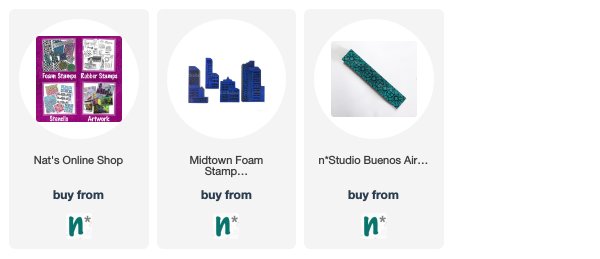
Here are some of the supplies that were used in these pieces:
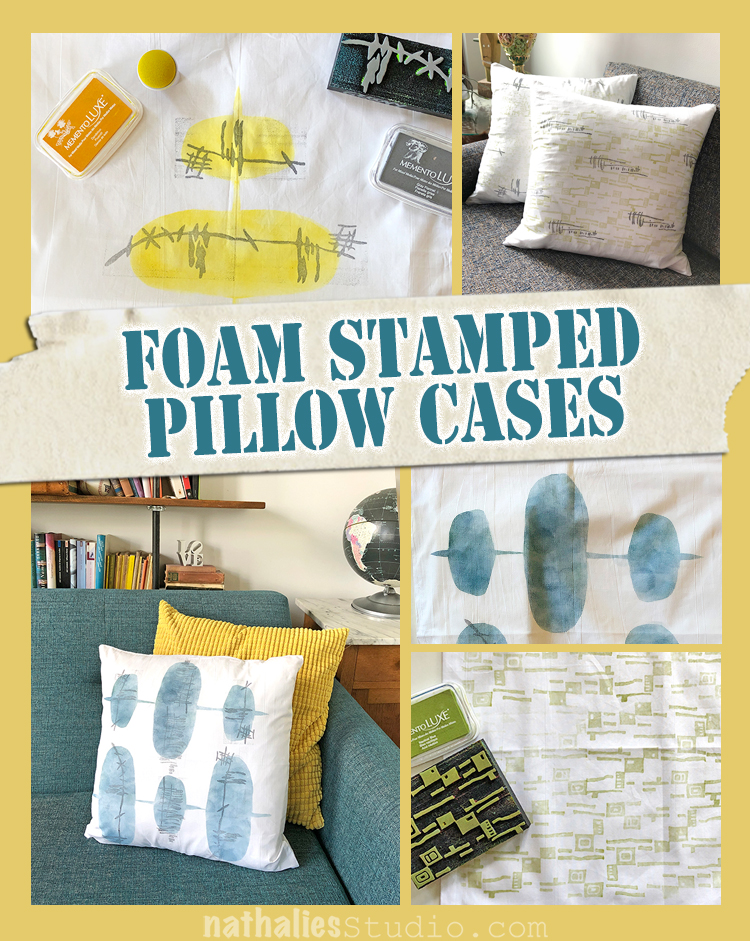
A couple weeks ago Kim and I got together for a little home decor play date – stamped pillows. We used my newest foam stamps, some fabric ink pads, and white cotton pillow cases (we already had inserts). This was a pretty quick and easy way to refresh the living room.
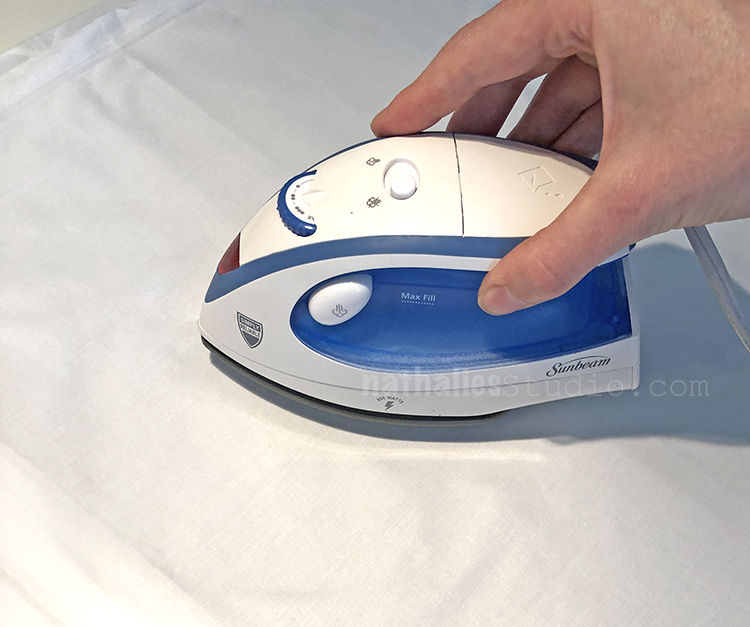
Take the time to iron your pillow cases first. The stamping will look better if you’re working on a smooth fabric.
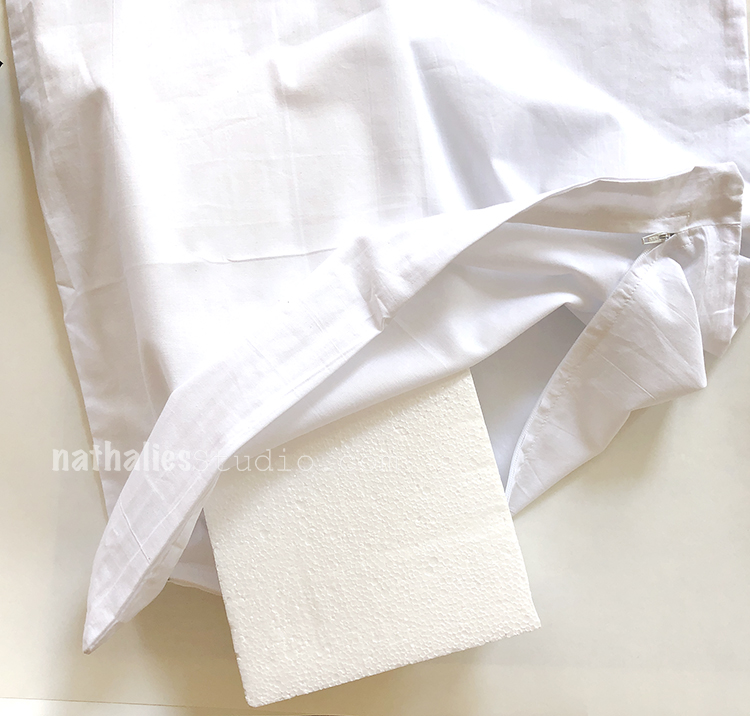
Slip something sturdy and smooth into the case before you stamp to prevent the ink from bleeding through to the other side. We used some styrofoam pieces I had laying around.
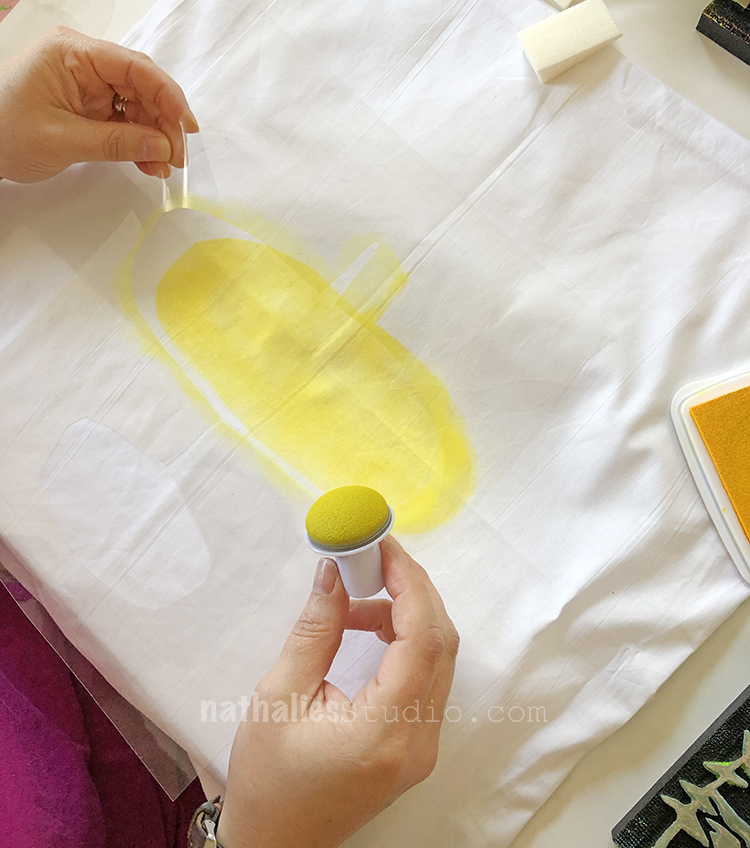
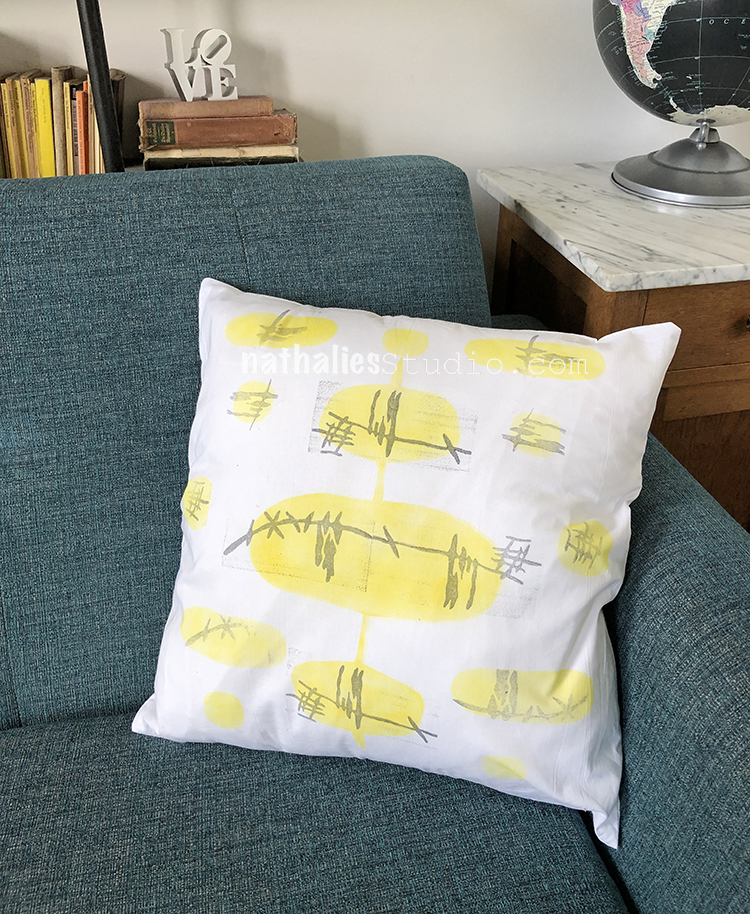
I made my own stencil out of transparency sheets for a sponged background. It’s hard to see in this photo, but it is a shape that is sort of classic mid century.
I filled in the shape with yellow ink, slowly building up the density of the color on the pillow case.
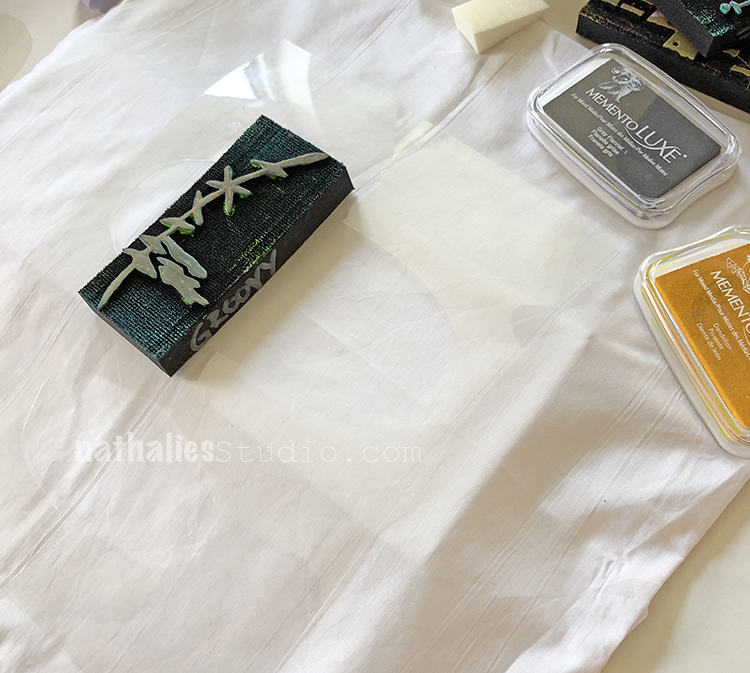
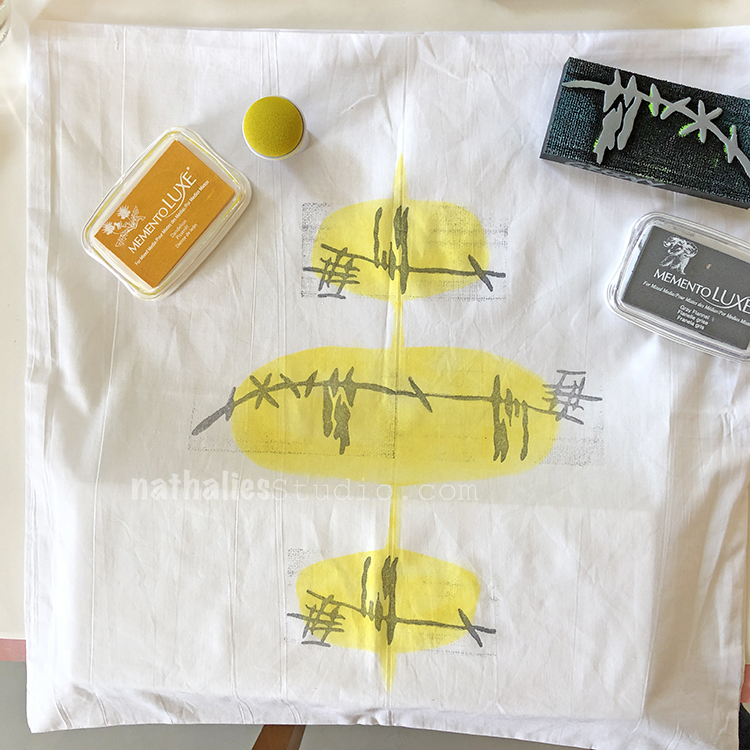
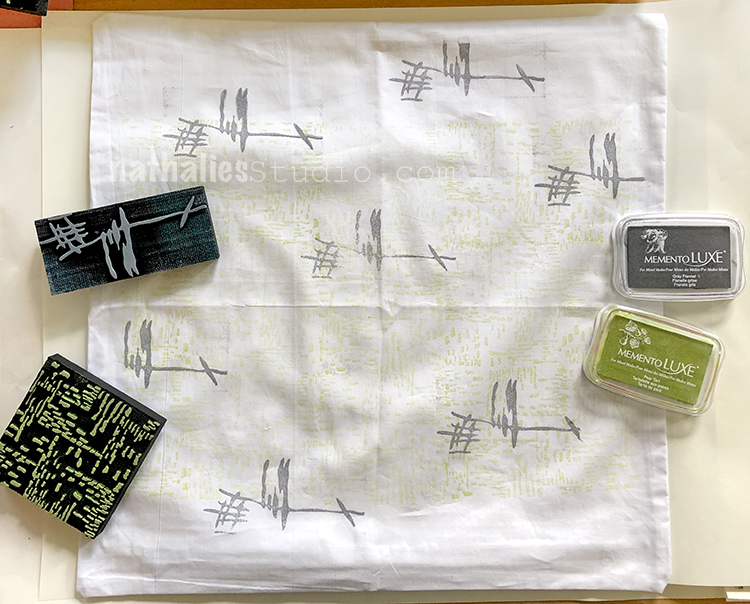
Then I went back in with gray ink and my Jazzed foam stamp. If you don’t want the edges of the foam stamp to print, press more lightly on the stamp. I like the added visual texture here and the authentic block print look.
I also stamped with my Groovy foam stamp – it connects really well with the Jazzed one to make a longer, continuous design.
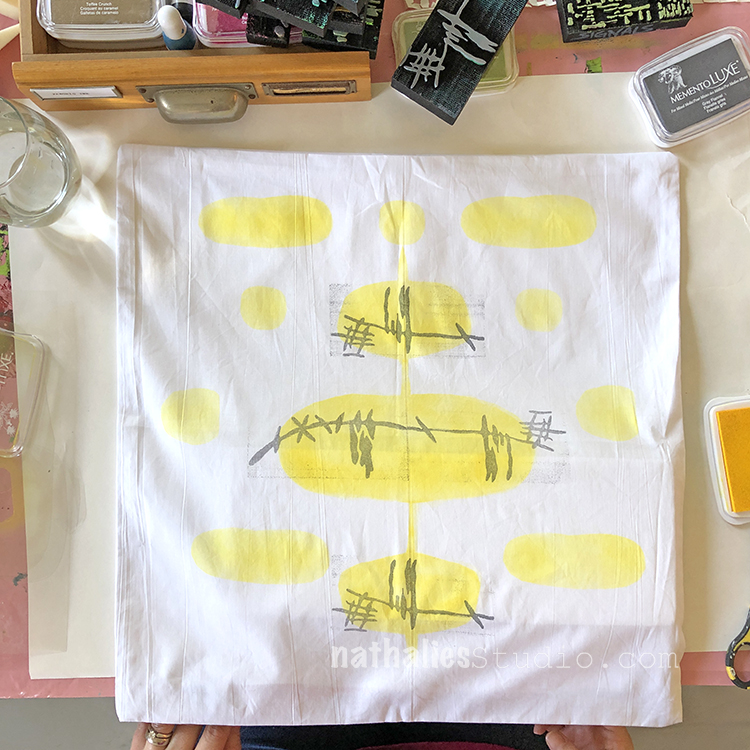
I filled in some of the other areas with additional yellow shapes.
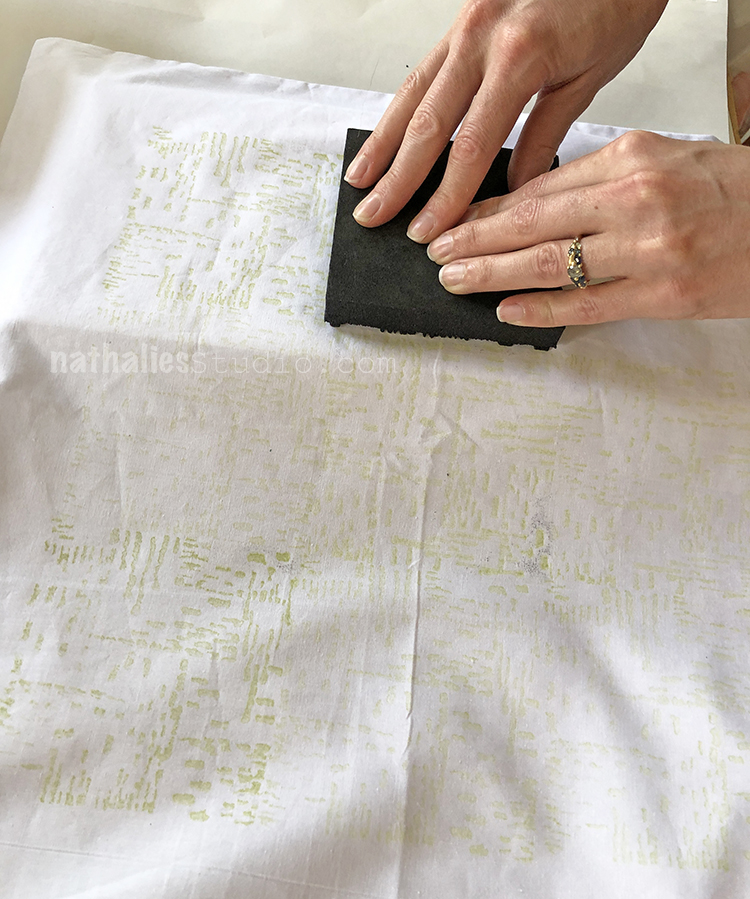
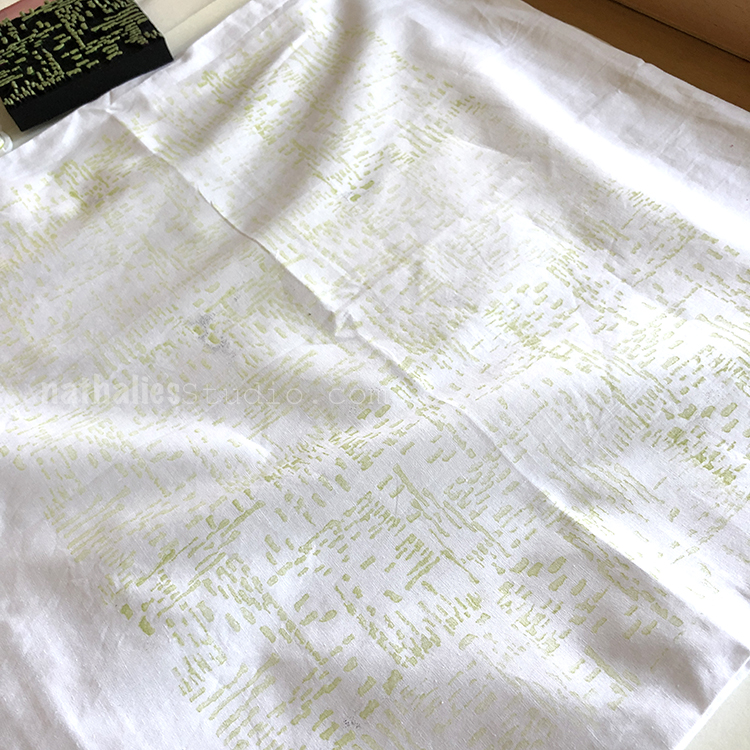
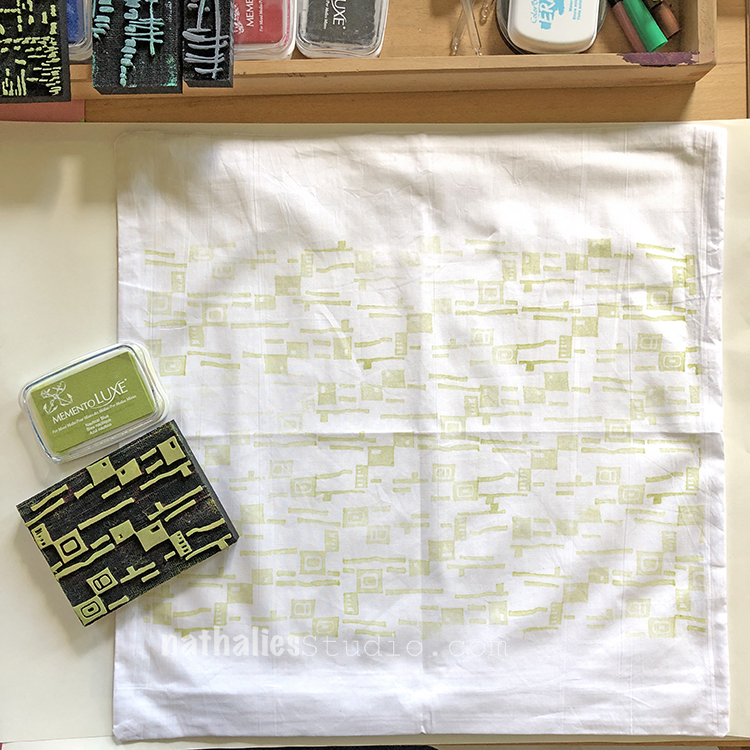
Kim stamped a subtle background pattern using a pale green ink and my Signals foam stamp.
Here’s the complete background.
Then she came back and stamped my Jazzed stamp over it using gray ink.
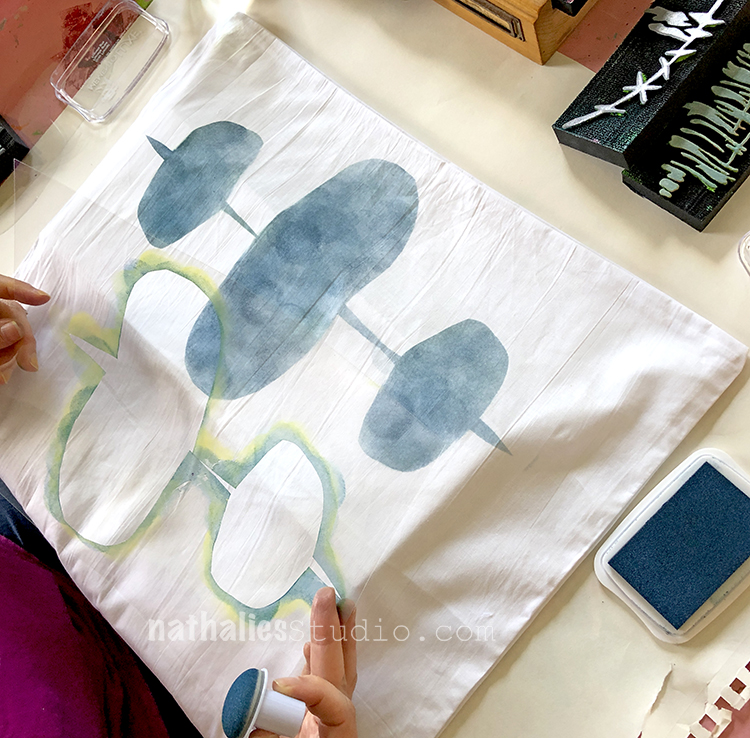
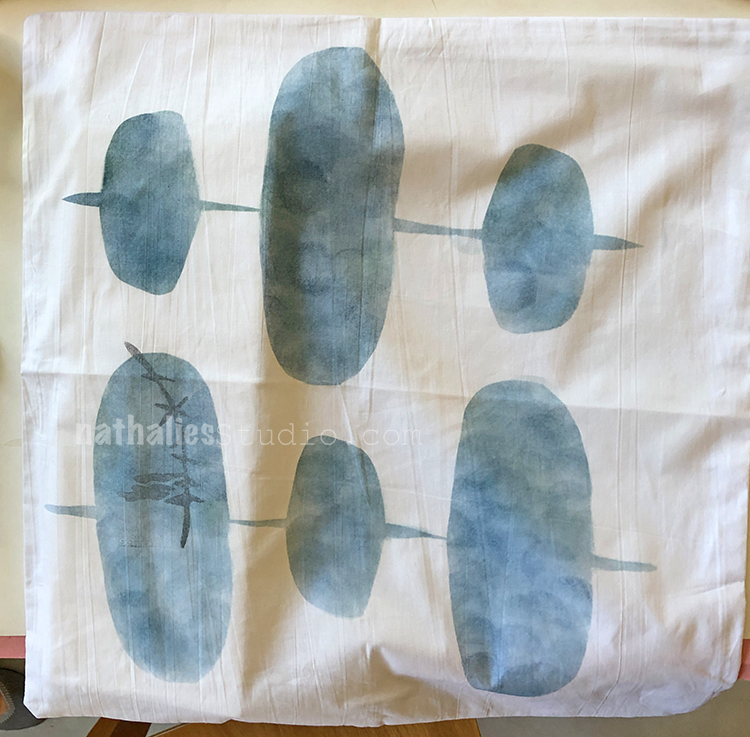
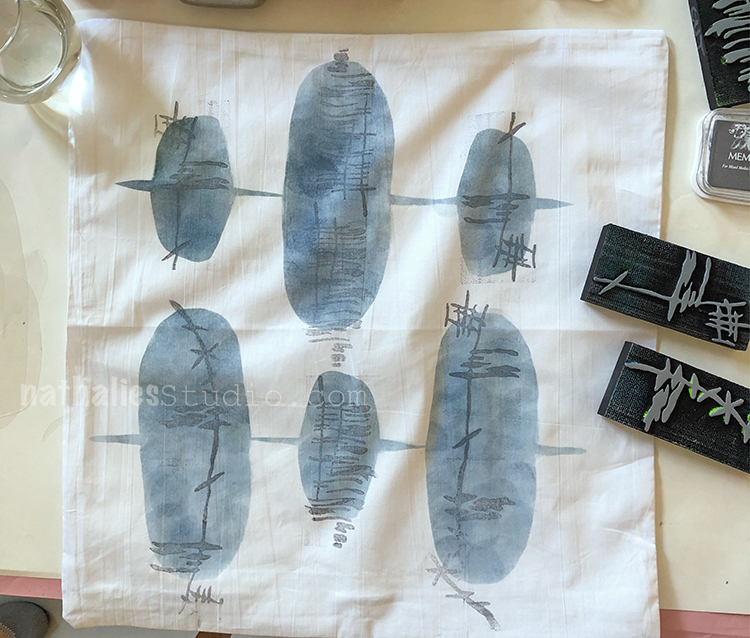
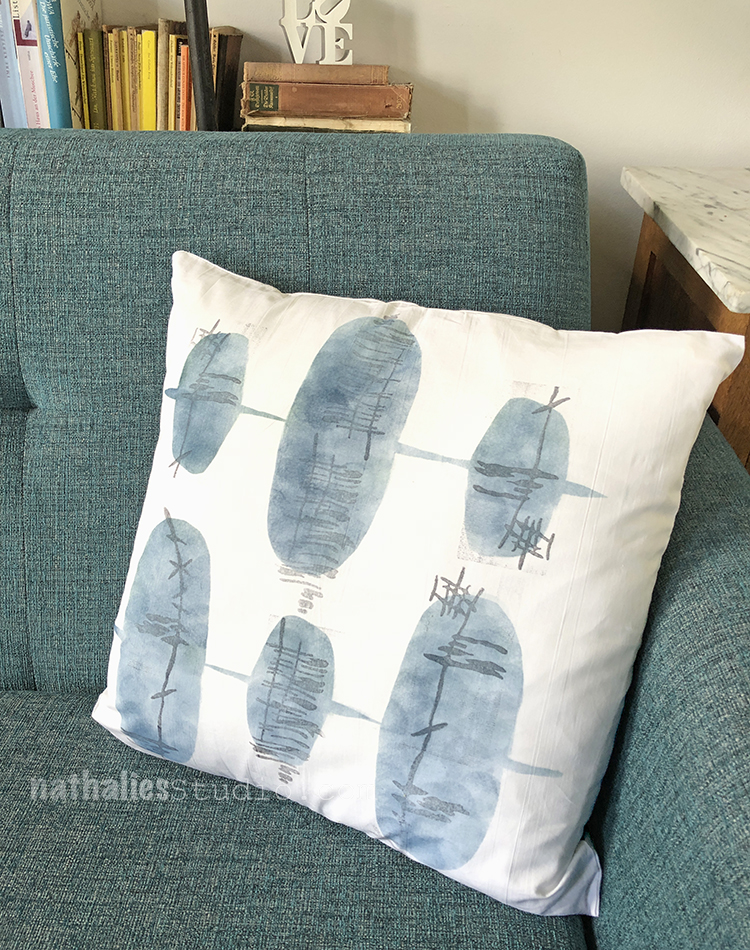
I began a second case using blue ink and the same hand made stencil.
I sponged in the abstract shapes.
And then I added the Far Out, Jazzed and Groovy stamps over the shapes.
Kim’s second case began with a background using my Mid Century Squared stamp.
She finished her second pillow with my Gnarly stamp again in gray. After the cases dry, follow your ink manufacturer’s instructions for setting the ink, end enjoy your new home decor!
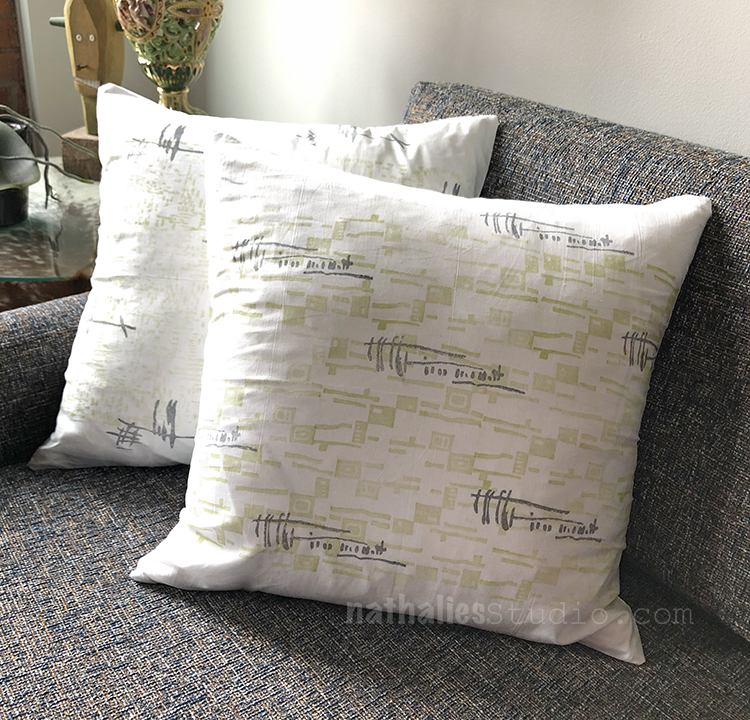
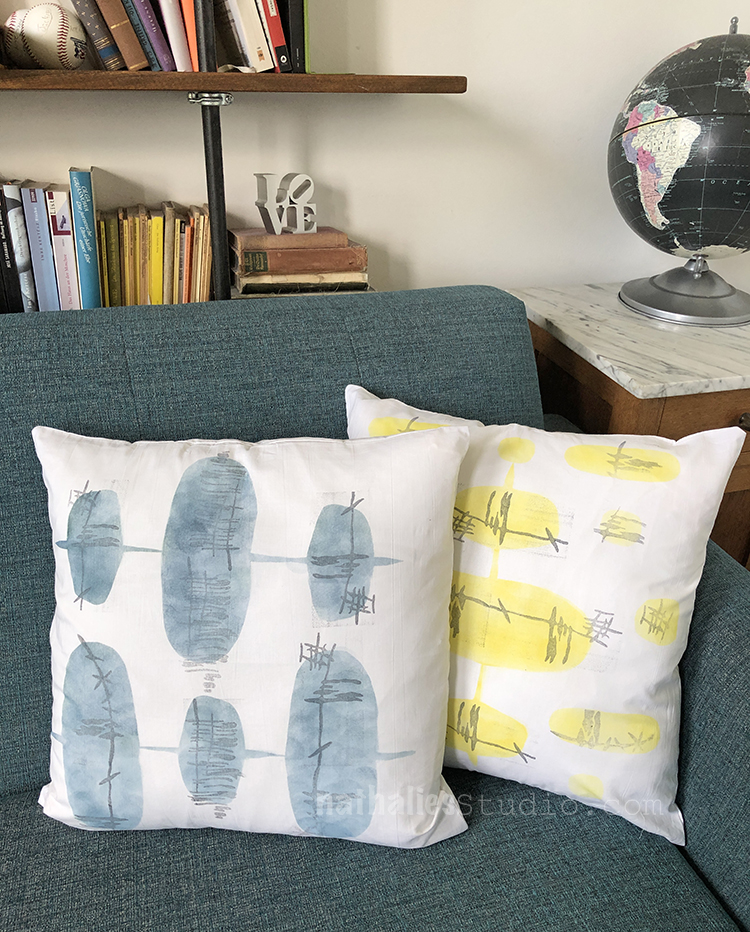
Stamped pillow cases are a very quick way to spruce up your sofa.
My cases look great on our teal sofa.
I love how the yellow one compliments some of the books in the background.
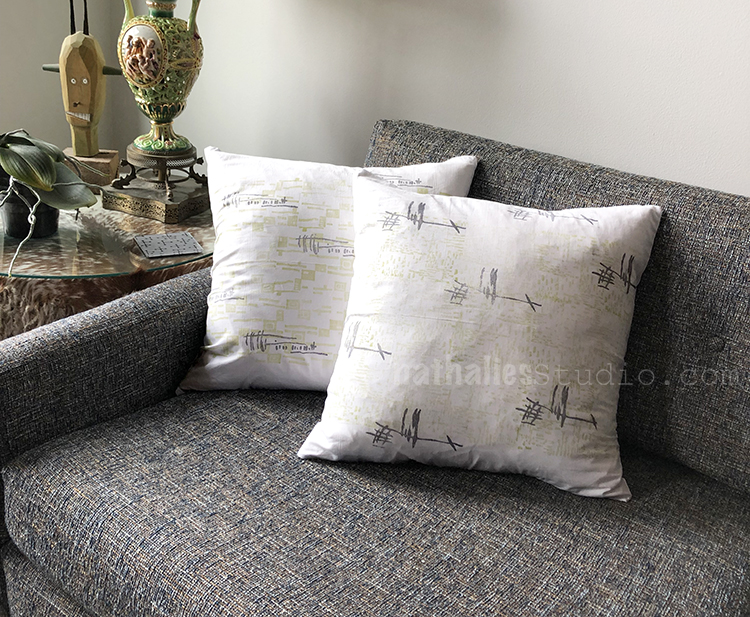
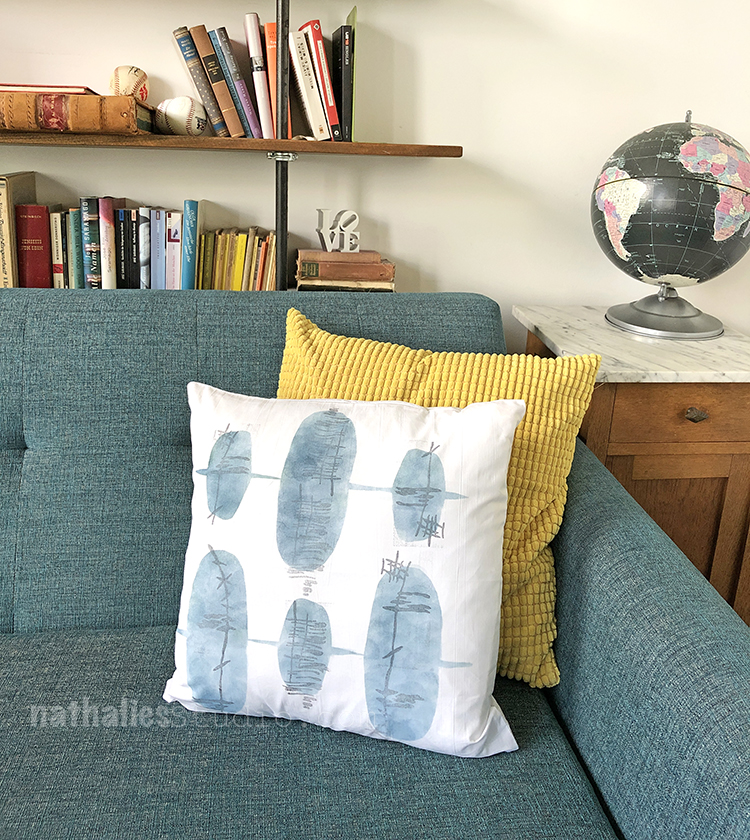
And the blue one is definitely my favorite – I might make a second one in this color.
I planned it so they also work with some of my existing pillows.
I hope you try this project – just another way to use foam stamps and fabric inks. Here are the supplies we used:
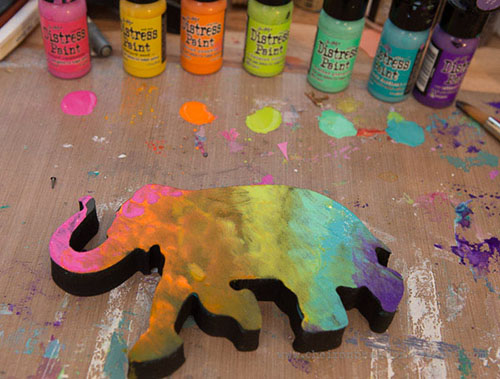
oh, Nat, these are adorable! (i have used your elephant stamps to do pillows for a friend.) i love the block print look you got from the foam stamp mounts. now i know my next project!


Comments (1)
Sue Clarke
| #
Wonderful and I have those stamps and scribble sticks…woot woot.
Reply