nathalie-kalbach

You Are At The Right Place or… In My Art Journal Today

artjournalrightplace01

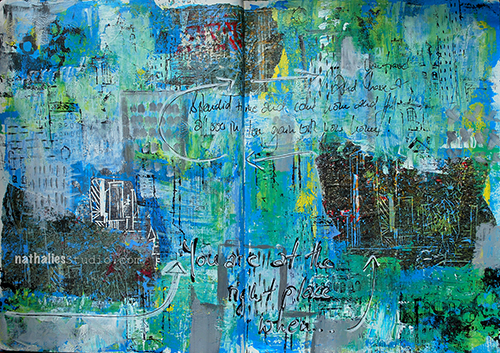
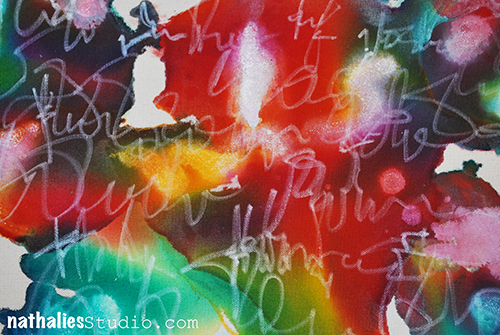
“you are at the right place, when you travel and have a splendid time and come home and fall over in love again with your home”

artjournalrightplace02

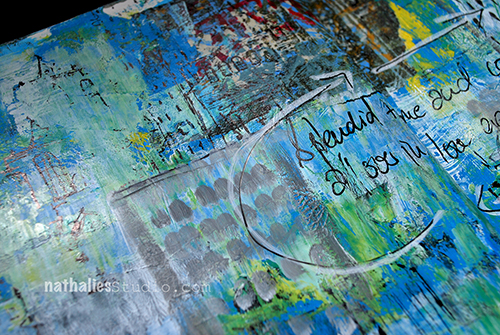
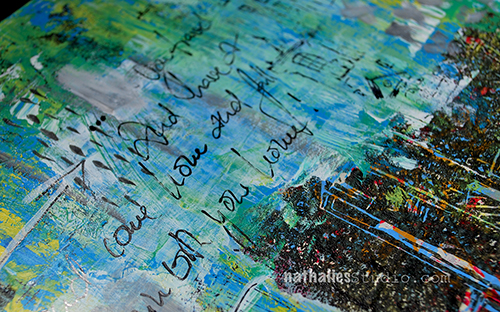
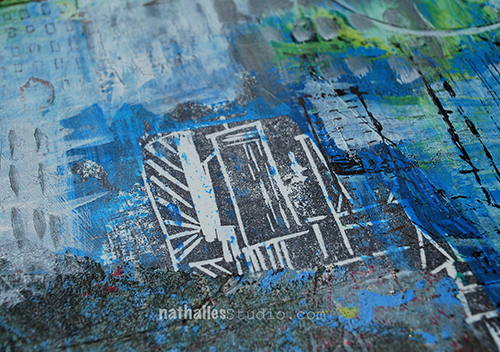
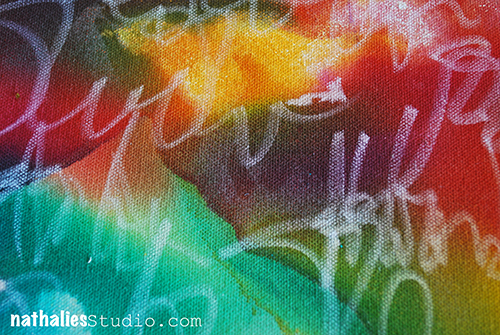
Loved making this grungy spage using a handcarved stamp as well as my Urban Scribble and Grunge Stamp Set.

artjournalrightplace03

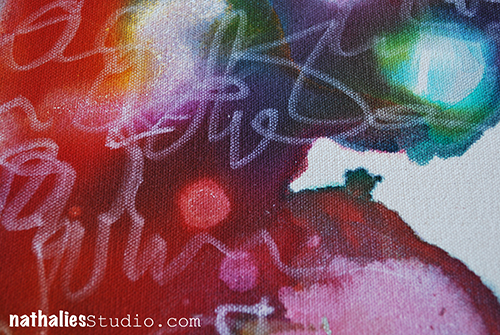
I added some marks and painted details to blend the elements together and I like the overall feel of this page.

artjournalrightplace04

This art journal spread reminds me how excited I am every time I come home from traveling and how happy it makes me to see the statue of liberty and the skyline of Jersey City and New Jersey and sometimes even my house from the airplane. I guess I am home here now *wink

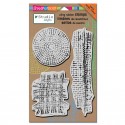
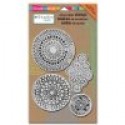
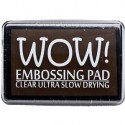
Here are some of the supplies I used for this art journal spread – some are affiliate links:

SuppliesCJS

Wishing you a beautiful day!

Comments (1)

  • Joi@RR

    |

    Oh wow – these pages are just amazing Nat. There is so much to see and so much dimension – the buildings go in and out and up and down and it’s just sooooo awesome. Seems like THIS needs to be a painting SOON. It’s really splendid. Xj.

    Reply

Leave a comment

From Small Beginnings – Marsha Valk

CS September Theme 2

Happy Tuesday!  It’s time for my Creative Squad to share a project with you with this month’s theme: “From Small Beginnings”. Throughout the month of September, the team will be using my n*Studio Stamps to interpret the theme. The change in seasons and the childhood ritual of Back to School in September has me thinking about starting new things – new projects, learning new things, and meeting new people, and all the excitement and challenges that come with all of these “new”s. For this theme, From Small Beginnings, my Squad will think about the process of starting something new and the very first steps they took. I’ll ask them, how did you experience a Beginning?

So this week we have a gorgeous scrapbook page from Marsha Valk, where she reminisces about her start in mixed media with stamping, embossing powders, and scrapbooking.

—————————————————————————————————

Marsha September Headshot

This theme made me think about how I started stamping. I can’t remember which stamps I bought first. I’m guessing it was a small wood mounted alphabet set.

I do know that some of the first inks I had were little Colorbox Cat’s Eyes and the first time I used embossing powder was in an Ali Edwards class. It was sooo scary and soooo amazing at the same time!!! And then, of course I had to buy the stuff for myself.

Anyway, I started to look for the mini I made in that class and I ended up looking through some of the other minis I’ve made over the years. One of the minis featured a photo of my scrapcorner in the attic in 2006 and that sparked my plan for this theme:

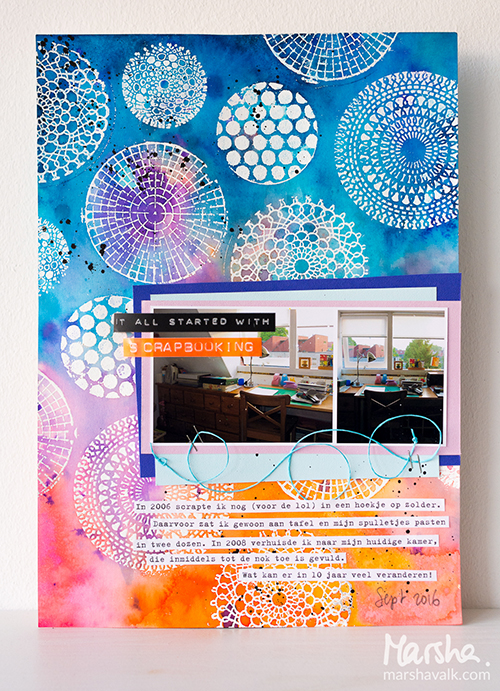
I wanted to scrapbook, I wanted to heat emboss and I wanted to use materials I would (or could) have had 10 or more years ago.

marshavalk_nscs_fromsmallbeginnings_details2

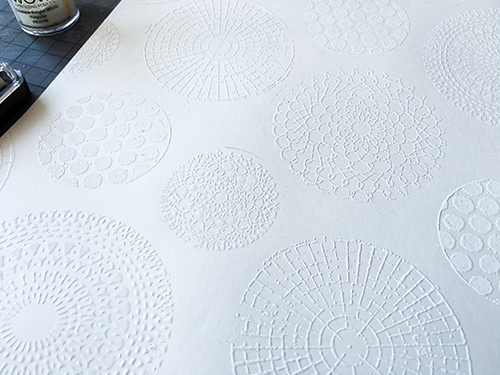
I started stamping on a smooth watercolour paper with embossing ink. I heat-embossed with white embossing powder.

marshavalk_nscs_fromsmallbeginnings_step1

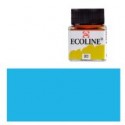
Then I played around with Ecoline and… forgot to take further photos… Oops.

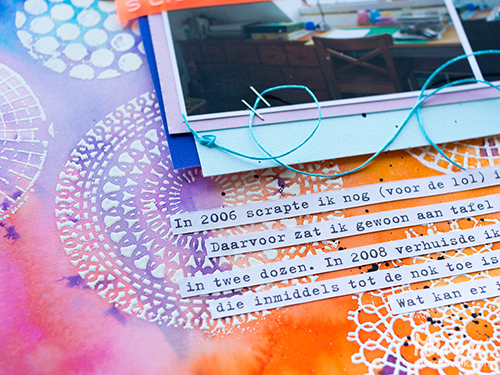
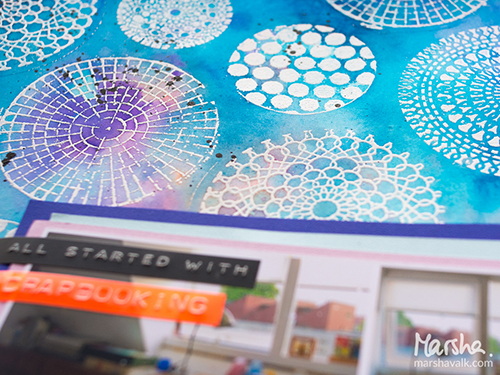
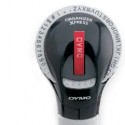
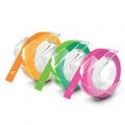
Once the Ecoline was dry I added the cardstock cluster and my photo. My title was made with two of my Dymo Label Makers. One of them is actually visible on the desk in the photos!

marshavalk_nscs_fromsmallbeginnings_details1

marshavalk_nscs_fromsmallbeginnings_details3

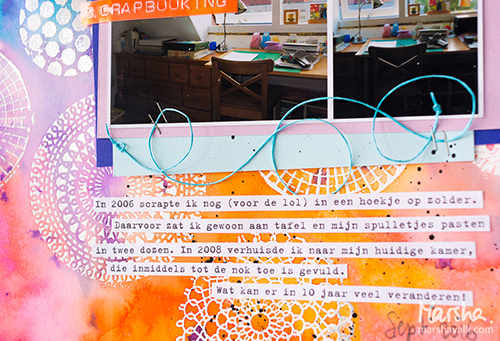
I also added some Scrappers Floss to the cluster with a stapler and because I used to print most of my journaling, I adhered my text in strips to the page. I finished the page with some paint marker splatters and the date.

marshavalk_nscs_fromsmallbeginnings

—————————————————————————————————

I love how Marsha took us both back in time AND behind-the-scenes with her super fun page.  And those Kaffee Klatsch and Mish Mesh stamps look amazing embossed in white against those gorgeous colors!

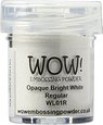
In addition to paper floss, a stapler, and personal photographs , Marsha used the supplies listed below (some are affiliate links):

SuppliesCJS

Maybe you will even play along with us -I would love to see how you interpret our monthly themes. Email me how you used my stencils and stamps with the theme and email me an image – I would love to share your projects in my next “n*Spiration From Around the Globe“.

See you next Tuesday for another project from the Creative Squad!

Comments (2)

  • Joi@RR

    |

    This was a fun story of your beginnings Marsha and your project is fun too! Really awesome background with the stamps. My very first stamp was Nathalie’s Fiesta stamp and would you believe I WON it – from her???!!!! I treasure it still!!! Thanks bunches for sharing. j.

    Reply

  • Mary

    |

    Beautiful. Love the technique. Thanks for sharing.
    On my list to do.

    Reply

Leave a comment

Upcycled, Recycled or … Easy Peasy Gift Bag

KalbachGiftbag01

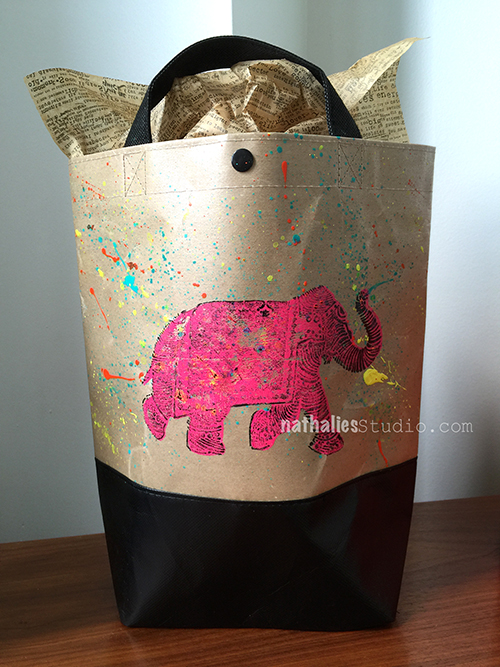
My sister-in-law’s birthday was a big event last month and so I wanted to have a special and colorful the gift bag. I had this fun bag, which I had gotten as an advertisment gift laying around and decided to oomph it up Nat-style

KalbachGiftbag07

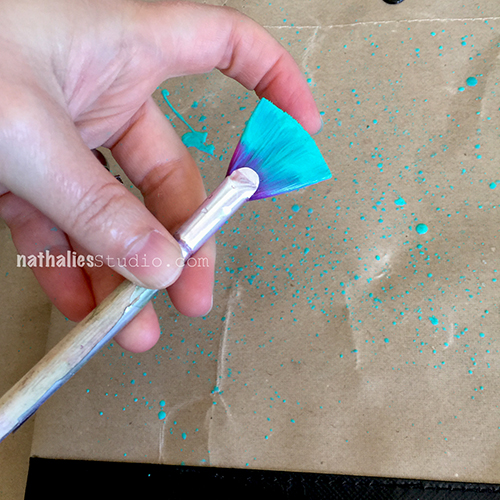
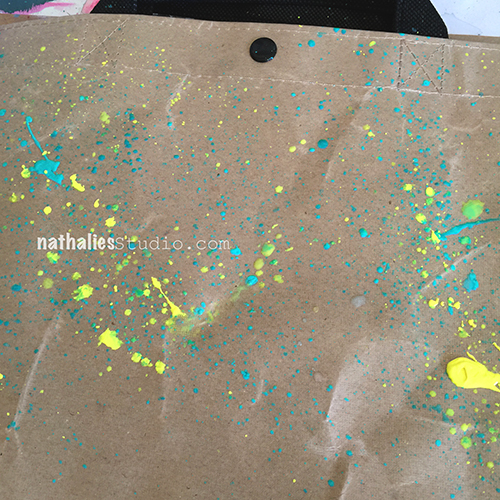
I started by loading up some acrylic paint onto a fan brush and flicking it onto the bag.

KalbachGiftbag06

Cleaning the brush in between I flicked one color after the other on top.

KalbachGiftbag05

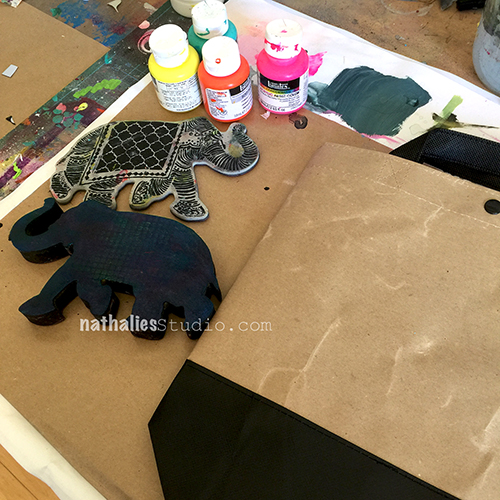
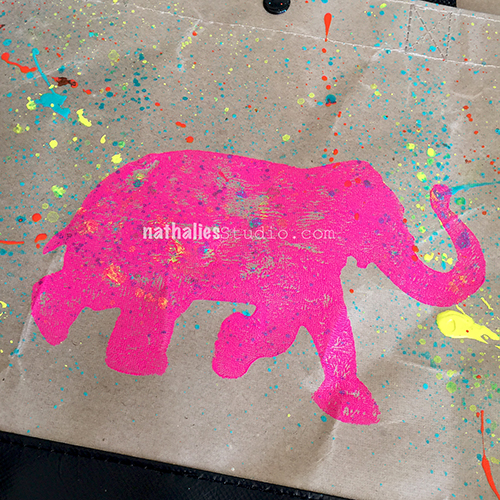
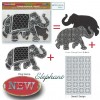
After the paint drops dried, I rolled out some pink color and applied it with a rubber brayer to the solid side of my Elephant Foam Stamp (which is part of my Elephant Foam and Rubber Stamp and Stencil Set) and stamped the pink elephant on top of the bag and let the image dry completely.

KalbachGiftbag04

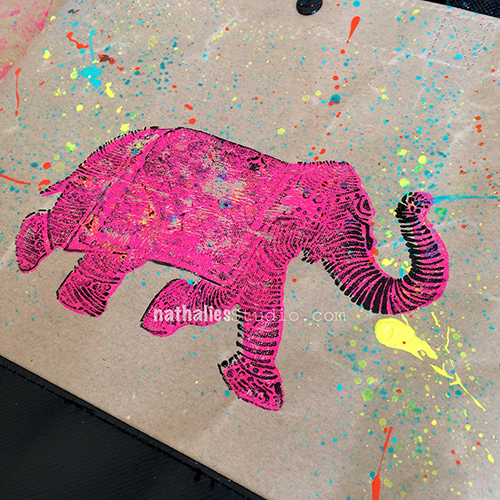
In a final step I stamped the rubber elephant stamp using Archival ink over the pink elephant silhouette.

KalbachGiftbag03

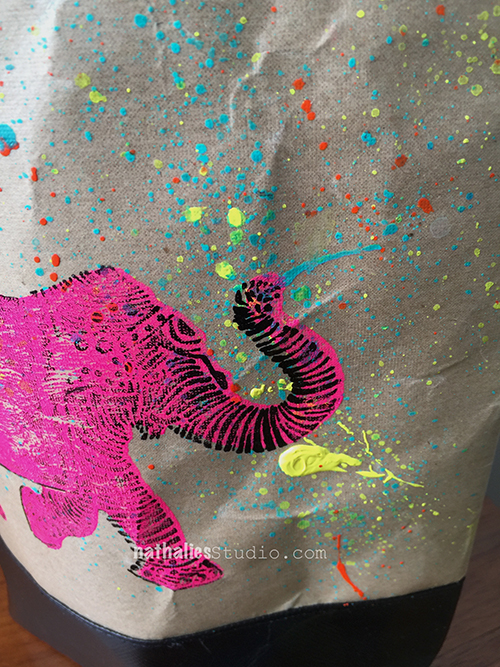
And voila – a festive and fun gift bag was done. Now…what was in the gift bag? ….welllllllll – LOL- that is a different post because it was also something hand made but I used something I cannot show you yet. I promise to show it to you later *wink!

KalbachGiftbag02

Here are the supplies I have used for the gift bag – some links are affiliate links:

SuppliesCJS

Do you like to make your own gift bags and what have you used?

Comments (4)

  • Sue Clarke

    |

    Love the gift bag and you are a tease about your new supplies to be announced at a later date!

    Reply

    • nathalie-kalbach

      |

      LOL- sorry ;) It is coming any day now – promised!

      Reply

  • stephanie

    |

    Nice! Great re-use and upcycle.

    Reply

Leave a comment

Always Believe or… In My Art Journal Today

alwaysbelieveaj01

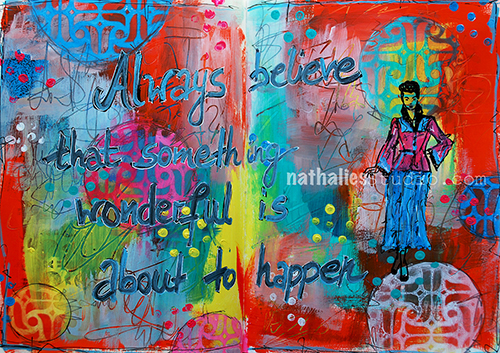
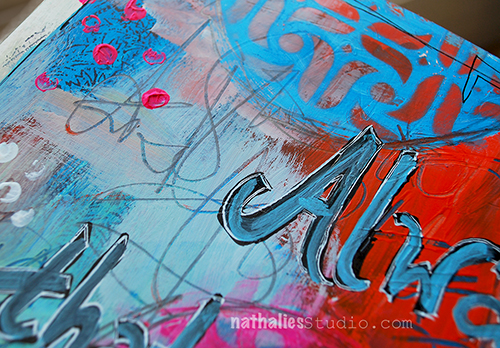
“Always believe that something wonderful is about to happen”

Word!

always-believe-steps

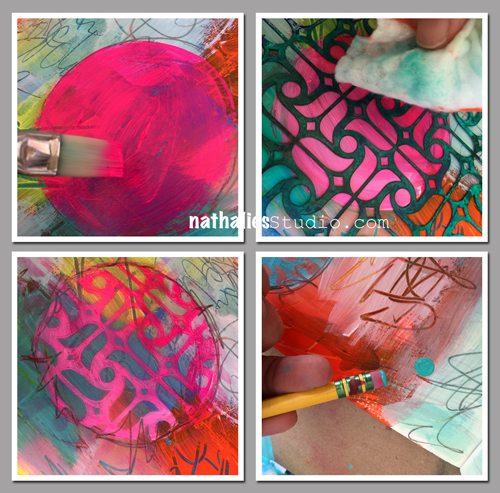
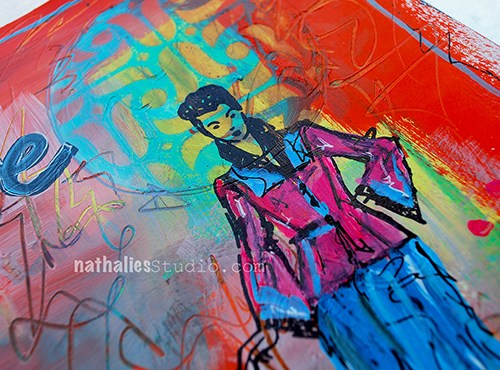
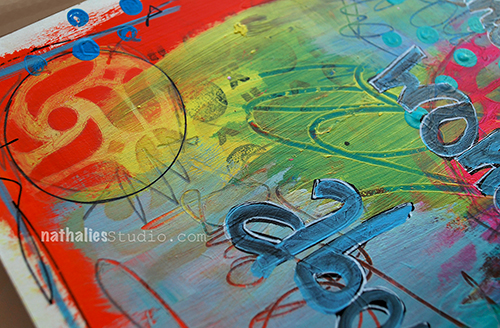
For this spread I had painted some happy colors onto the art journal pages and then used a pencil to scratch in some journaling. Next I colored in circles and before the paint dried, I layered the stencil which his included in the Fashion Dame Stamp Set over the wet paint. I took off the wet paint through the stencil with a baby wipe. I used the rubber attached to my pencil and dipped it in paint to add little circles throughout the spread.

alwaysbelieveaj02

I stamped the Fashion Dame and layered the skirt and jacket on top and colored it in with acrylic paint.

alwaysbelieveaj03

As you can see, lot’s of layers and it was fun to create.

alwaysbelieveaj04

Here are the supplies I used for this art journal spread – some links are affiliate links:

SuppliesCJS

Have a gorgeous day and …always believe!!!

Comments (2)

  • Sue Clarke

    |

    Attitude is everything!
    Thanks for spreading some joy with your art and blog Nat!!!

    Reply

    • nathalie-kalbach

      |

      Thank you Sue for your support and making me believe :)

      Reply

Leave a comment

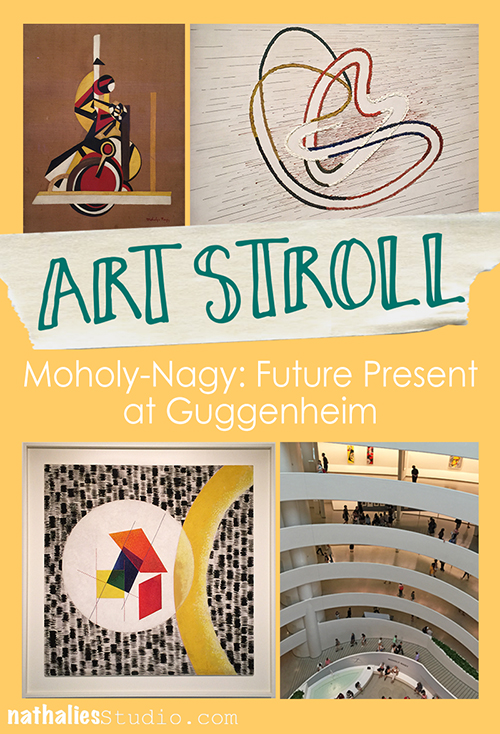
Art Stroll: Moholy-Nagy: Future Present at Guggenheim

KalbachNagyCollage

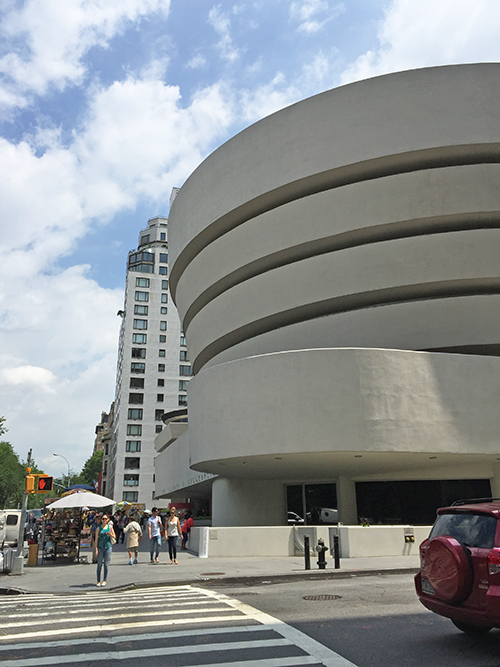
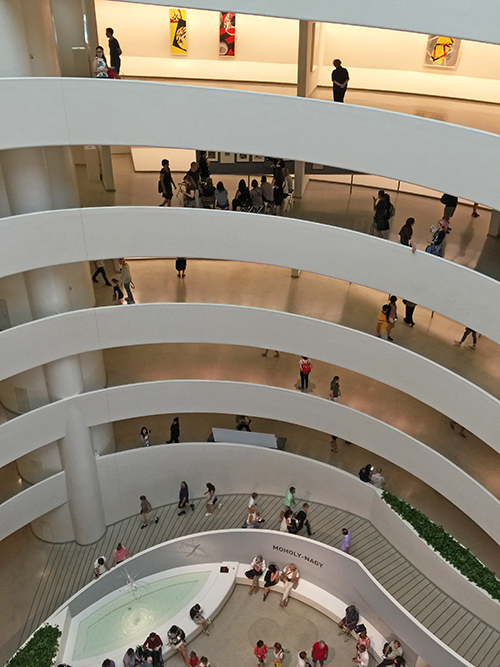
The retrospective of Laszlo Moholy-Nagy at the Guggenheim – Future- Present- was Andrew’s and my second stop for an art stroll a couple weeks ago.
KalbachNagy01

Meandering from bottom to top in a spiral his work developed from the 20s to the mid 40s in front of the viewers eyes.
KalbachNagy27

KalbachNagy28

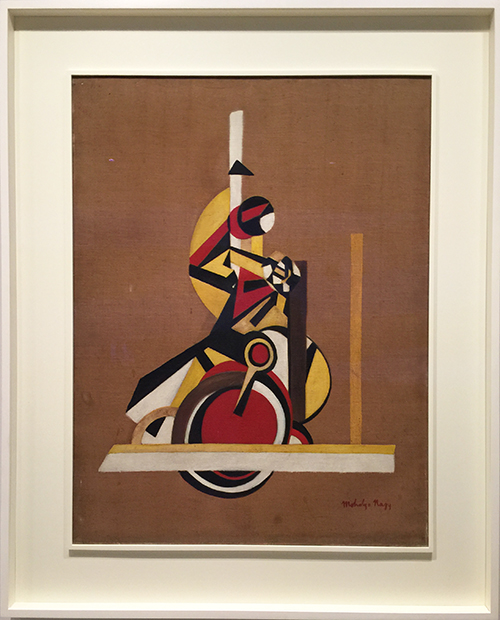
The Bicyclist (Still Life) Moholy-Nagy, 1920-22, Oil on Canvas

I loved seeing this and how the geometric shapes evolved into something else with time.
KalbachNagy26

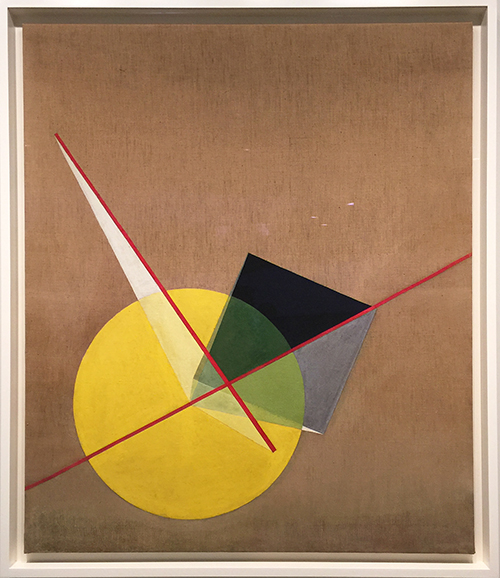
Yellow Circle and Black Square (Gelber Kreis und schwarzes Quadrat) by Moholy-Nagy, 1921, Oil and Graphite on Canvas
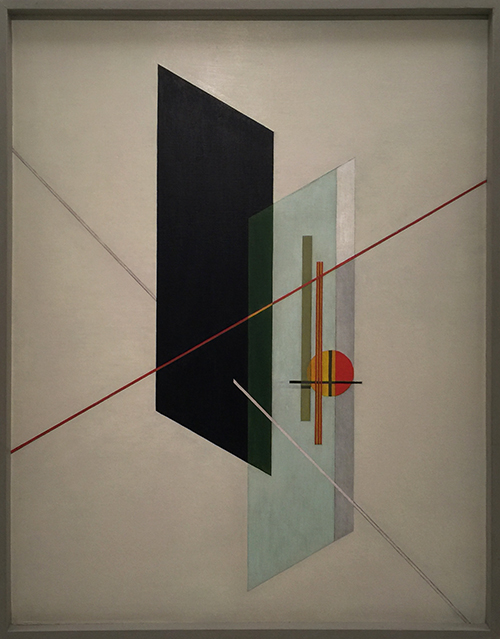
KalbachNagy23

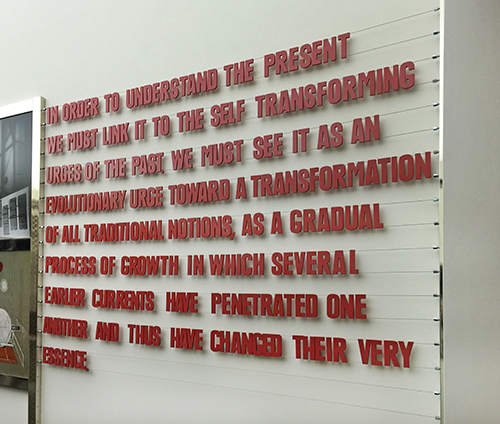
Moholy-Nagy believed that art could be a vehicle to for social transformation and was combining technology and fine art elements. He experimented with a wide variety of mediums.

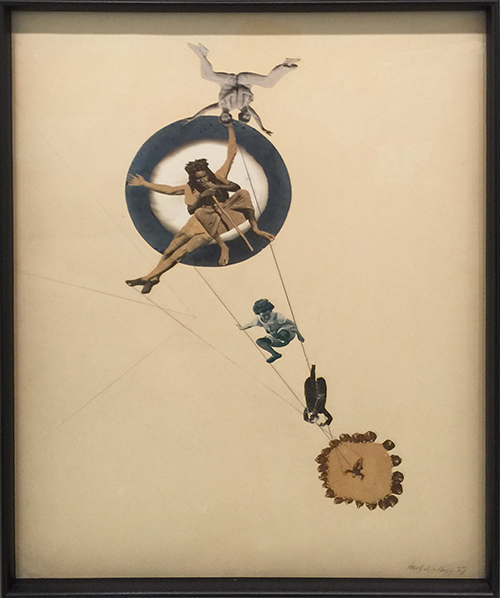
Coming from the Dadaglobe Exhibition Art Stroll just a couple hours before- we loved seeing the artwork below. Moholy-Nagy who was born in Hungary-Austria in 1895 moved to Berlin in the 1920s where he met the Dada artists who influenced his work.
KalbachNagy22

Between Heaven and Earth (Zwischen Himmel und Erde) by Moholy-Nagy, 1923, Photomontage (gelatin silver prints, including one photogram; photomechanical reproductions and graphite)  on paper
KalbachNagy21

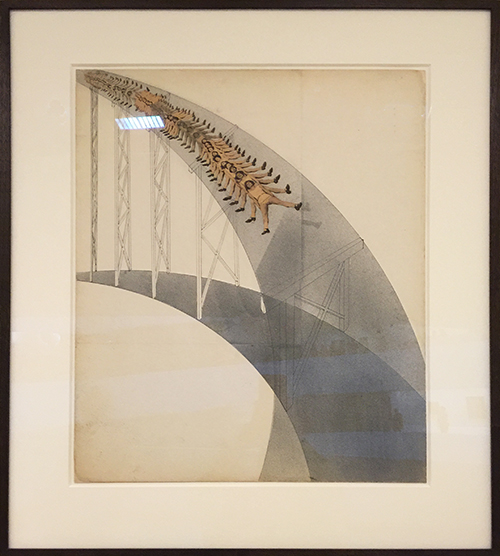
Slide (Rutschbahn) by Moholy-Nagy, 1923, Photomontage (cut and pasted printed papers, sprayed gouache, ink and graphite) on board

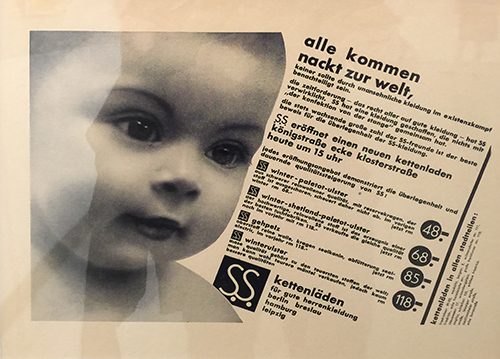
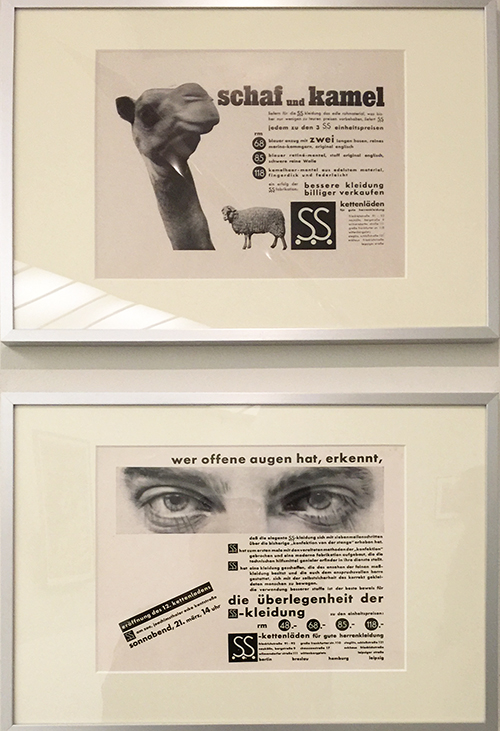
I also loved his modern and funny advertisements. Again of course it is only funny when you can read German
KalbachNagy20

but so the one on top here says “everyone is born naked to this world and should not be disadvantaged in the daily struggle of existence by ugly clothes. The birthright that everyone should access to good clothing was realized by SS (Schröder-Spezial) ” – I guess they had a way longer attention span for advertisements back then – lol
KalbachNagy19

The top here is showing off the good material their clothes are made off and …and the one on the bottom let’s you know if you walk around with open eyes you will spot how superior the clothes of this menswear house is.

Advertisements for Schroeder-Spezial – a menswear chain store, 1930
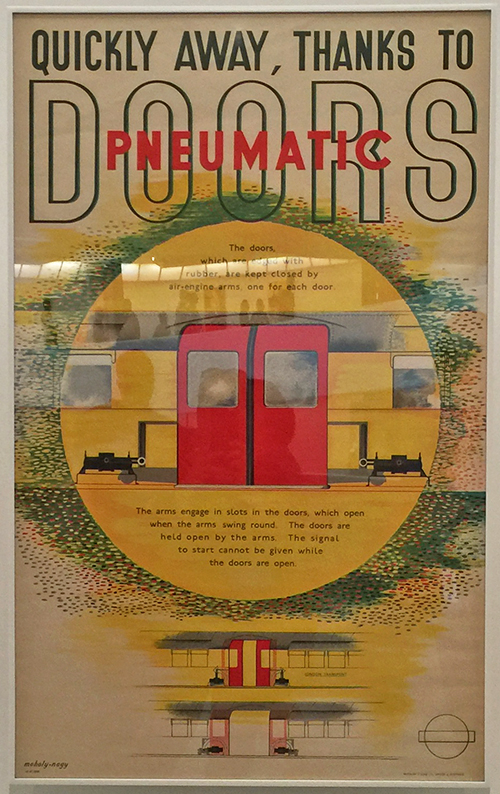
KalbachNagy18

Advertisement for the London Underground, 1937
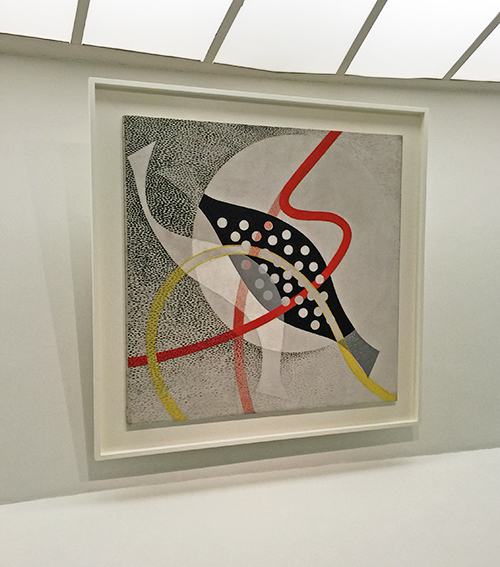
 

KalbachNagy17

CH Beata I by Moholy-Nagy, 1939, Oil and graphite on canvas

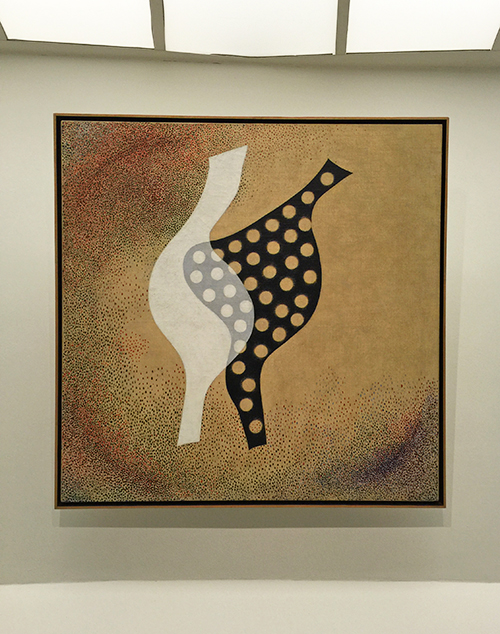
In 1937 he was appointed to head of New Bauhaus in Chicago and later he opened his own School of Design there. I love seeing traces of the beginning artwork still there but developed more into something else.
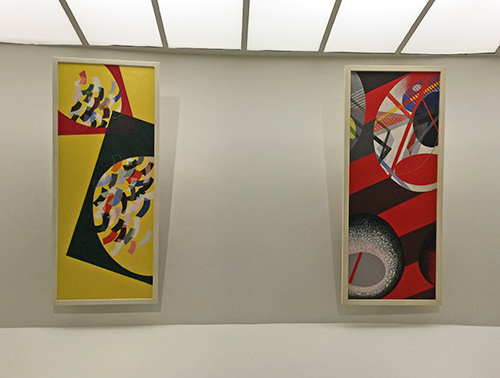
KalbachNagy16

KalbachNagy15

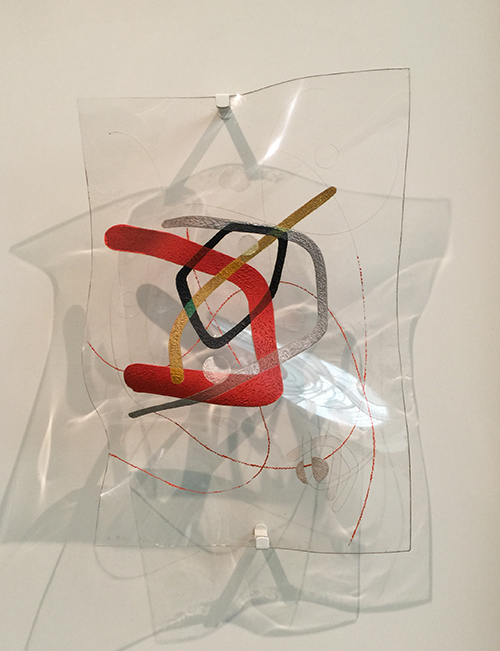
Space Modulators:

KalbachNagy13

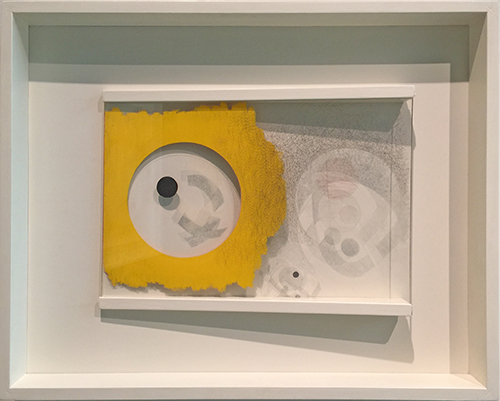
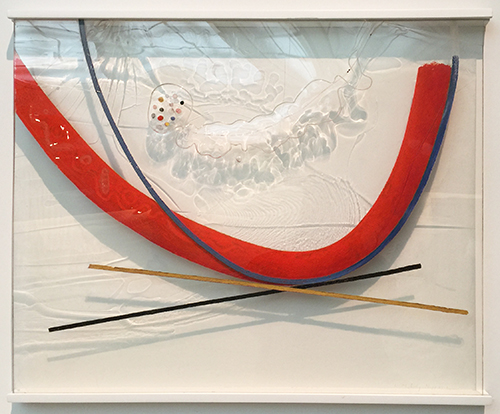
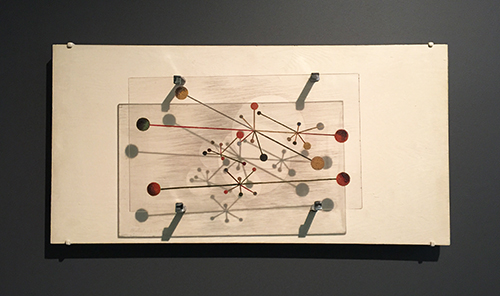
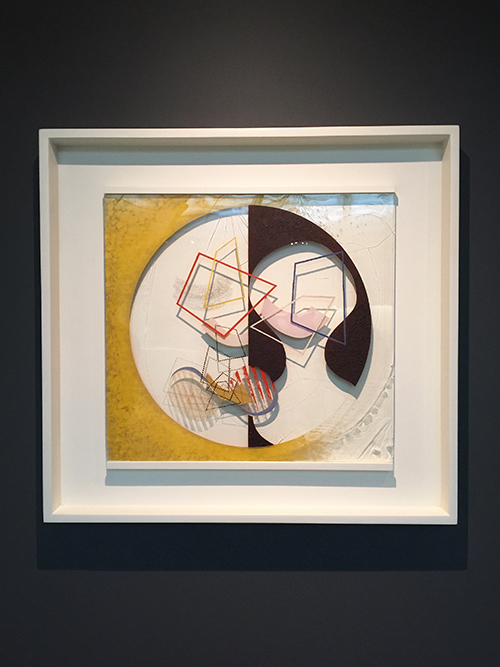
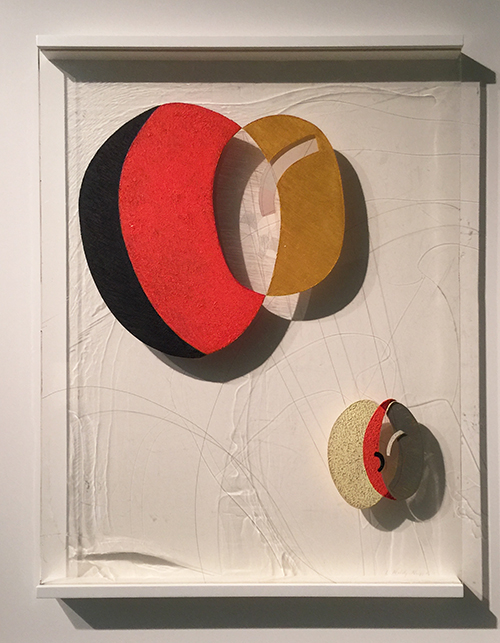
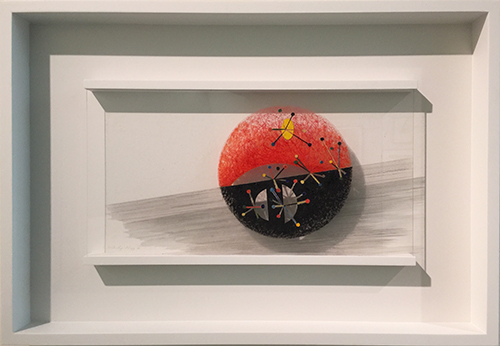
Moholy-Nagy’s technique of suspending Plexiglas sheets with clips or rails several inches in front of white panels allows light to pass through the clear areas while the painted passages generate modulated shadows that become part of the composition. He described this process: “I scratch lines on the back of the transparent sheet and rub color in; the same I do wit the front, rubbing another color it. Light does then what I could not do. A sparkling, vibrating color effect through the addition of the shadows which produce mixtures as no one could on the palette.”
KalbachNagy12

At times, he would manipulate the Plexiglas, as with the work above, by heating the plastic sheets – sometimes in his kitchen oven – and then shaping them by hand to enhance their capacity to distort light and imply undulating movement. Moholy-Nagy died at the age of 51 of leukemia.
 

KalbachNagy09

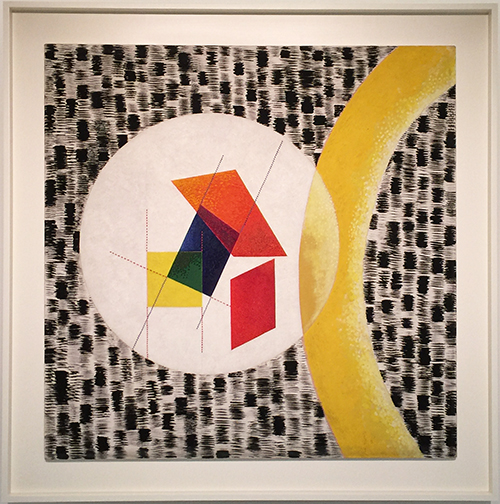
Leuk 4 by Moholy-Nagy, 1945, Oil and graphite on canvas

This painting was done a year before his death and is depiction cancer cells. Without context it looked not sad – but knowing the context it made me sad . But here we have another prove of how art can reflect something that happens in the artists live in a symbolic and hidden way- if you wouldn’t see the name of the painting – you might not really know.

More Space Modulators:
KalbachNagy08

KalbachNagy07

KalbachNagy06

KalbachNagy05

KalbachNagy04

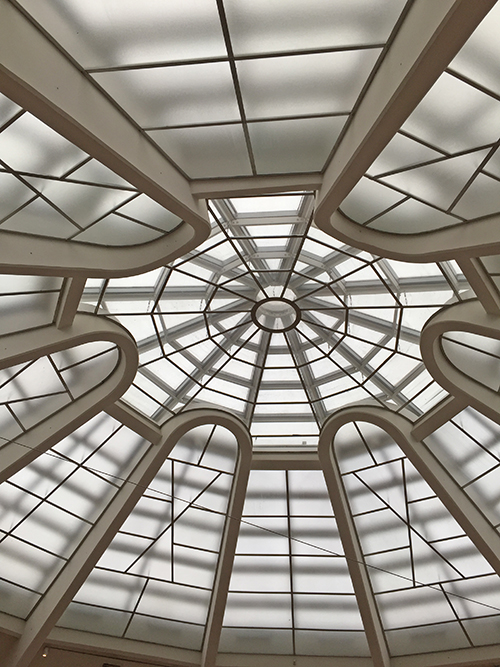
The Guggenheim was the perfect setting for this retrospective and enjoyed it a lot. It is timeless art and even though it has nothing to do with my own style and taste I appreciated his thoughts, ideas and development of his style.
 

KalbachNagy02

KalbachNagy03

And from here Andrew and I set out for another stop on our crazy art stroll that day… but that is for a different post *wink

Hope you enjoyed this Art Stroll today !

 

Comments (4)

  • Karen Amdur

    |

    Nice to revisit the exhibit which is fabulous.
    Just saw it at LACMA in LA.
    Thx for creating your tour.

    Reply

    • nathalie-kalbach

      |

      So glad you enjoyed seeing it again -Love that it was also in LA! Thank you for your visit Karen!
      Reply

  • nathalie-kalbach

    |

    Glad you enjoyed it Joi :) I wish you a wonderful weekend as well! Nat

    Reply

  • Joi@RR

    |

    Sooo interesting Nat. I just wanted to keep looking at each piece – they just draw you in but in such a different way. It felt more like looking at architectural pieces somehow!!! Between Heaven and Earth made me laugh – pretty neat!!! And the advertisements were fun. Really a treat to see your stroll and that fabulous building too. Thanks bunches. Have a super weekend. j.

    Reply

Leave a comment

From Small Beginnings – Cheiron Brandon

CS September Theme 2

It’s Tuesday and time for my Creative Squad to share a project with you with this month’s theme: “From Small Beginnings”. Throughout the month of September, the team will be using my n*Studio Stamps to interpret the theme. The change in seasons and the childhood ritual of Back to School in September has me thinking about starting new things – new projects, learning new things, and meeting new people, and all the excitement and challenges that come with all of these “new”s. For this theme, From Small Beginnings, my Squad will think about the process of starting something new and the very first steps they took. I’ll ask them, how did you experience a Beginning?

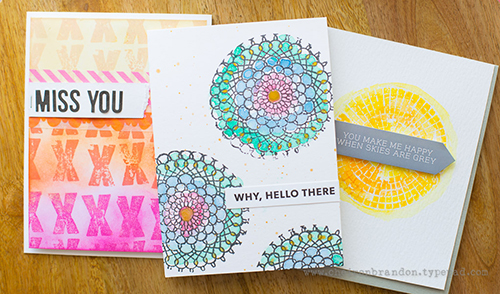
So this week we have 3 different card designs from Cheiron Brandon to celebrate her love of cardmaking – the thing that got her started in the creative life :)

—————————————————————————————————

Cheiron September Headshot

Hi there! It’s Cheiron here with my September project. When I initially thought of the theme From Small Beginnings, I thought back to how I got started in art, crafting and art journaling as an adult. About 12 years ago, I moved back to NJ and there was a small stamp shop that opened right down the street from me. I was always interested in making things and I remember making watercolor cards in high school and putting simple messages on them. Rubber stamps opened a whole new world to me. In the past several years, I have had the opportunity to work with several stamp companies and design teams, the most recent being a part of the N*Studio squad.

I am grateful for having art, stamping and especially card making in my life. In the past 10 years I have amassed a HUGE collection of supplies, but I always find for me that the cards I love to make are the most basic. I am sharing 3 simple cards with you today, each was made with only one stamp and a sentiment or word pulled from a giant bin of stickers I still have. I made all three of these cards in under an hour and now have some happy mail to send to friends!

cheiron-simple-stamped-cards-with-n_studio

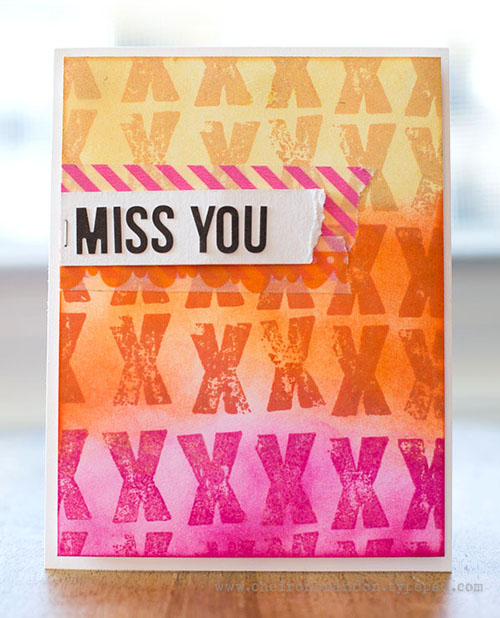
This first card is made with a stamp from the Marks stamp set. I love these X’s and stamped them in 3 different colors then went over each section with an ink blending tool with the same color. A few letter stickers, pieces of washi tape and a staple with my tiny attacher, and voila!

cheiron-miss-you-with-n_studio

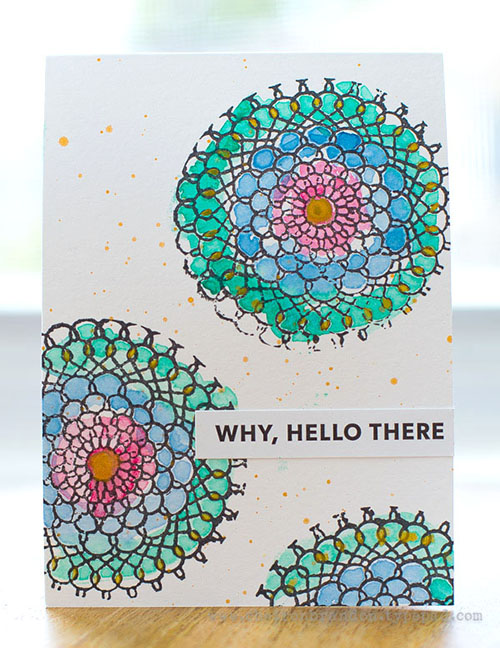
The second card was even easier…a few stamped images from the Kaffee Klatsch stamp set colored in with watercolors, and a little gold splatter and one simple sentiment sticker.

cheiron-why-hello-there-with-n_studio

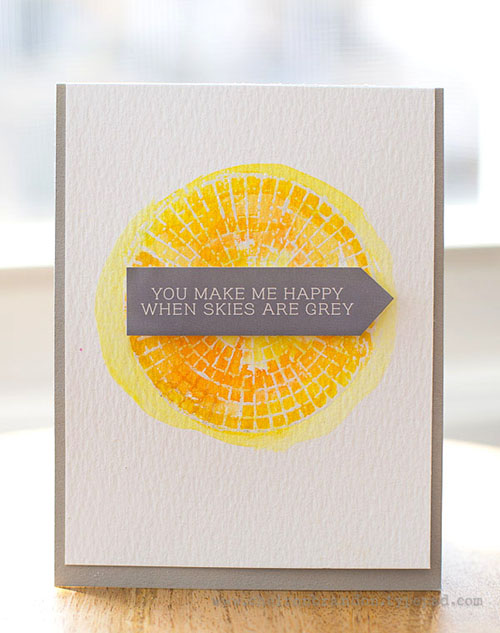
For the final card, I used a stamp from the Mish Mesh stamp set as a sunshine, and painted it loosely with watercolor, another sentiment and it’s good to go.

cheiron-you-make-me-happy-with-n_studio

I hope these cards remind you of why you got started with this hobby, and what initially brought you joy. I had so much fun making these quick cards and sharing them with you :)

—————————————————————————————————

I love Cheiron’s story of her “beginning” and the cards are simply beautiful.  I think everyone would like to be on her mailing list!

In addition to washi tape and various word stickers from her stash, Cheiron used the supplies listed below (some are affiliate links):

SuppliesCJS

Maybe you will even play along with us -I would love to see how you interpret our monthly themes. Email me how you used my stencils and stamps with the theme and email me an image – I would love to share your projects in my next “n*Spiration From Around the Globe“.

See you next Tuesday for another project from the Creative Squad!

Comments (2)

  • ,Mary Holshouser

    |

    Love the card with the XXXXX
    I have that stamps and will be using that
    idea.
    A pretty, colorful card.
    thanks for sharing.

    Reply

  • Brenda

    |

    These cards are so colorful. Makes me want to go make some. Did you emboss in white on the last card?

    Reply

Leave a comment

DIY Gift Wrapping Paper

KalbachGiftWrapCollage

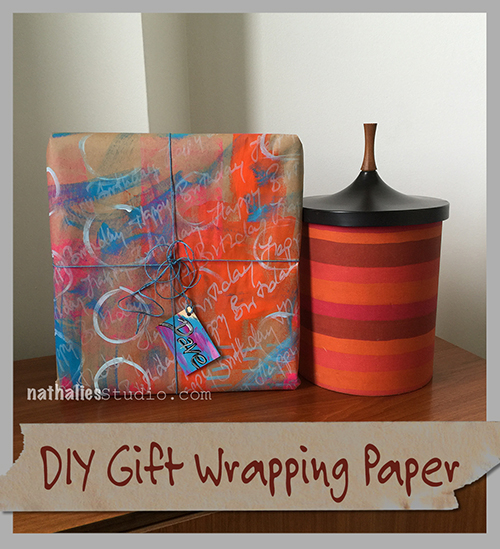
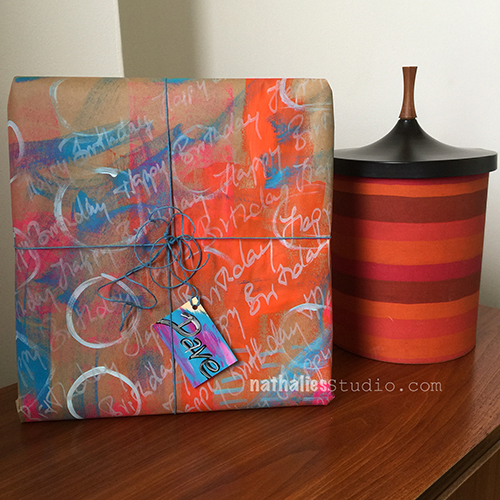
I love making my own gift wrapping paper and it is a really quick thing to do . I needed some paper for the Suburbia Painting I made for my brother in law and laid out some kraft paper.

KalbachGiftWrap01

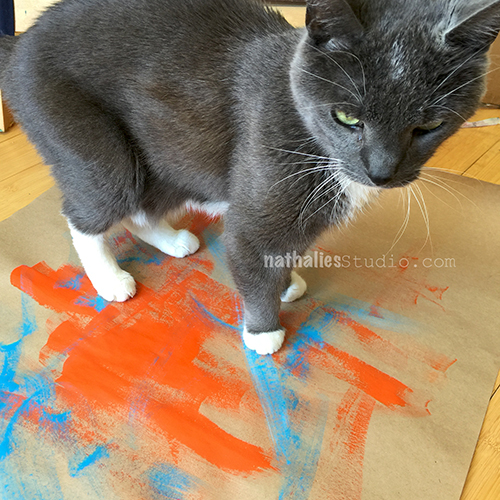
As you can tell Niles really wanted to help – if you want to have your cat help you, add half an hour of time for your DIY gift wrapping paper though – the clean up will keep you occupied *wink. I basically cleaned off my brush onto the kraft paper when I was doing an art journal spread.

KalbachGiftWrap02

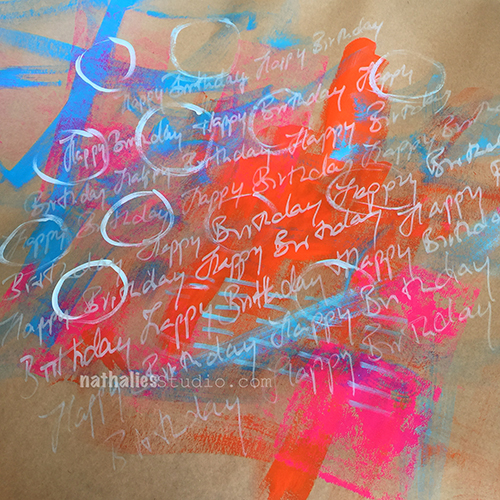
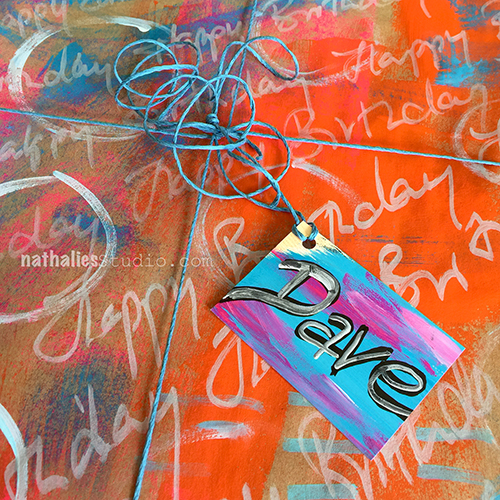
I added some circles with a brush to add some pattern and used a white acrylic marker to write Happy Birthday all over.

KalbachGiftWrap03

I made a small tag, used some twine in a similar blue as I had used in the background and BAM – done .

KalbachGiftWrap04

Of course you can also use stamps and stencils -but in any event this is a super quick, easy and cheap way to make some personalized gift wrapping paper.

Here are the supplies I used for my DIY Gift Wrapping paper- some links are affiliate links.

SuppliesCJS


Have a wonderful day!

Comments (12)

  • Dee Spillane

    |

    Love the kit! Haven’t seen him in a while. Are you going to do jumpstart for 2017? I love it so much.

    Reply

    • nathalie-kalbach

      |

      glad you liked seeing Niles, Dee :) As for JumpStart ….wink wink …yes :)

      Reply

  • Sue Clarke

    |

    Love this gift wrap and even better that Niles “helped” you out!
    I may have to do this project with my dear doggie.

    Reply

    • nathalie-kalbach

      |

      Yeah- I think Niles should help me more often :) I cannot wait to hear about your doggie helper ;)

      Reply

  • Joi@RR

    |

    Oh so fun – both the great gift wrap for Dave and your darling baby!! Smiling!! Xj.

    Reply

    • nathalie-kalbach

      |

      thank you Joi – Niles is very proud of his accomplishment- LOL

      Reply

  • Muriel

    |

    Making my own wrapping paper is exactly what I did last week. It adds a supplément to the gift itself.

    Reply

  • stephanie

    |

    Your kitty is so cute. The paper is great. Thanks for sharing.

    Reply

    • nathalie-kalbach

      |

      thank you – I will tell Niles- he likes compliments ;)

      Reply

  • Brenda

    |

    What a cute helper. Love the colors on the wrapping paper and the vessel in your photo.

    Reply

    • nathalie-kalbach

      |

      thank you Brenda! The vessel is an old ice cube container – which my friends gave me. I love the colors on it very much :)

      Reply

Leave a comment

Raw Canvas Staining Fun with Kim

RawCanvasStainingCollage

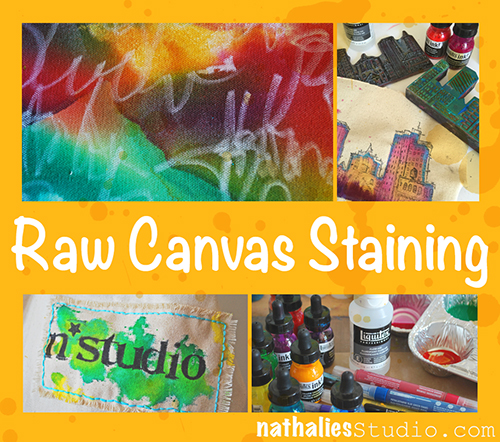
A couple weeks ago my friend Kim and I met for a play date and did some fun stuff with Raw Canvas Staining and Painting.

KalbachRawCanvas13

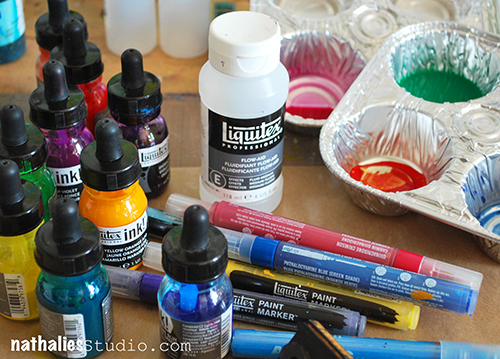
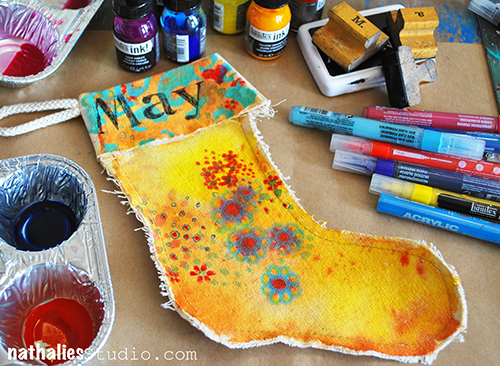
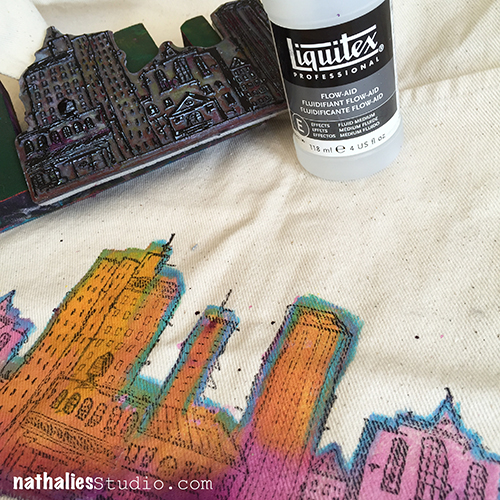
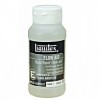
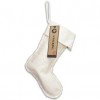
We broke out my supplies including Flow Aid, which you need to be able to break the water tension of raw canvas and has also many amazing side effects that are cool to know so you can control things better, some inks, markers and stamps. Kim made this fun stocking first …it for sure will brighten up a very dark winter day.

KalbachRawCanvas02

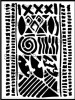
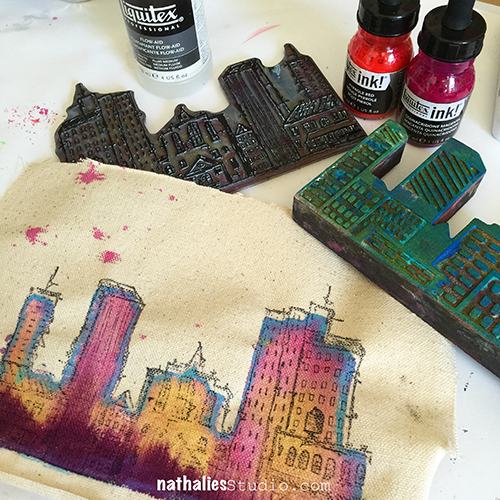
I tested using the foam stamp of my Urban Scribble stamp with Flow Aid and Ink and then stamped on top with the Rubber stamp part or the set.

KalbachRawCanvas18

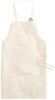
I loved the outcome and went on to do the same thing on an raw canvas apron.


KalbachRawCanvas19

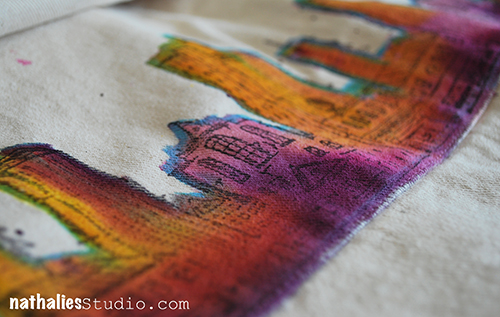
I love that the colors are see through and how nicely defined it is. It is not the same as just stamping with paint onto your canvas- it is really just staining and it keeps the fabric soft and nice.

KalbachRawCanvas05

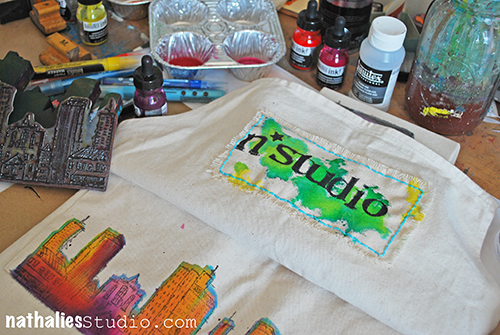
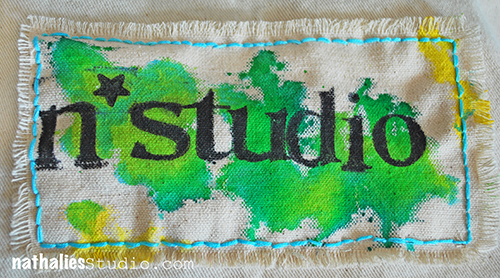
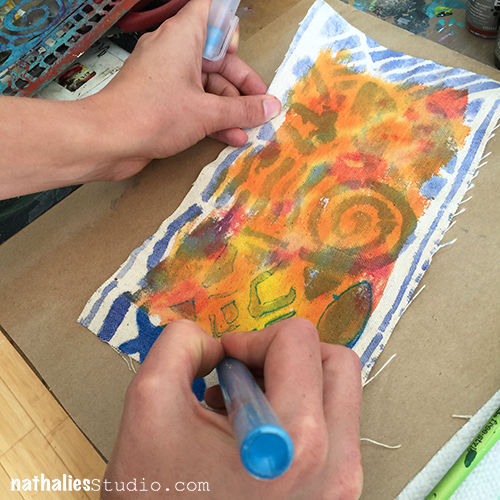
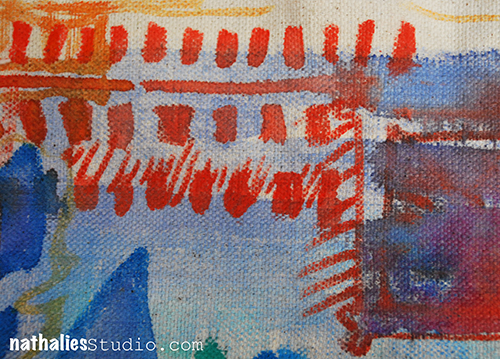
I also treated a little rectangle of raw canvas with some colors and used stamps and markers on top. I just love the look of color and the raw canvas texture – it makes it pop wonderfully. For myself I realized I like when there is a lot of raw canvas still showing.

KalbachRawCanvas01

After I frayed the edges I sewed the triangle with embroidery thread onto the top of the apron.

KalbachRawCanvas06

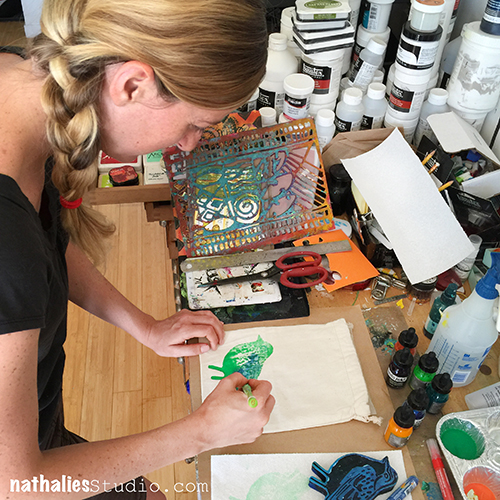
Meanwhile Kim continued playing and experimenting with the Batik Stencil, and markers

KalbachRawCanvas20


KalbachRawCanvas09

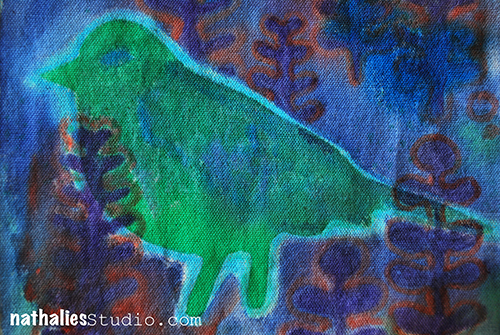
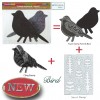
and played with the Bird stamp set on a little canvas string bag

KalbachRawCanvas22

KalbachRawCanvas08

Here is a stretched canvas which I did a while ago – I love how vibrant the colors stay and the depth and layering you can achieve.


KalbachRawCanvas10

KalbachRawCanvas11

KalbachRawCanvas12

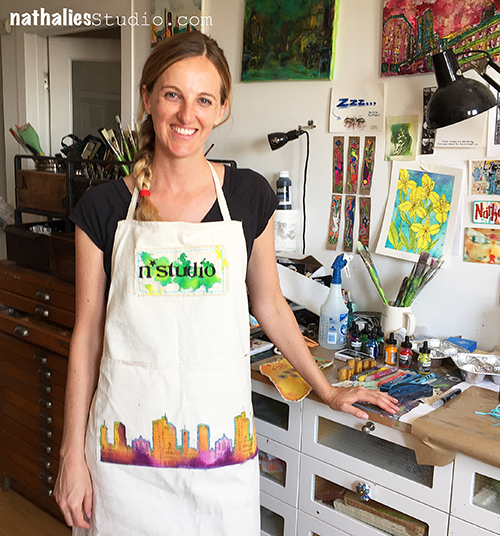
And here is my sweet smiling friend Kim modeling my new apron.

KalbachRawCanvas14

It was loads of fun to play in the studio with a friend and really just for fun. I need to have a play date more often! If you are interested in Raw Canvas Staining check out my really extensive Raw Canvas Staining DVD or download the Video with heaps of techniques, tips and tricks – it is addicting .

Here are some links of what we used- some of them are affiliate links.

SuppliesCJS

What fun thing did you do lately with a friend?

Comments (4)

  • Joi@RR

    |

    WOW WOW WOW – love this apron! Why? Love NStudios and the CityScape is my fav!!! So you hit it over the home run fence – true eye candy!!! Not to mention the adorable smile on Kim’s face!!! Loved seeing all your raw canvas staining experiments. Such vivid colors and fun designs you both created. Thanks bunches for sharing your fun!! Xj.

    Reply

    • nathalie-kalbach

      |

      Awe thank you Joi and agreed Kim is a sweet heart :)

      Reply

  • Charlotte Kirk

    |

    I loved that look using your stamps!

    Reply

Leave a comment

New Mixed Media Painting – Suburbia

SuburbiaCanvas01

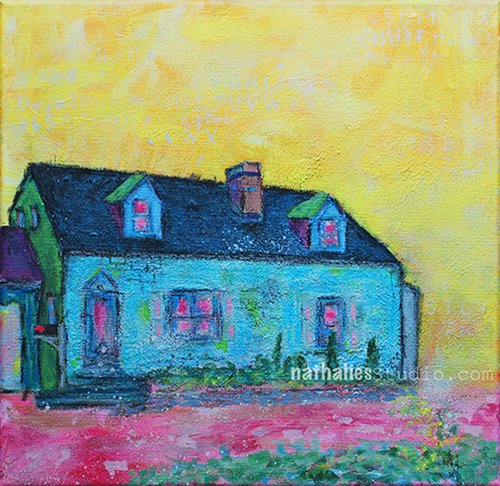
This painting (12×12″ – acrylic paint, ink, spray paint, charcoal on canvas)  is a bit unusual because it is actually not an urban theme – but I loved creating it nonetheless :) My brother in law is super supportive of my artwork and he has commented on quite a few of my paintings when he was over that he would love to own this or that piece. So I thought…maybe I paint something more personal for him…which would be his home – and so this was a birthday present, which put me a bit in a pickle. You know …I usually do not do artwork with other people in mind or as a commission…and it was a bit hard for me to really let go and just do my thing without thinking of what he might think or how he might like it.

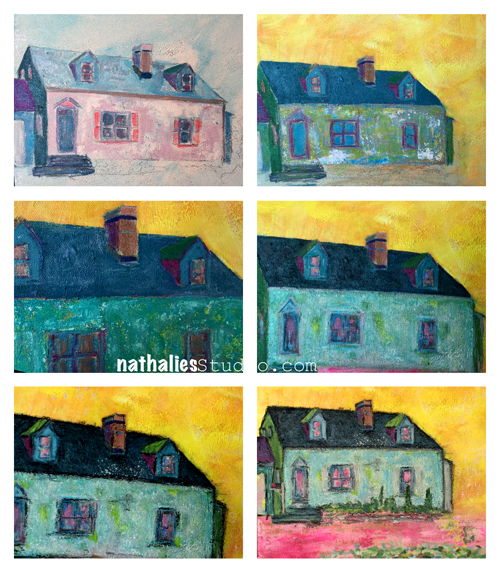
Here is a little montage on how the painting evolved over the weeks

suburbiacollage

Started with the underpainting, added the sky, added one layer after the other glazing over and over for the facade which gave a lot of texture and dimension and lastly added details, plants and other fun stuff

SuburbiaCanvas02

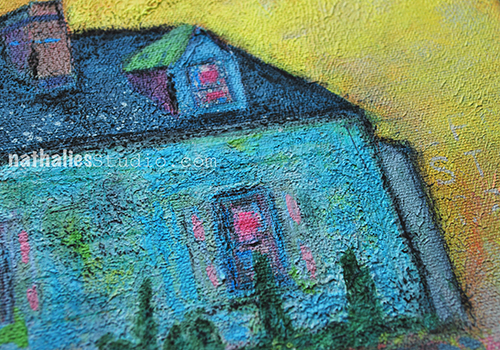
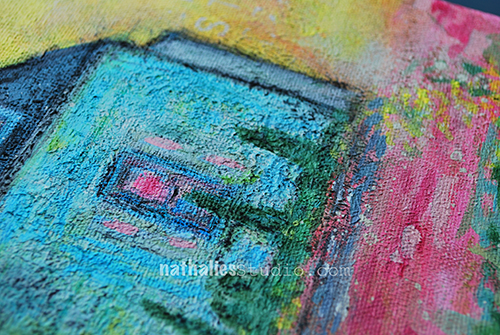
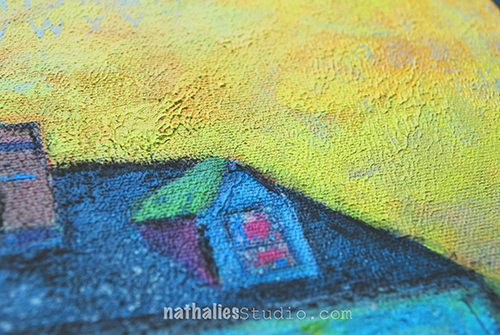
Here you see some of the close ups

SuburbiaCanvas03

SuburbiaCanvas04

I love this house – so many wonderful memories are connected with it and I hope my brother in law likes the painting as well and it speaks to him

Now…off to the next painting

Comments (8)

  • Joi@RR

    |

    Oh what fun to see the progress pictures. It’s much less busy and bold than I’m used to seeing in your art Nat but as Barbara said – it’s still YOU. My personal description of you is “rustic contemporary”!!! And this painting for you BIL is a perfect example. It’s abstract with a earthy fair – rustic contemporary – ehehehheeh!!!! LOVE the colors and the textures you achieved. So fun seeing this – you did GREAT. Xj.

    Reply

    • nathalie-kalbach

      |

      Joi, so happy to hear you liked the progress photos. Rustic Contemporary- oh I like that :) Thank you for your wonderful comment and have a great weekend!

      Reply

  • Kathy Gledsdale

    |

    How lovely, beautiful colour choices.

    Reply

    • nathalie-kalbach

      |

      Thank you Kathy -yeah I start to really love the bright yellow and pink at the moment :)

      Reply

  • Sue Clarke

    |

    What a nice and thoughtful present.
    Thanks for showing us how it progressed.

    Reply

    • nathalie-kalbach

      |

      Thank you Sue- good to hear you liked the progress photos :)

      Reply

  • Barbara Poe

    |

    This is so charming! It’s still you, but a little different. I love it. I’m sure he will too.

    Reply

    • nathalie-kalbach

      |

      Awe thank you Barbara, glad you like it :) I think my BIL did too- He was looking right away where it could be hanged – so I take it as a good sign- LOL

      Reply

Leave a comment