Upcycled Recycled

Stenciled Storage Pouches For All Your Bits and Bobs!

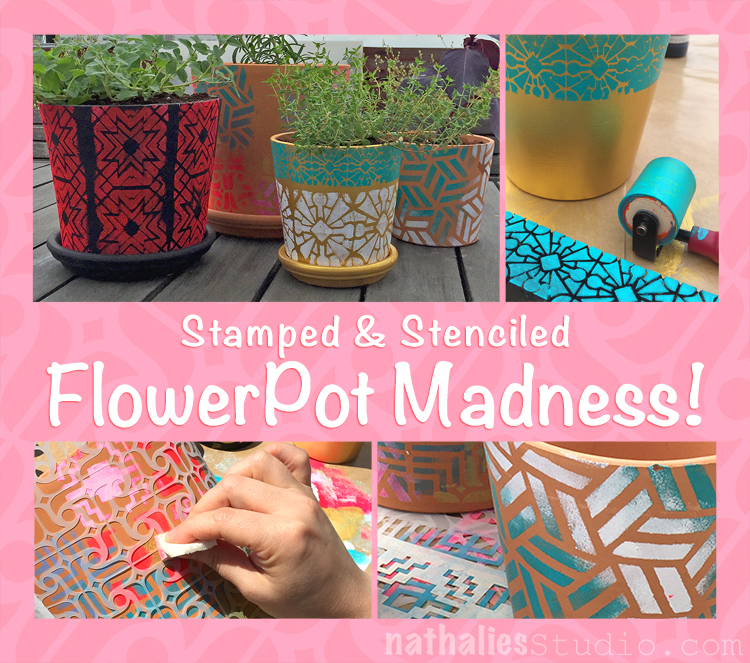
This week my friend Kim and I had a DIY morning again. I love our monthly creative time and this time we decided to stencil canvas pouches.

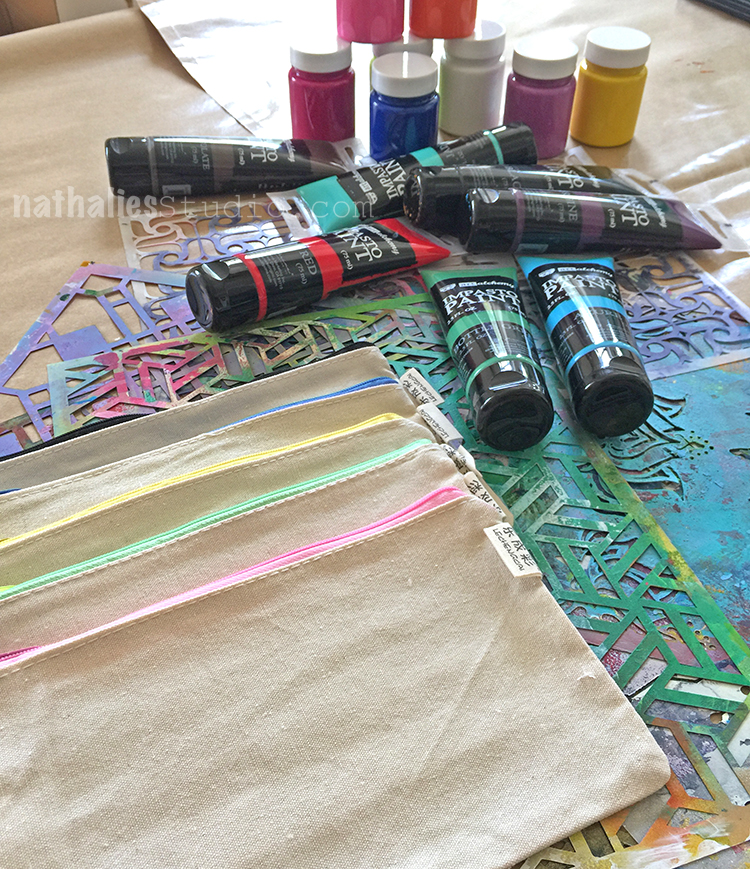
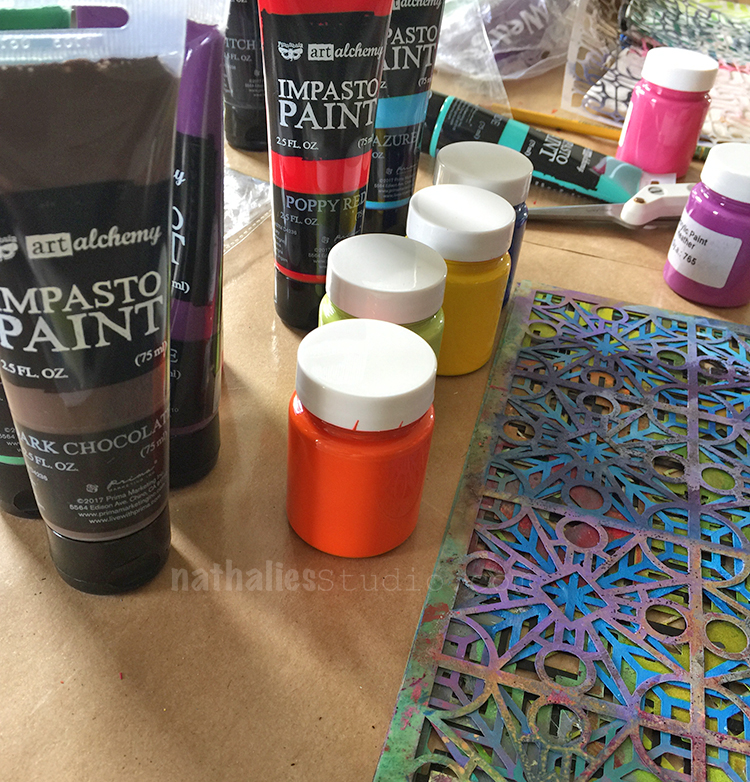
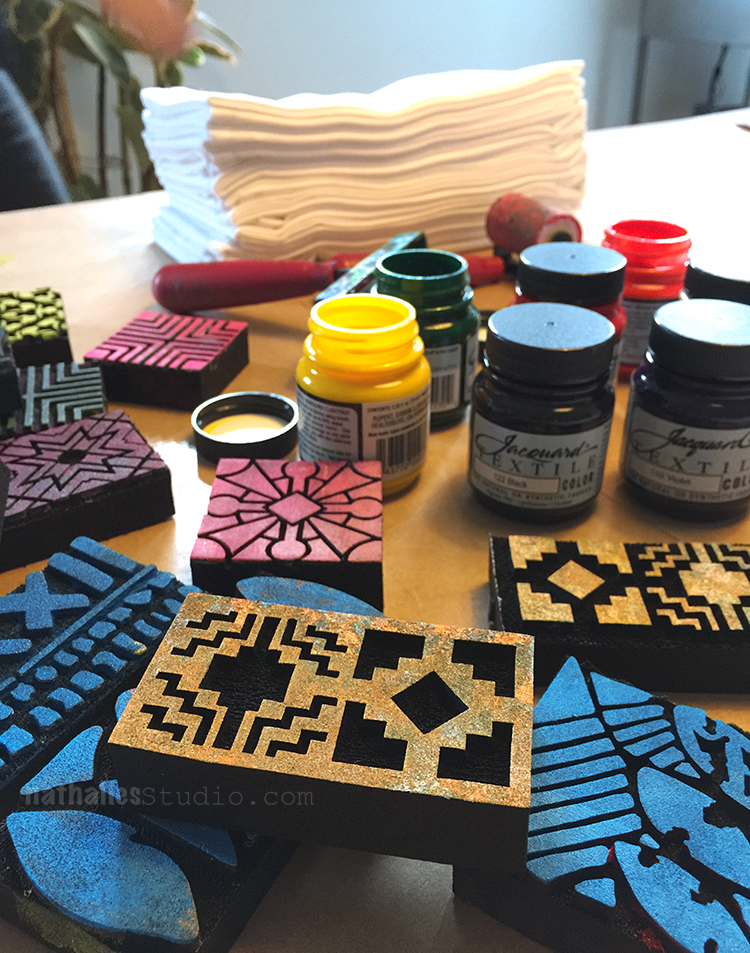
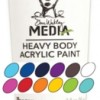
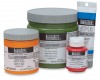
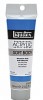
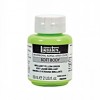
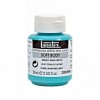
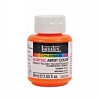
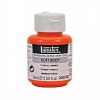
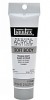
We each had five pouches and my friend Anna Dabrowska aka finnabair had just sent me a box with her new acrylic paints to play with and so we used those.

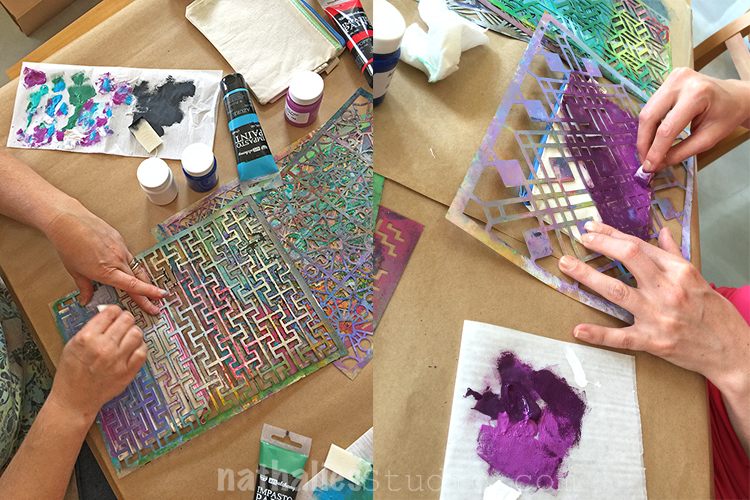
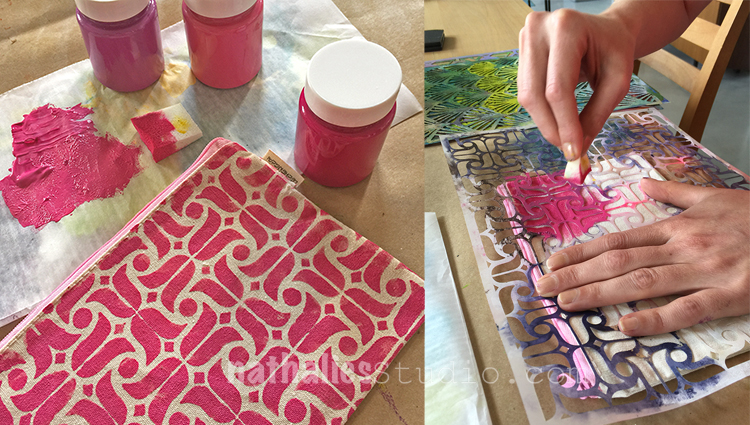
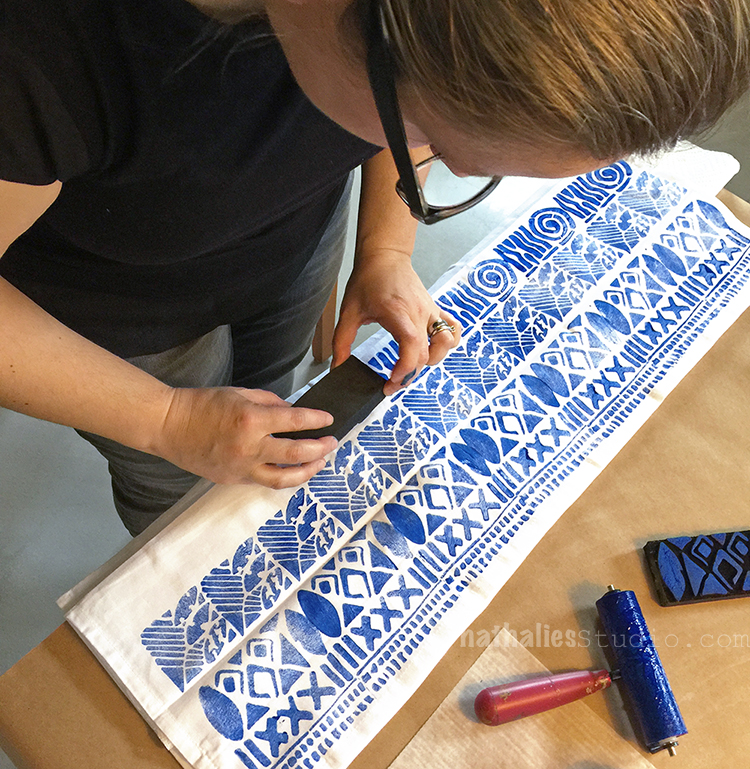
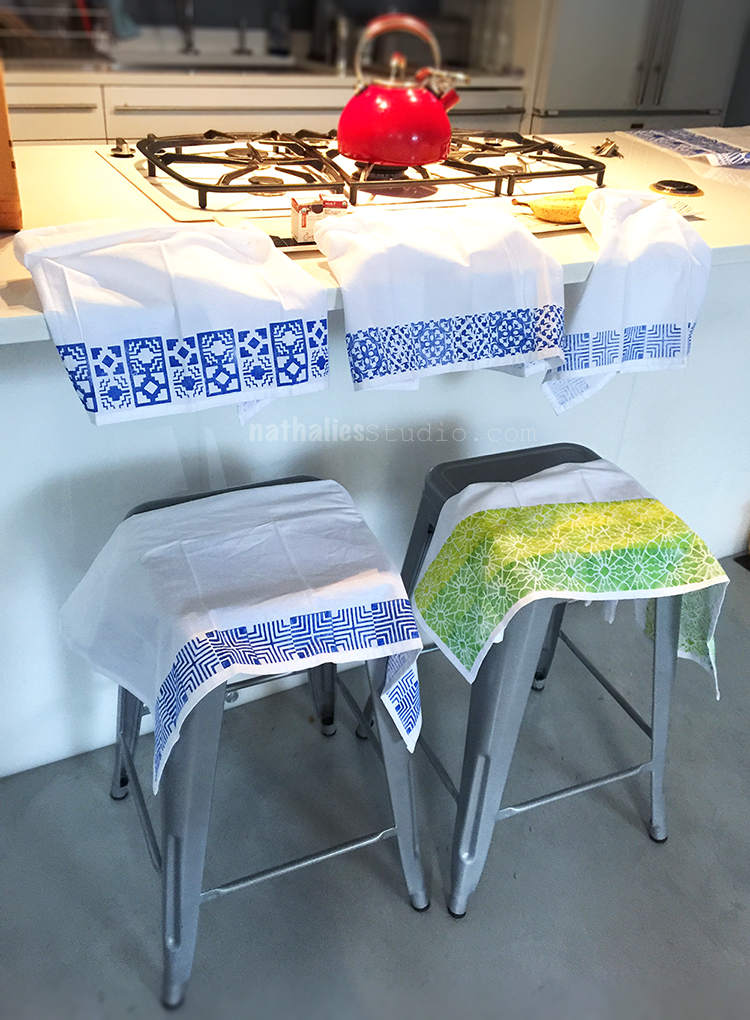
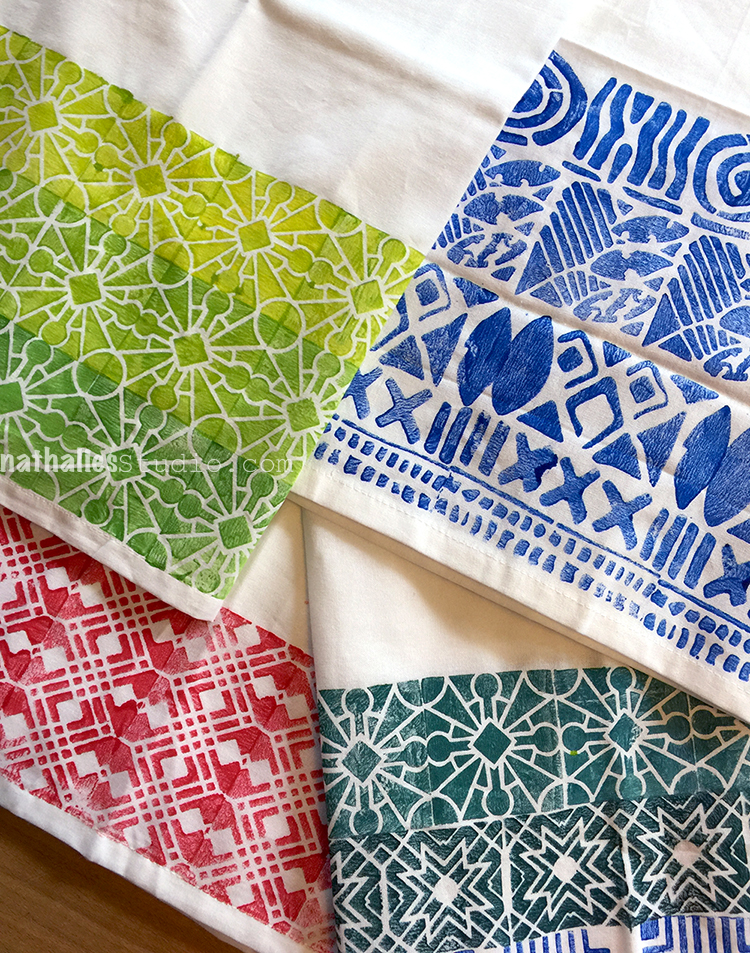
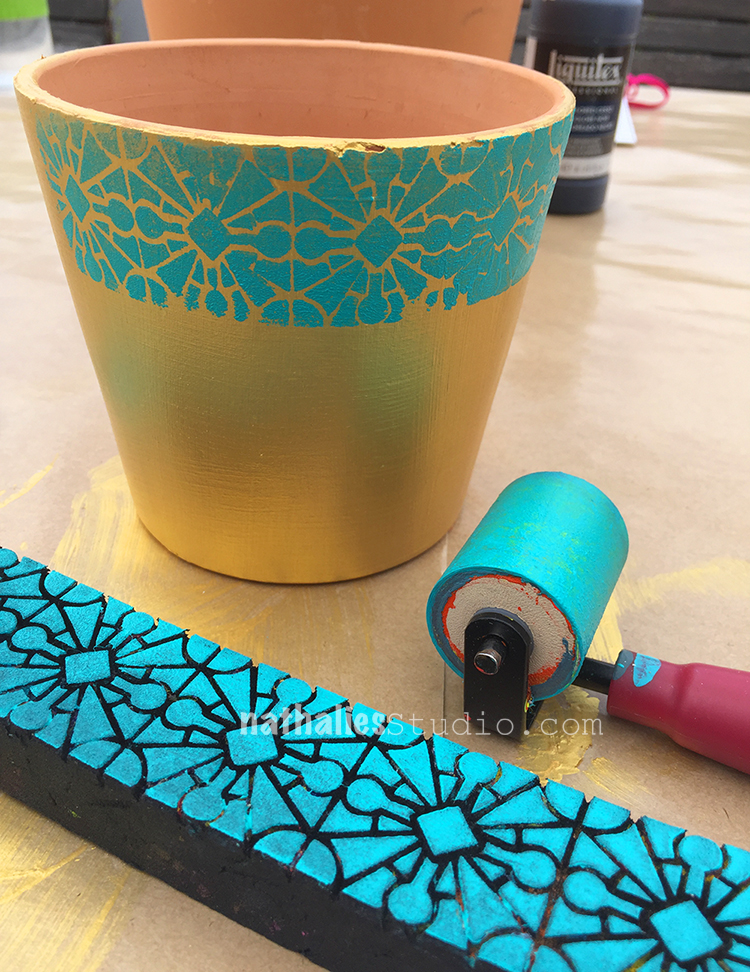
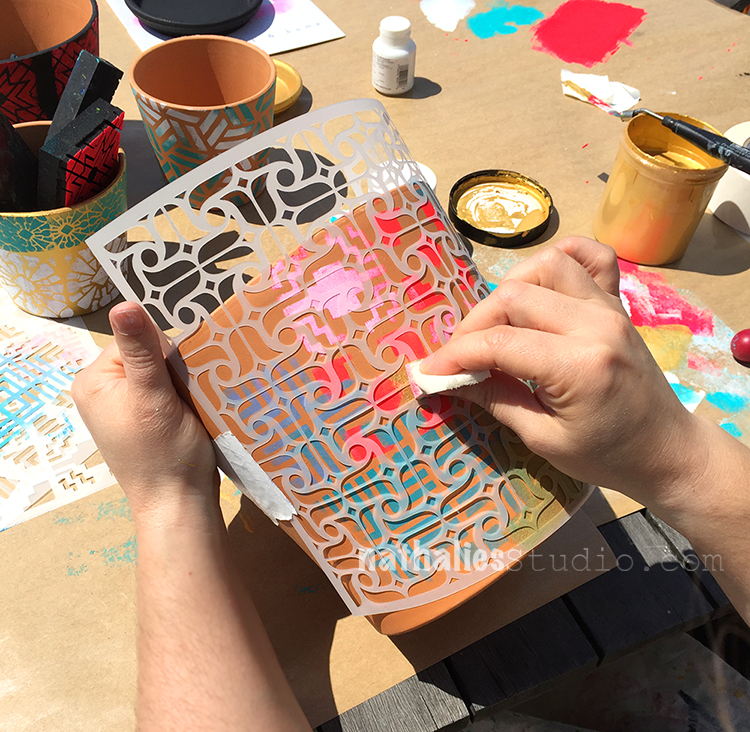
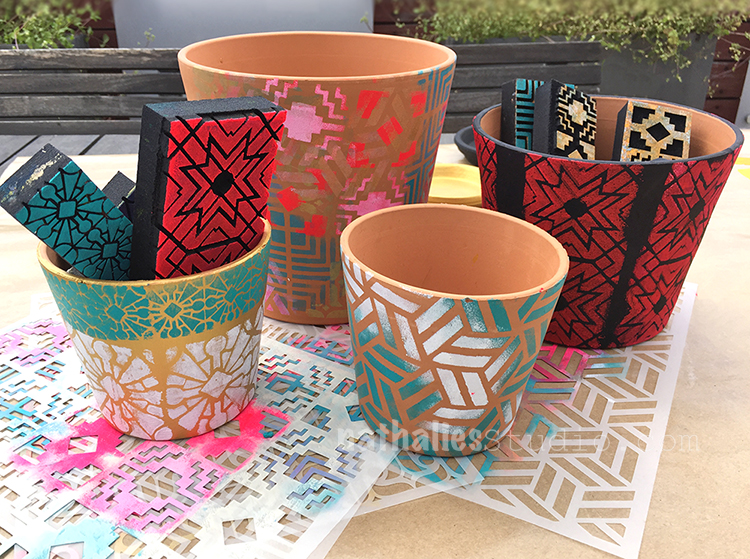
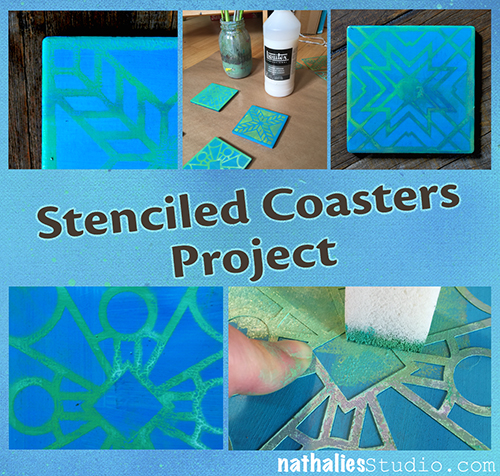
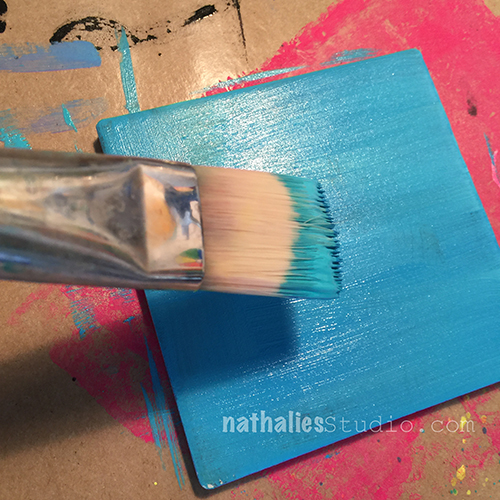
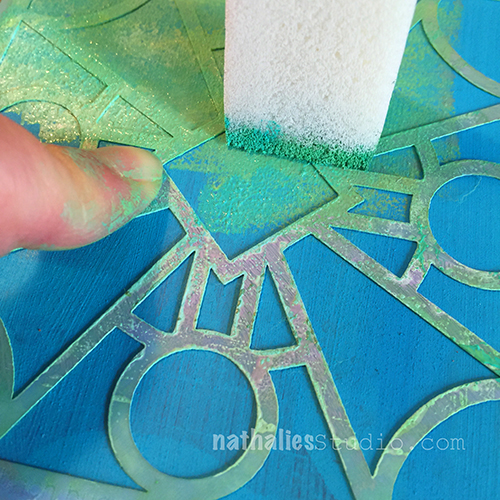
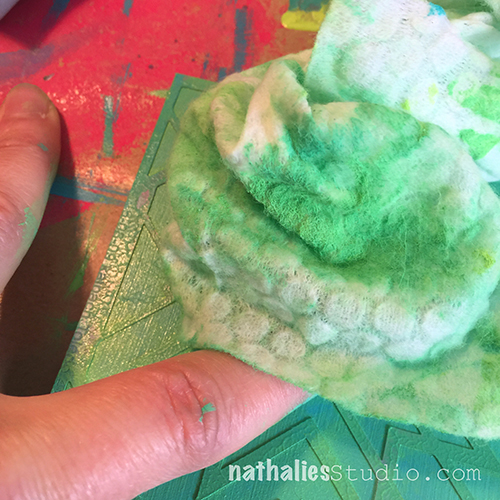
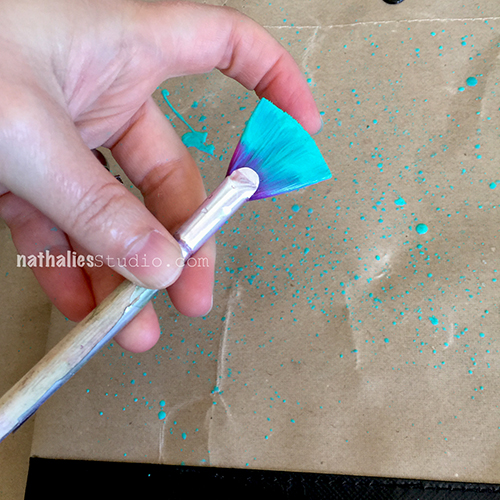
We both grabbed our favorite stencils and started dabbing through the stencils with cosmetic sponges. We added some plastic to the inside of the pouches to ensure that no paint seeped through the fabric.

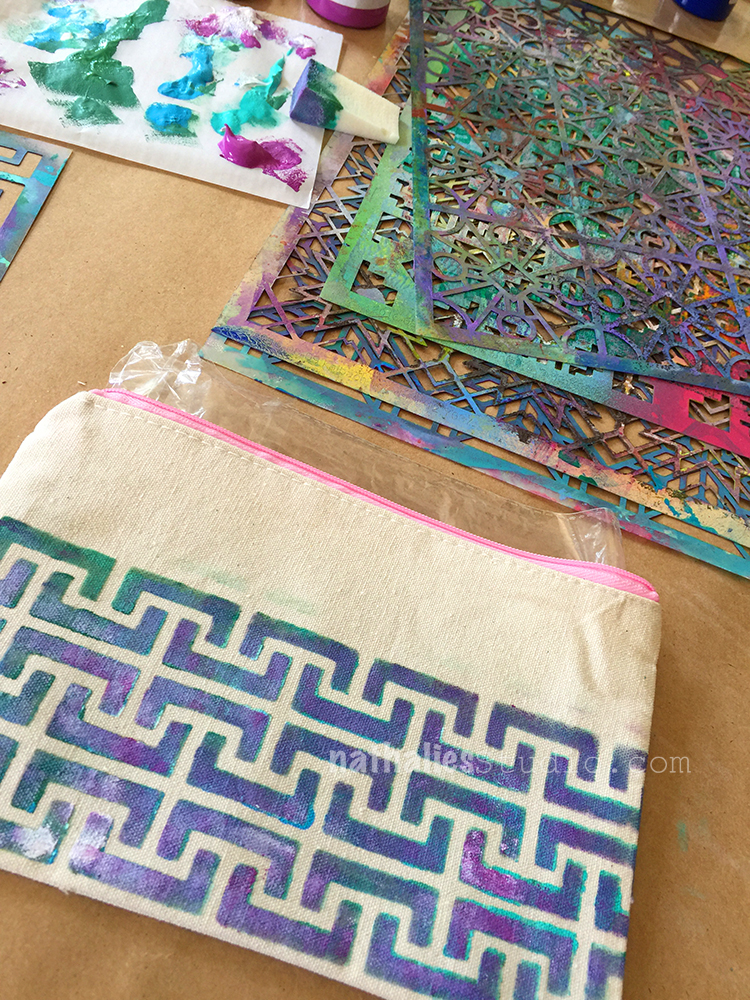
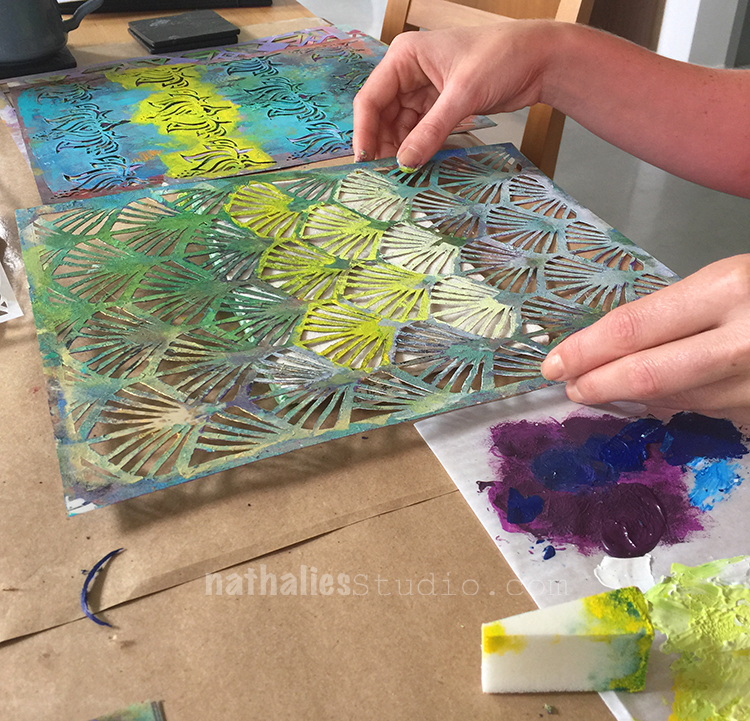
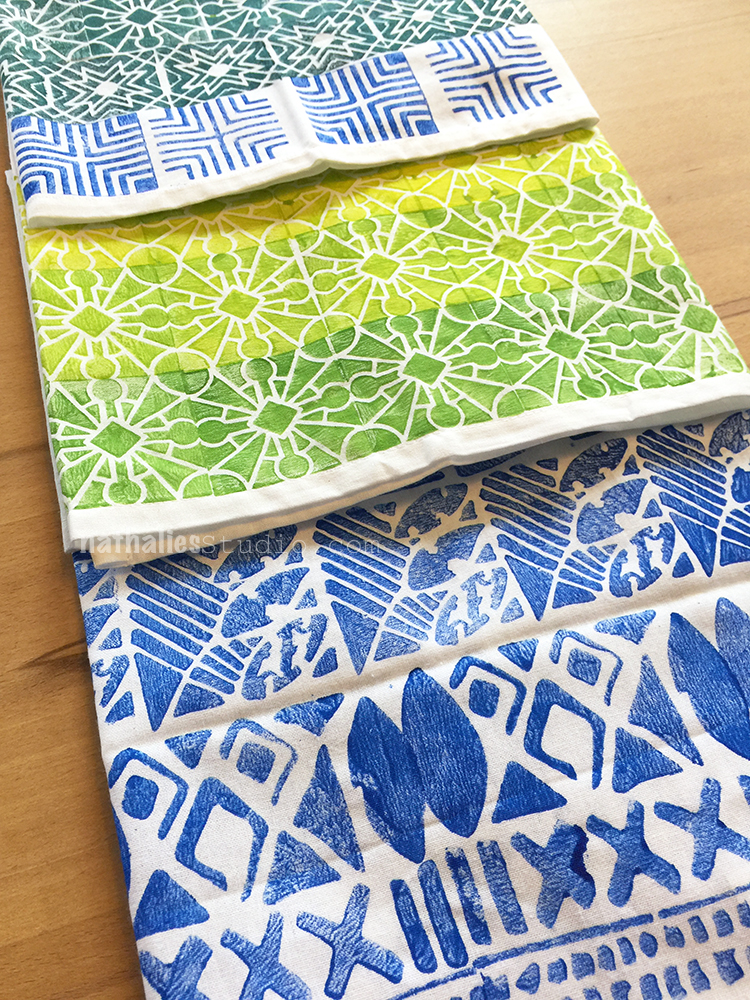
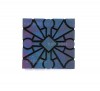
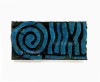
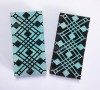
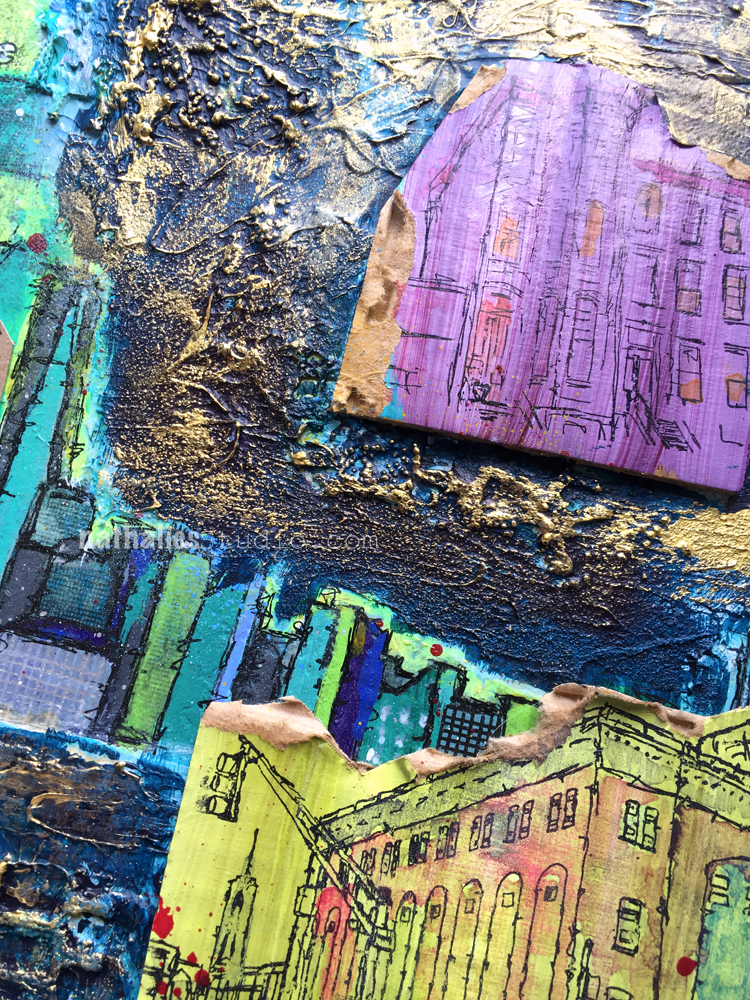
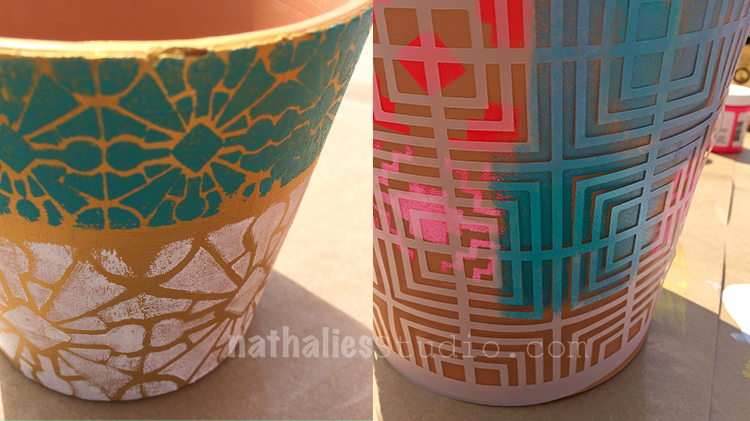
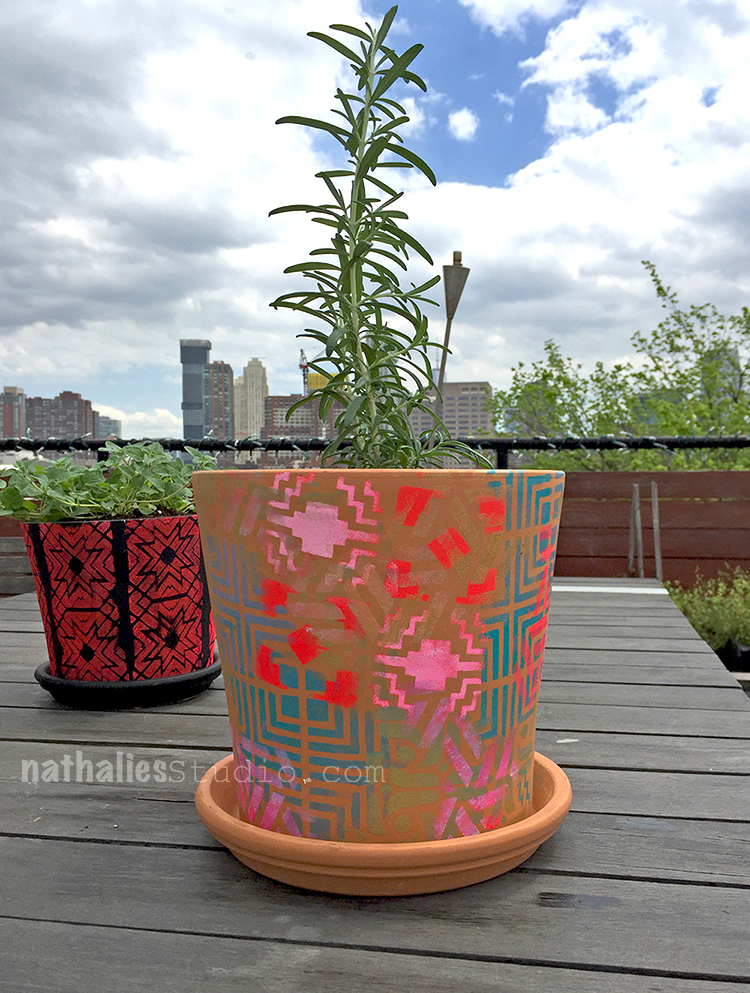
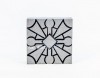
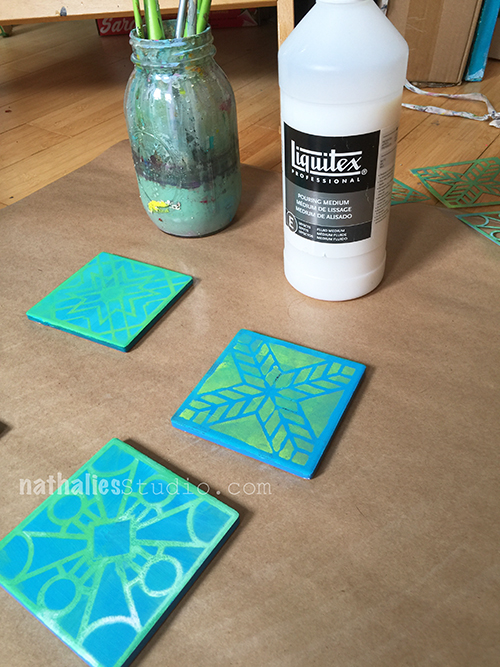
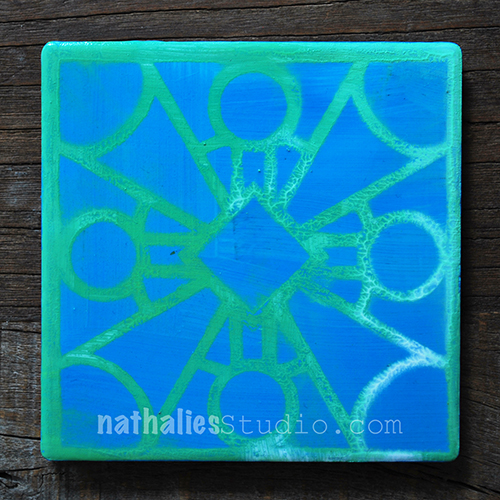
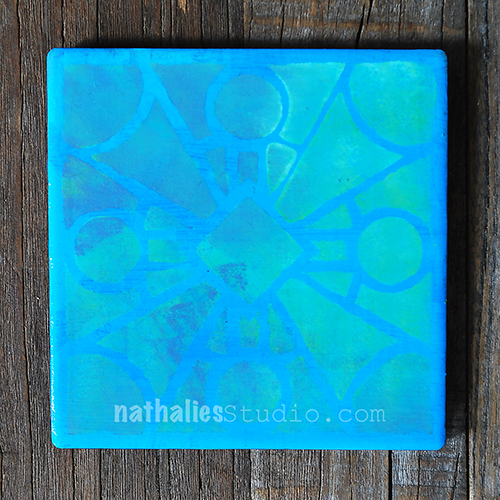
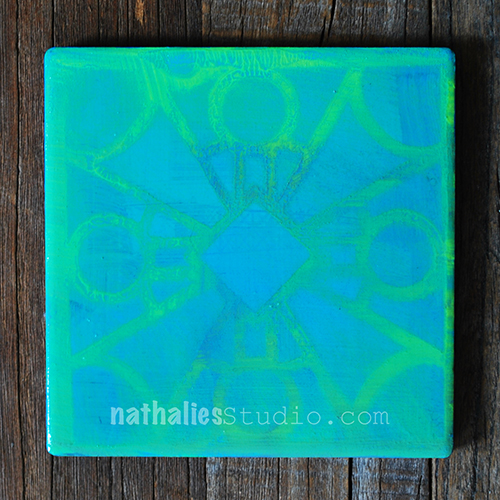
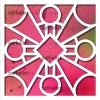
For this pouch I had first stenciled with green and teal through the Hamburg Stencil and then after it dried went over again with purple and white color – it leaves some of the initial color peeking out which I really like.

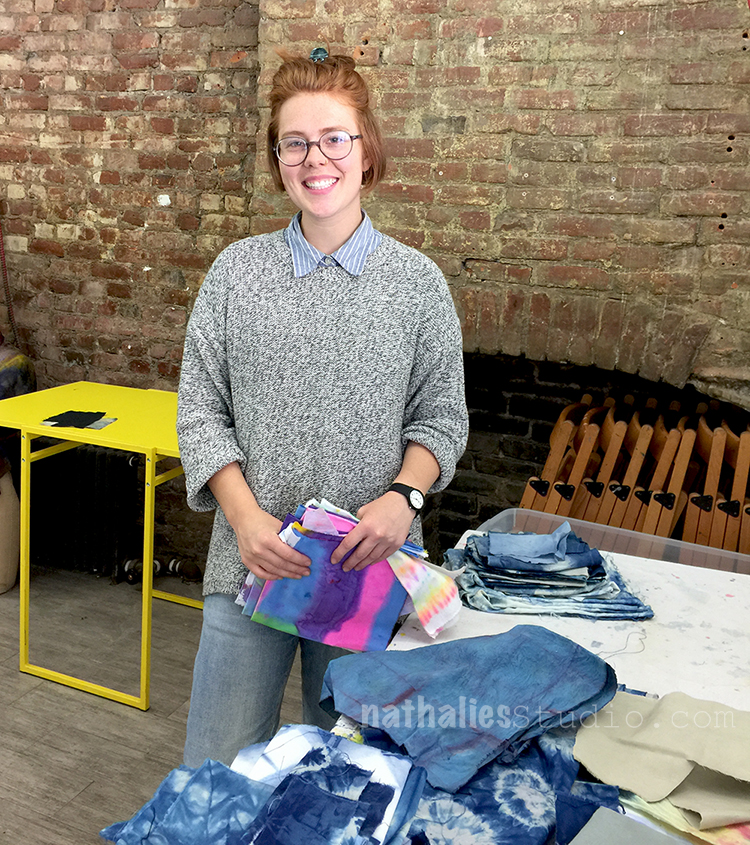
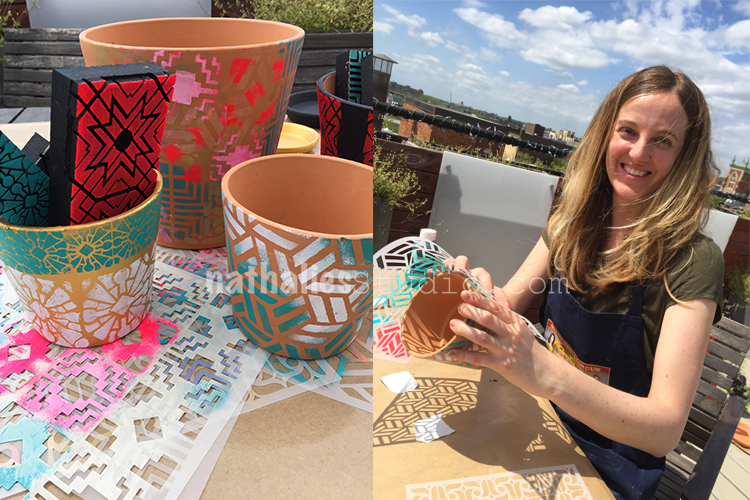
Ok…Kim…if you have to take a picture of me ;)

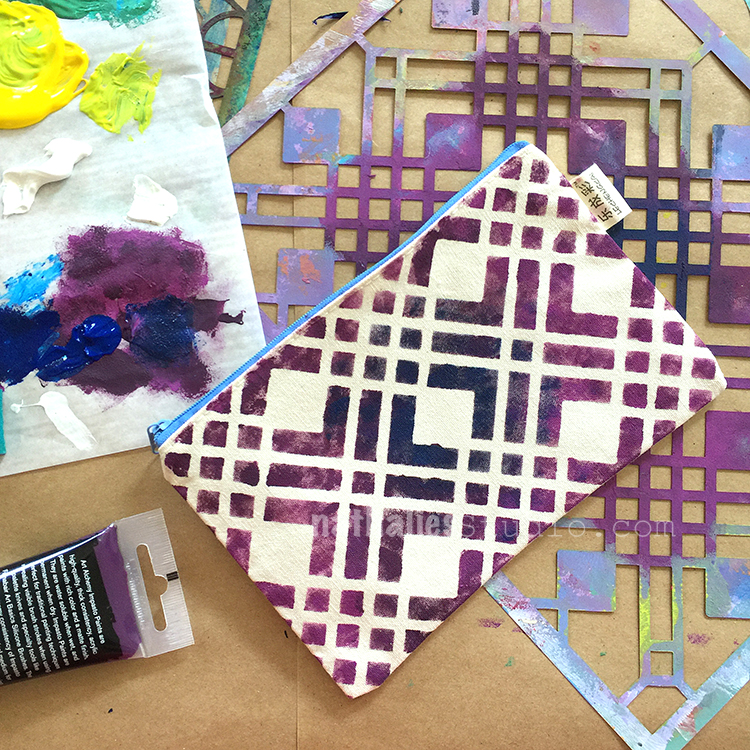
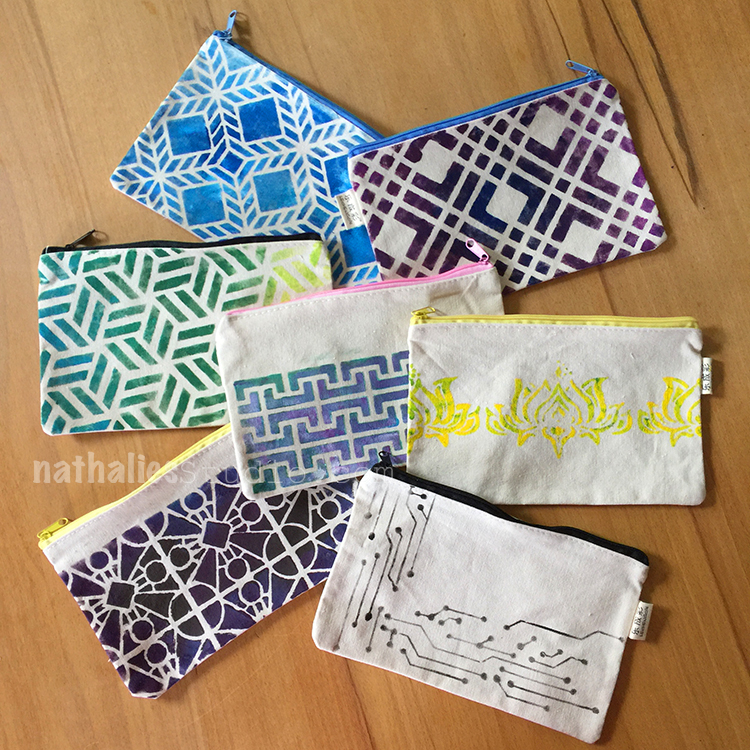
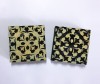
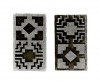
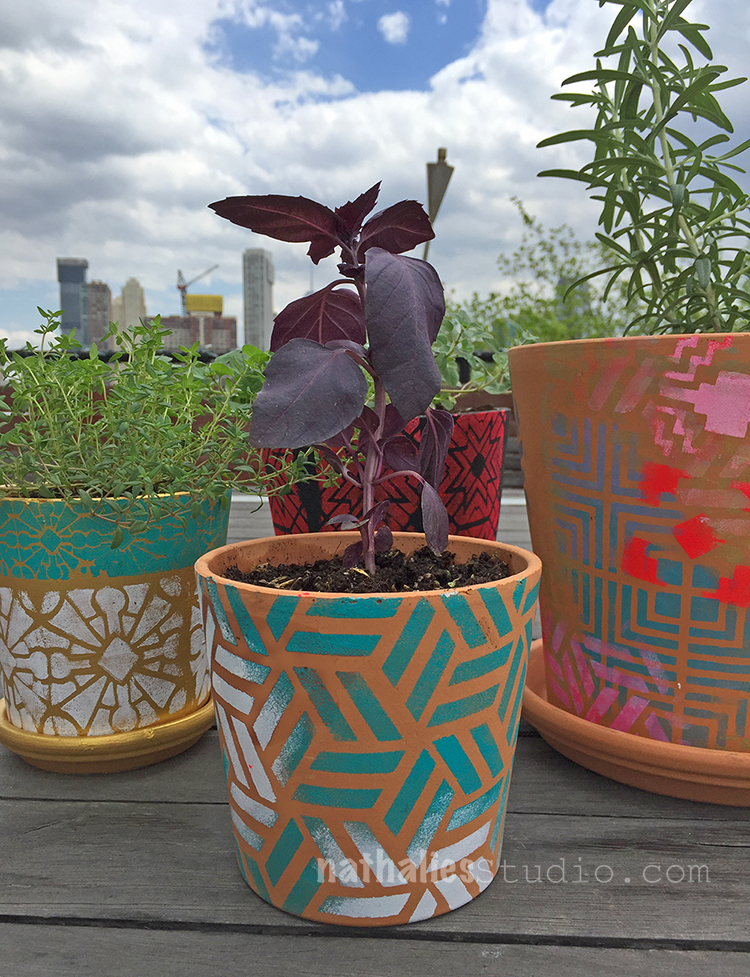
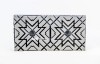
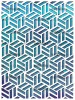
Kim used the Chicago Stencil  with Blue and purple and I love how she created a darker middle area with the dark blue and then went to purple.

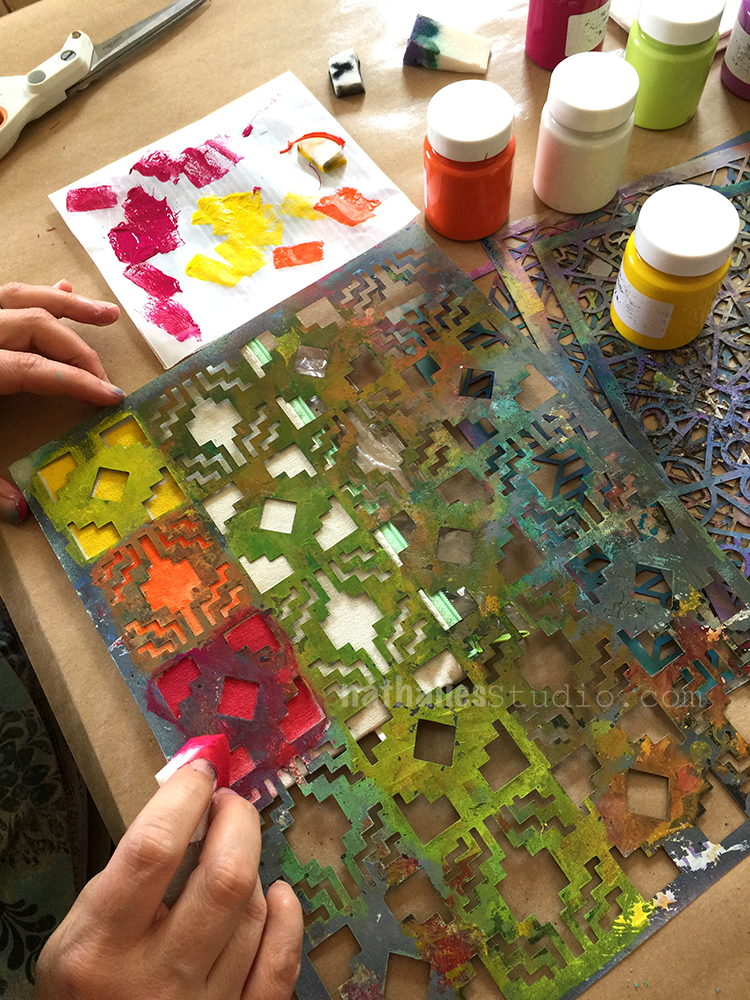
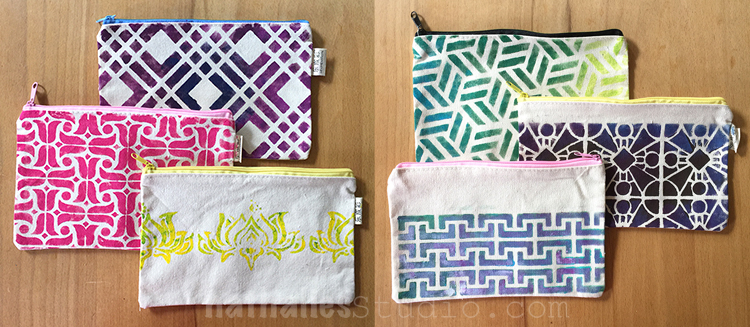
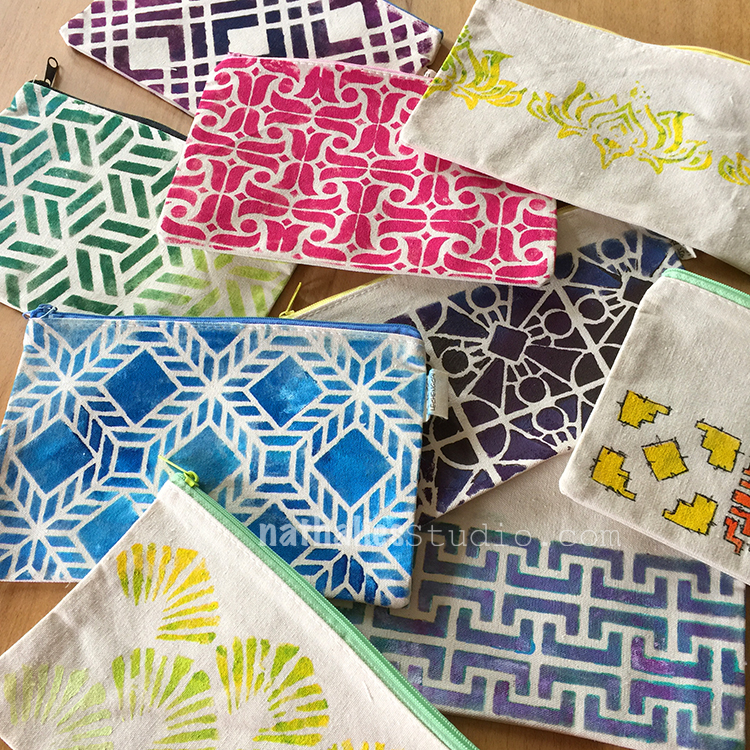
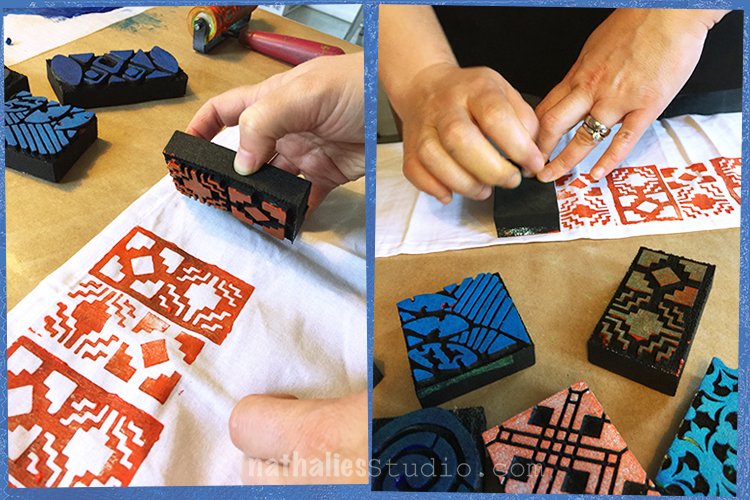
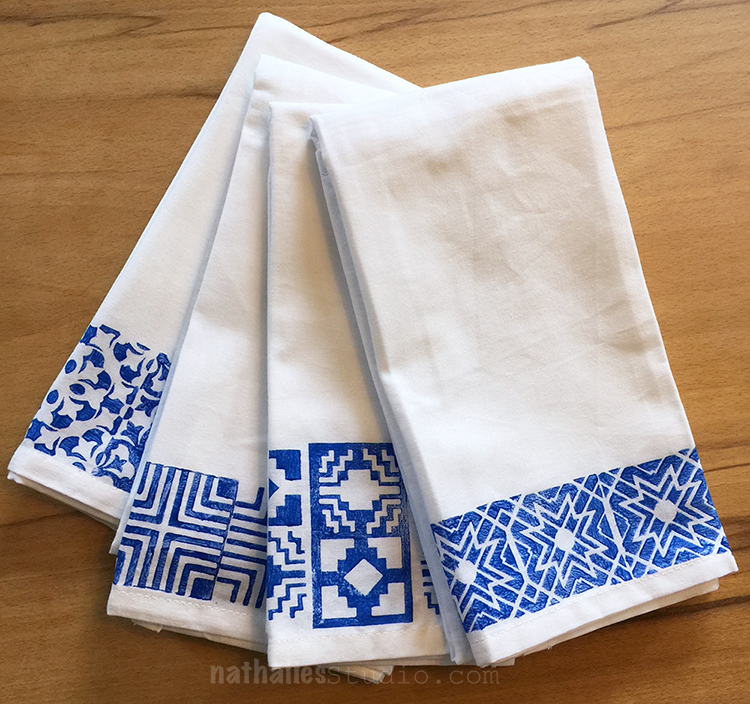
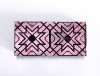
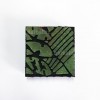
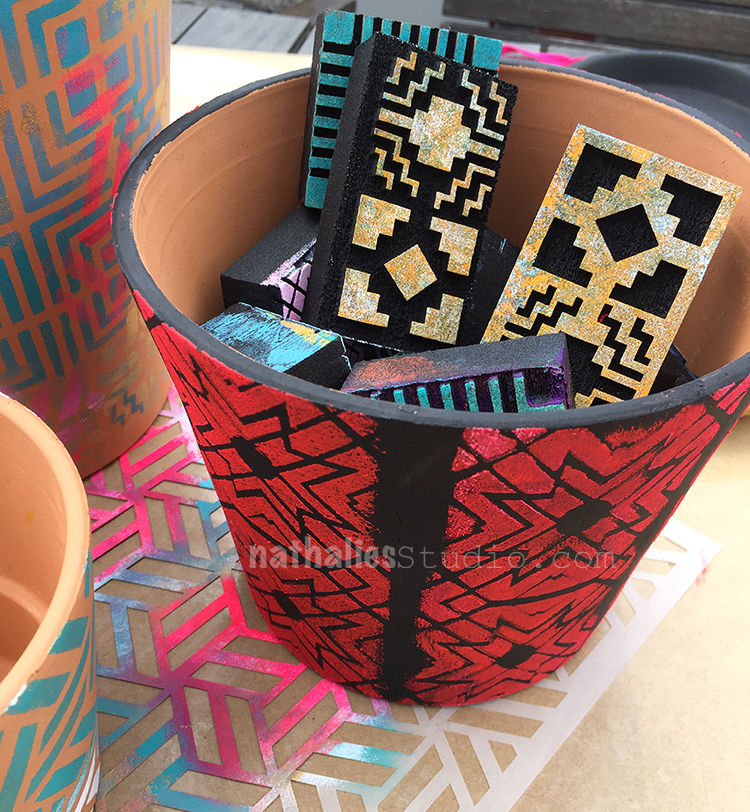
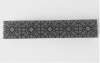
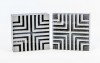
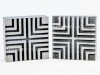
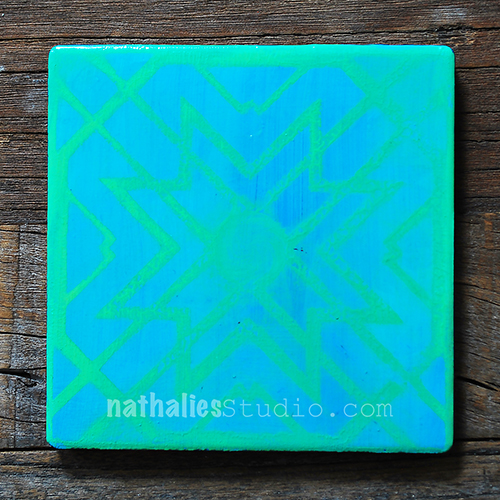
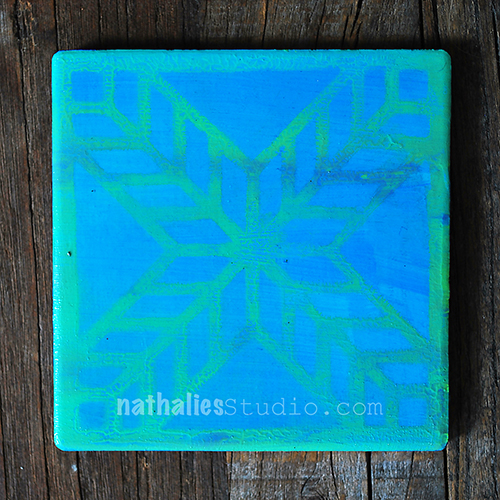
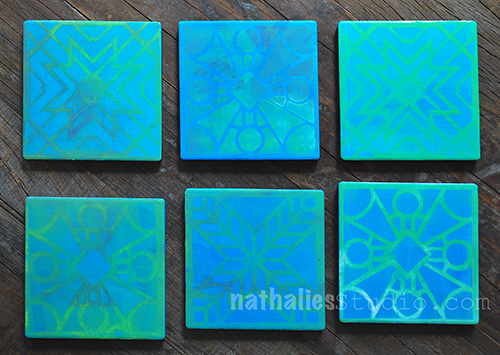
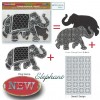
I used different colors through the Santa Fe Stencil – stenciling just one row of three squares of the pattern.

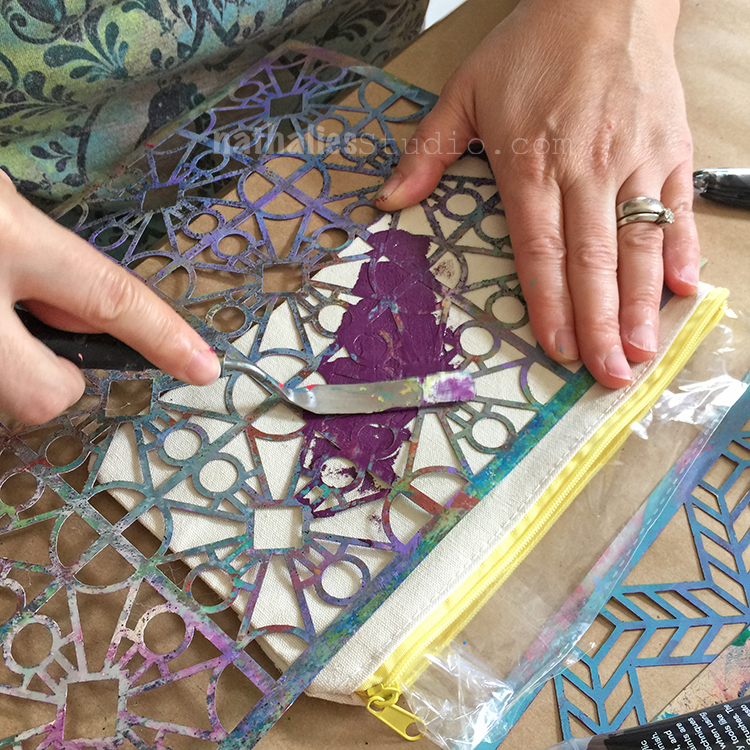
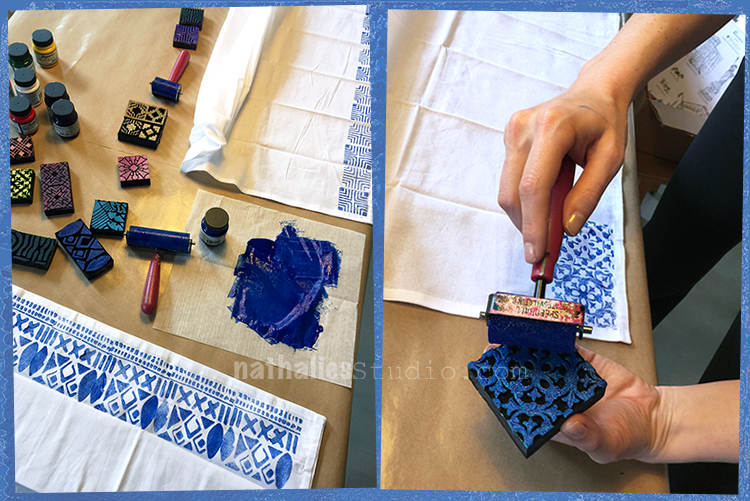
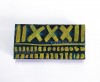
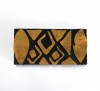
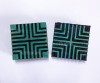
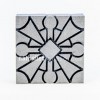
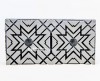
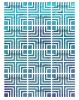
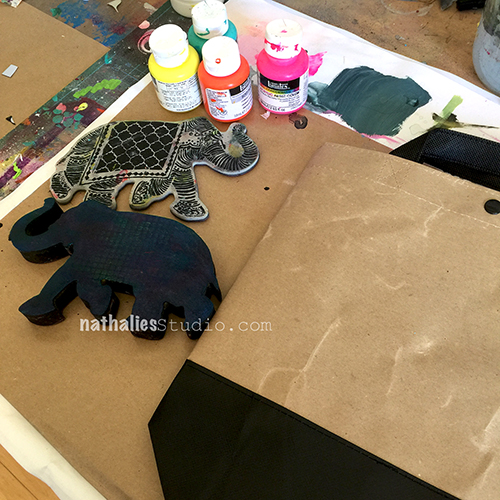
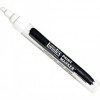
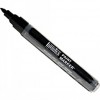
I also added some of the thicker paint with a palette knife through the stencil – here with the purple and Buenos Aires Stencil, which worked extremely well and was fast . After the thicker paint had tried, I made sure to place the stencil back on top in the same spot and used a cosmetic sponge to stencil the sides and make it all look nice.

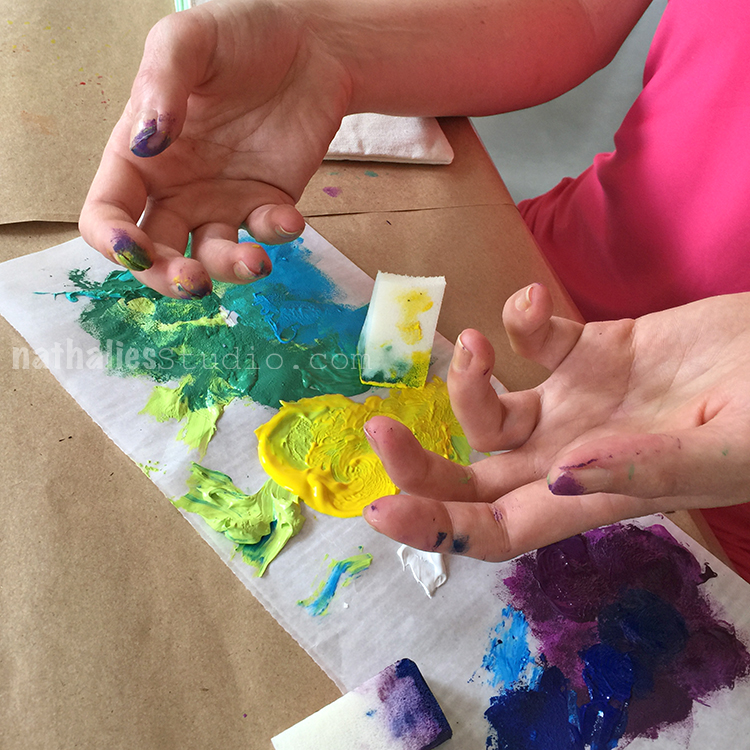
Yessss- Kim has paint all over her fingers- SUCCESS ;)

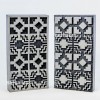
Kim using the Amsterdam Stencil 

and then the Art Deco and Lily Stencil – I liked the yellow and green mix she used with both designs.

It was a nice morning project and easy and fun – and here you go

So many things that can be stored away

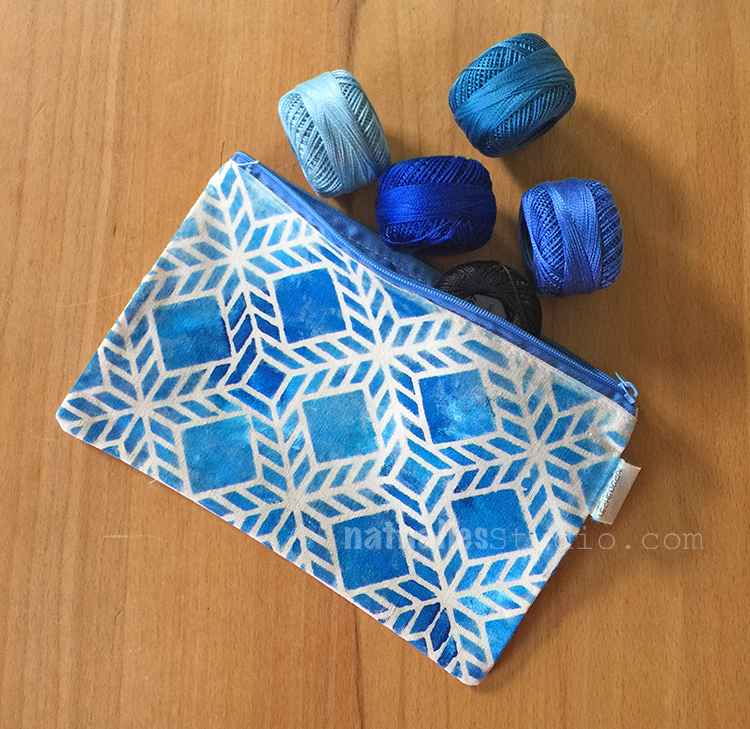
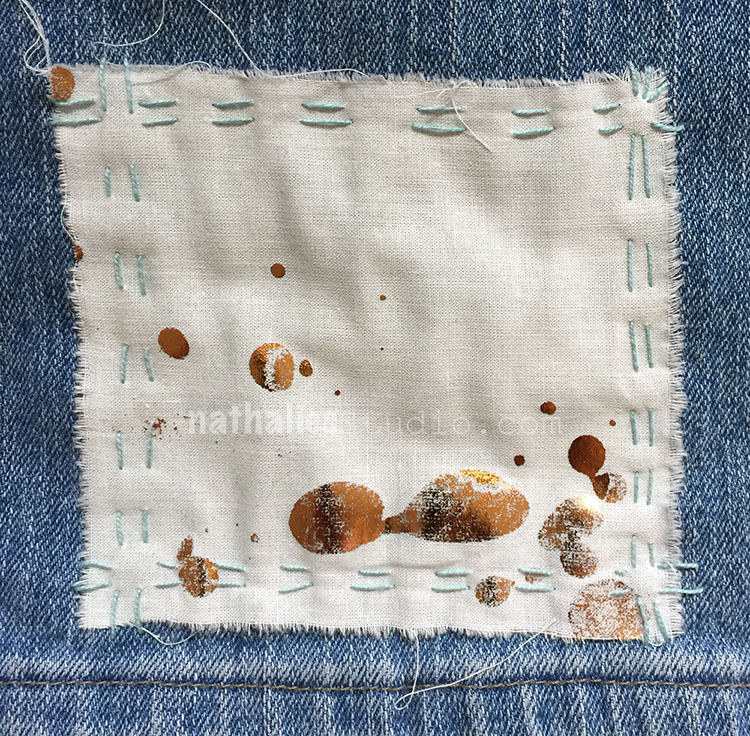
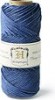
my new embroidery thread ….ohhhh- I should embroider on top of the pouch …bingo …just had this idea while looking at the photo :)

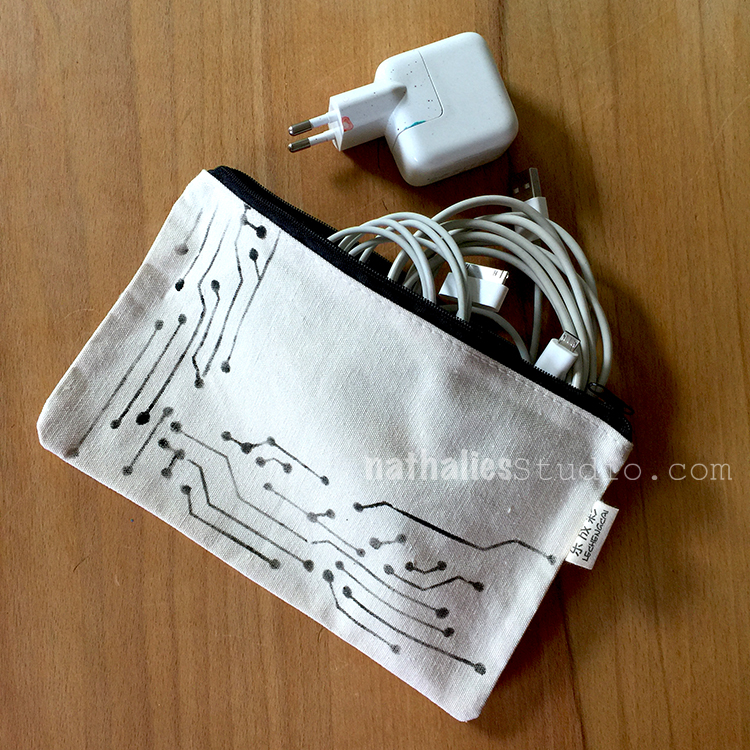
Hubs got a new pouch for his cable salad …although of course the German plug on top is mine as you can see as the paint specks give it away ;)

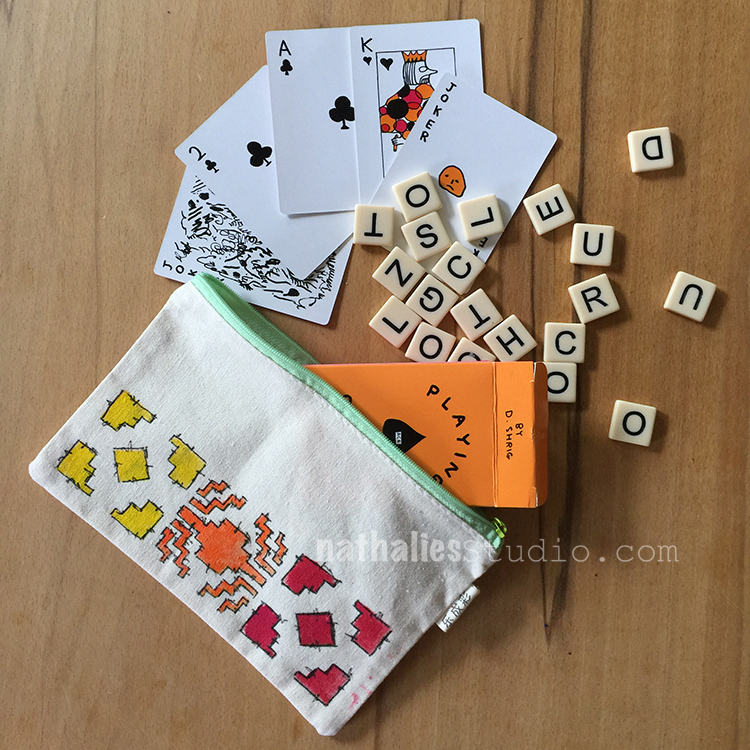
Travel pouch for games….

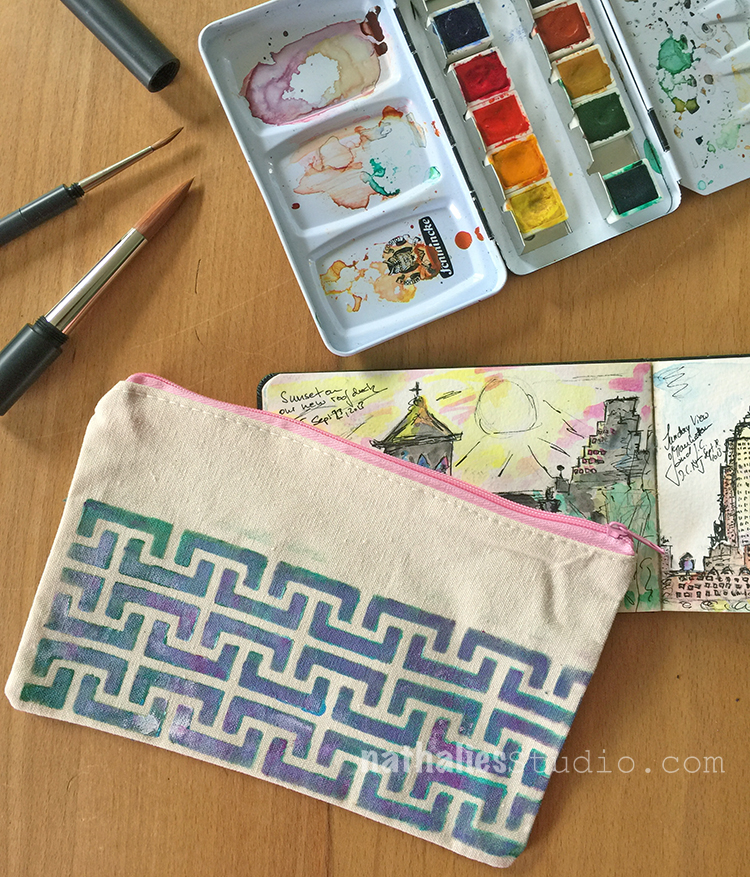
Mini Art-on-The-Go Kit

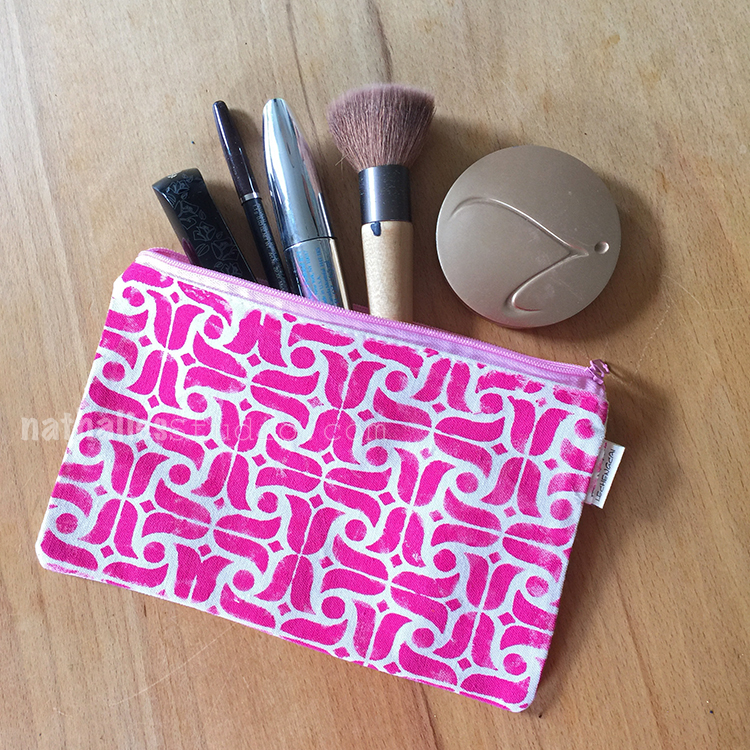
And hey a make up pouch…

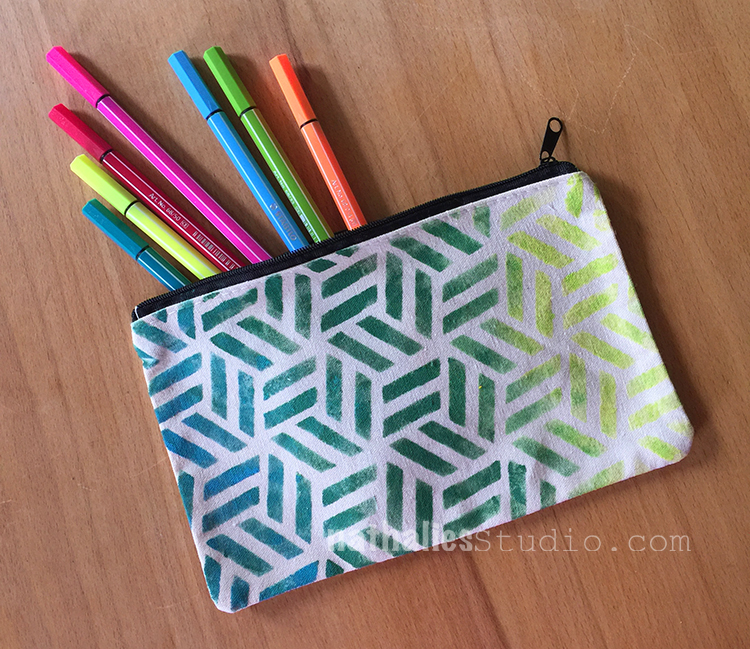
or a good old pencil case

We will be so organized with our Bits and Bobs- HA

Hope you liked our litte fun DIY-project and don’t forget, if you are eyeing the stencils we used and that are listed below – the n*Studio SALE is still going in the n*Store where you can get 20% off Stamps, Stencils, Mugs, Cards, and DVDs now through Sunday 7/16/2017. Just use the coupon code JULY20 when you check out to save. Start shopping here :)

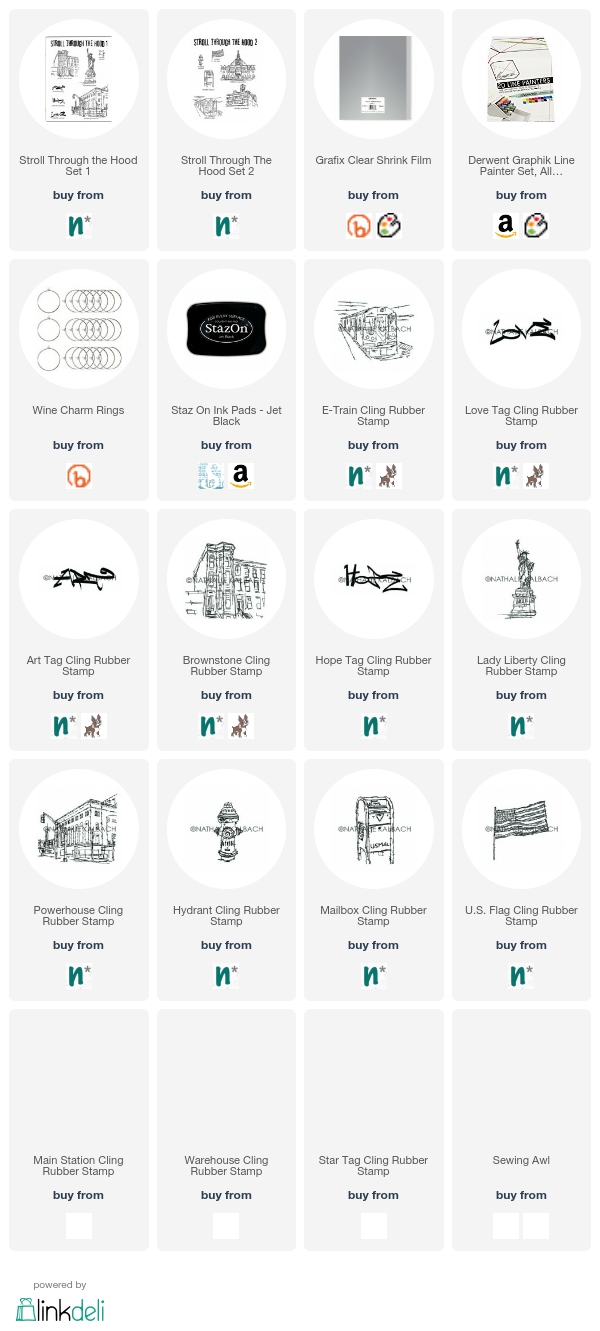
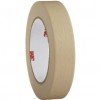
Here are the supplies we used for the pouches – some of the links are affiliate links:


have a wonderful day!

Summer Stamping: DIY Wine Charms

A couple of weeks ago my friend Kim and I spent a morning to make some fun DIY Wine Charms. With 4th July coming up and some wonderful evenings spent with friends outside we thought that my RubberMoon Stroll Through the Hood Sets would be perfect for making a couple wine charm sets.

We stamped using black Staz On on top of Shrink Film (complete supply list is below)

Colored the images in with some Derwent Graphik line painters.

Cut the images out

and poked a whole into them. (we learned we needed to make sure that the whole would be really big- since they shrink too – so hole punch whole is the perfect size)

We placed all the shrink plastic shapes onto a baking sheet and followed the directions on the packaging -backed it for a couple minutes and

pulled out the cutest little plastic pieces. See how much Lady Liberty shrinked. We shrieked in delight

and put some wine charm rings through them

We made an E-Train Set

and a Brownstone Set

A mixed set

and a mailbox set

and we could not stop. Guess what everyone is going to get for presents in my friend’s circle in the next couple months ;)

On this note “CHEERS” my friends and I hope you liked this little tutorial. Give it a try :)

Here are the supplies we used- some links are affiliate links


Stamping Up a Storm – DIY Napkins and Kitchen Towels

By now my friend Kim and I made it a habit to meet every couple weeks for a fun project and I love this so much. This time we decided to make some napkins and kitchen towels.

We got some fabric paint and nice white kitchen towels which can also serve as nice big napkins and started playing.

Using my ArtFoamies Minis on those were the perfect pick. Foam Stamps work so well on fabric!

The size is great and it was a quick and fun way to enhance the fabric.

The fabric paint we used was a little bit too fluid for our taste but it actually worked well – after brayering the paint on top of the stamp we went sometimes with a cotton swap over the stamp to even out some areas or even to take off some paint if it seemed too much. At the end of the day this is a handmade result- so hey- let go of perfectionism :)

Because the paint is a bit thin it tends to seep through the fabric- so putting something for protection underneath the area you stamp when you layer up your fabric is a good idea. We just used paper towels.

We both especially liked the blue.

But also adding more and more white and yellow to the dark green after each row was fun for getting a kind of ombre effect. I love this.

It didn’t take long for the paint to dry and after following the directions on the paint jars to iron the back side of the printed fabric, and then washing them- they are ready to be used.


Here are some napkins- I love the set -even though the patterns are different they belong together due to the same color. For the napkins we mostly only printed one row.

For the kitchen towels we added a bit more

Aren’t they fun?

I will definitely make more of those- they make a really good  and personalized gift too. Hope you like Kim and my little project – we already scheduled the next one :)

Here are the supplies I used:


Denim Mending at the Textile Arts Center in NYC

A couple weeks ago I took a class at the Textile Arts Center in NYC: Denim Mending.

The TAC is located in Brooklyn but has a great small studio space in Manhattan with tons of classes at different times of the day and since I totally into embroidery for a while now, I thought this would be a perfect class. And it was :)

We got to work with all kinds of fun dyed fabric (they offer a variety of amazing dying classes as well) .

and started out with some basic stitches , applique stitches and back applique (in the picture another student’s practicing samples- I looooveee the polka dot fabric with the blanket stitch so much!)

Later in the class we got a short intro to Shashiko which means little stabs and is a form of Japanese embroidery originating in the Edo period (1615-1868)

These are some samples- – I fell in love instantly …although it does kinda like tell you to do neat and straight stitches – LOL- which you know…is not me ;)

But here is my first try in Shashiko

Not too shabby – I like it and oh man- now I want all kinds of Jeans being ripped so that I can start mending them and I bought all kinds of supplies of course  – and is it bad if I bought some shirts that I just want to do this on?  I am ready LOL

It was a fantastic class by Jennie Maydew -(check out her website with beautiful textiles and artwork too). I learned heaps, and it inspired me and I am full of ideas how to incorporate what I learned into my own artwork – I am so glad I went. A great example yet again how good it is to sometimes take classes that are totally different from what you usually do :) If you are in NYC – check out the TAC – what a gem place to take classes.

Sustainable Souls Project: Reuse, Repurpose, Recycle

The Sustainable Souls Project is a monthly artist collaboration inspired by sustainability issues, concerns, ideas, and thoughts.  Each month, they pick a sustainability topic and create awareness through art, using the monthly theme as inspiration.  Projects may include art-journaling, mixed media, assemblage and more. The idea is to create awareness around Sustainability through art, one paint stroke at a time! As this is a topic close to my heart I am happy to participate this month.

This month’s theme is: Reuse, Repurpose, Recycle

I repurposed an old canvas of mine for this theme

I didn’t like the acrylic painting that was originally underneath but I decided to “recycle” parts of the painting and cover other parts with trash and other texture making materials up.

My neighborhood is pretty much recycled – it was brand new and nice at some point, then people lost interest and treated it badly and now it is up and coming again. I am glad it wasn’t totally destroyed and wasted before it was discovered as love able again.


I stamped with some of my Stroll Through the Hood Stamp Sets onto painted cardboard and colored in some of the images with water color.

Can you imagine that this is how the area – about 10 minutes from my house –  that is now Liberty State Park looked like pre 1976 ?

(Photo from the Archives of the Friends of Liberty State Park)

We have come a long way – and then we haven’t. 

Recycling has always been a big topic during my upbringing in Germany. I learned about bringing bags to shops and not littering in the 80s in school and it has become such a norm to recycle everything, from glass – divided by brown and white glass, paper, cork, batteries, plastic garbage, compost. You are pretty much a frowned upon person if you do not recycle or do not bring bags to a shop. But then you have news and pictures like this:

Read about garbage patches in the ocean and what happens with our plastic garbage, how long it takes to “disappear” and the effects on the ocean life.

I think we need to make more choices in what we buy and how we buy  and then how we recycle/reuse/repurpose. I am not perfect myself and I am constantly catching myself not being responsible enough but here some small steps – I hope I don’t sound too preachy :

  • I bring bags and boxes when I do grocery shopping -instead of having someone stuff my shopping in double- or triple layered plastic bags – hey good reason to make some handmade cool looking artsy grocery bags ;)
  • I avoid buying plastic bottles – I don’t buy six packs which are held together by plastic rings – it is hard here to avoid it totally but keeping an eye open helps.
  • I have a fancy water glass bottle for the gym – it looks pretty cool and I can put it in the dishwasher when I need to
  • I try to buy as much at a farmer’s market or non packaged fruit and vegetables as possible – I mean – come on those bananas- they are protected already
  • Make your coffee at home – put it in a nice travel mug- it is cheaper but hey- do not use those single cup plastic coffee makers – then I’d rather suggest take you travel mug and buy your coffee at a coffee place to go.
  • Bring some fun silverware to work for lunch, instead of getting a pack of plastic flatware – it looks so much more classy anyway  ;)
  • Come on- you have a dishwasher and on a special occasion just put out the normal plates and silver flatware for a party and then throw them into the dishwasher. Or wash them by hand – nothing better then some bonding/gossiping time with a friend/spouse/sibling while doing some dishes – and if you do not wanna do that- put your kids to work …didn’t hurt us ;)
  • there is so much more- but this is a good start

Ahhh- there- I got preachy…sorry…but you know what….I feel so strongly about this – it should be something we all take care of …I hope you will understand: There is only Planet A !

DIY: Flower Pot Madness

My friend Kim and I decided a while ago that we would stamp and stencil some flower pots and even create some as an upcoming Mother’s Day gift. I also think that Kim can’t bare seeing my really badly neglected plants on the terrace ;) (I do have a brown thumb for sure!)

We left some pots in their natural color and painted others with golden gesso and black gesso.

On some pots we used my ArtFoamies Foam stamps. We used a brayer to apply acrylic paint to the foam stamps and then used them on the pots. Especially the border stamps worked well since they can easily and carefully wrapped around the pots.

We both really loved how the colors popped off the black and golden gesso-ed pots.

For some pots we used Stencils – we secured the stencils with masking tape and it was so fun and quick.

On one pot I got a bit wild and layered all kinds of stencil designs.

While Kim took a more “less is more” approach and used one stencil with variations of color – I like that very much :)

We loved being outside and it was such an easy and colorful project – I could do this all day long- no kidding.

And then we added some herbs and dirt and voila

Don’t you think this rosemary should be happy in this new home? Well…I promised to also water it ;)

Mother’s Day can come now and …summer – Cannot wait to sit outside and enjoy my new funky colorful pots on the terrace!

Here are some of the supplies we used – some links are affiliate links:


Hope you have a wonderful day and enjoyed this little project!!!

Upcycled , Recycled: Stenciled Coasters Project

kalbachcoasterscollage

These coasters were so much fun to make. A couple years ago, someone had given me those coasters, which were pretty, but not quite my taste. Time to upcylce and recylce!

kalbachcoaster10

I painted all coasters in the same color  mix of two different blues with acrylic paint and let them dry.

kalbachcoaster11

Then I grabbed the Buenos Aires, Santiago and Toledo 4×4 stencils which fit exactly onto the coaster. For some coasters I simply placed the stencil on top of the surface and stenciled with a different acrylic paint color through.

kalbachcoaster12

For some I layered some color directly on top of my blue background and then placed the stencil in the wet paint surface and removed paint through the stencil with a baby wipe.

kalbachcoaster13

Once all the stenciling was done and the paint was dry, I coated the coasters with Pouring Medium. I let everything dry overnight and gave them another coating with Pouring Medium to seal the surface off and also to give the coasters some depth and sheen.

kalbachcoaster14

And here you go – the different coasters

kalbachcoaster02

kalbachcoaster03

kalbachcoaster04

kalbachcoaster05

kalbachcoaster06

kalbachcoaster07

I gave those to my sister in law and she really loved them as they are in her favorite colors. Now …time to make some for myself…maybe for Thanksgiving .

kalbachcoaster01

Here are the supplies I used to make those coasters – some are affiliate links:

supplies


What have you put aside to upcylce or recylcle, but haven’t gotten around to do it yet?

Upcycled, Recycled or … Easy Peasy Gift Bag

KalbachGiftbag01

My sister-in-law’s birthday was a big event last month and so I wanted to have a special and colorful the gift bag. I had this fun bag, which I had gotten as an advertisment gift laying around and decided to oomph it up Nat-style

KalbachGiftbag07

I started by loading up some acrylic paint onto a fan brush and flicking it onto the bag.

KalbachGiftbag06

Cleaning the brush in between I flicked one color after the other on top.

KalbachGiftbag05

After the paint drops dried, I rolled out some pink color and applied it with a rubber brayer to the solid side of my Elephant Foam Stamp (which is part of my Elephant Foam and Rubber Stamp and Stencil Set) and stamped the pink elephant on top of the bag and let the image dry completely.

KalbachGiftbag04

In a final step I stamped the rubber elephant stamp using Archival ink over the pink elephant silhouette.

KalbachGiftbag03

And voila – a festive and fun gift bag was done. Now…what was in the gift bag? ….welllllllll – LOL- that is a different post because it was also something hand made but I used something I cannot show you yet. I promise to show it to you later *wink!

KalbachGiftbag02

Here are the supplies I have used for the gift bag – some links are affiliate links:

SuppliesCJS

Do you like to make your own gift bags and what have you used?

DIY Gift Wrapping Paper

KalbachGiftWrapCollage

I love making my own gift wrapping paper and it is a really quick thing to do . I needed some paper for the Suburbia Painting I made for my brother in law and laid out some kraft paper.

KalbachGiftWrap01

As you can tell Niles really wanted to help – if you want to have your cat help you, add half an hour of time for your DIY gift wrapping paper though – the clean up will keep you occupied *wink. I basically cleaned off my brush onto the kraft paper when I was doing an art journal spread.

KalbachGiftWrap02

I added some circles with a brush to add some pattern and used a white acrylic marker to write Happy Birthday all over.

KalbachGiftWrap03

I made a small tag, used some twine in a similar blue as I had used in the background and BAM – done .

KalbachGiftWrap04

Of course you can also use stamps and stencils -but in any event this is a super quick, easy and cheap way to make some personalized gift wrapping paper.

Here are the supplies I used for my DIY Gift Wrapping paper- some links are affiliate links.

SuppliesCJS


Have a wonderful day!