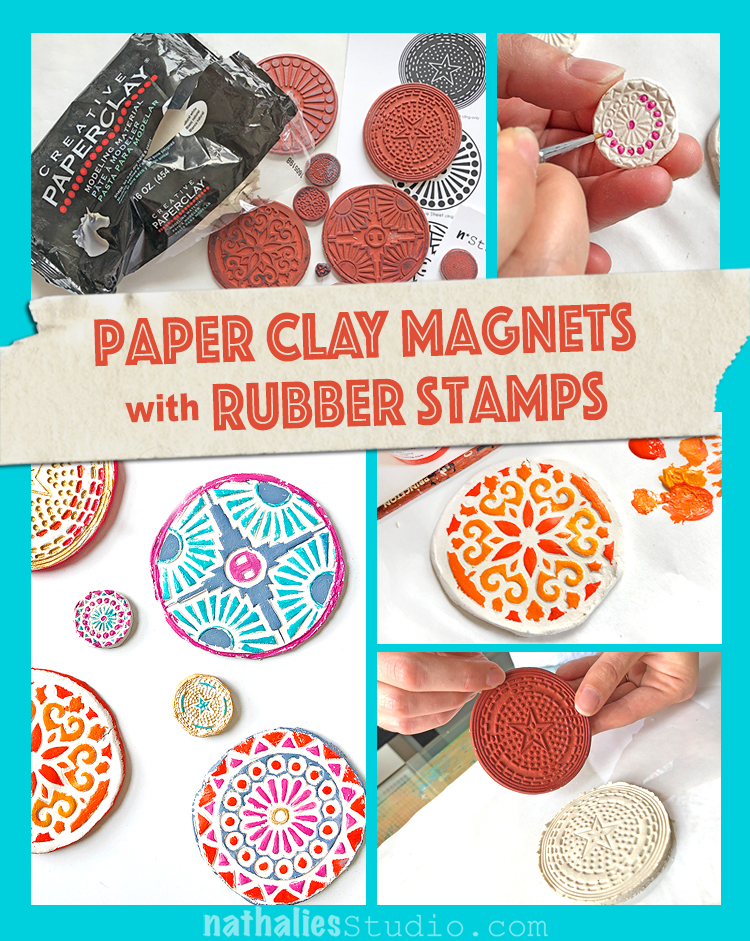
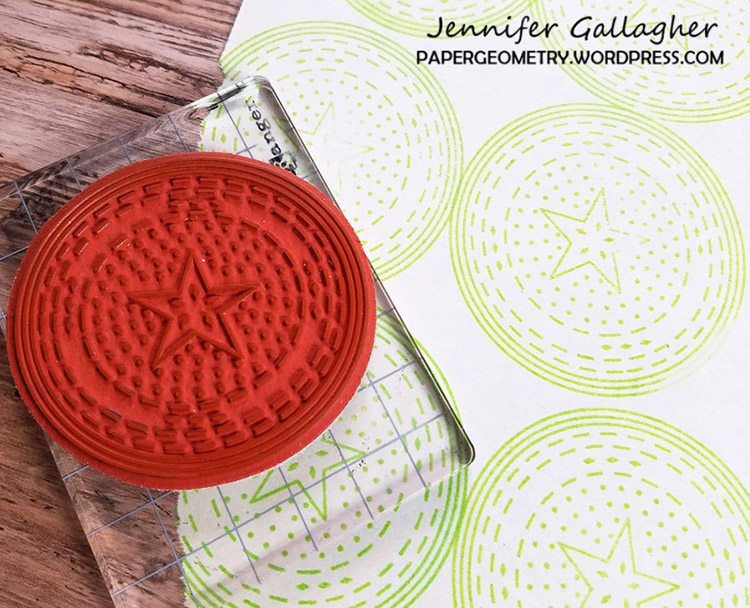
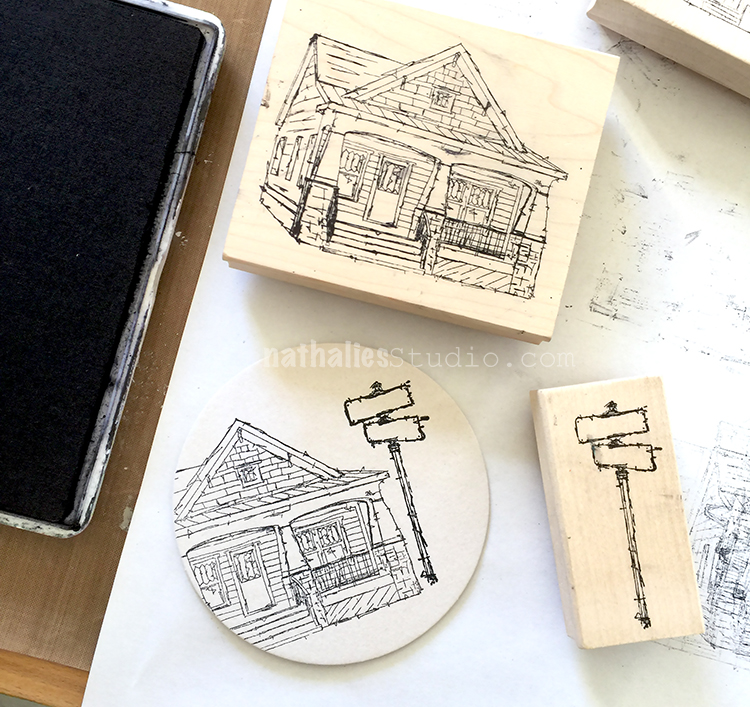
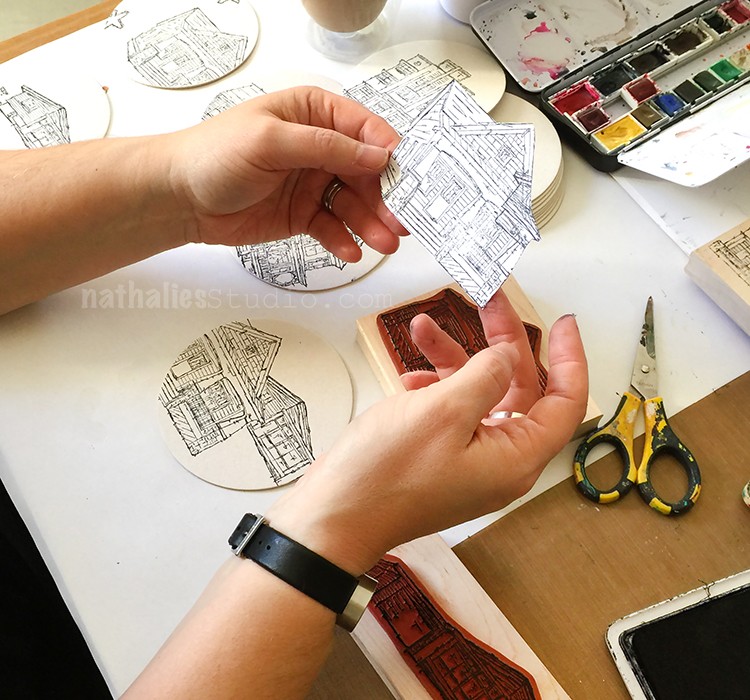
For our monthly play date, Kim and I wanted to show another great way to use rubber stamps – to make an impression in paper clay!
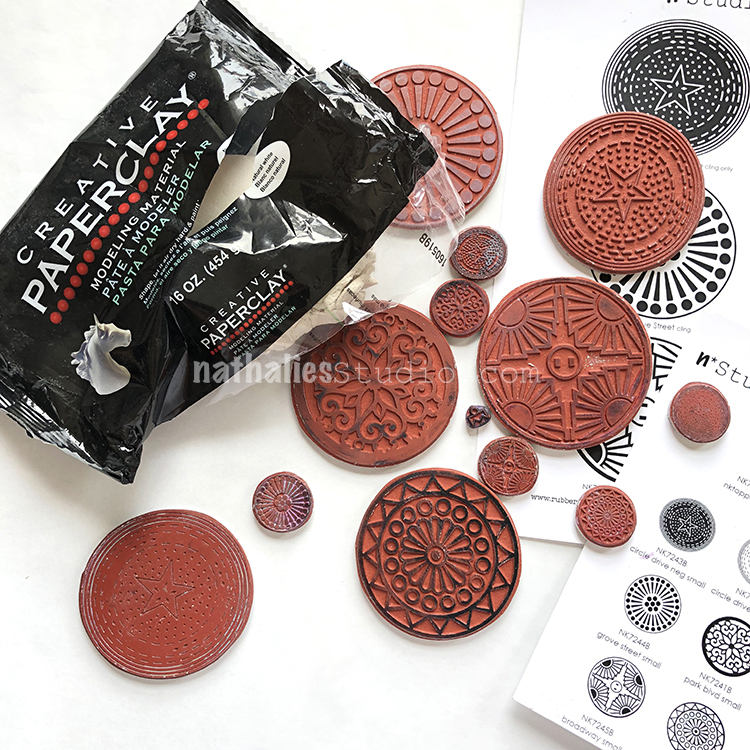
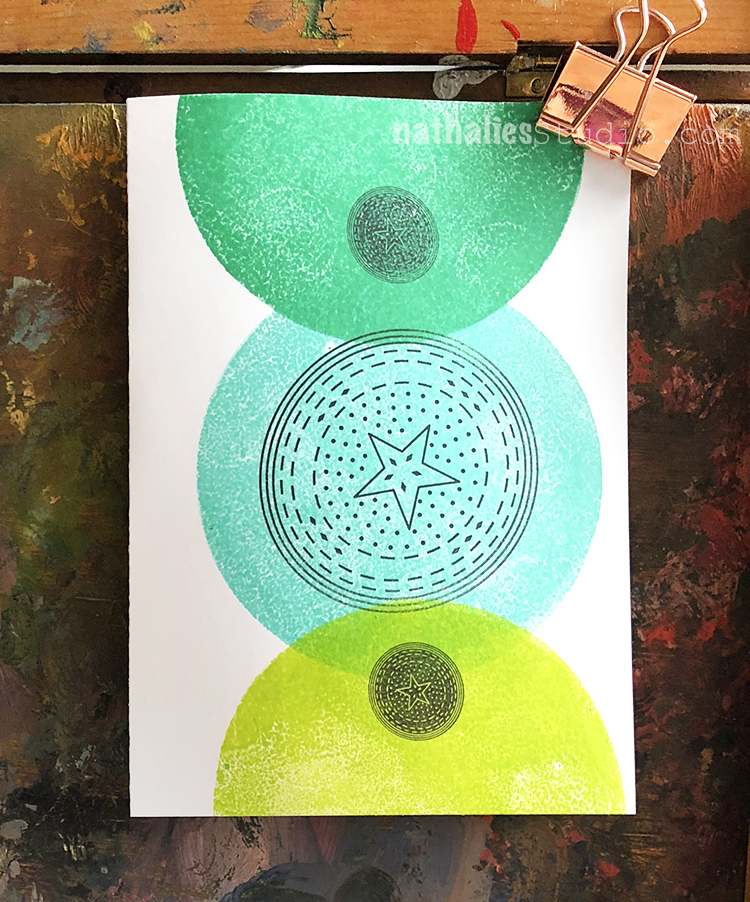
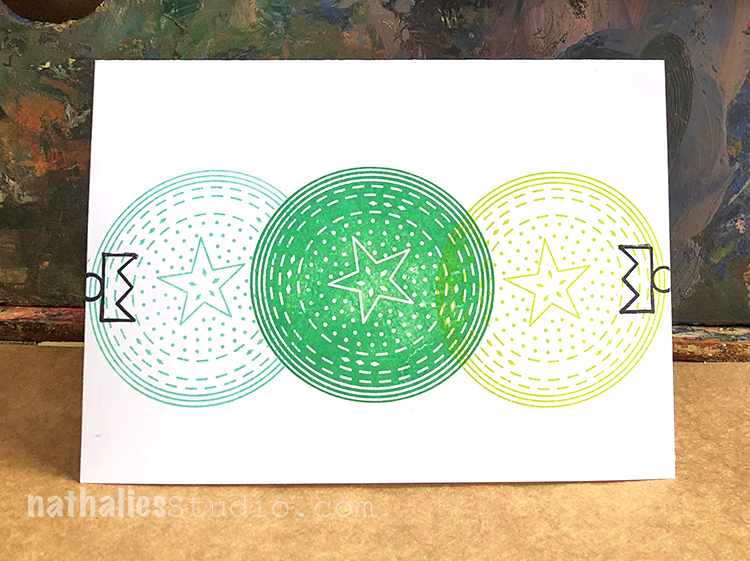
We thought my new Large Circle Jumble and Small Circle Jumble sets would be a nice shape and size for some magnets. Our plan: to stamp into the clay, paint them with some acrylic paint, and attach magnets to the back for the refrigerator, bulletin board, wherever magnets will stick.
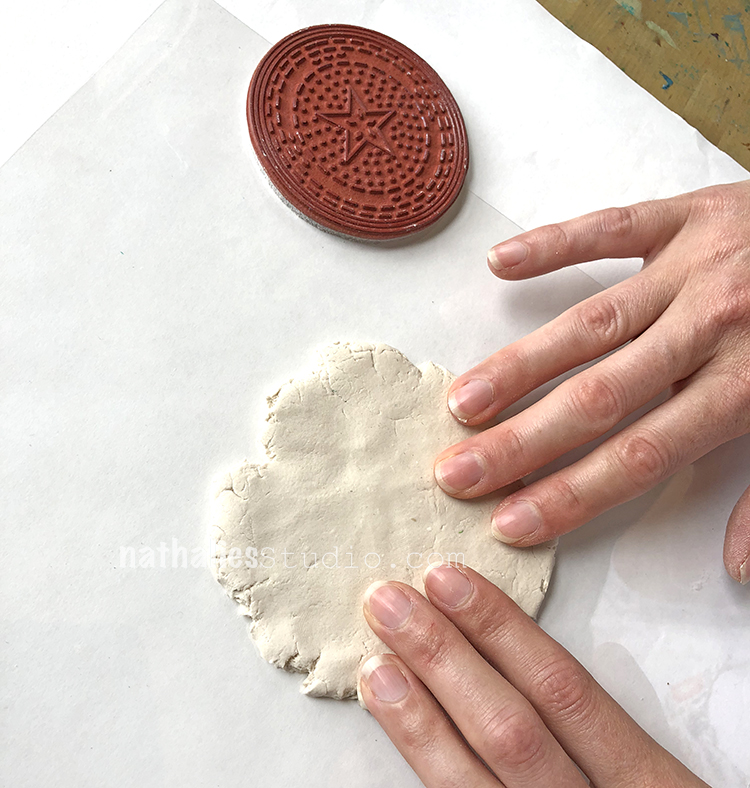
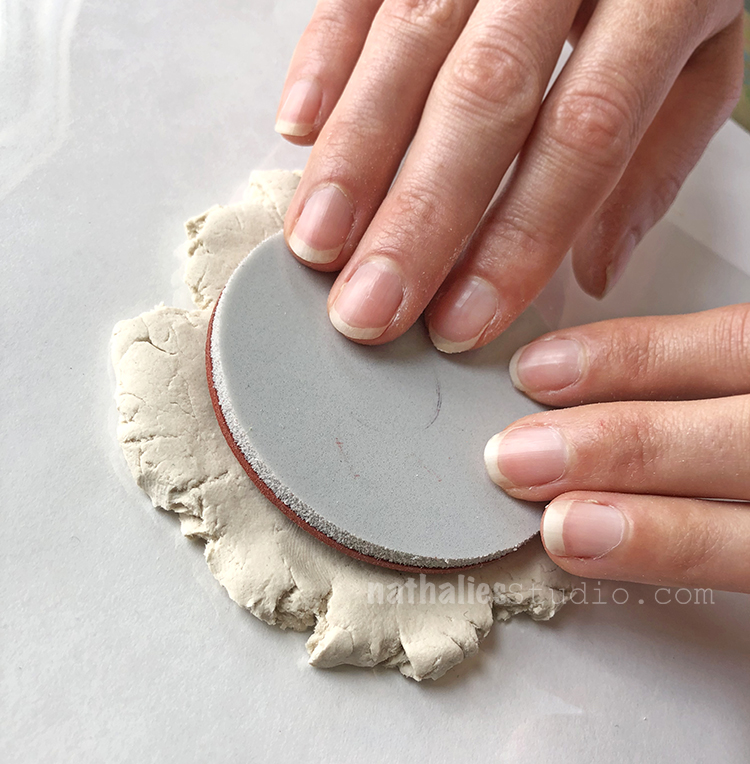
Paper clay is fun and easy to work with and is air dry so you don’t even need to turn on an oven. Here we chose the Circle Drive stamp from the Large Circle Jumble set, and flattened out some clay on a non stick surface to about 1/8-1/4″ thick and big enough to fit the design.
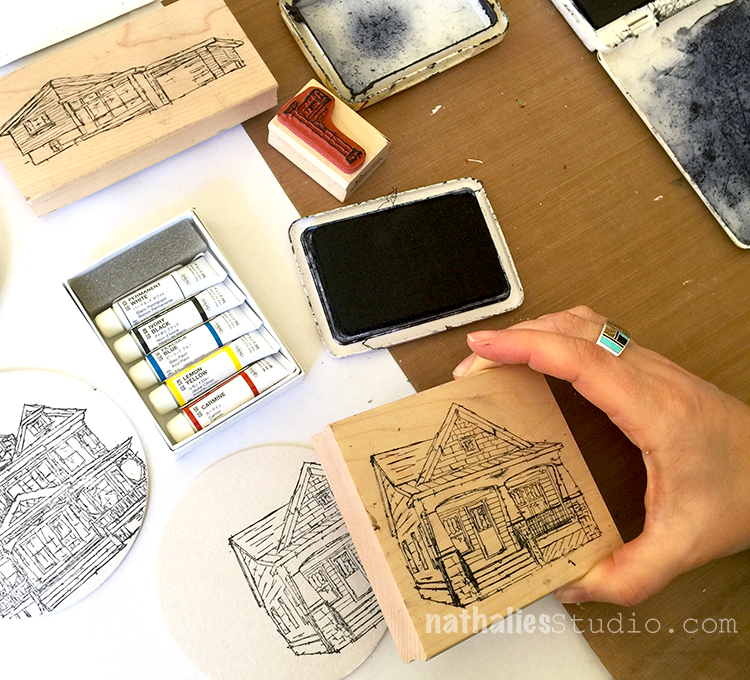
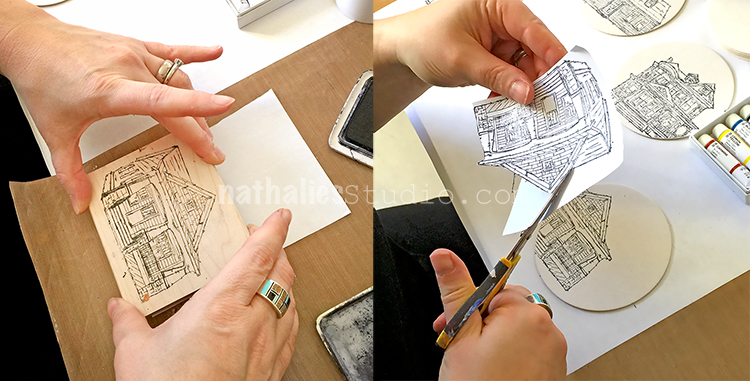
Time to stamp!
Press the stamp evenly into the surface, making sure to cover the whole design with pressure.
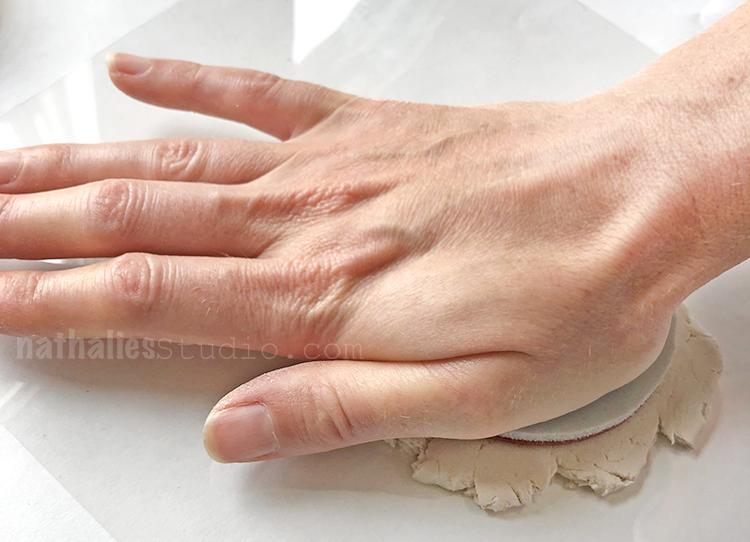
Really press it in there!
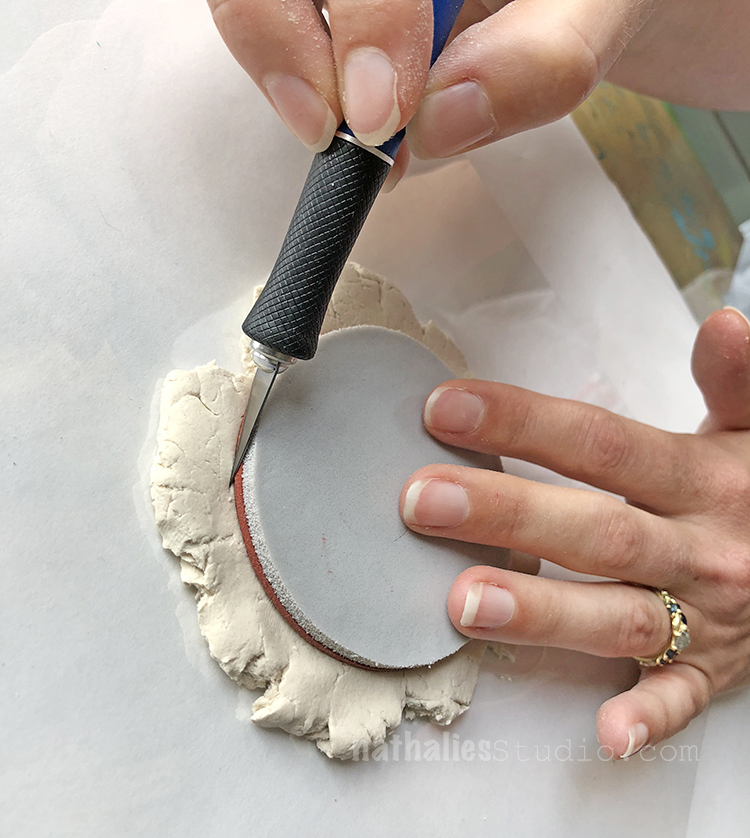
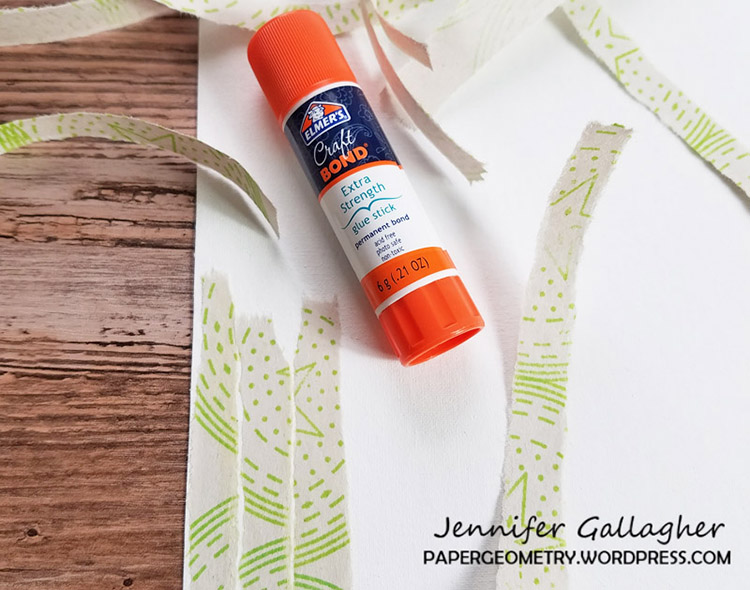
Then we cut around the stamp using a knife and the edge of the stamp as a guide. Work over a cutting mat and watch your fingers :)

Trim all the way around the stamp and pull away the excess clay. You can save the extra for later use.
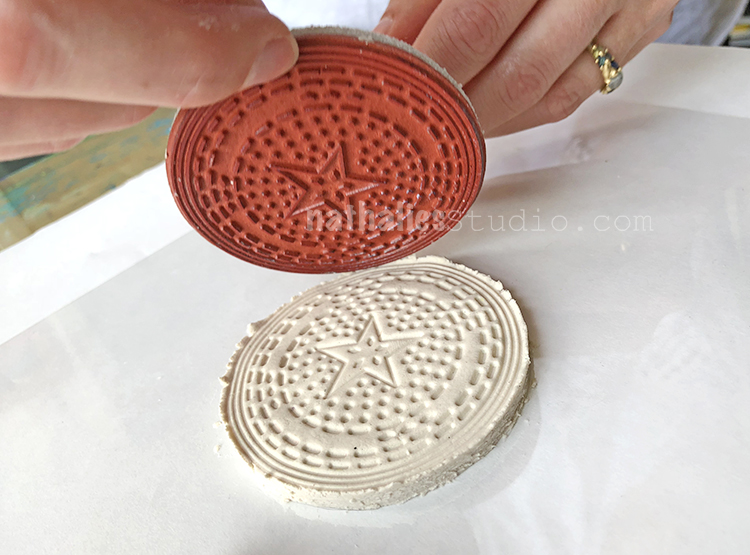
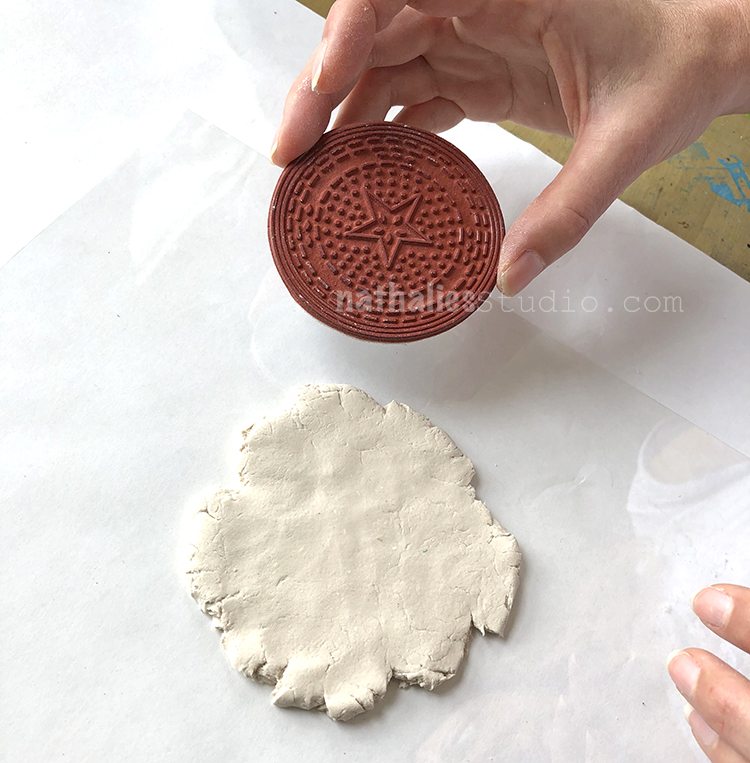
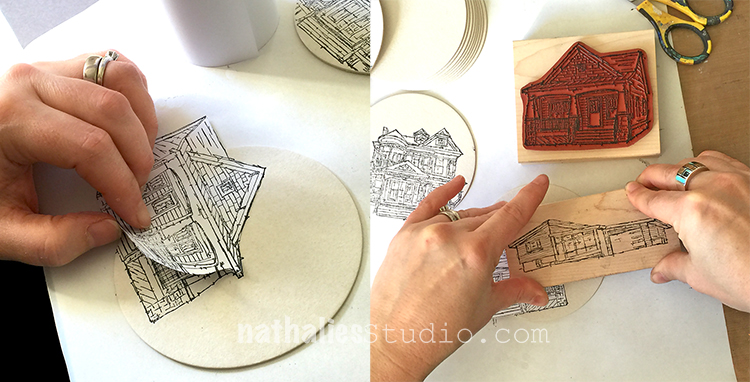
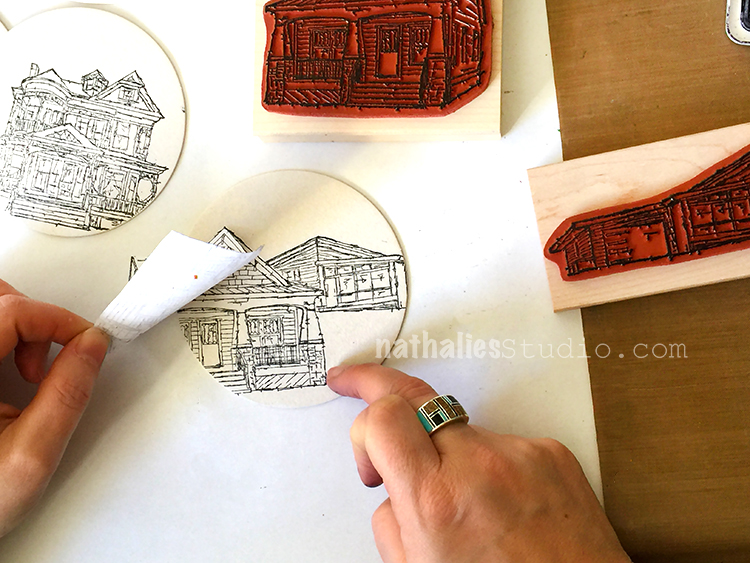
Gently lift the edge of the stamp to reveal the impression.
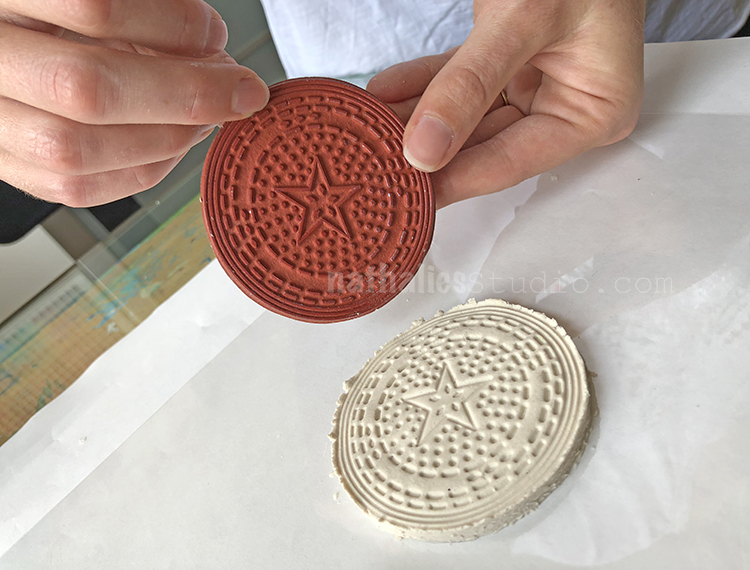
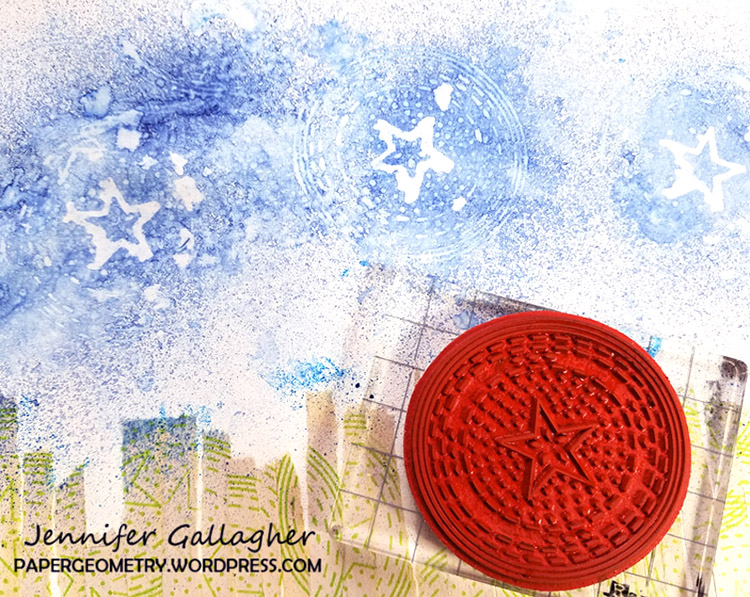
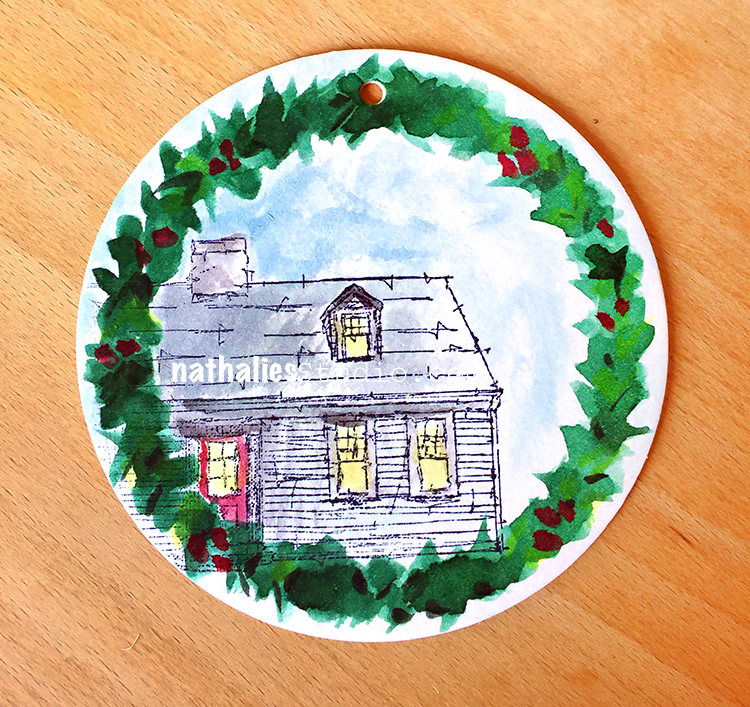
Here is the big reveal and a great impression in the clay!
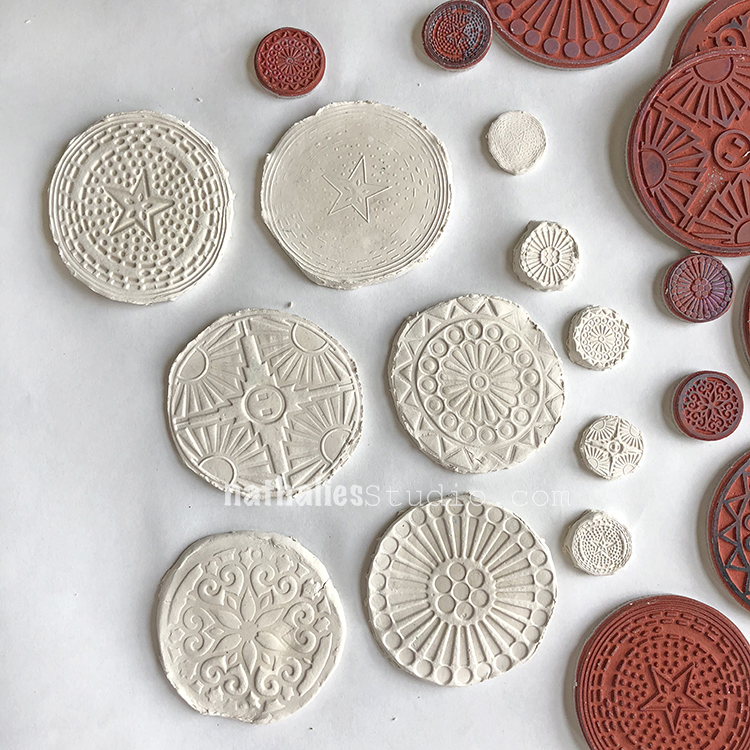
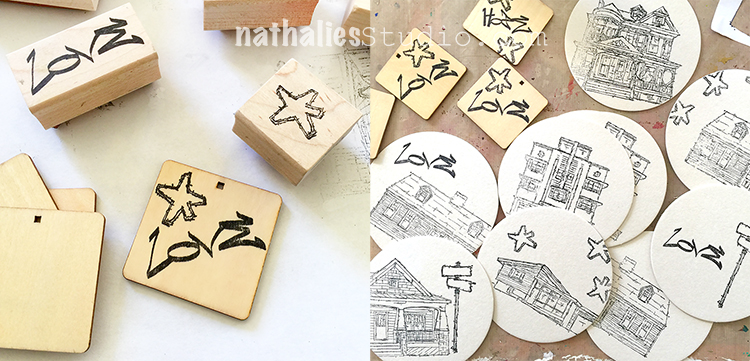
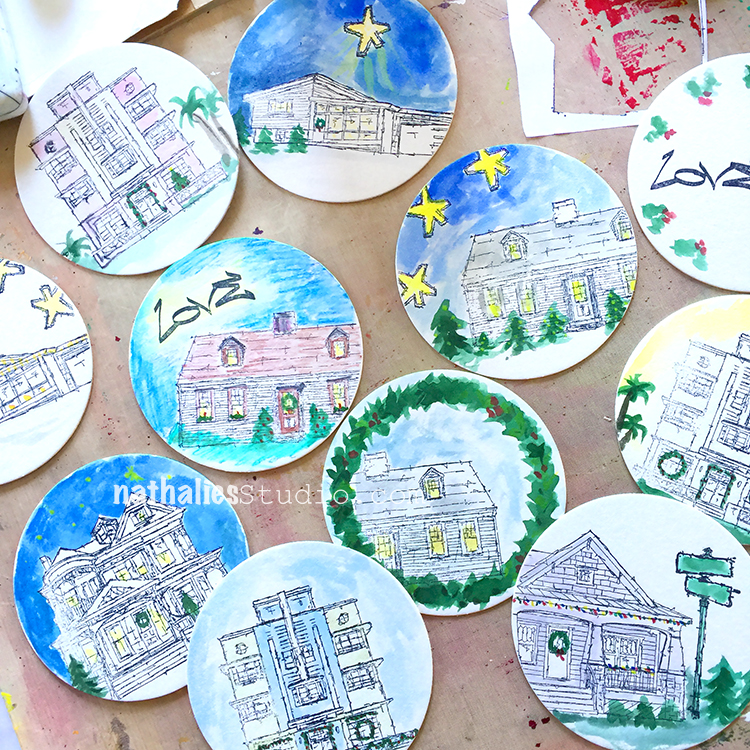
We tried almost every design from both the Large Circle Jumble set and the Small Circle Jumble set. Follow the directions on your paper clay package for drying times. Ours took a few days to completely dry before we could move to the next step.
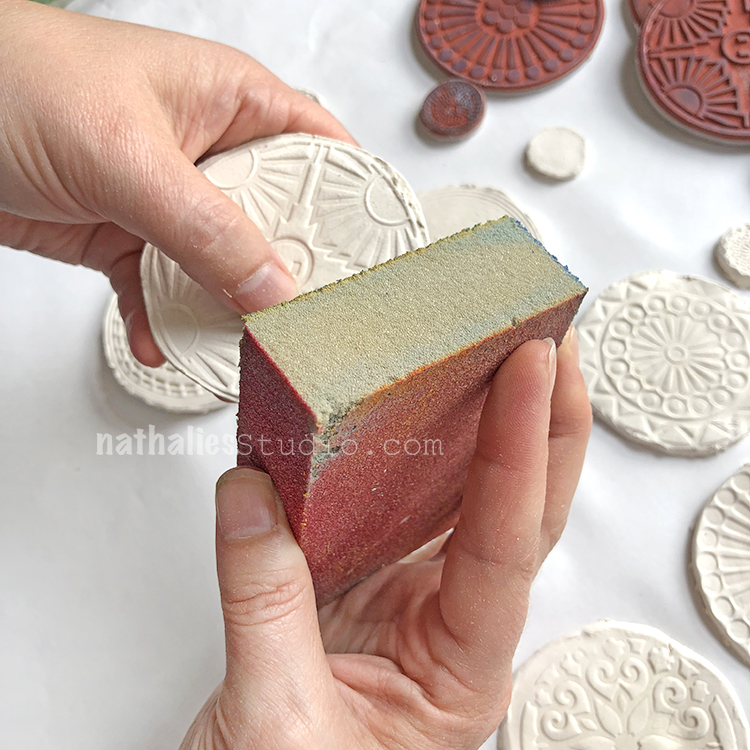
Once the clay is completely dry, you can use a sanding block to smooth down the edges. Be gentle!
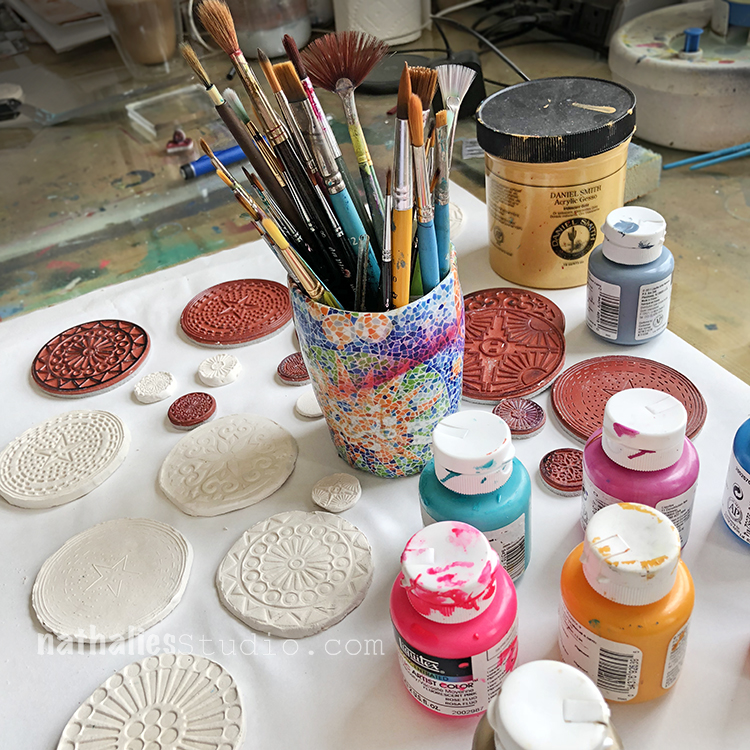
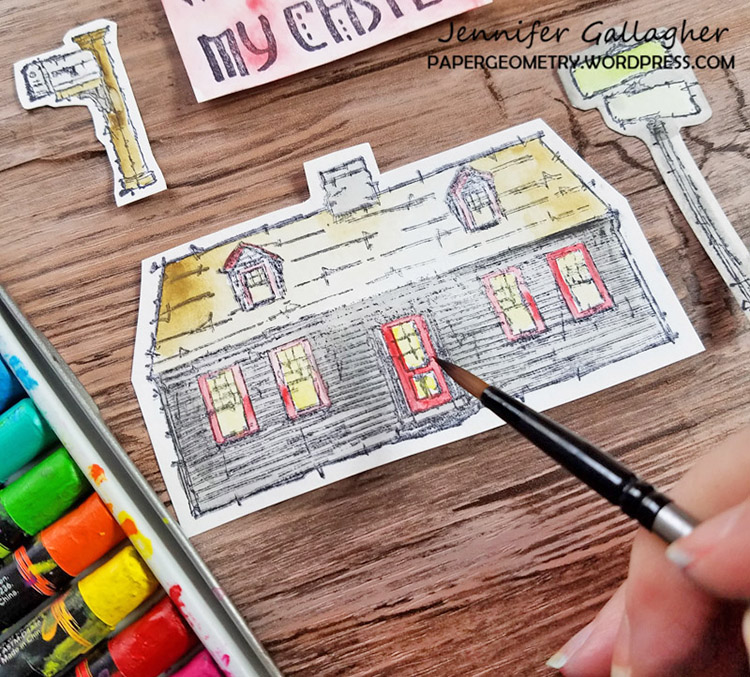
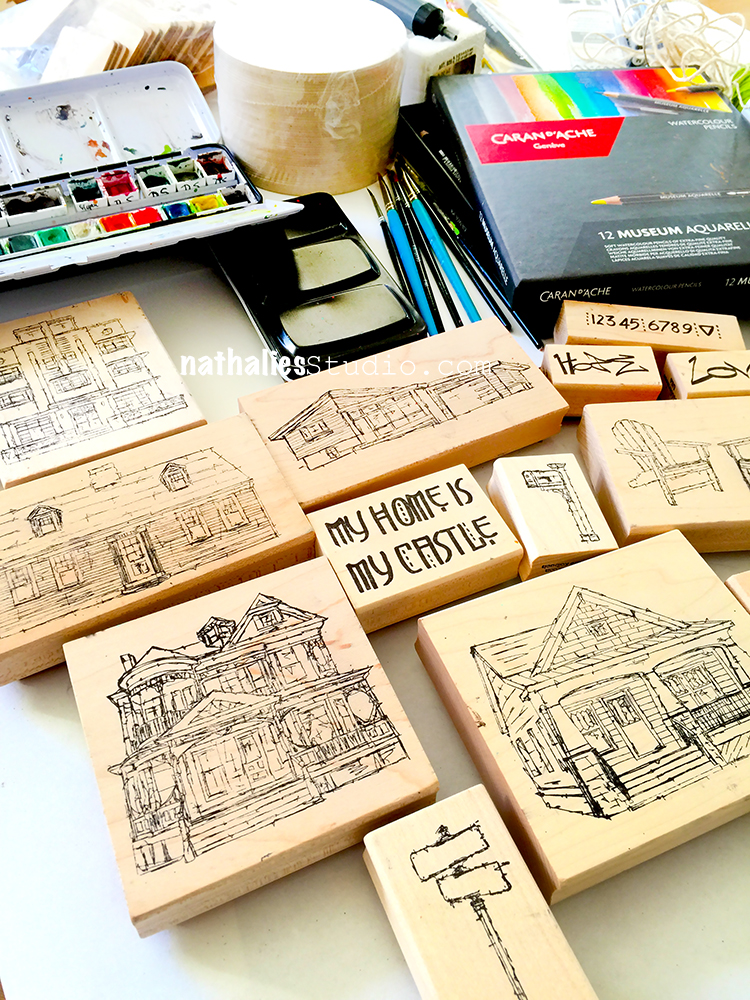
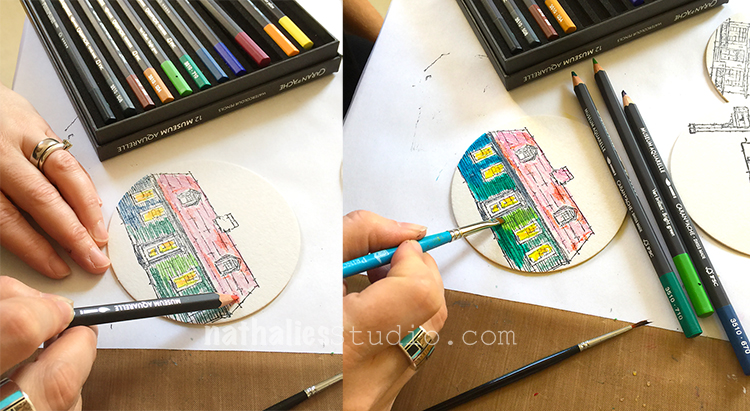
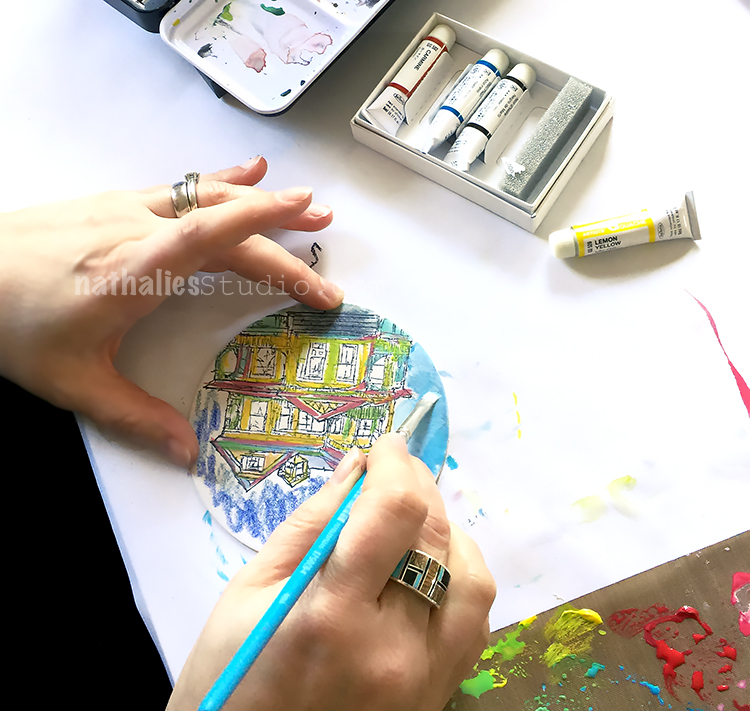
Now it’s time to assemble some acrylic paint and fine brushes for the detailed painting.
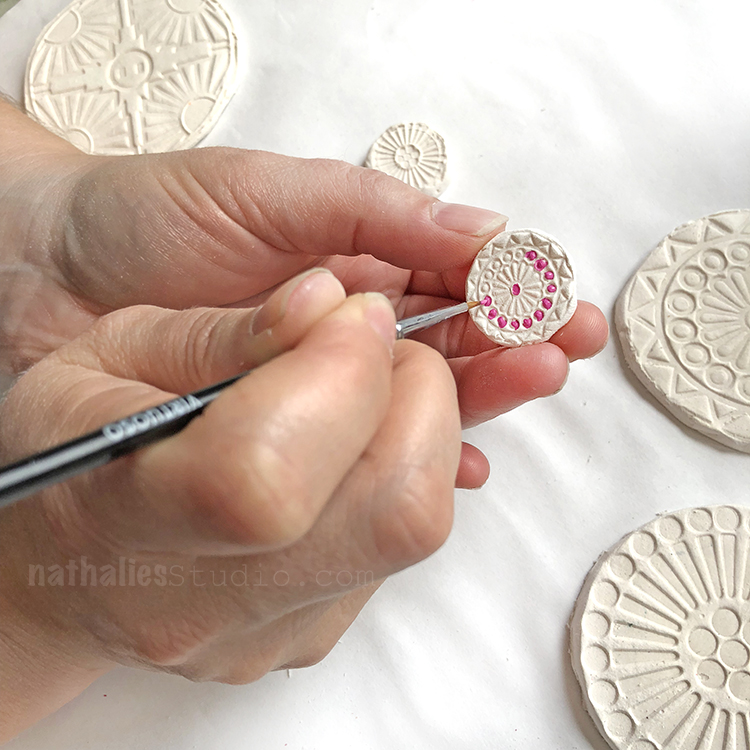
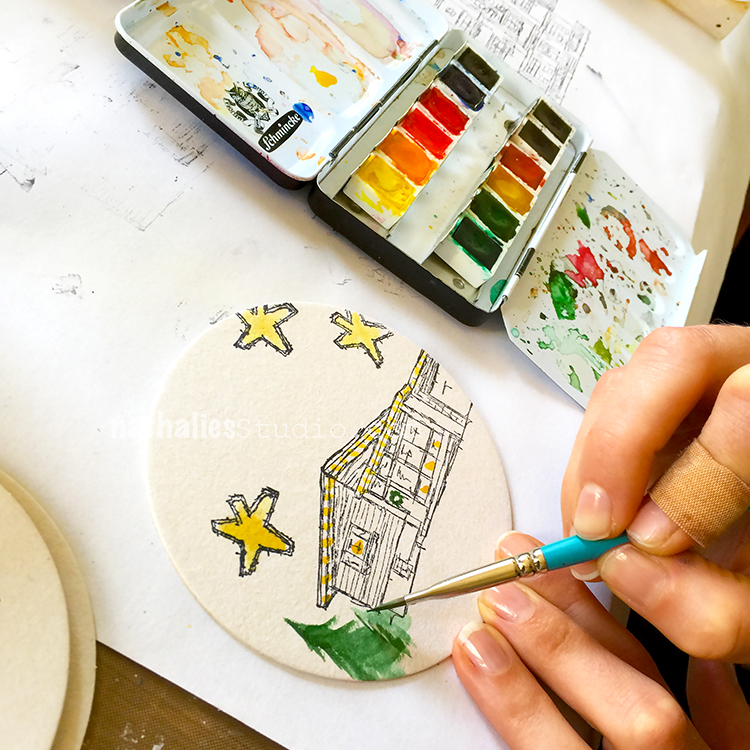
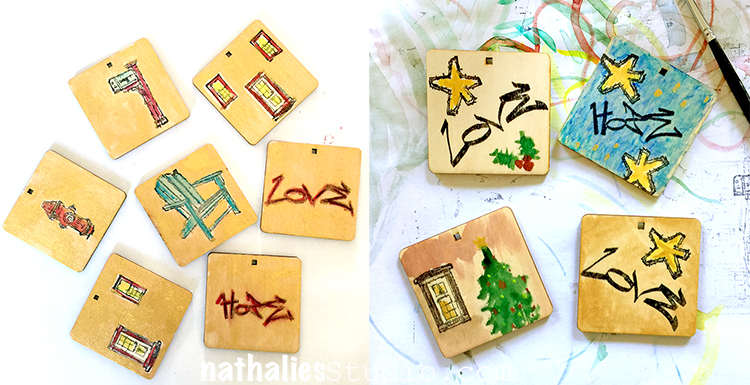
The Valley Road stamp from the Small Circle Jumble set looks so cute!
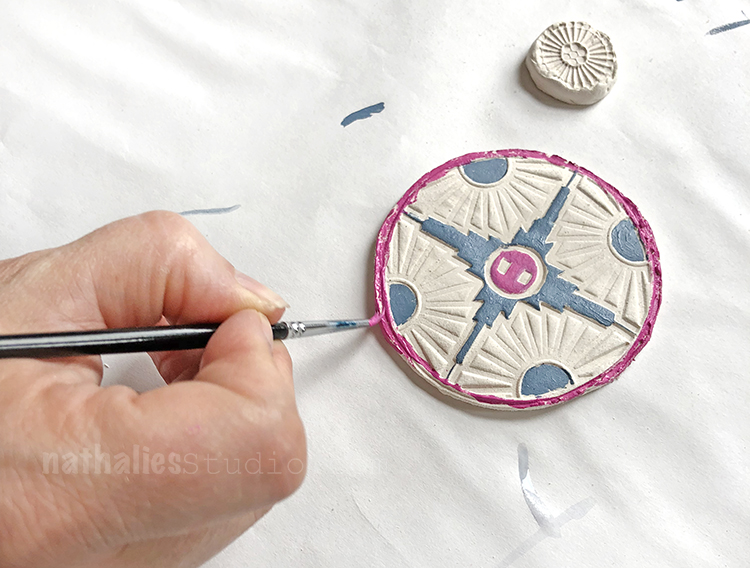
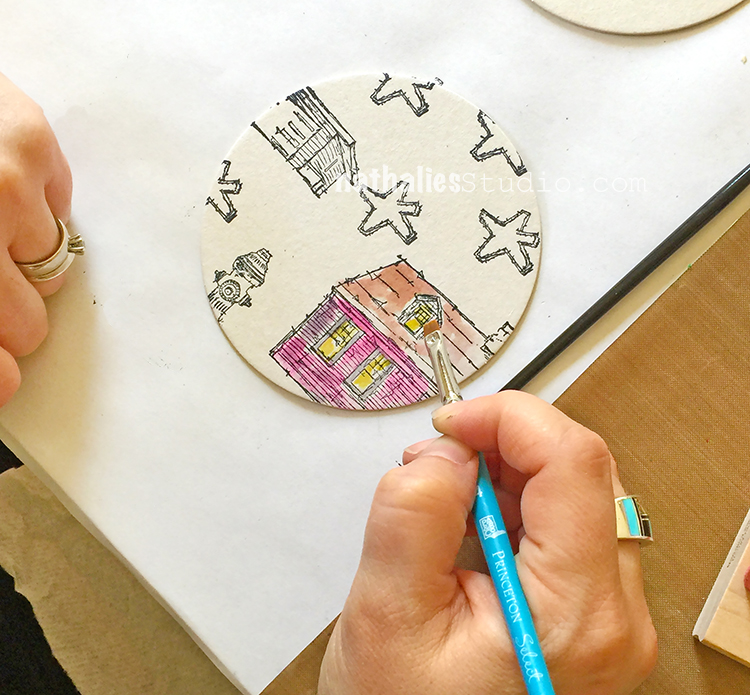
Here is the Broadway stamp from the Large Circle Jumble set getting some paint on the design.
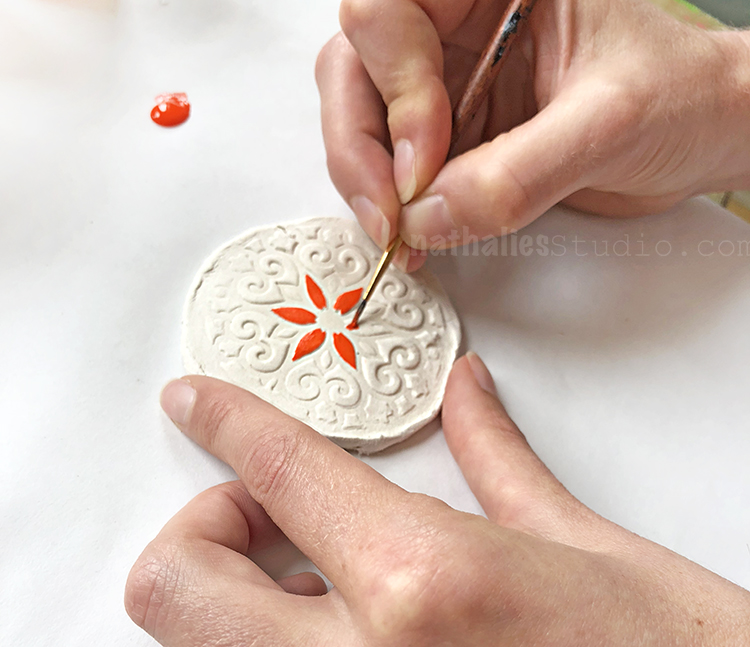
And here is from the Park Blvd from the Large set…

…with different orange colors to bring out the design.
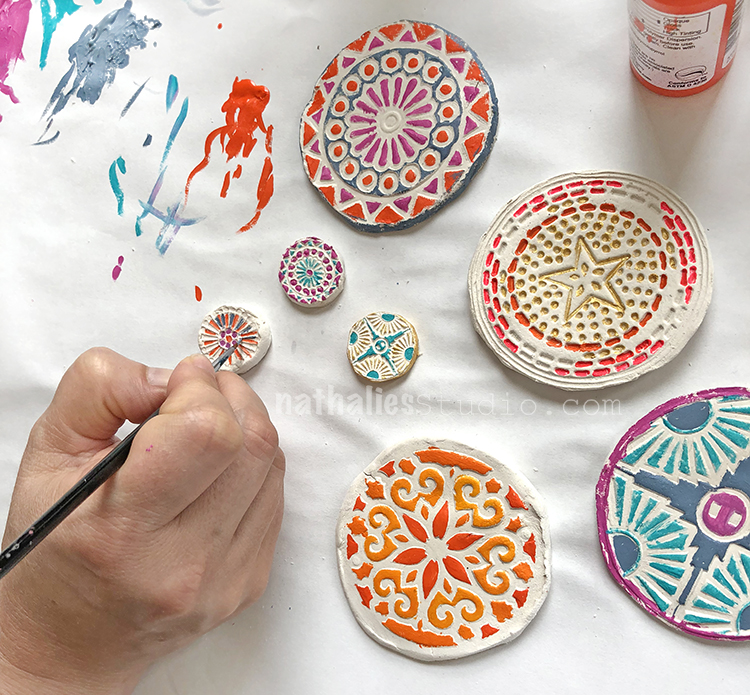
It takes a little patience to paint them but it was fun to spend the morning chatting and painting with a friend :)
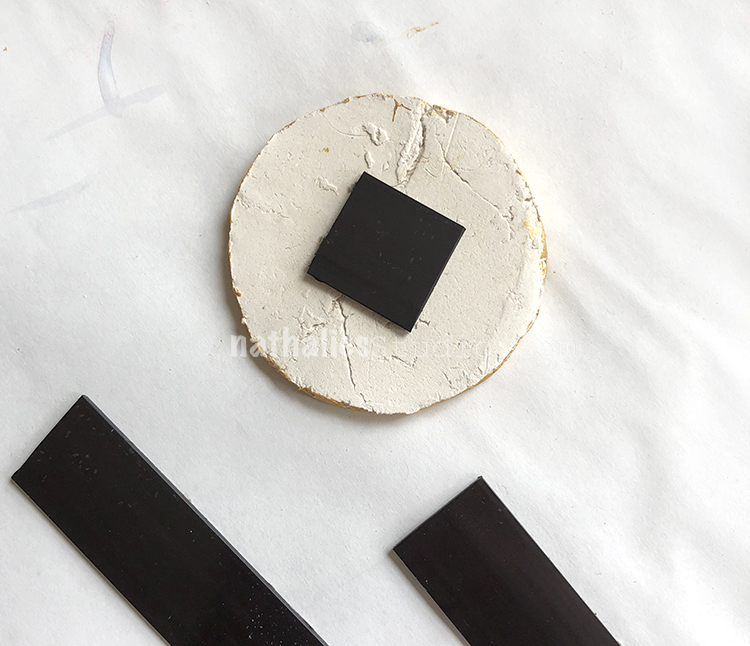
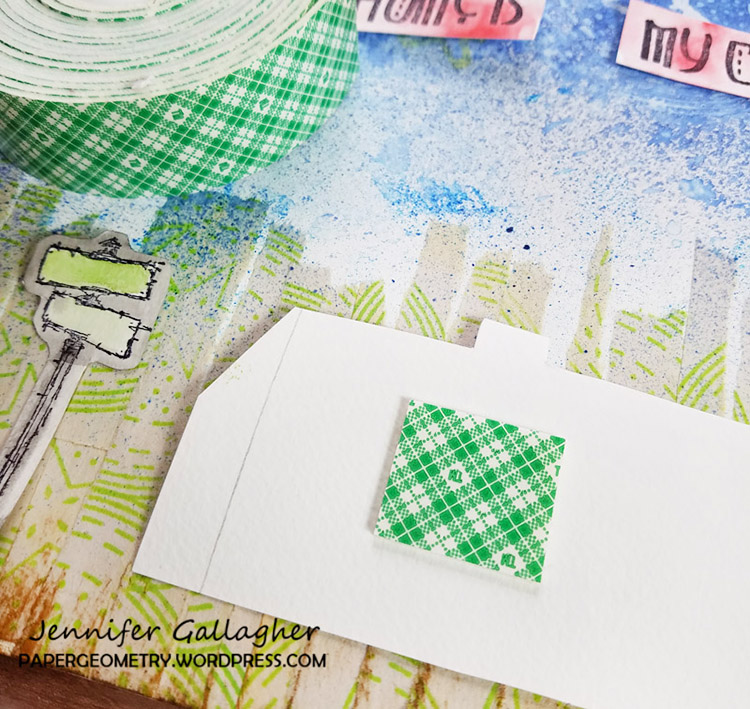
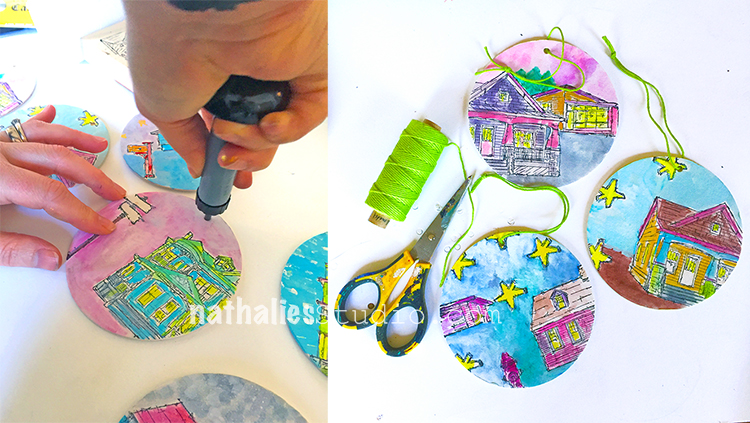
When the pain was dry, we cut our magnetic tape into squares and put it on the back of each magnet.
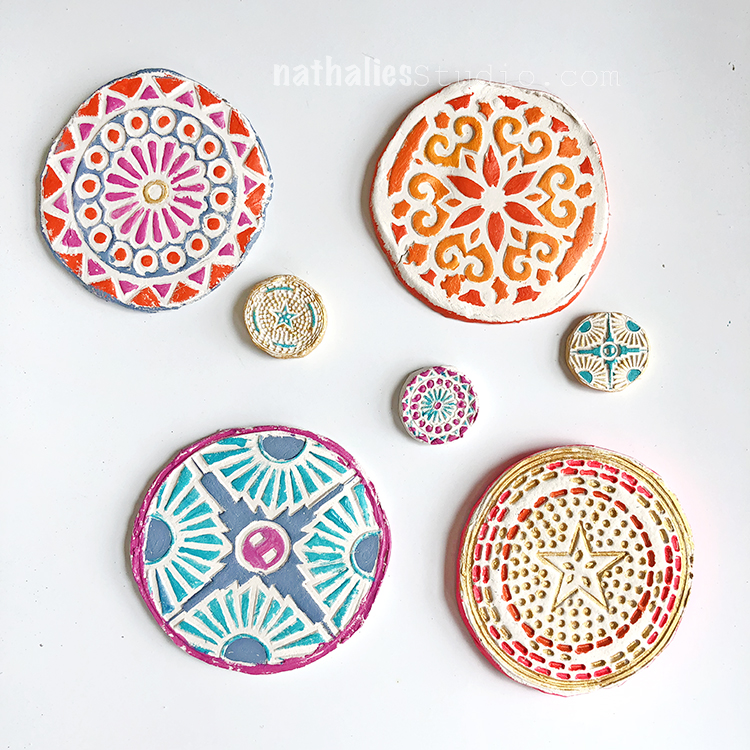
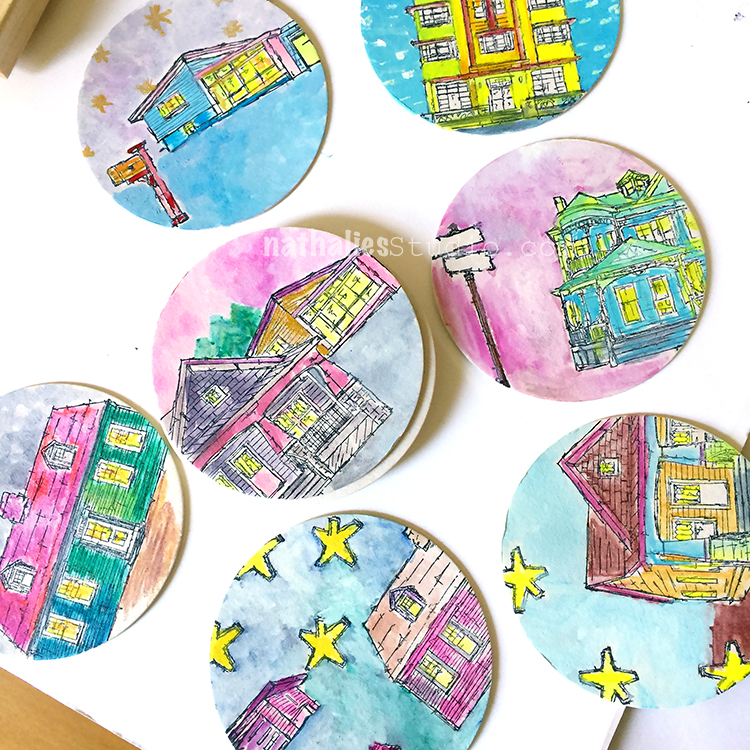
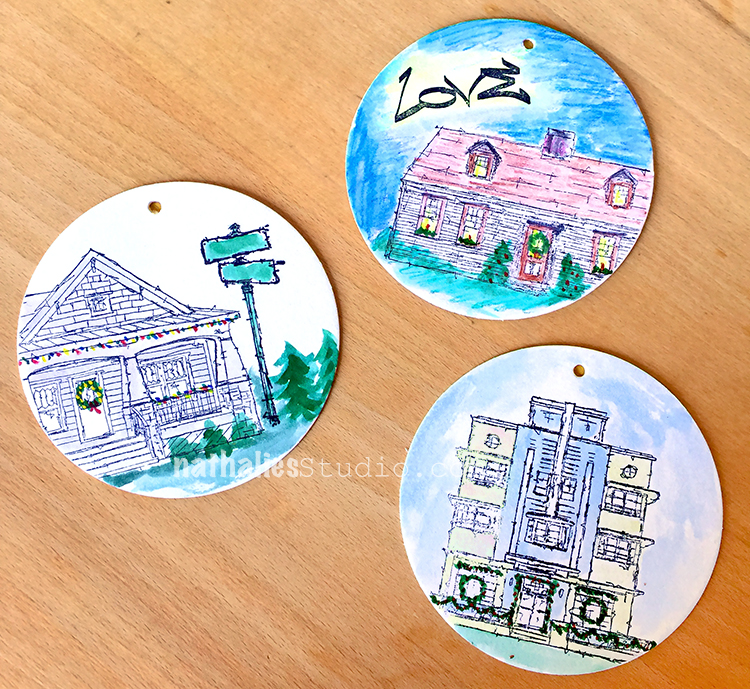
Here are the finished paper clay magnets with rubber stamped designs.
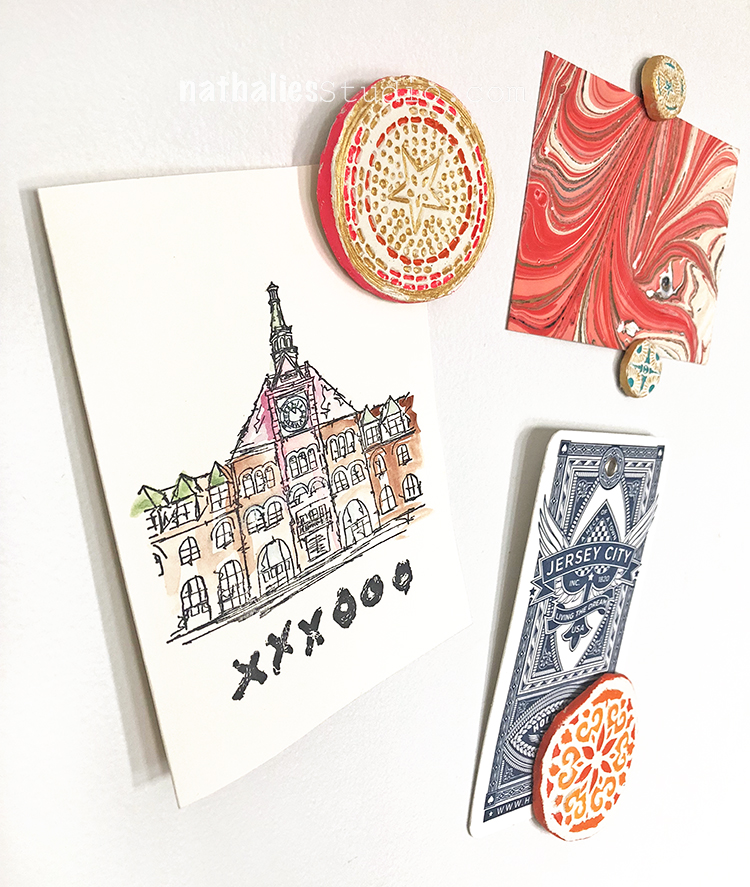
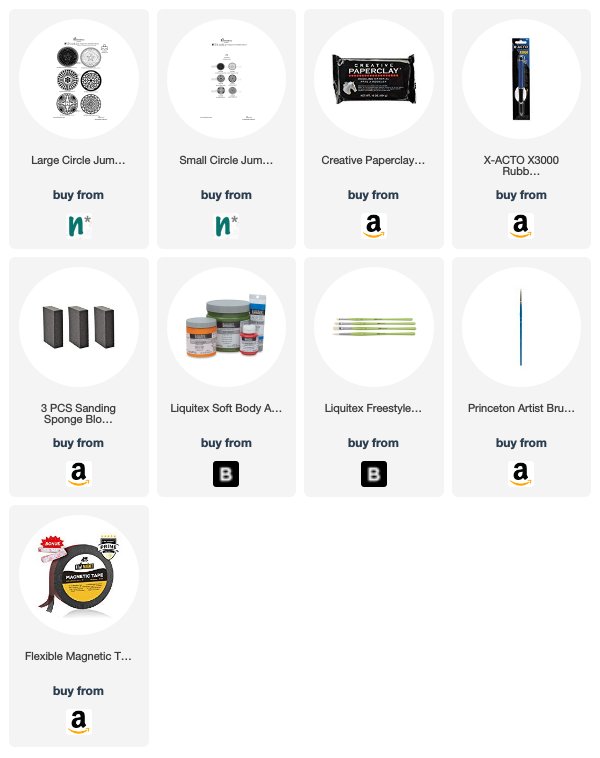
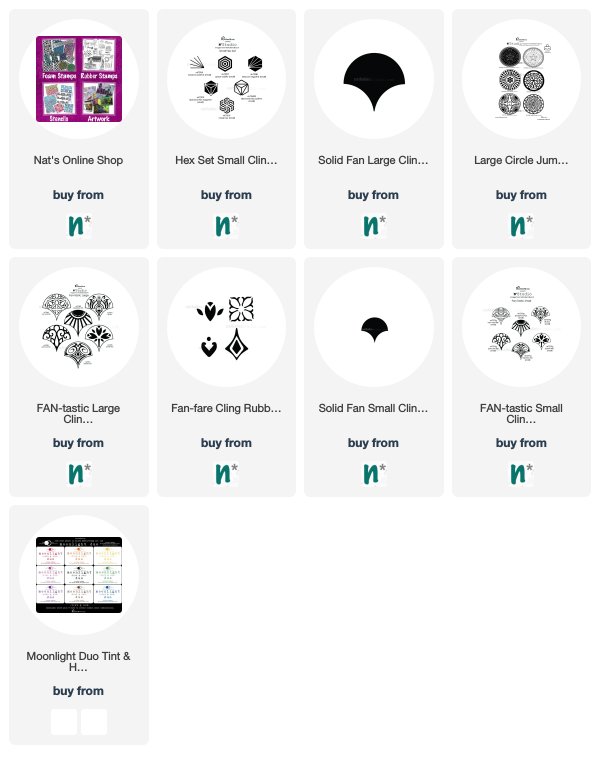
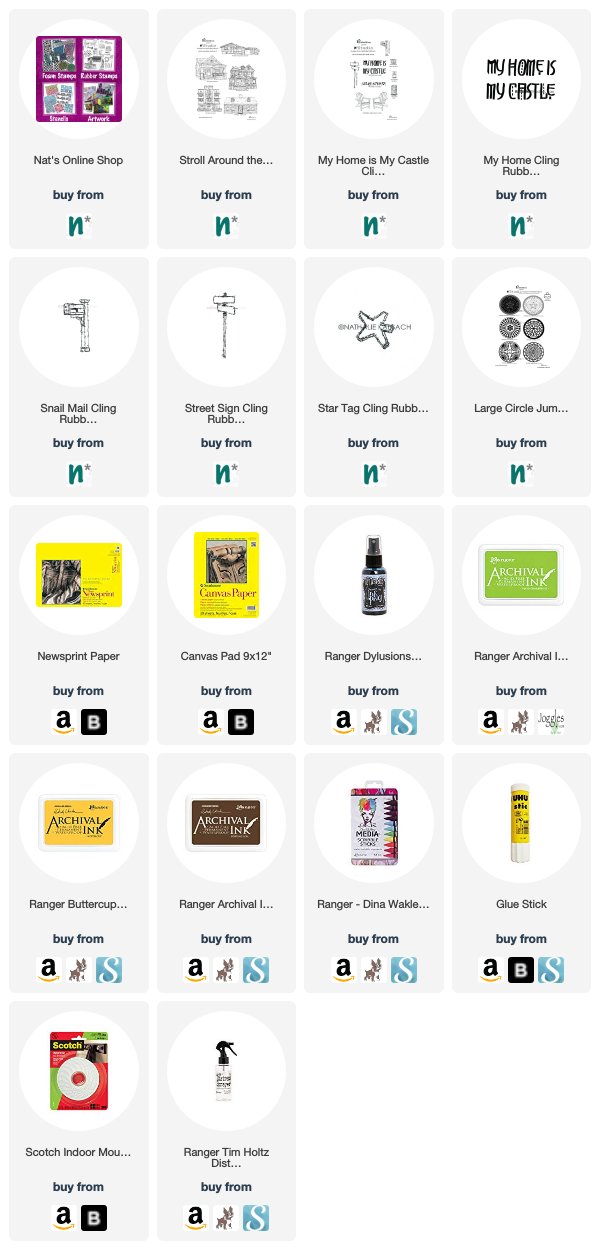
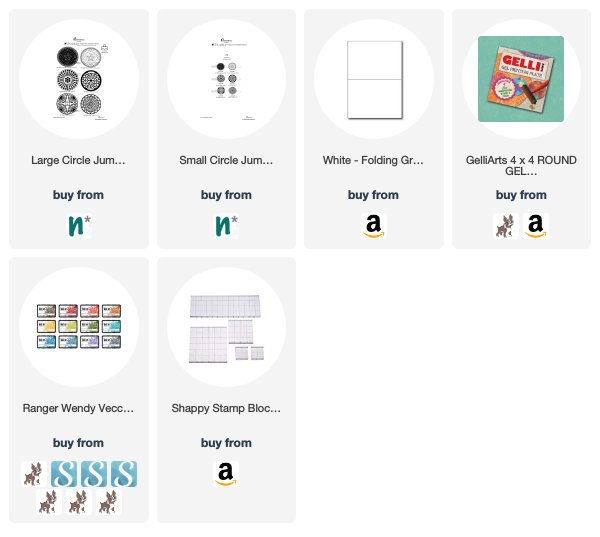
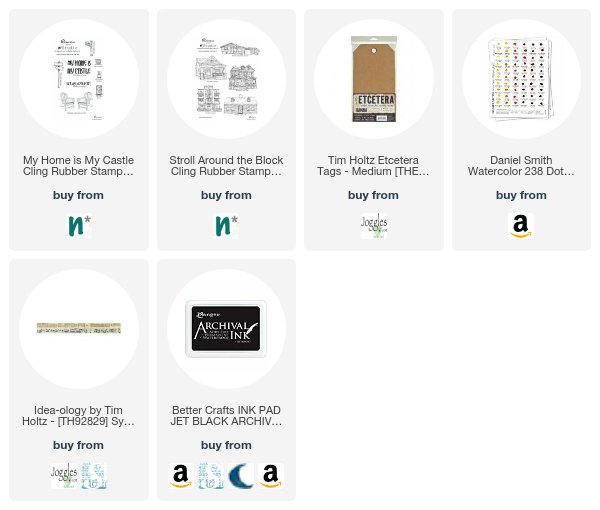
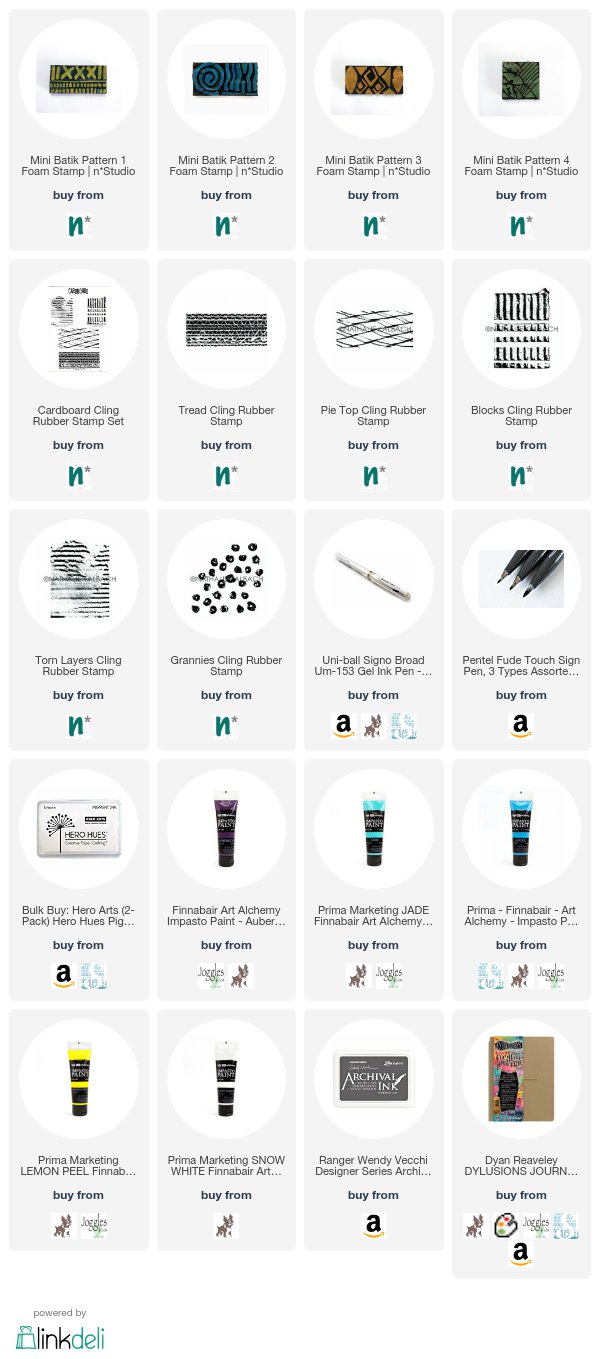
And in action holding up some cards and such! Here are some of the supplies that we used for this project:

SaveSave
SaveSave


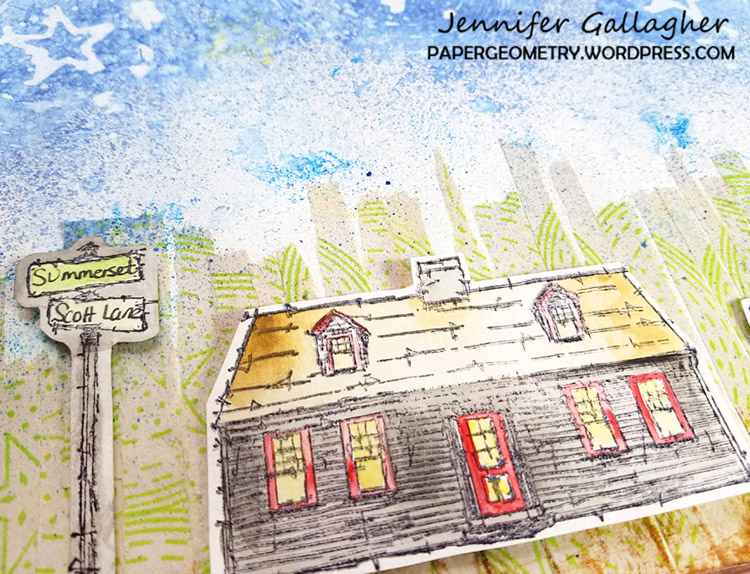
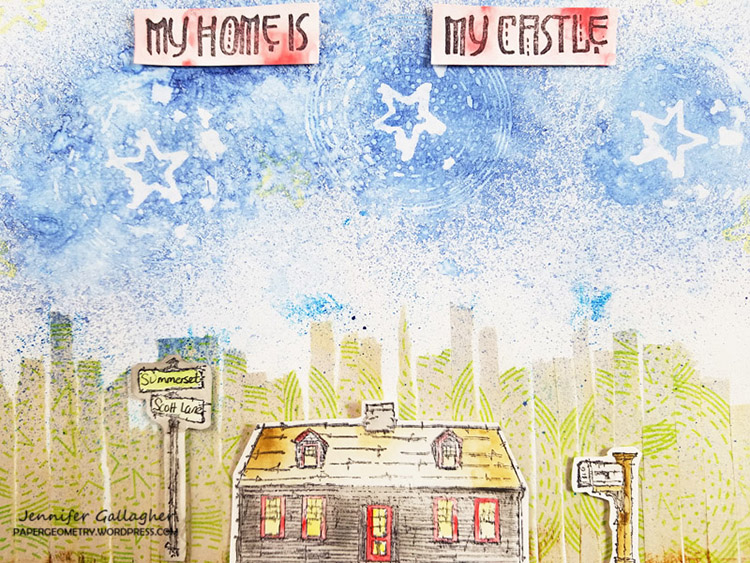

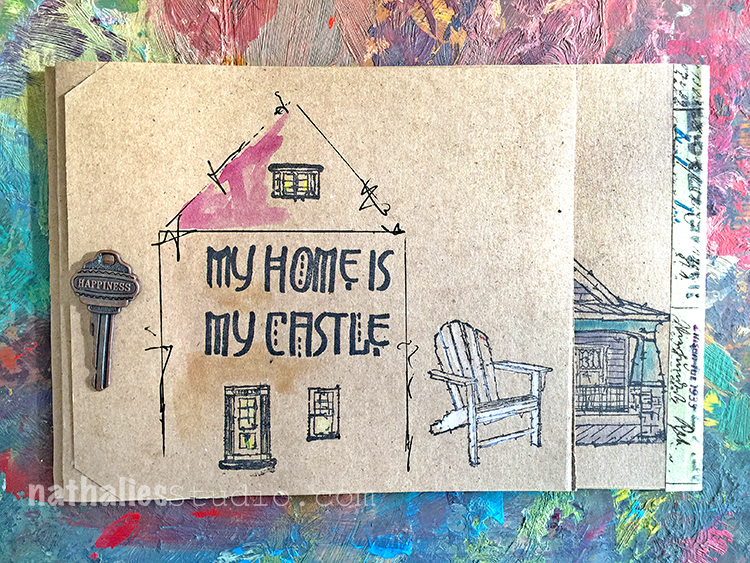
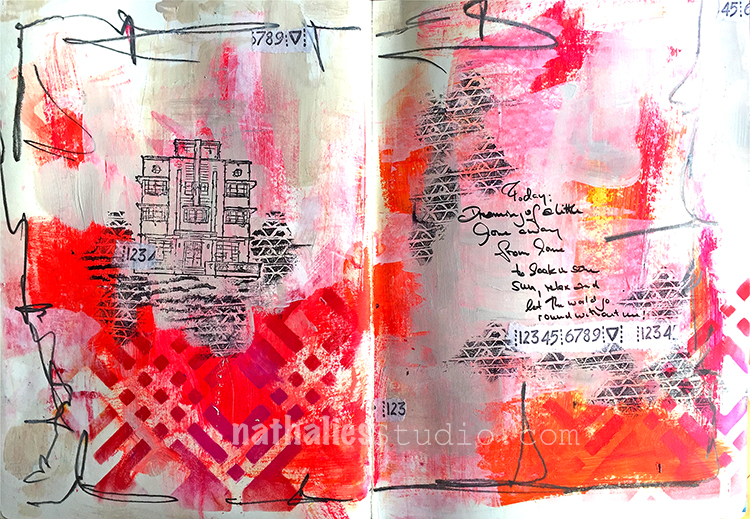
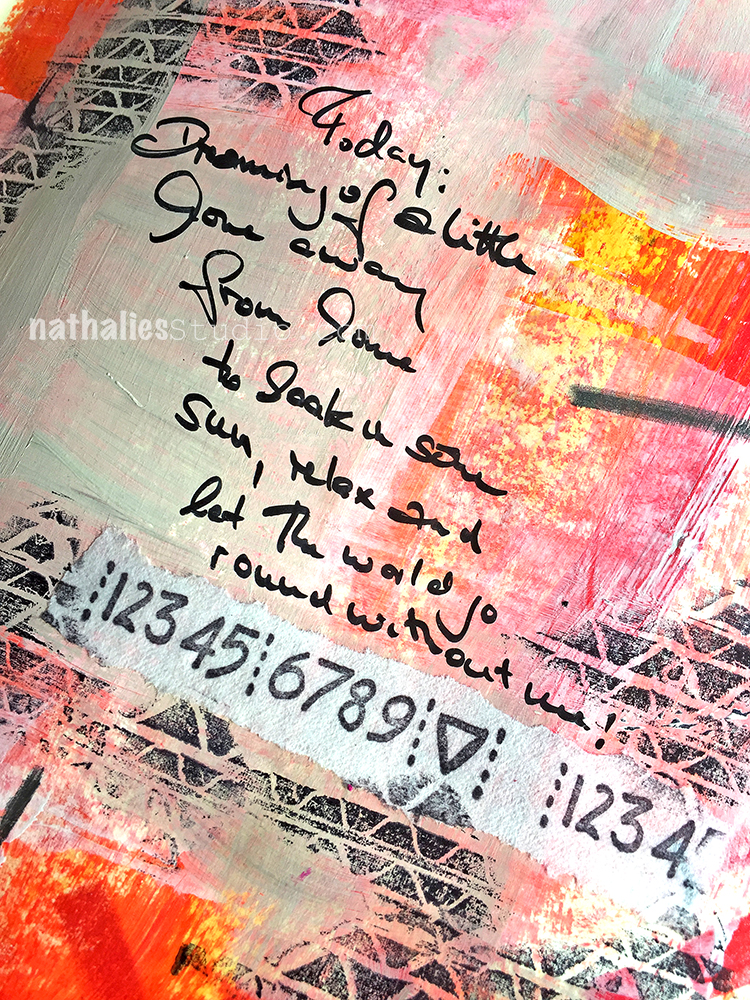
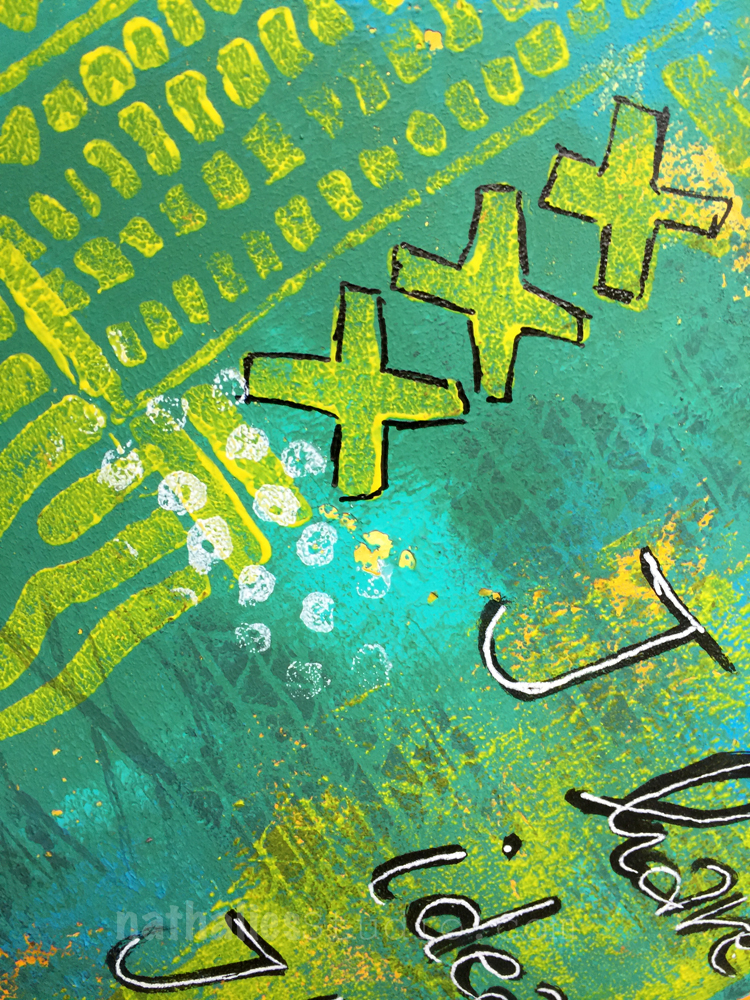
I love this project ! The background really inspires me to work in my art journal ! Thank you for the inspiration !
Reply