A Look Back – a blog series to show you some projects and posts that you may have missed – sometimes going WAY back in the archive. I think it will be fun to revisit a few ideas that we haven’t seen for a while. I’m excited to see how a little look back might inspire something new in the future :)
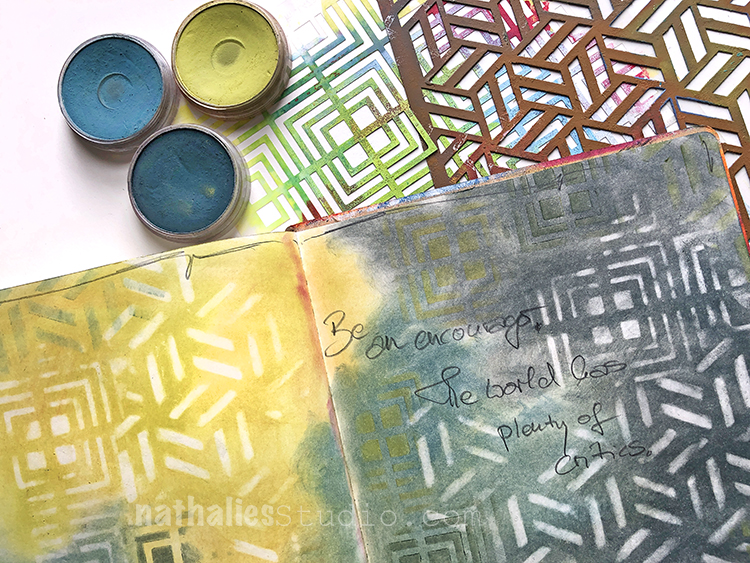
This time I’m looking at Pan Pastels – a medium I have been playing with for years and always find myself returning to on occasion. Here’s a look back at some of the ways I’ve used them over the years. Enjoy!
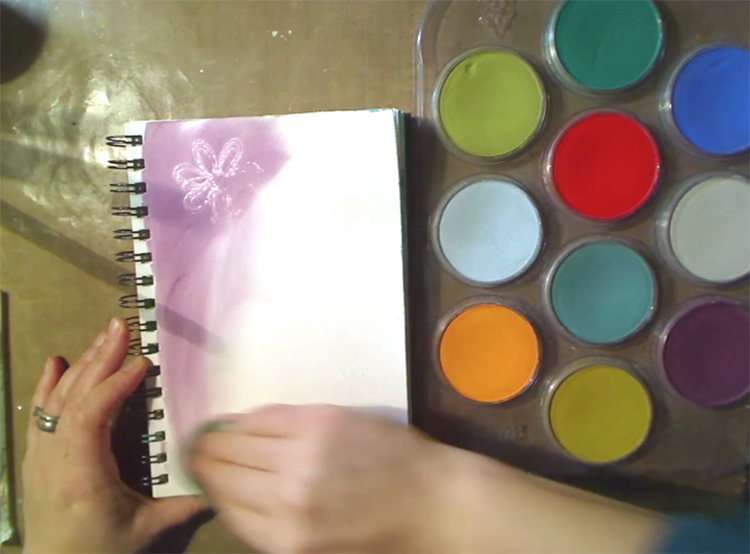
First up is a resist technique I show in a video from 2013. I use rubber stamps, embossing powder, and pan pastels. Check it out here.
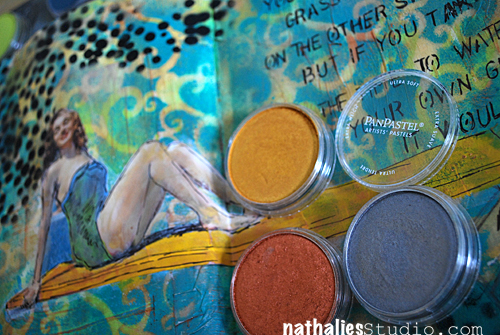
Also from 2013 is this art journal page where I experimented with some metallic pan pastels for a little sparkle here and there.
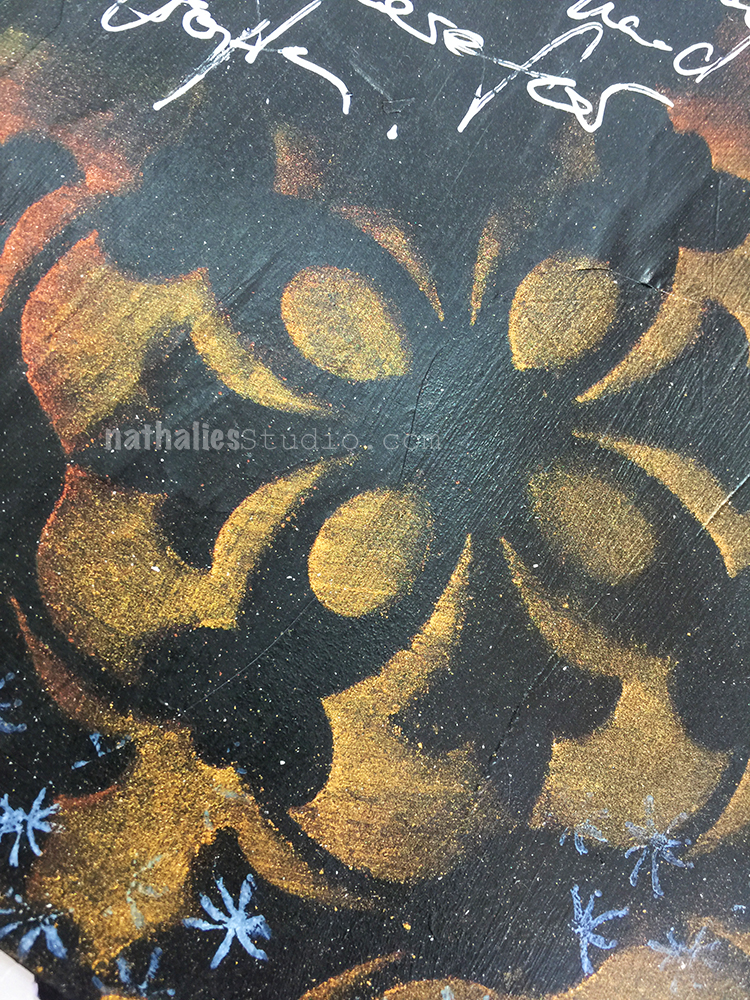
Jumping forward to 2018, I also used metallic pan pastels – this time with my Versailles stencil on a black background for some real drama :) You can check out the full post here.
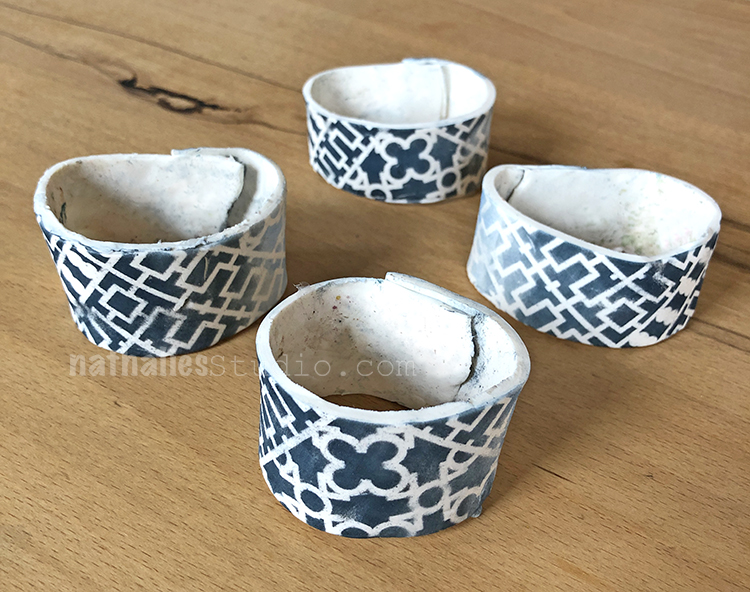
Later that year I had a playdate with Kim and we used pan pastels with stencils (here my Downtown stencil) on paper clay for some napkin rings – that was a pretty cool and simple project. See how we did it and check out our gorgeous tablescapes in the original post.
Finally just this past August for my Stencilbop Challenge, I show the simple joy of using pan pastels with your stencils – they make it easy to blend colors and patterns for such gorgeous results. Here I was using my Manhattan stencil and my Kassel stencil.
I hope you enjoyed A Look Back through my archive and maybe you are inspired to try some different things now too.
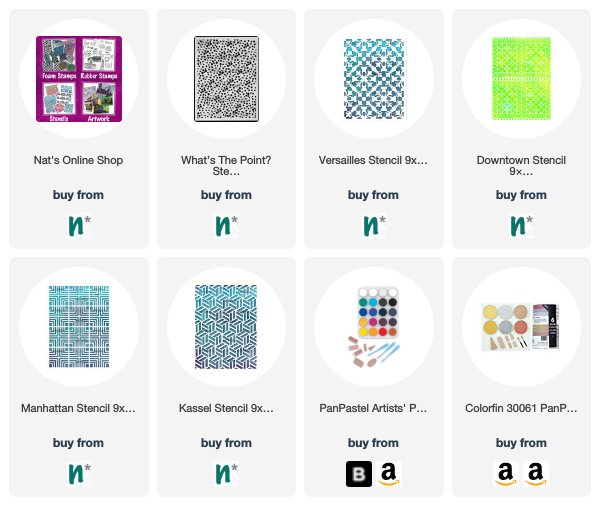
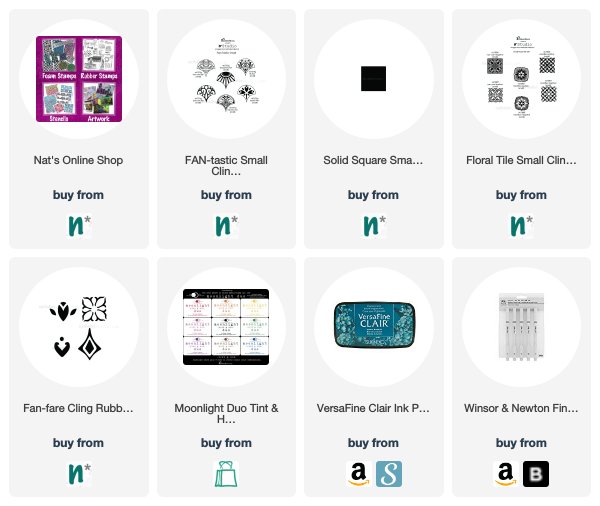
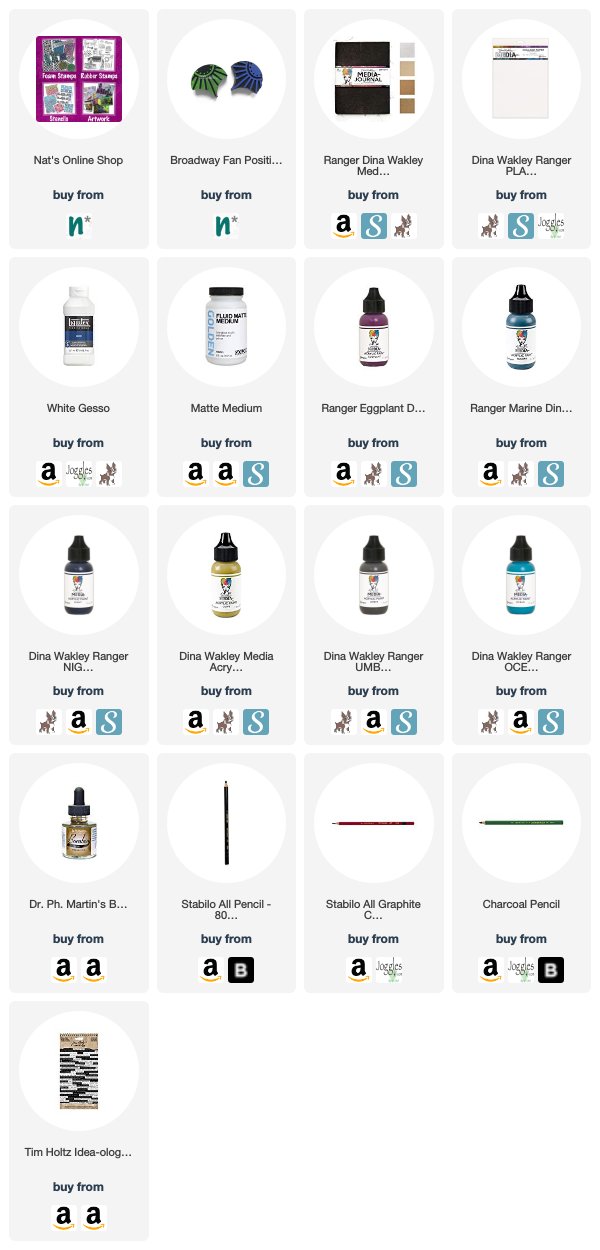
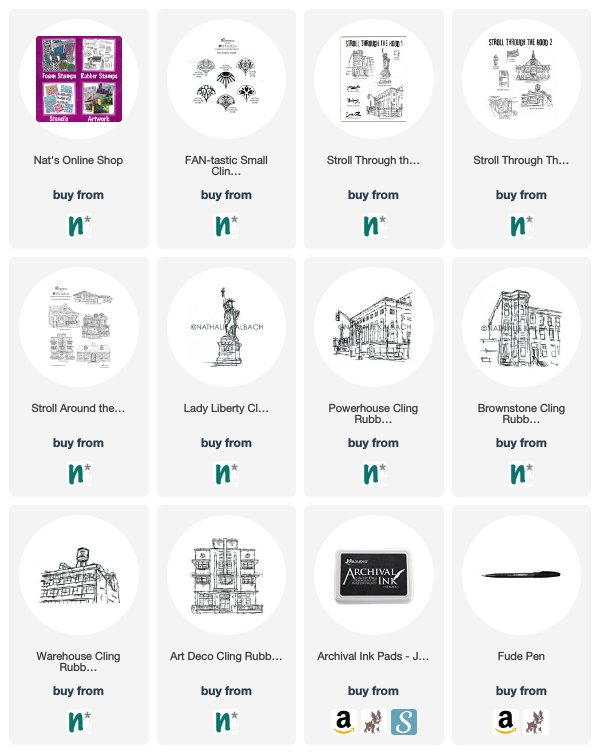
Here are some of the supplies I used in these posts:
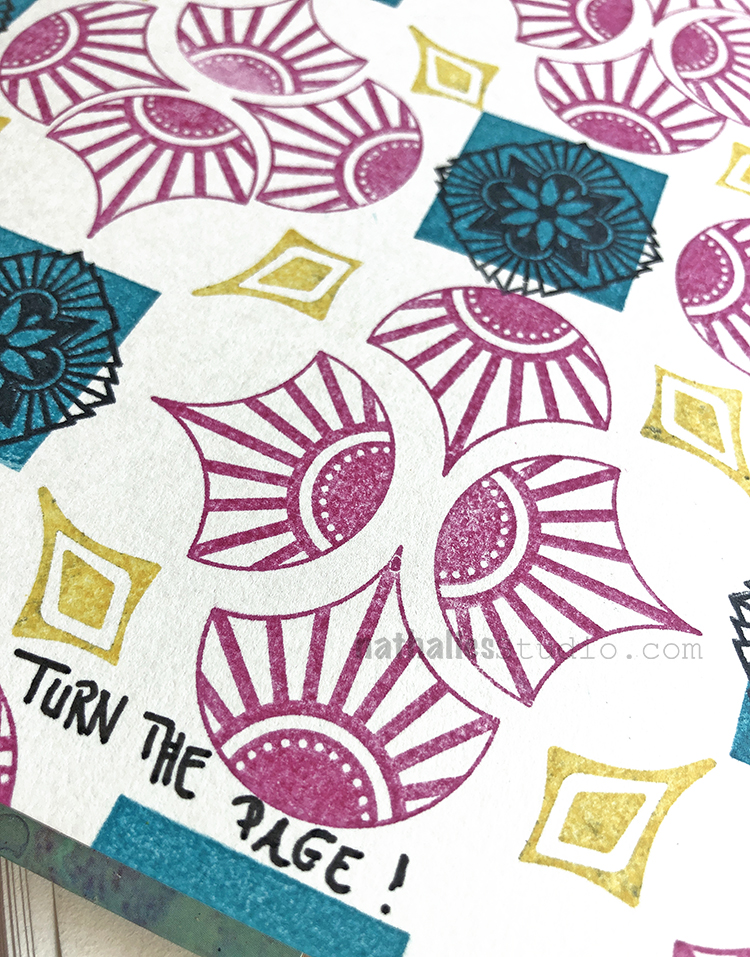
“Turn the Page!” – Sometimes it is time to move on to the next adventure in life :)
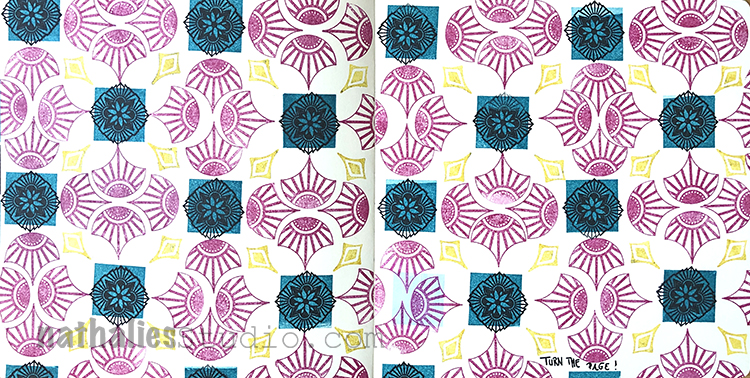
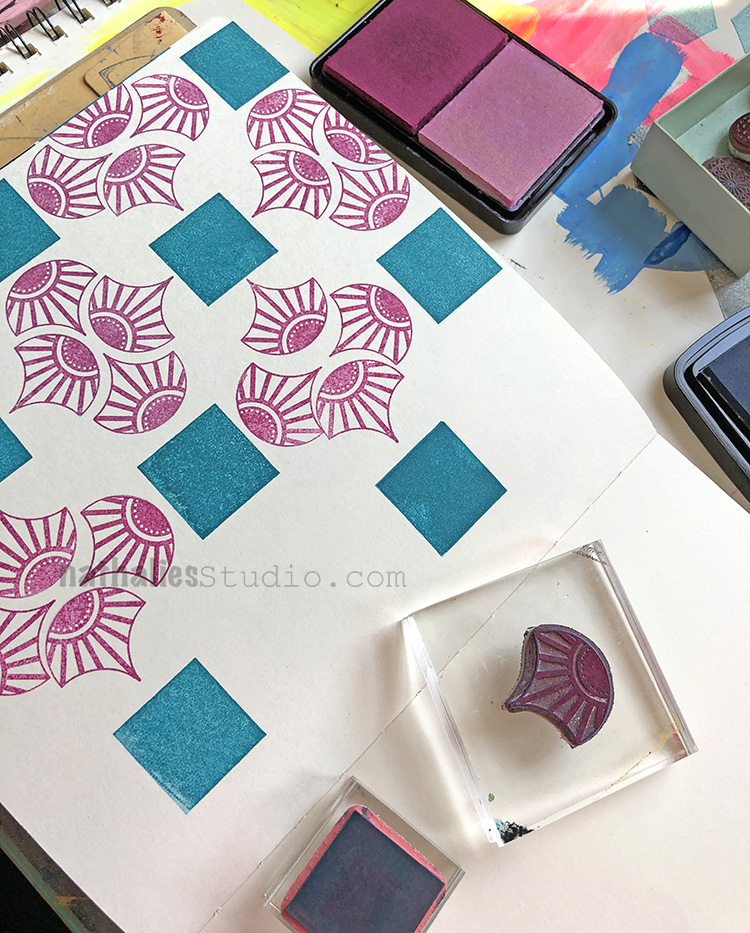
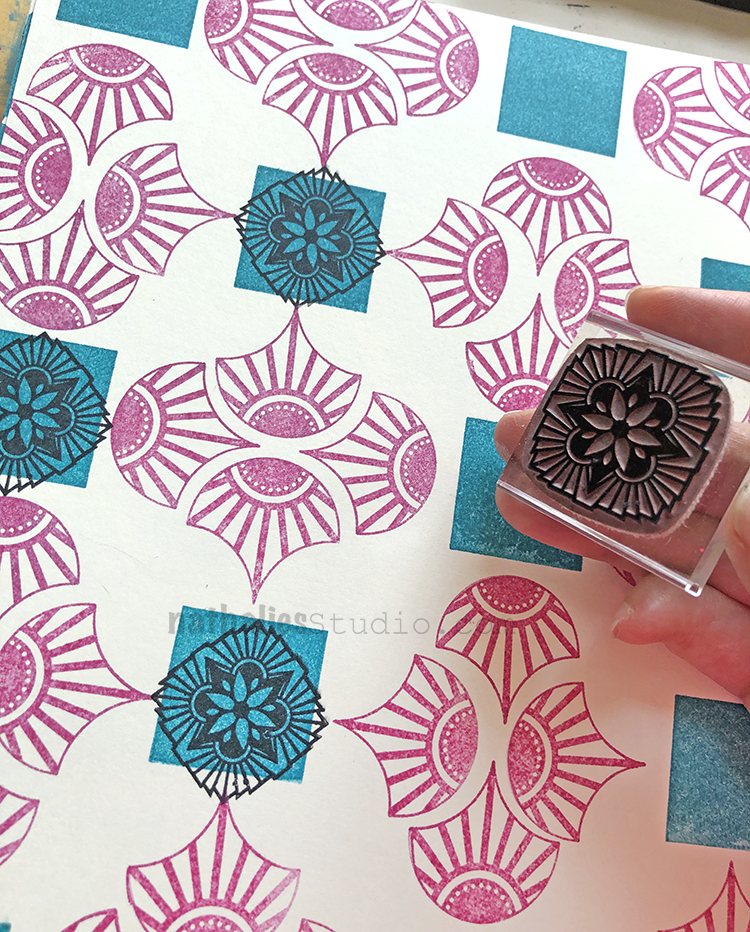
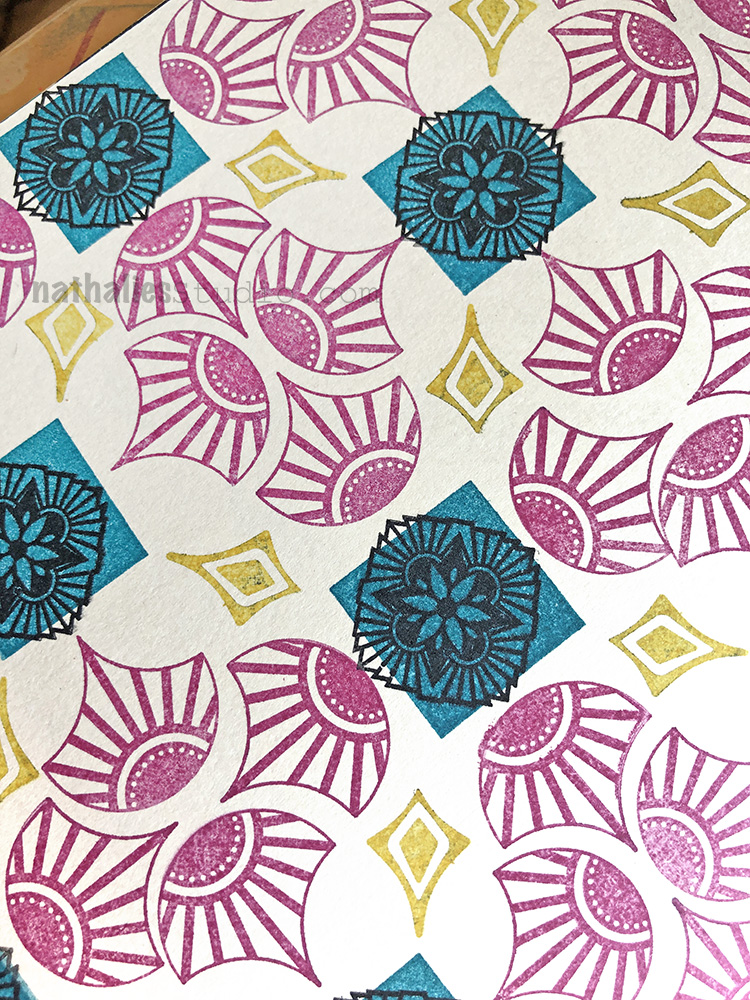
For this art journal spread I built up a patterned background using some of my rubber stamps and a happy selection of ink pad colors. I started with my Fantastic Small and Solid Square Small stamps…
I alternated the direction of the fans as I went and filled the page.
Next I added one of the Hamilton stamps from the Floral Tile Small set…
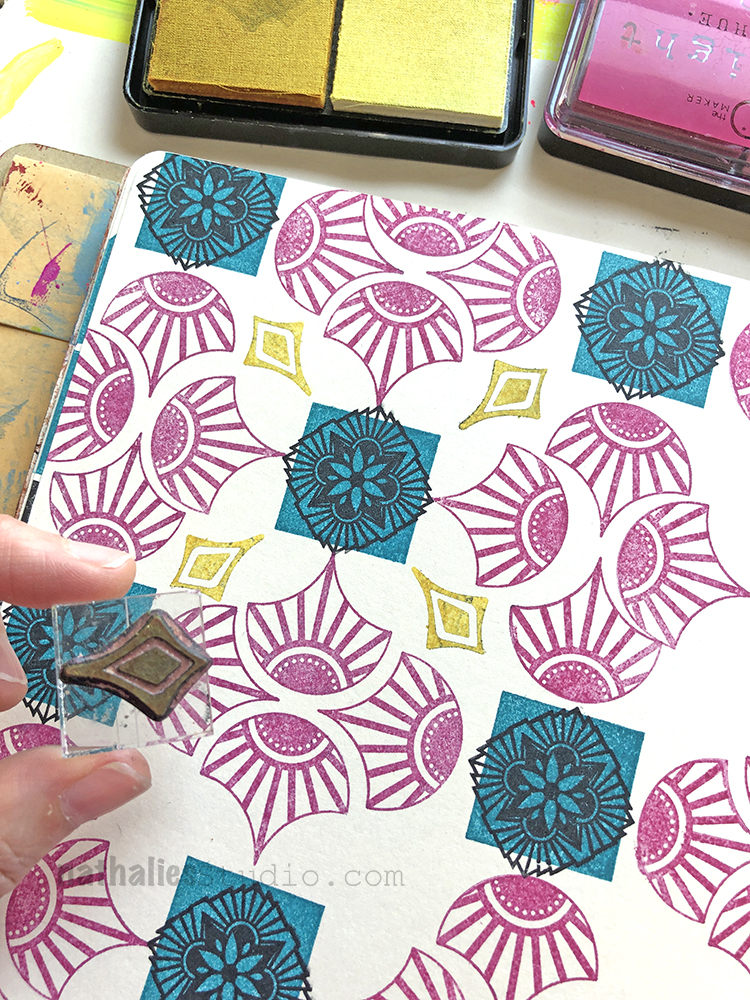
And the finishing touch on the pattern was one of the Fanfare stamps – these are perfect for giving a pattern those little elements that bring it together.
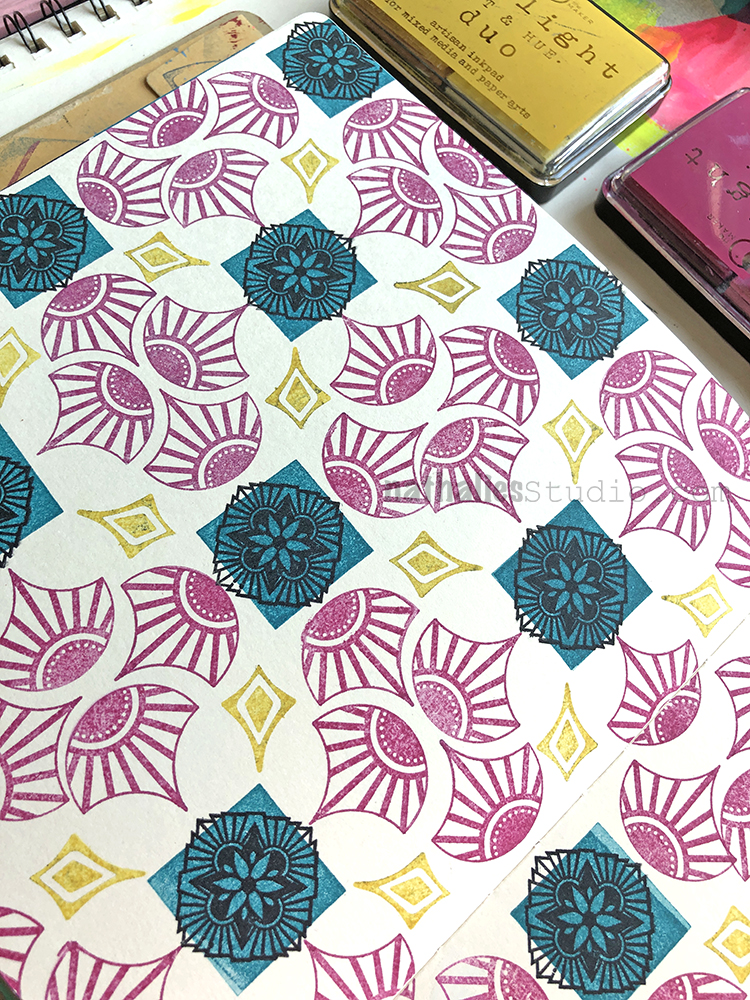
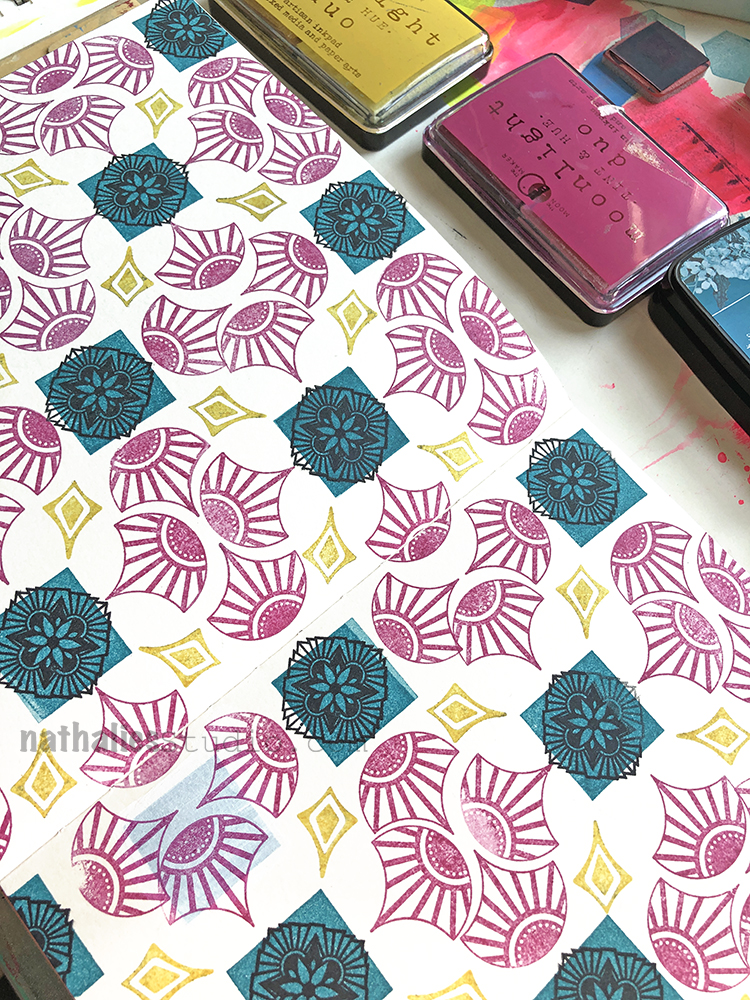
Look at that lovely pattern! Well….
Oops. Can you spot the mistake? That’s what happens when you set your stamping block down the wrong way on your nice art journal background and it leaves a little ghost square. Oh well, it happens.
Time to focus on the positive :)
…Knowing we can always “Turn the page” in the end and start anew.
I love the pattern and the colors you used Nat. I never get stamps on the paper the way I want to. It is better when I stamp on a mouse pad or something like that but I’m just never satisfied with the final product. Yes, I see your creative “mistake”. ;-)
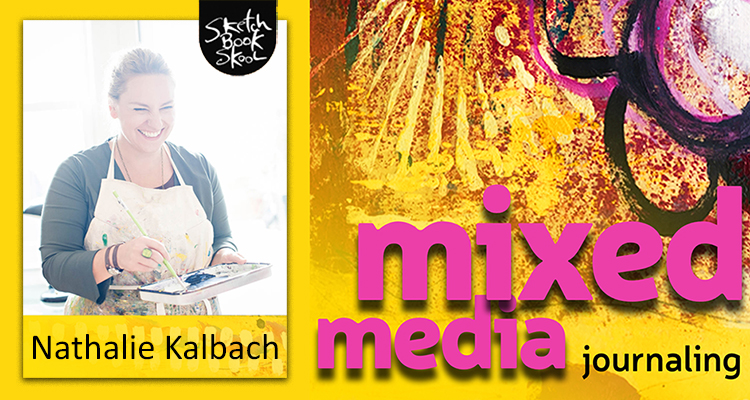
I’m so excited to tell you that I will be teaching with Sketchbook Skool for their new online workshop Mixed Media Journaling! I will be joining 3 other amazing teachers – Mary Beth Shaw, Seth Apter, and Kecia Deveney for this 4 week course that begins on November 11th. Check out the gorgeous promo video and sign up HERE today!
For those of you who know Sketchbook Skool, you know it is THE place to learn about the art of drawing and sketching. This new course focuses on creating from a mixed media slant, and wow it is really nicely done – they know how to film and produce top quality videos and this is no exception. It also includes an emphasis on community, so in addition to learning, you will enjoy interacting as well.
Come join us for this online course with a focus on mixed media and enjoy learning from teachers who are both fun and inspiring. Sign up HERE.
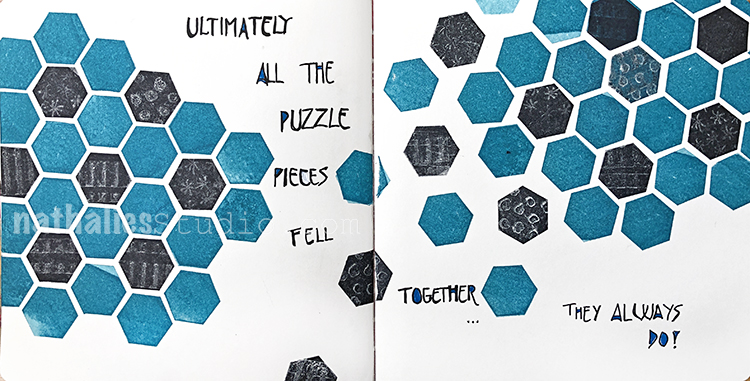
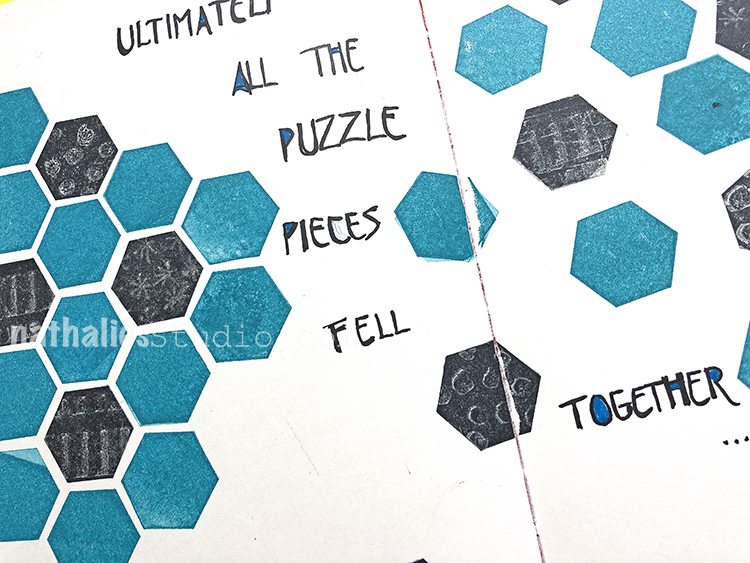
“Ultimately all the puzzle pieces fell together… they always do!”
I used the stamp kissing technique with this art journal spread – inking up my Solid Hex Small stamp, then pressing a patterned stamp (here my Grannies, Star Fish, and Blocks stamps) into it to remove ink, and then stamping the hex onto my paper. It’s a great way to use solid and patterned or textured stamps together.
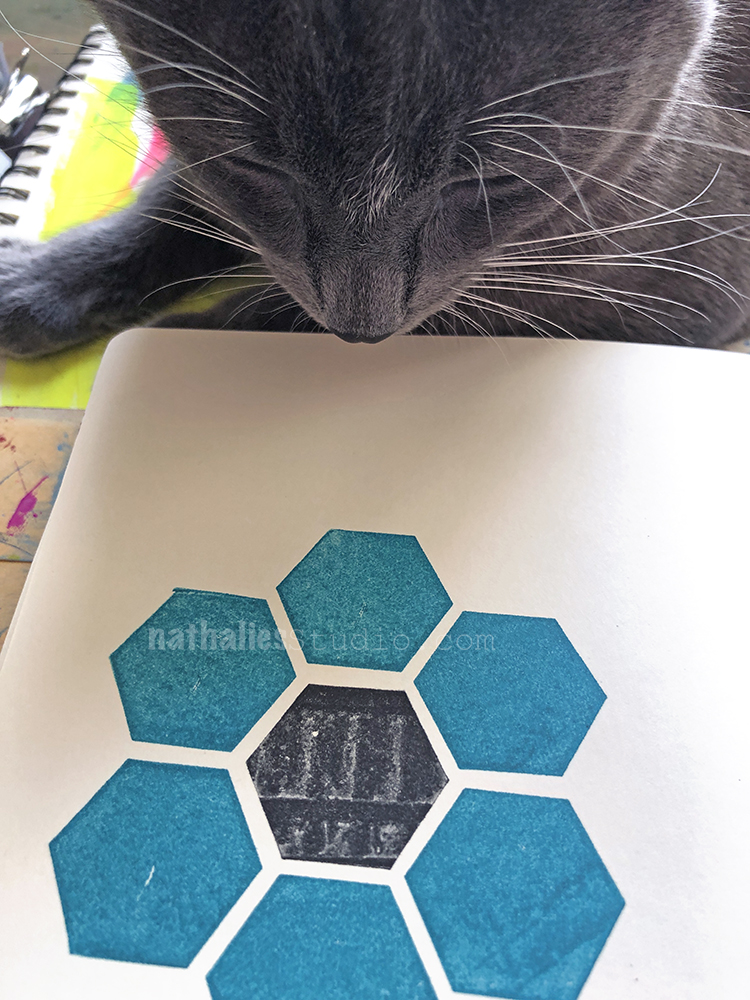
Oh look who showed up to give his kitty inspection? Pretzel always likes to get involved in the studio lol
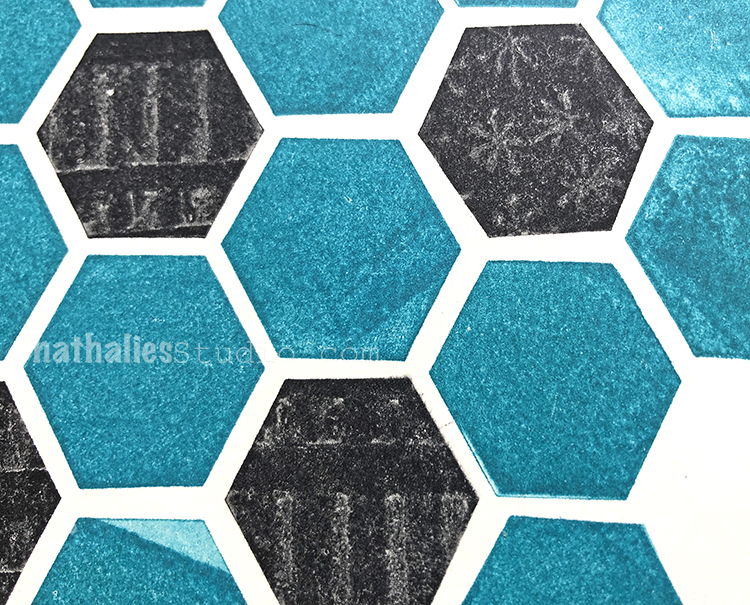
I tiled up a pattern using plain Solid Hex Small stamps with teal ink and then went back into some with the stamp kissing in black ink.
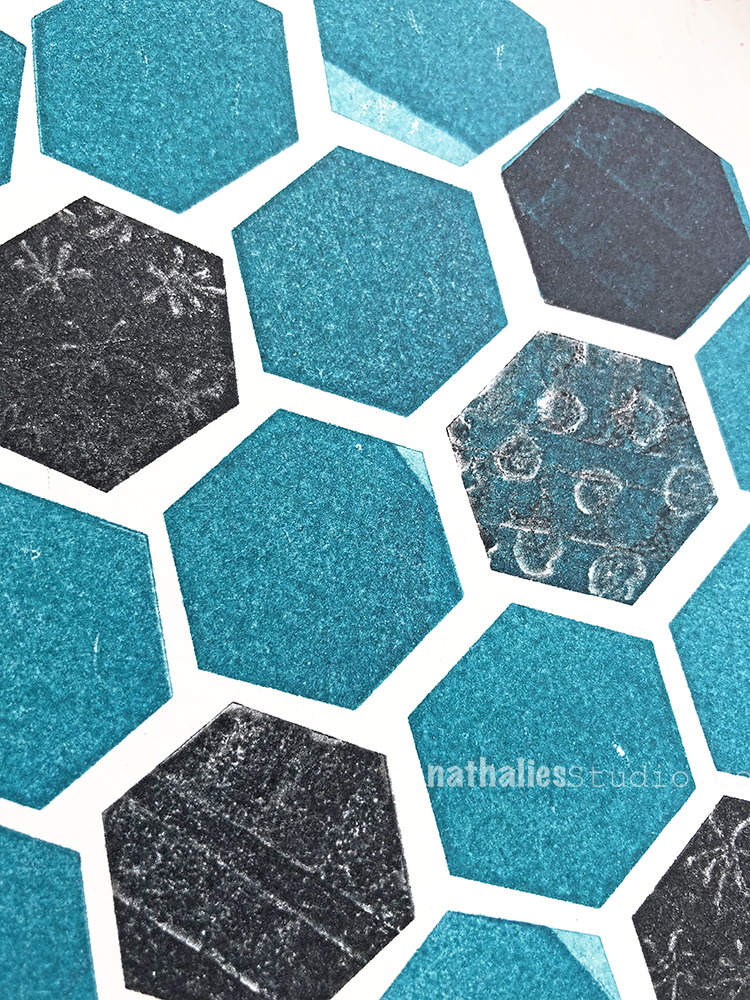
I love that the stamp kissing gives a bit of grungy effect – almost looks like static on an old black and white tv or an old pixelated photocopy.
To finish it off I did my journaling with Winsor Newton fine liners.
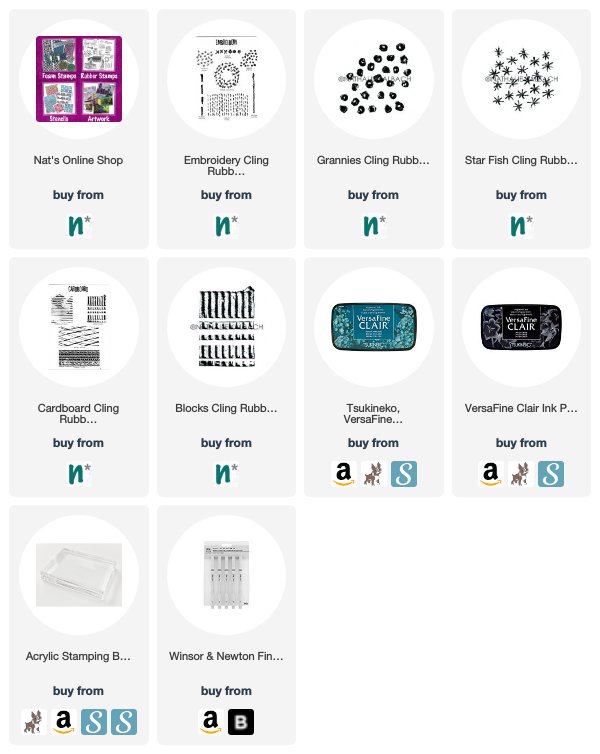
Here are some of the supplies I used:
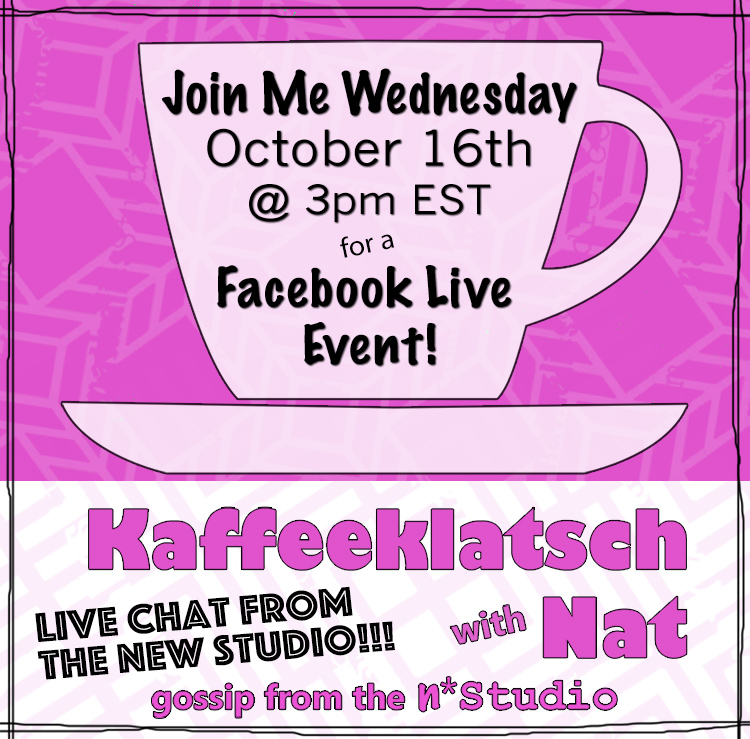
And I hope you join me on Wednesday October 16th at 3pm EST for a Kaffeeklatsch chat on Facebook! I’ll be broadcasting live from my new studio and catching up with you on everything that’s been going on around here :) Stop by and say Hello!!!
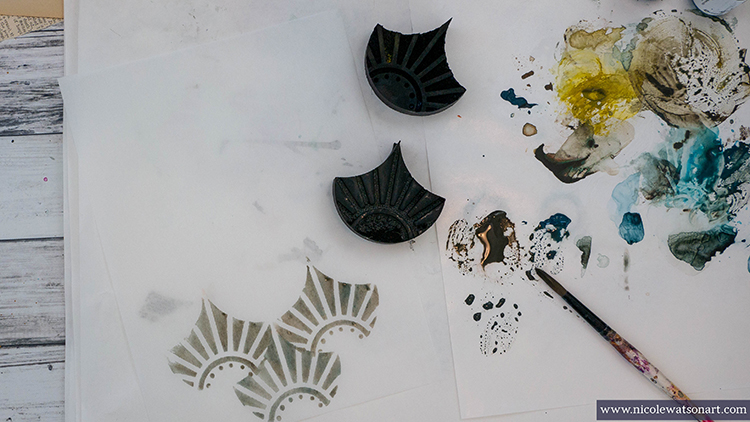
Hello again from my Creative Squad. Today we have a very special post from one of our NEW squad members: Nicole Watson! We are so happy to have Nicole on the team and are excited to share her incredible talent with you! Her project today is an art journal page that will have you swooning over layers :) She is using my Broadway Fan Positive Negative foam stamps and this month’s theme: Your Biggest Fan – Let’s give a shout out to someone who is doing an amazing job. In a world obsessed with Me Me Me it’s important to take a look around sometimes and give some encouraging words to another, and not just in your art and craft making :) Be their Biggest Fan!
I have to admit that I had more of what I wanted to do with the stamps in mind before figuring out how I was going to tackle the theme this month! For some reason I was really struggling just who or what I was going to pick to focus my journal page on, but as I was working on my concept, it clicked.
My idea was to create layers on my journal pages that looked like old wall paper through the years. This concept was partially inspired by binge watching Downton Abbyand looking at old photographs with my dad noticing how my grandma’s wallpaper on the stairs changed through time.
Here is a video for you and a writeup below:
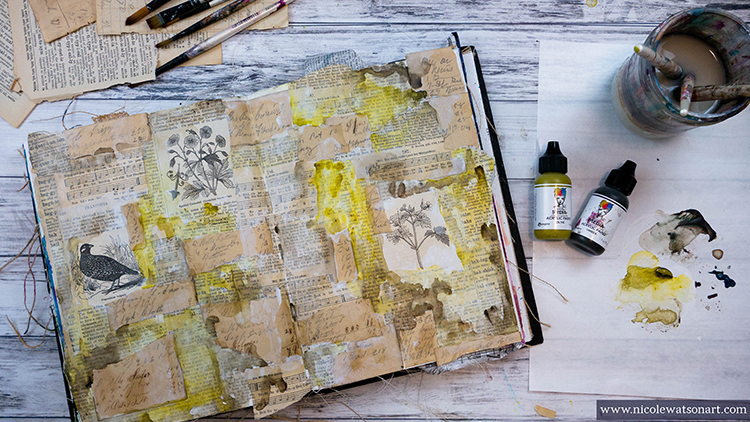
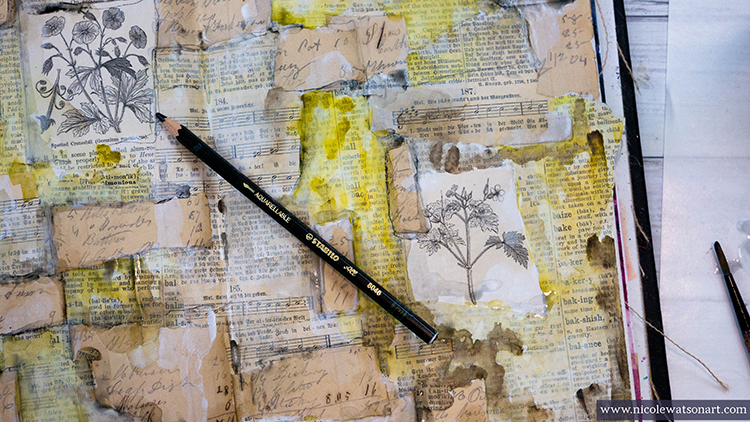
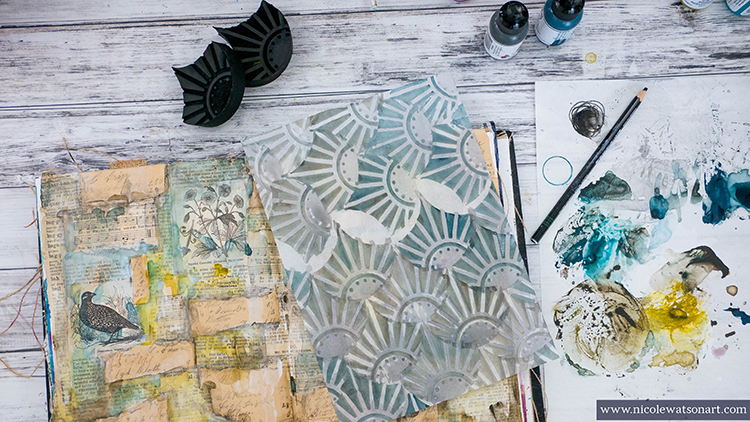
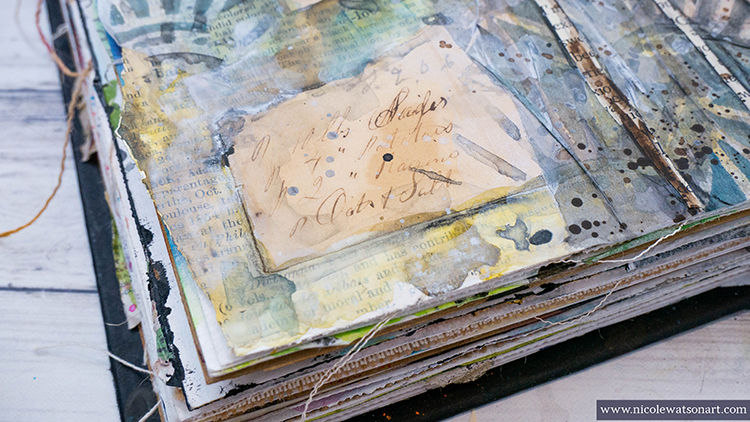
After gessoing my pages, I covered them with bits and pieces of book pages. I chose a variety to give that look of different wallpapers from encyclopedia pages showcasing the images, to a German songbook and a dictionary. Then I topped those off with bits of handwritten text from an old notebook and ledger. Next, I used some watered-down gesso to push some of the pages back and have areas that paint would cling a little differently.
Once all the gesso and matte medium was dry, I began to add color to the pages mixing the colors with umber to add an old, grungy feel. I watered down the paint in places to allow it to flow and mingle with the other colors. After it was dry, I added some shadowing around some of the papers with the stabilo all by tracing and then activating it with water.
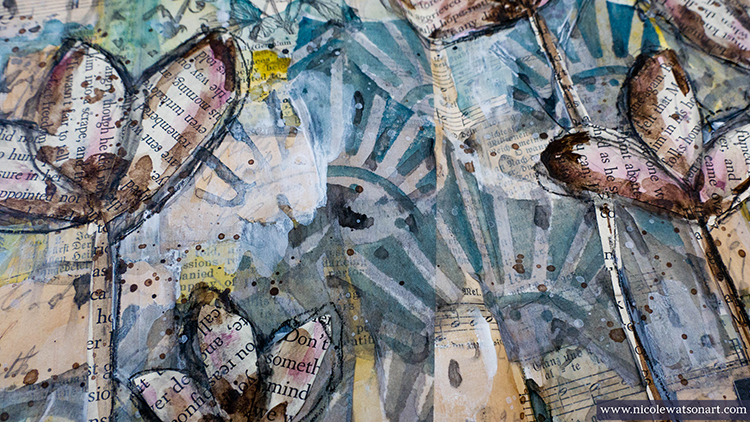
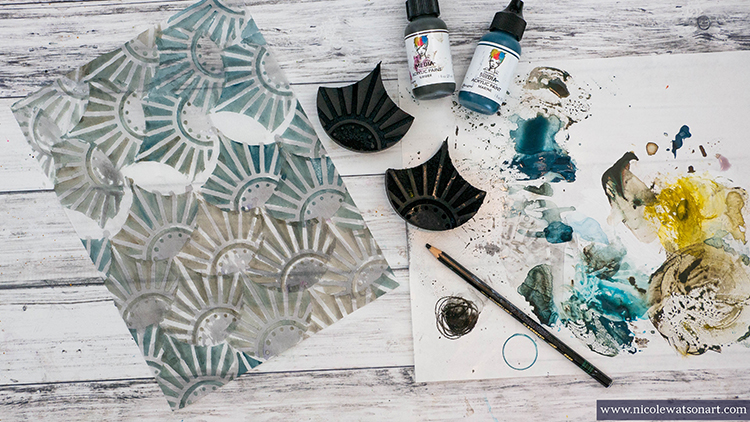
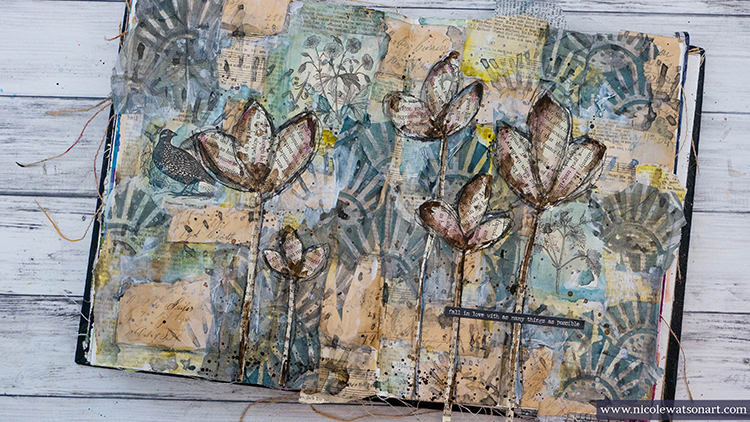
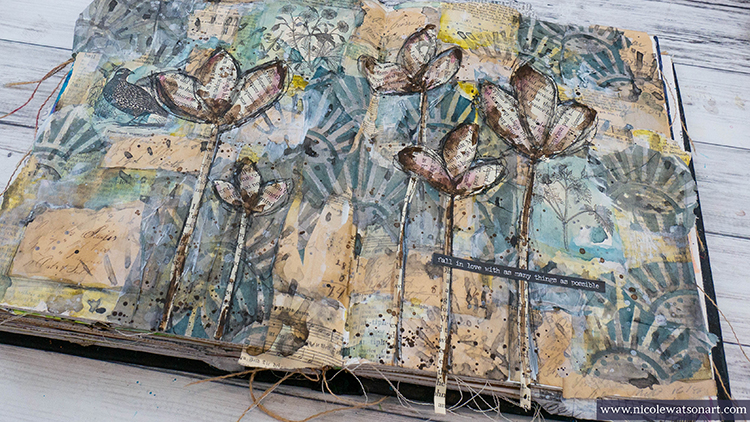
To create the final layer of wallpaper, I used Nat’s Broadway Fan Positive Negative Foam Stamp. I didn’t want to stamp directly on my previous layers, because I didn’t know exactly where to put the stamp, and wanted a more torn look than a perfect stamped image. So, I stamped both the positive and negative images on tissue paper, one with paint and the other with stabilo! To stamp with the stabilo, simply scribble onto a slick surface (like palette paper) and add water to make what I like to call, a stabilo puddle!
I stamped the pattern both vertically and horizontally on the tissue paper, because the paper only tears well in one direction. Then, I tore the paper apart and stuck it to my journal pages. I wanted to extend the pattern a bit, so I stamped some additional fans with the stabilo puddle directly on the journal pages.
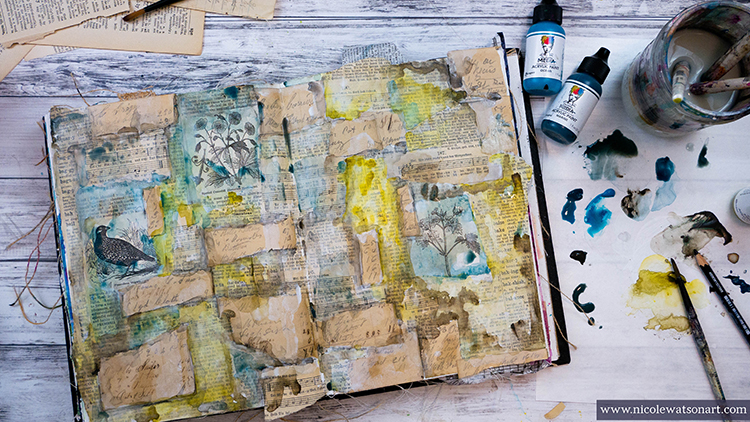
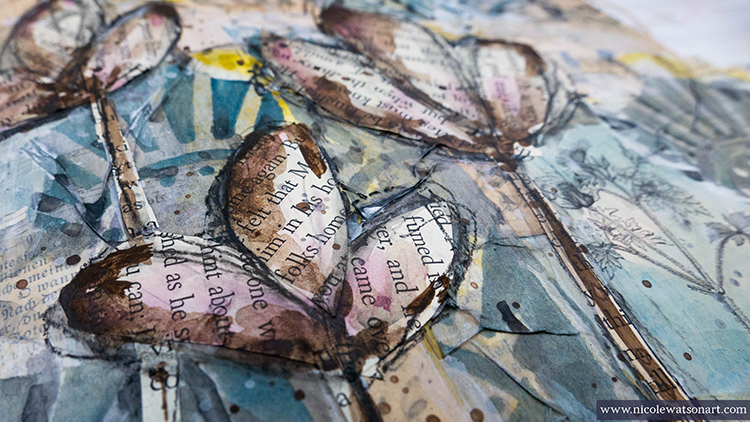
Then, I needed to figure out where to take these pages next and how to attach the theme. I drew some flowers with my charcoal pencil (so I could wipe them off as needed!) and painted them in. I didn’t like how this turned out, so I cut flower petals and stems from book pages and covered them up! I added some gesso here and there for some more white, splattered some of it, filled in the flowers with some sepia ink and a tiny bit of eggplant paint, splattered the ink and then thought about my pages.
It was hard for me to nail down who/what I’m the biggest fan of. My interests and fandom change yearly and sometimes even daily! I am a huge fan of all of the wonderful artists that I’ve connected with over social media, different musicians, musicals, shows, and movies.… and, well, coffee. This reminded me so much of those wallpaper layers. We often have a change of heart or something we like …. but those layers are still there creating the picture of who we are. It’s fun to tear them back and reminisce.
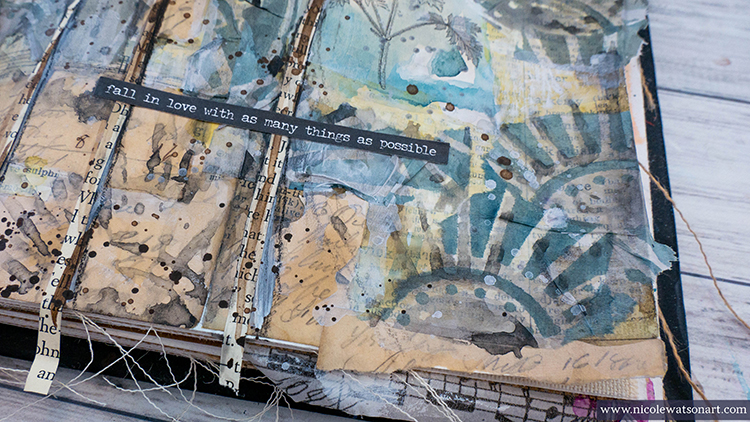
I topped my pages off with a sticker that expressed how I was feeling perfectly: fall in love with as many things as possible.
Thank you Nicole! Love hearing your thoughts behind your creative process and then seeing the beautiful results :) Want to give Nicole’s project a try? You can find all my Foam Stamps in my Online Shop and in addition to book paper, here are some of the other supplies she used:
Feel inspired? Working on something yourself that you’d like to share? I love to see how you interpret our monthly themes. Email me or tag me #natkalbach how you used my stencils and stamps – I would love to share your projects in my next “n*Spiration From Around the Globe“.
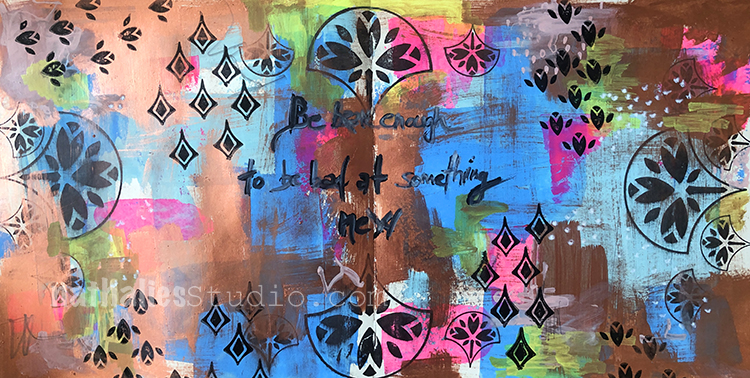
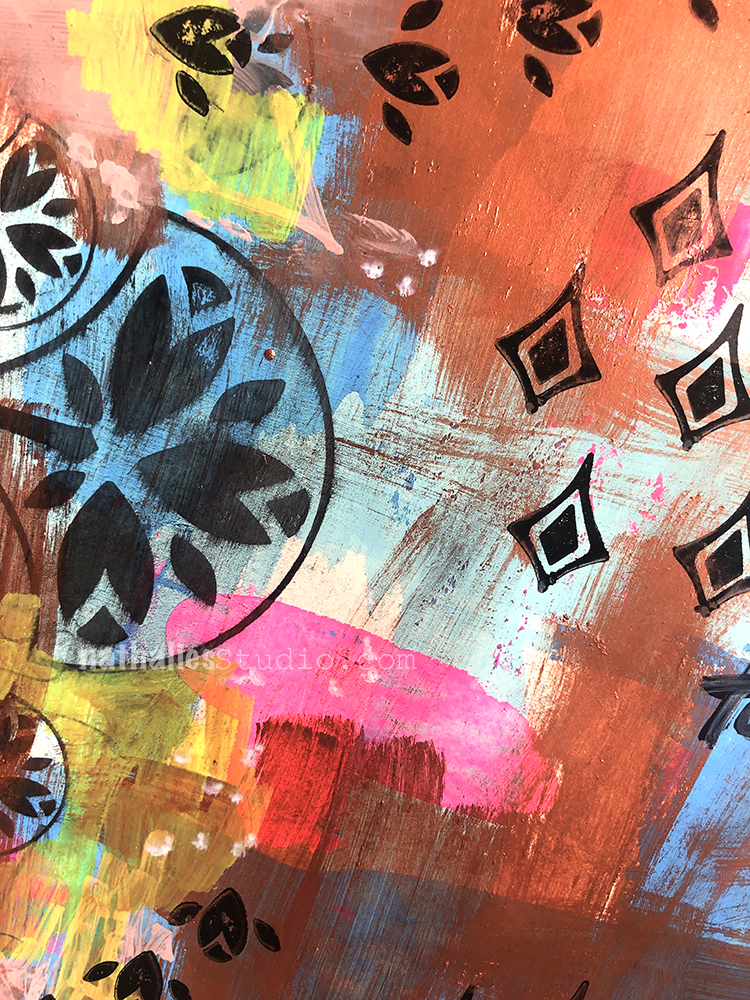
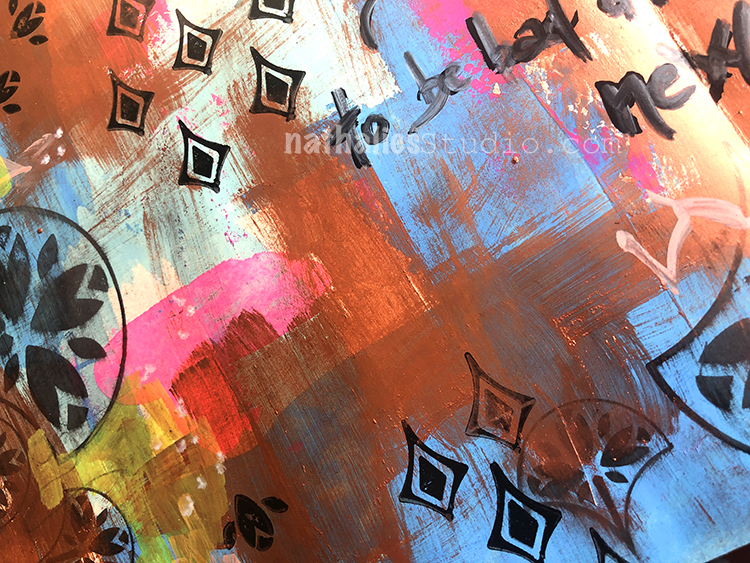
“Be bad enough to be bad at something new.” – This quote totally makes me wanna just go for it when trying something new. Who cares?!
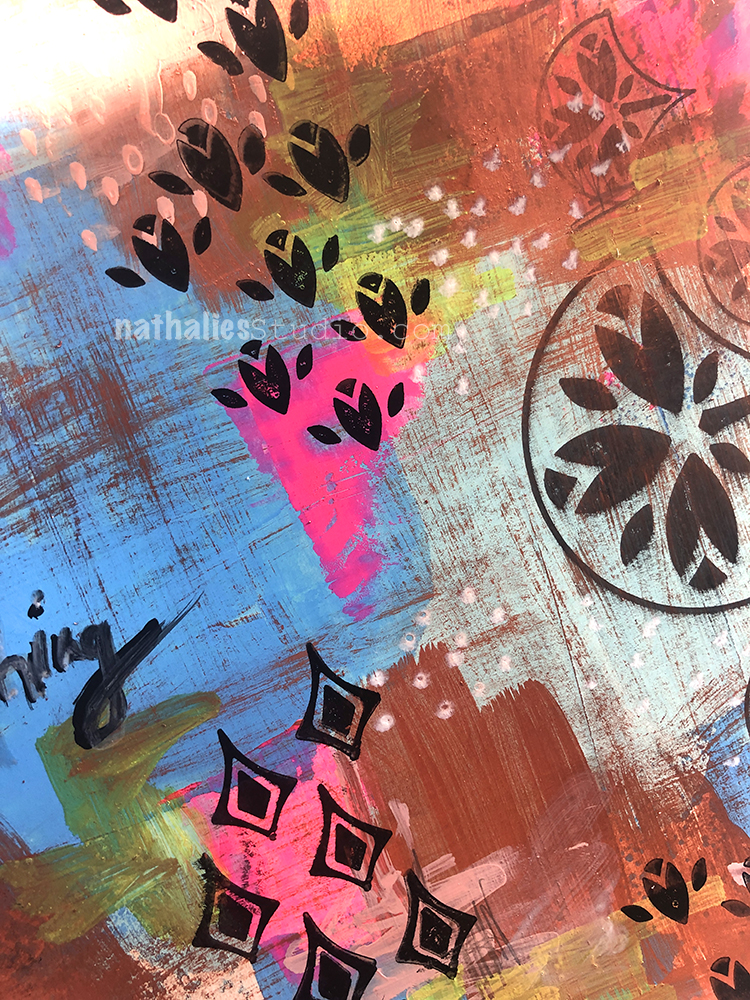
This one is all about yummy layers. I started with a thin layer of Holbein gouache, and stamped with my Fanfare and Fantastic Small and Large rubber stamps.
Then I dry brushed the copper paint (I made the paint in this class) over parts of it after stamping, added some markmaking and journaling with markers.
I love the play back and forth with all the layers.
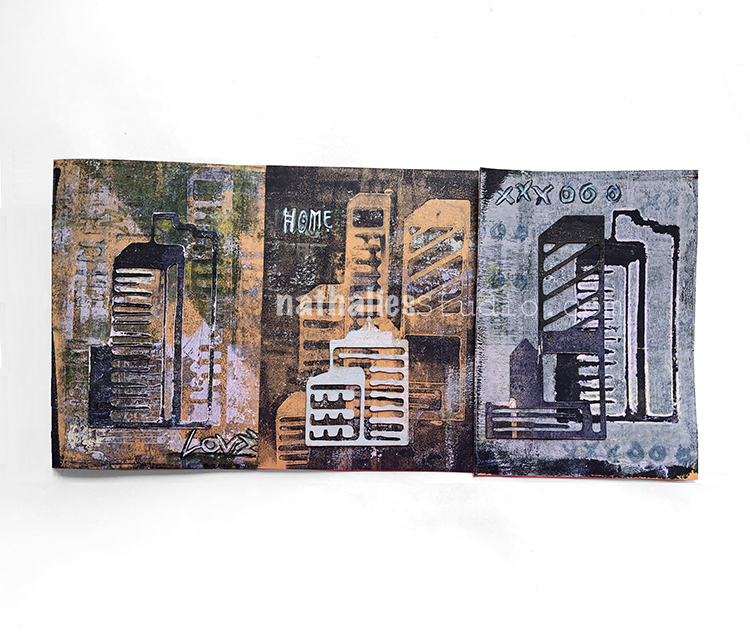
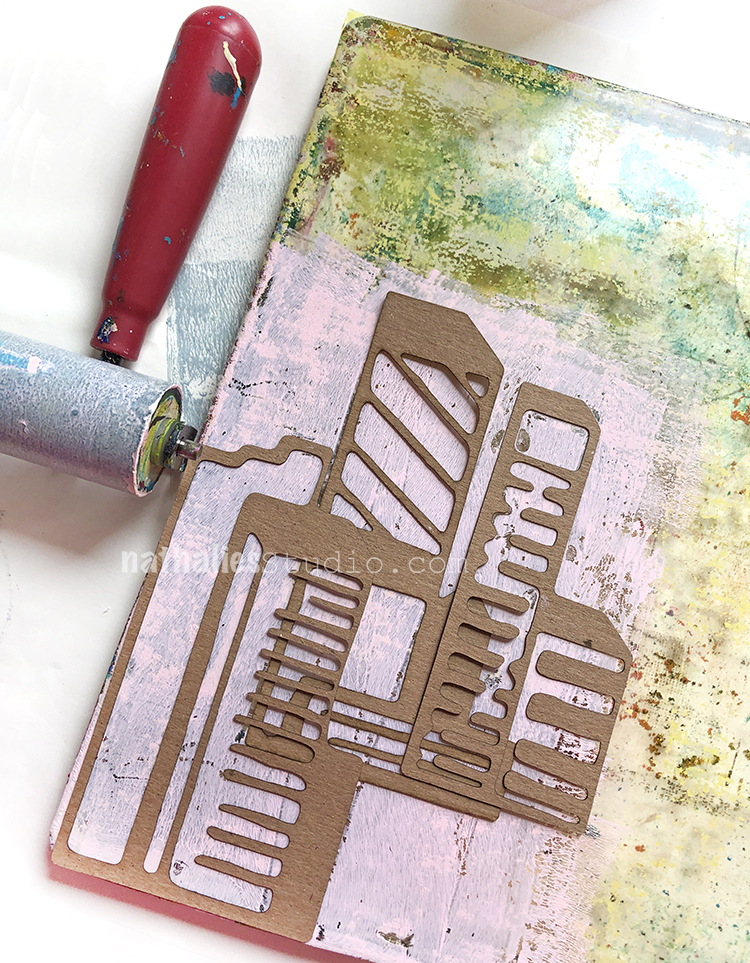
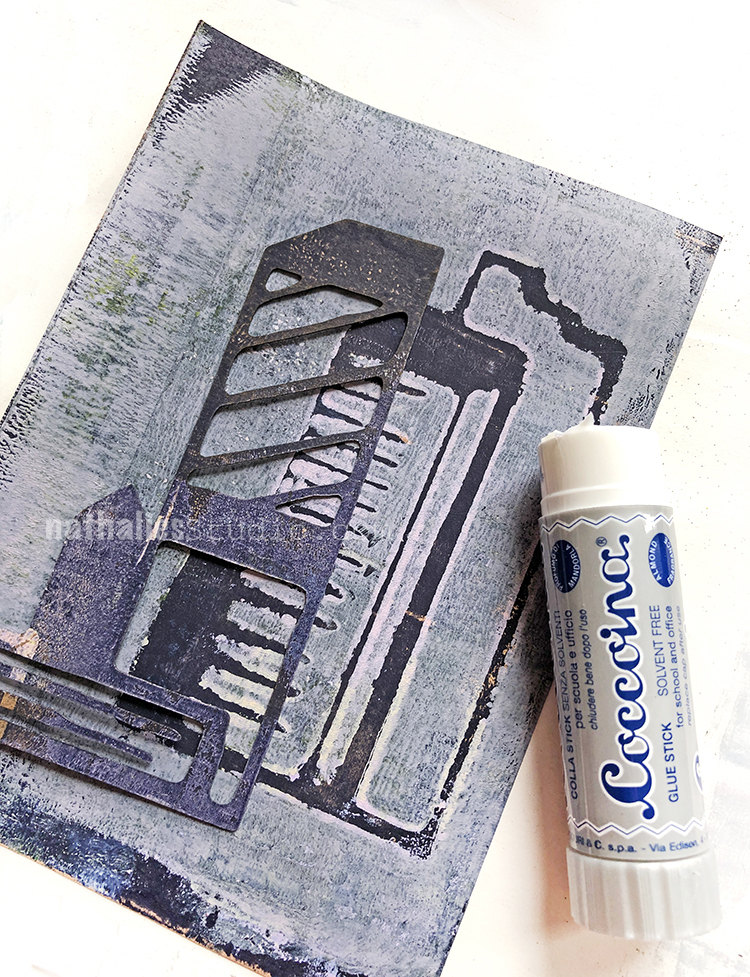
I thought I would make a few cards using a monoprinting technique with my new Mixed Media Chips.
On a gelli plate I rolled out some acrylic paint with the Midtown 1 and Midtown 2 chips.
Then I printed directly onto blank cards. To attach the chip, I used Coccoina glue stick. I always loved this glue stick- smells a bit like almonds and I am so happy that I found it now also available in the states. It is great for paper and thin paper embellishments.
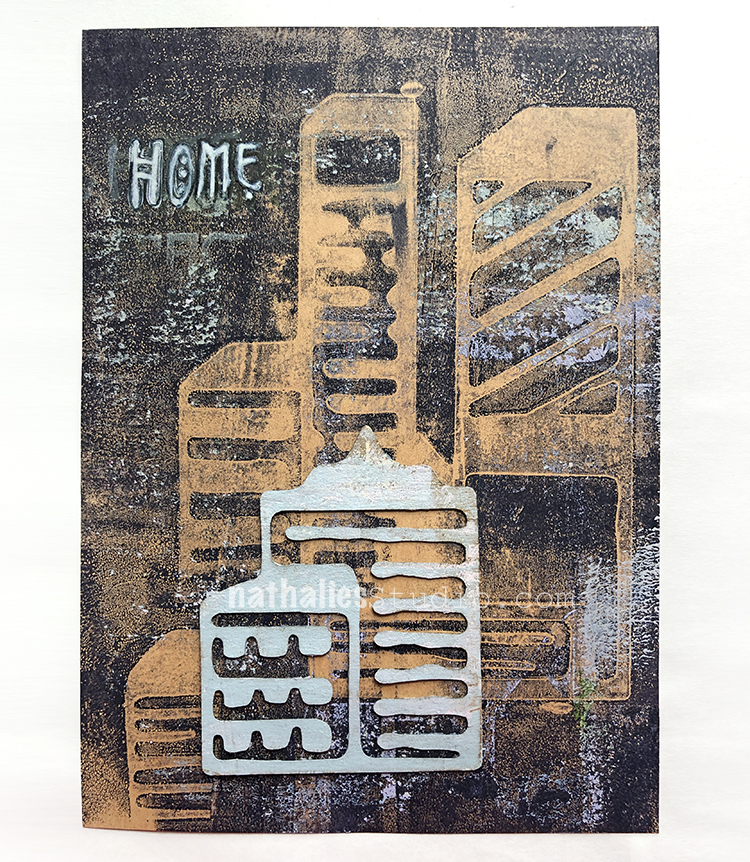
In addition to my nice and grungy monoprint I also stamped part of the My Home rubber stamp on this one.
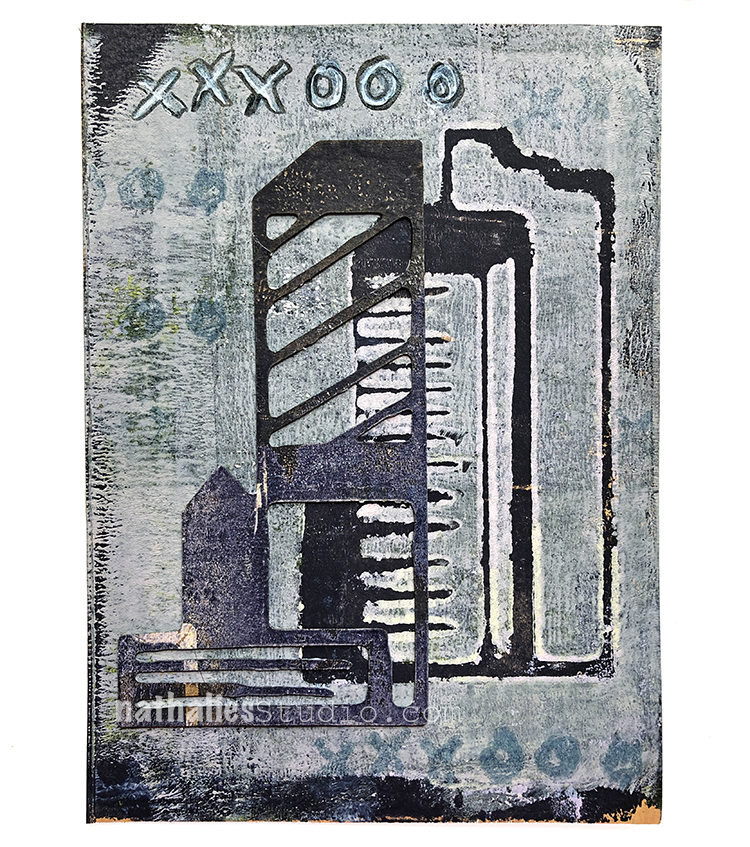
This one I snuck in my Love Knots stamp for the xxxooo.
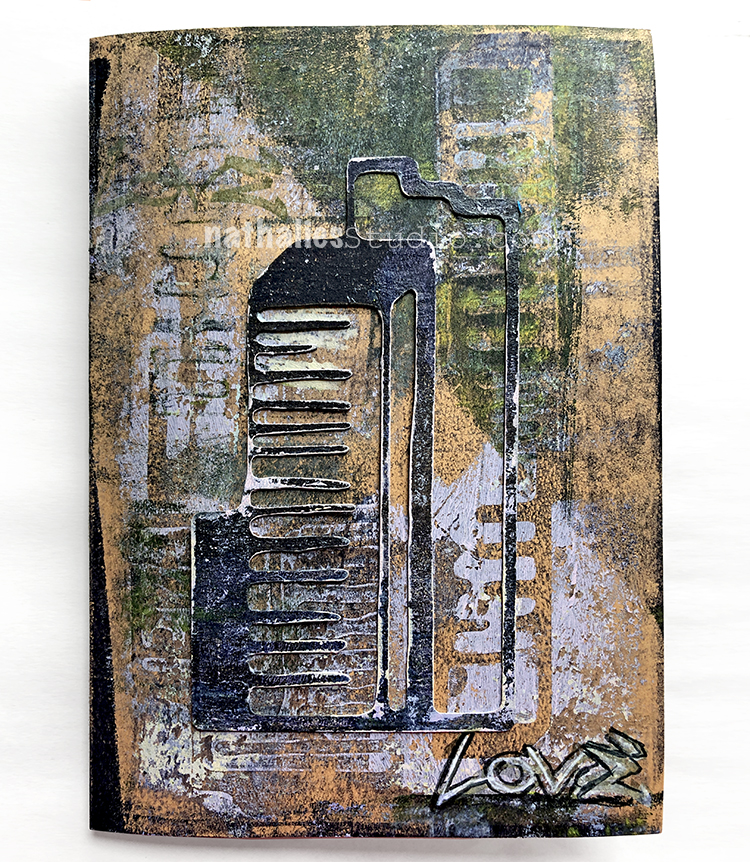
And this one got really yummy grungy and then I also added my Love Tag stamp. I’m really happy with how they turned out, especially with the addition of the painted Mixed Media Chips.
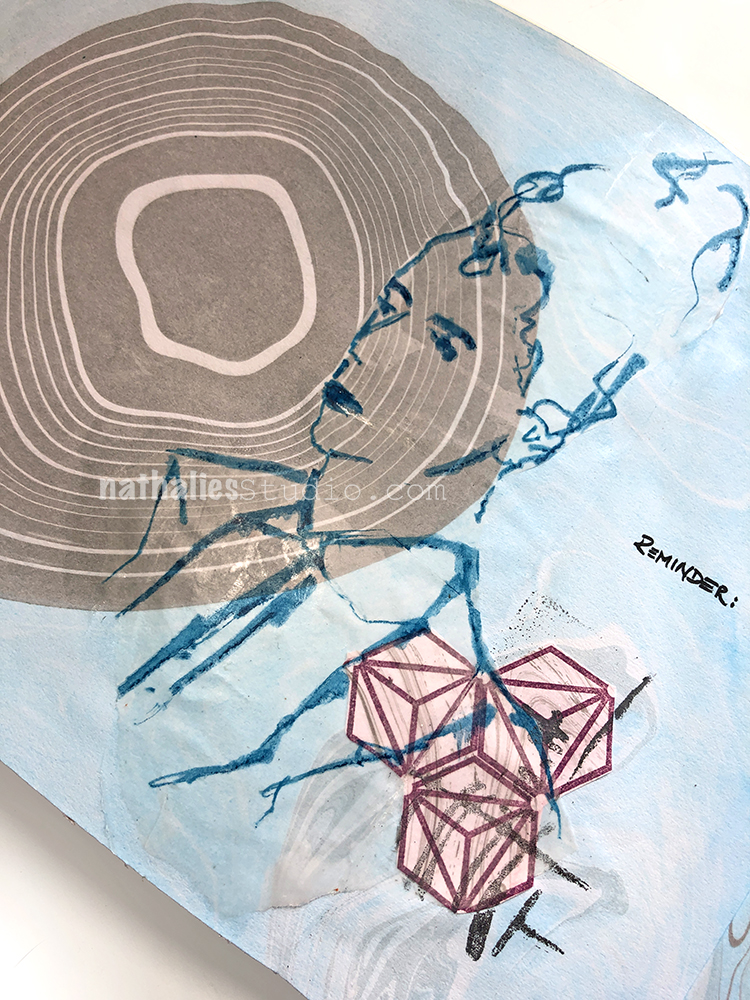
I used my Suminagahsi paper -and pasted two different sheets into my journal as the background. And I added a sketch on Deli paper.
I stamped on one of the Suminagahsi papers with my Hex Small stamp and cut them out. After adding them to the page I also stamped my Gnarly foam stamp over top to tie everything together.
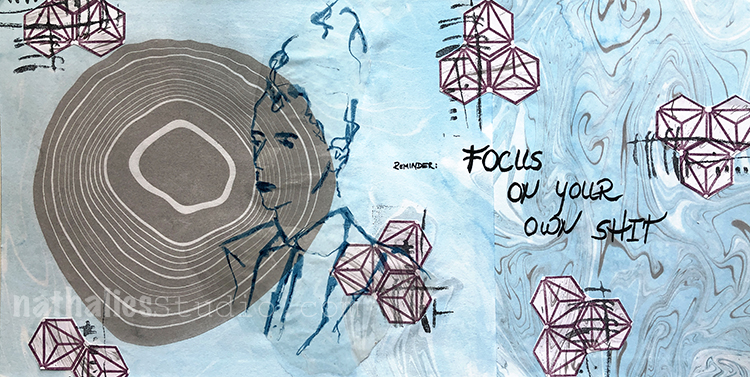
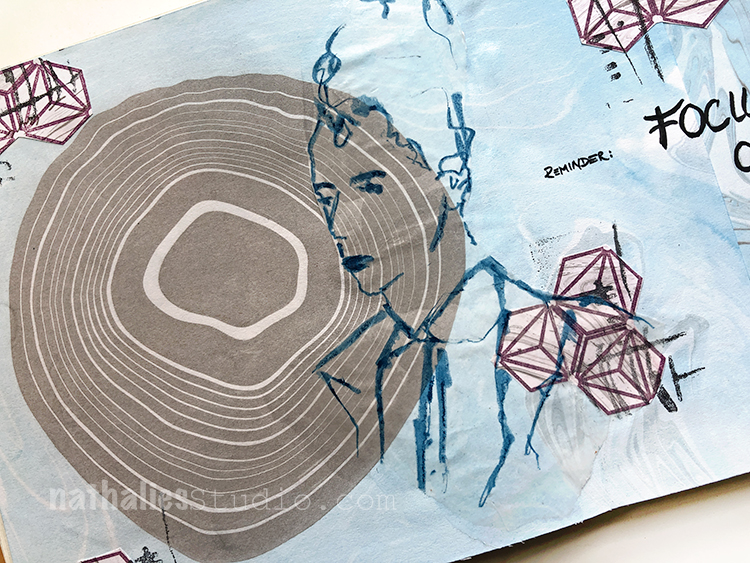
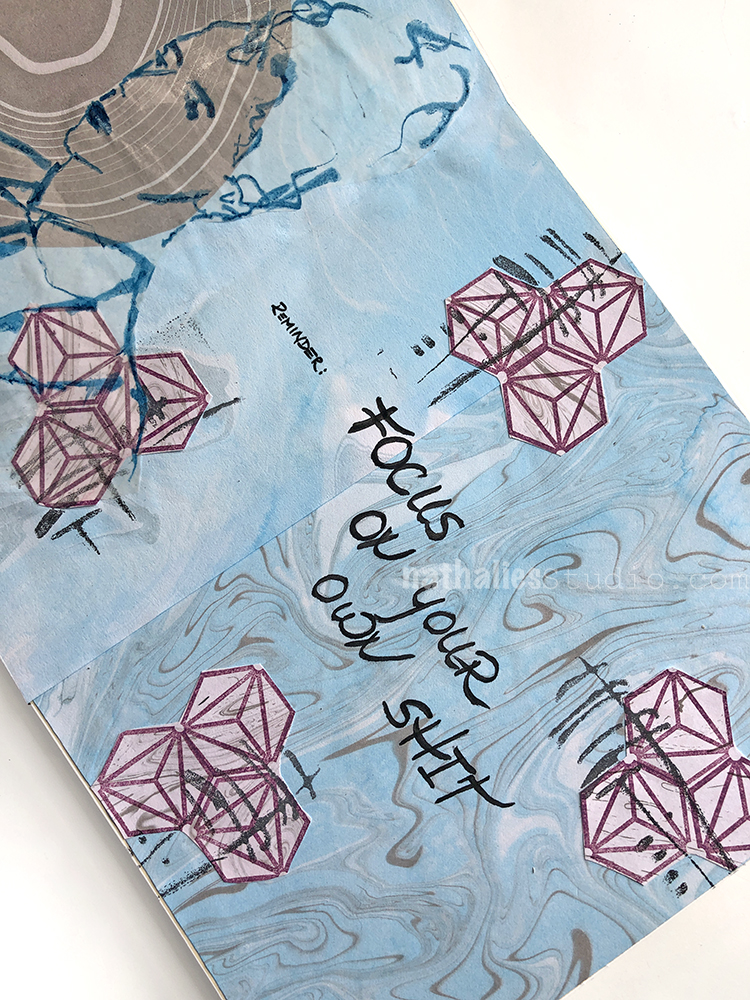
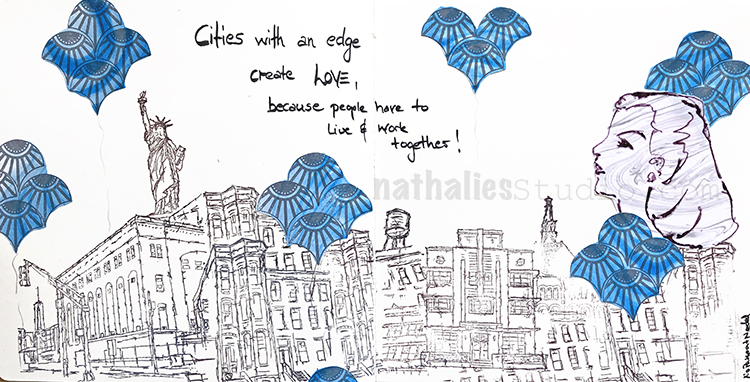
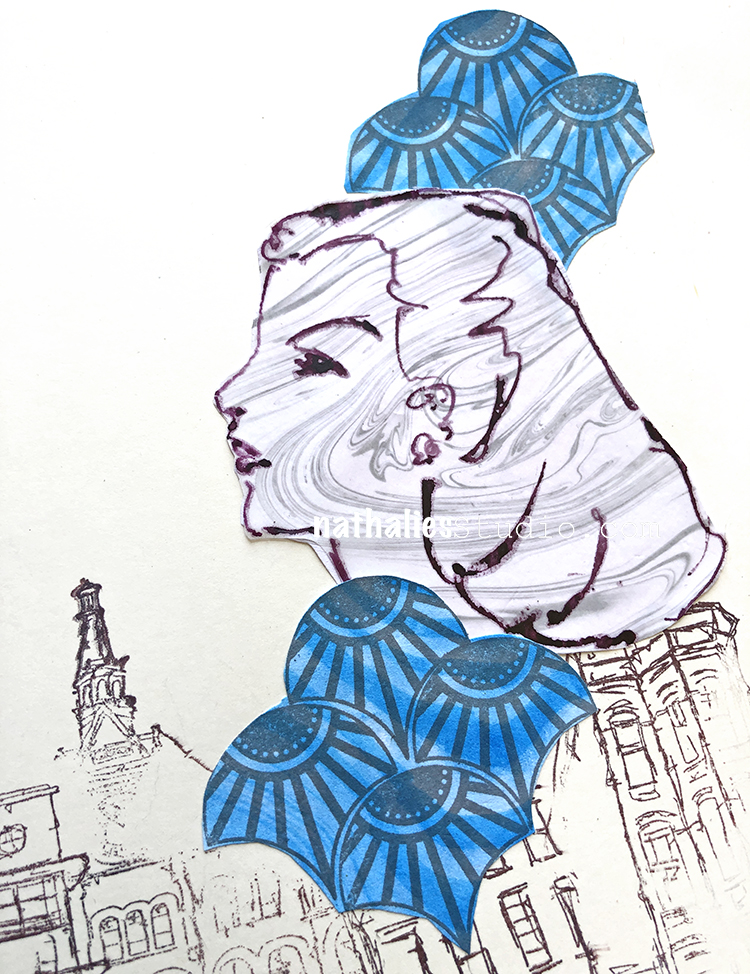
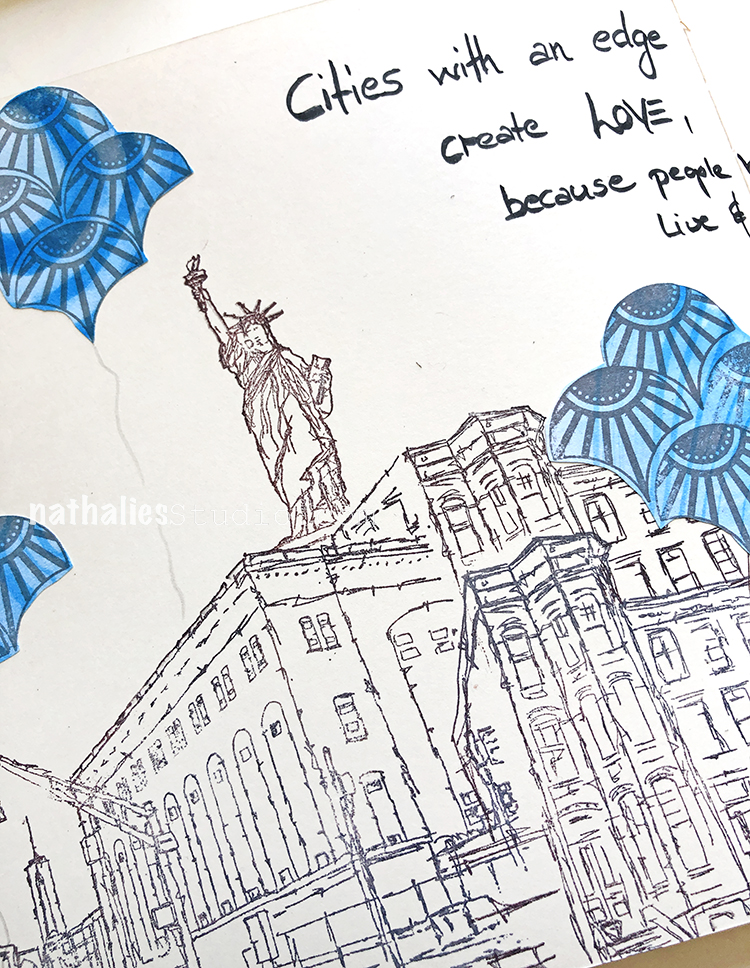
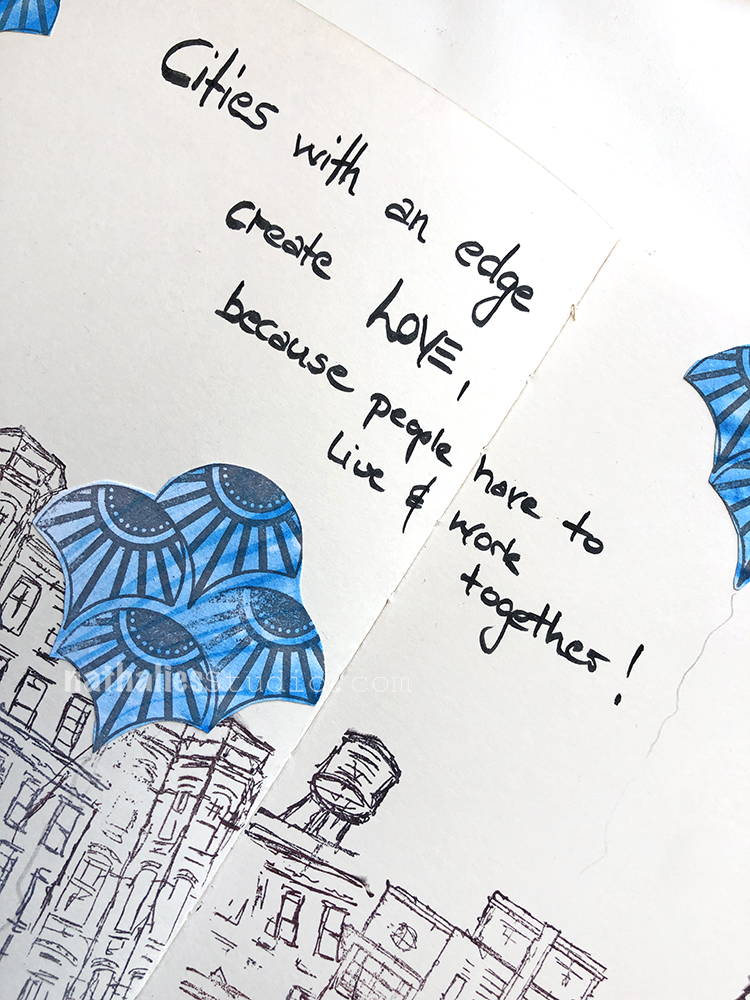
“Cities with an edge create love, because people have to live & work together!”
I used my suminagashi paper that I marbled for collage – both in the figure and in the blue “balloons” that I stamped with my Fan-tastic Small rubber stamps.


I love the pattern and the colors you used Nat. I never get stamps on the paper the way I want to. It is better when I stamp on a mouse pad or something like that but I’m just never satisfied with the final product. Yes, I see your creative “mistake”. ;-)
Reply