I’m sharing a nice collaboration that Judi Kauffman from my Creative Squad did with another artist.
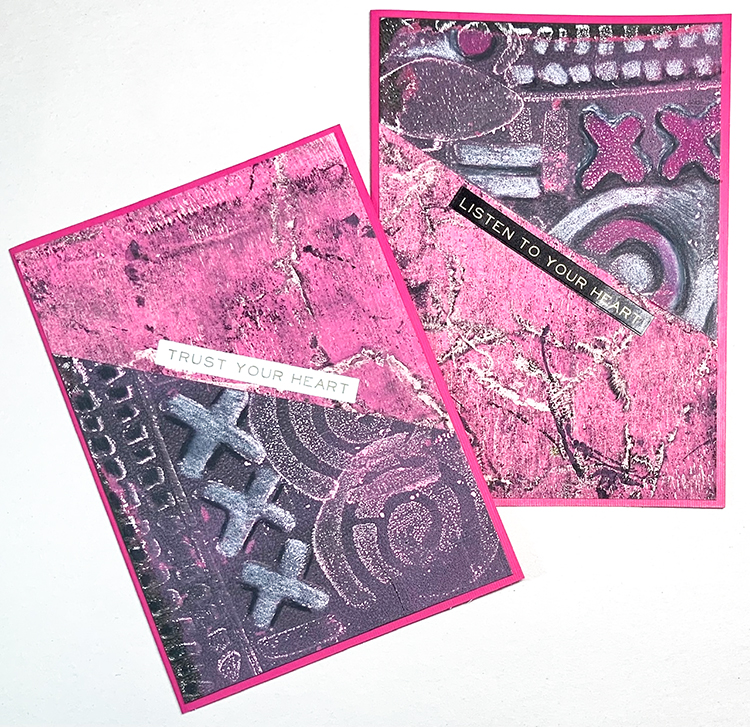
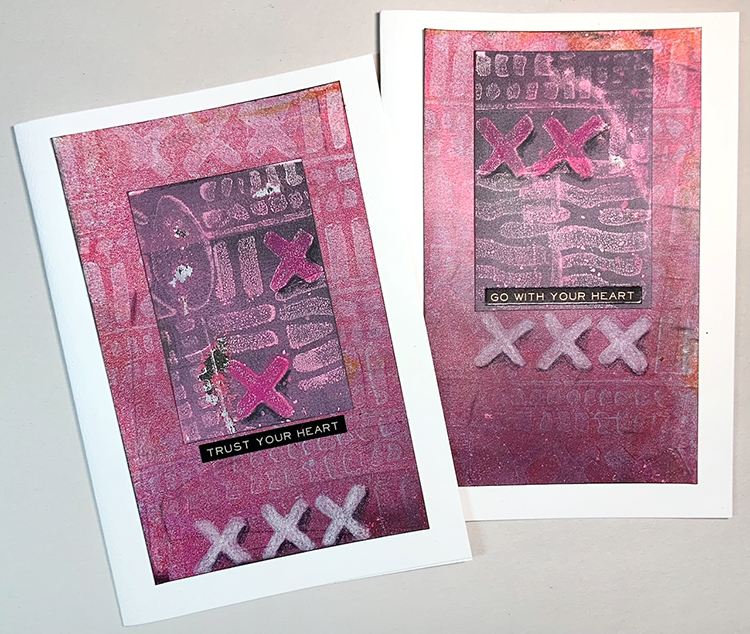
Judi turned her friend Nancy McNiff’s cast-off gel prints done with Nathalie’s Batik Pattern 1, Pattern 2, and Pattern 3 foam stamps into some very striking cards. When the two friends have gel printing days Judi always rescues prints that Nancy would otherwise leave in the trash. Nancy’s much more ruthless, while Judi sees beauty in what Nancy thinks of as duds! Judi added her own touches with black, white and hot pink colored pencils and Tim Holtz’s stickers.
What a great idea to do some printmaking and card making with another friend. Besides it being a fun activity, you never know what will come from it – collage material, print exchanges, and even a chance to allow ideas to flow back and forth. I just love how this session created some beautiful “trash to treasure” cards!
***A fun surprise: The rectangles on the two larger cards are removable ATCs, signed on the back and held in place with easily removable low-tack tape!***
If you didn’t catch our Spill your heART Episode 6, you can watch a recording below. I was joined by Birgit Koopsen, Amanda Trought, and DeeDee Catron to discuss Artistic Inspiration – Finding the Magic.
Here is an overview of the webinar:
In Episode 6 I discuss Artistic Inspiration with my panelists Birgit Koopsen, Amanda Trought, and DeeDee Catron. Inspiration is the magic behind creativity but it is not always readily available and in the opposite extreme it can be overwhelming. We began our discussion with a simple question: How do you find it and then what do you do with it?
My panelists shared their tips for finding inspiration including creative play, gardening, neighborhood walks, travel, art journaling, collaborations, assignments/deadlines, and the people in our lives. While primarily we draw from visual sources, we also discussed how music, food, and even smells could spark an idea. Sometimes we have too many ideas and lean on lists and schedules to stay focused and productive.
It’s ok to take a break from creating and we talked about avoiding the pressure to make every day. With that in mind, extended breaks can make it hard to get the magic flowing again and we shared some of the creative activities that we do that are not about making art but are never-the-less creative like dance, cooking, and reading that also help us get back.
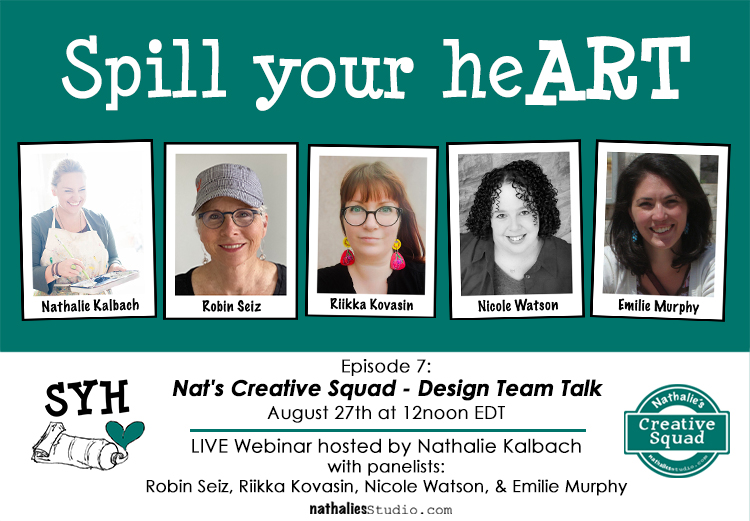
Join us for the next one onAugust 27th:
Spill your heART Episode 7: Nat’s Creative Squad – Design Team Talk
Join our design team discussion with Nat’s Creative Squad members Robin Seiz, Riikka Kovasin, Nicole Watson, and Emilie Murphy. Our panel will talk about what it takes to join and flourish on a design team, how they approach assignments, the fun and challenge of participating, and what they take away from the experience. Nat’s Creative Squad has been around since 2016 and has been host to a variety of members with a broad range of styles and backgrounds. Get to know some of them a bit better and bring your questions about design teams, mixed media art making, and the idea of creativity on assignment.
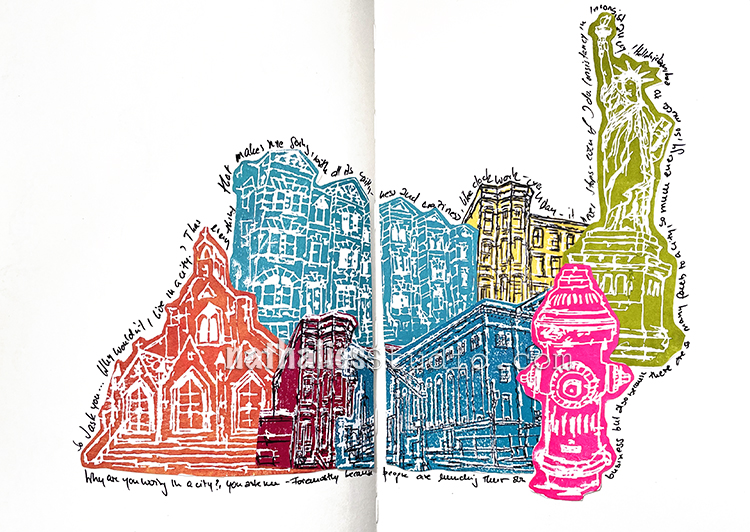
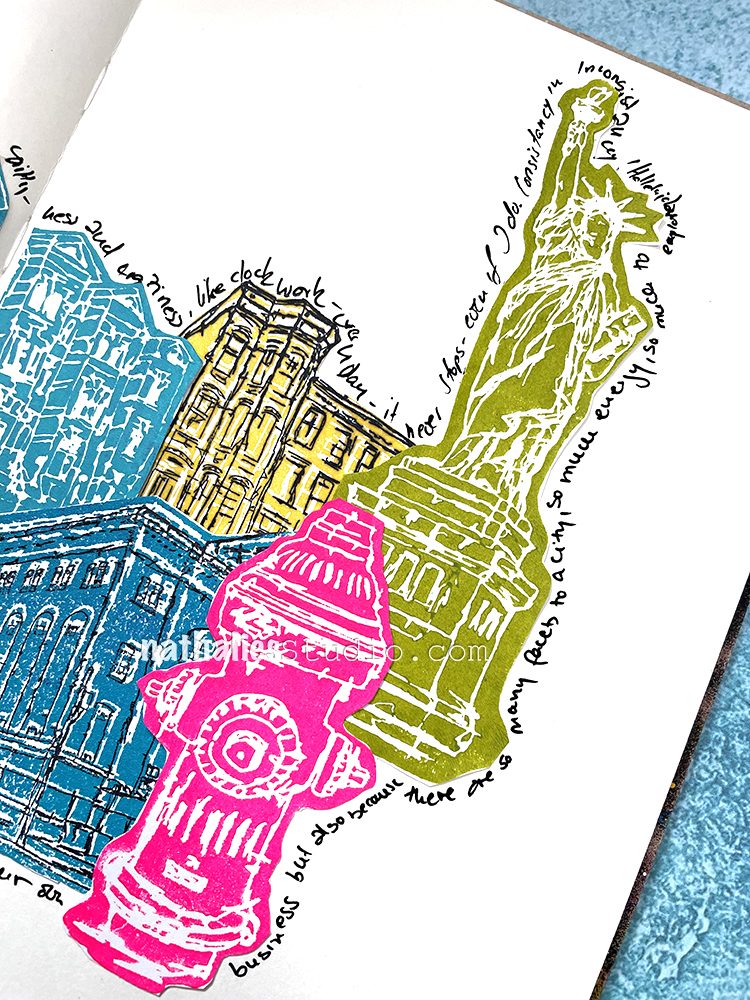
For this spread I used my new foam stamps and acrylic paints. These were actually all kinds of test stamp sheets for our product photos but I loved the vibrant colors and thought it would be fun to layer them up.
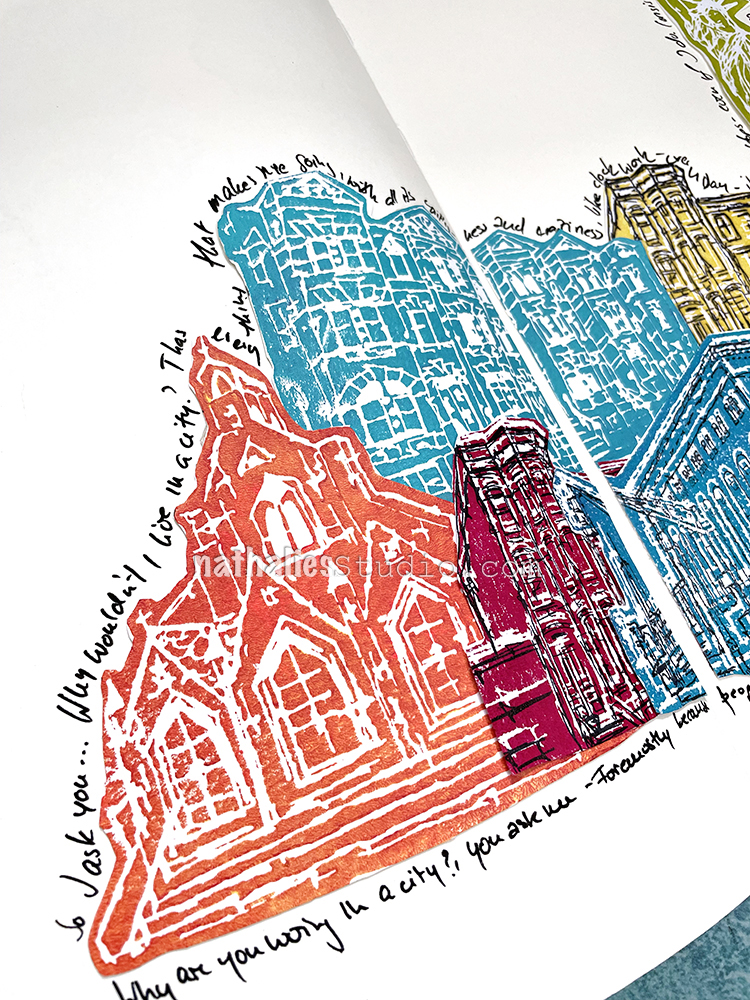
I was journaling just random thoughts on why I love living in a city.
Here is Church and Row Houses too. I just layered them as I wanted and then added a double sided adhesive to the back and cut where the journal fold is so it would be easy to open and close.
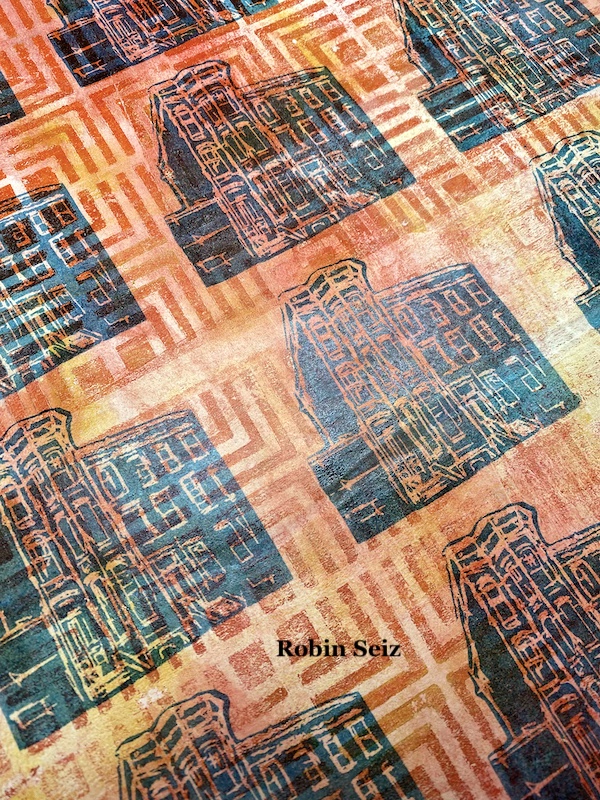
Hello from my Creative Squad! Today we have some funky wrapping paper from Robin Seiz that is a work of art in and of itself using my Brownstone and Powerhouse foam stamps and Manhattan stencil. Our theme is: Good Morning Good Evening – Are you a Morning Person or a Night Owl? Or maybe neither? Create a project inspired by your preferred time of day – when you are in good spirits, doing what you love, and enjoying life.
Hello. This month’s theme, Good Morning, Good Evening, made me ponder the question, “Am I a morning or an evening person?” The answer is, BOTH. For me, it truly depends on the time of year. I am a gardener, so in the summer I love the morning. There is nothing more peaceful than going out to the garden early in the morning when the sun has just come up, and the birds are singing, and the dew is still on the leaves. When it’s hot, I move inside to the studio. In the winter, I tend to rise later and go to bed later. No matter what time of year, I love the glow of the sky when the sun rises and sets.
I used that glow as the inspiration for this project. I have quite a few special celebrations in August, and therefore, presents to wrap. I thought these new artfoamie stamps that Nathalie created would be perfect for making printed wrapping paper.
I dug out my 16 x 20 gelli plate, which I don’t use that often, but it’s a perfect size for larger printing projects like this. If you don’t have this size gelli plate, you can use whatever size plate you have and simply stamp it on your paper.
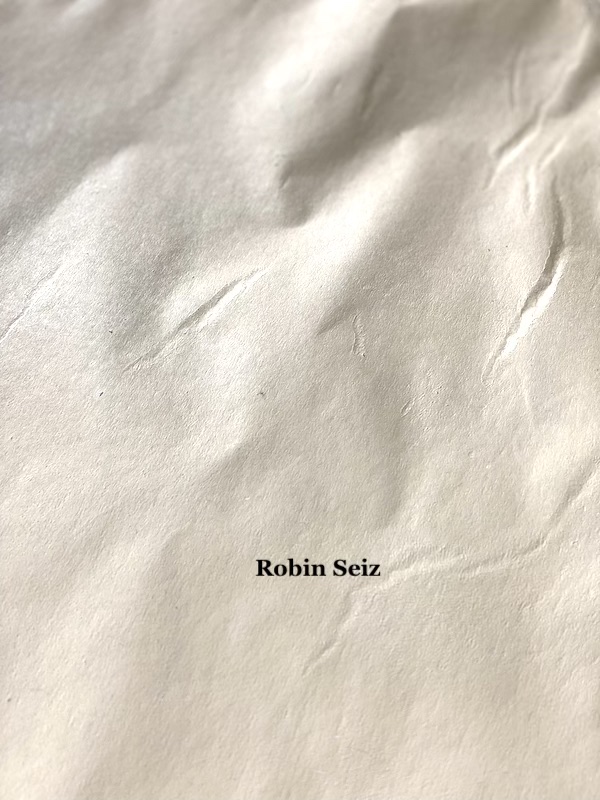
I cut 2 large pieces of white butcher paper (17” x 21”) or thereabouts, (I’m not much of a measurer) Next I generously applied Liquitex Unbleached Titanium, (which is a very opaque color) to the gelli plate. I used the brayer to spread it evenly, and pulled the first print and then a second print (also known as the ghost print).
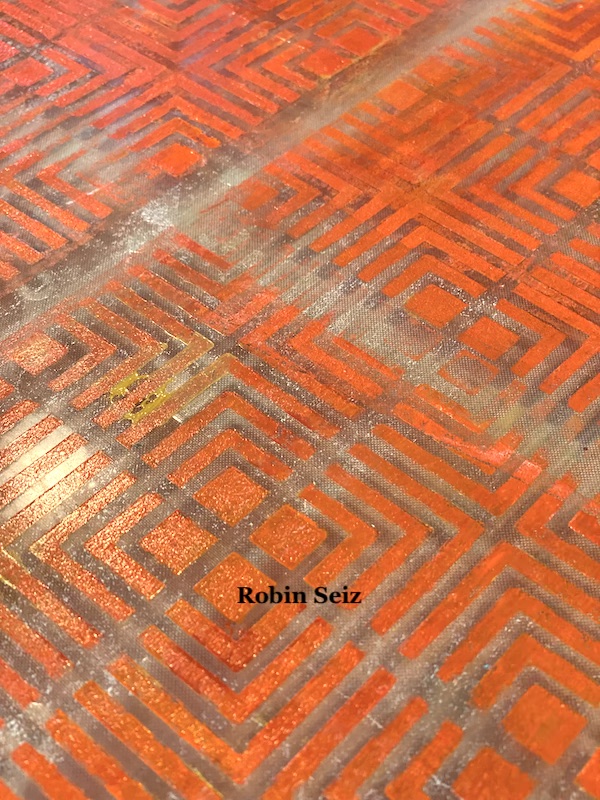
I wanted a fun background for this paper and Nathalie’s Manhattan stencil was perfect. I was looking for something with a great pattern and some open space because I wanted the background colors to show through the open spaces in the stamps. I chose Golden Naphthol Red Light, Yellow Ochre, and Pyrrole Red Light, which when combined, remind me of both sunrise and sunset. I put the stencil down and applied the paint randomly to the plate and used my brayer to completely cover the plate and the stencil. I lifted the stencil and repeated this process 4 times until the plate was completely covered. I did have to work relatively fast so the paint wouldn’t dry too fast. In retrospect, I could have used some Liquitex Slow-dri Blending Medium to help keep the paint open longer. (but I didn’t think of that in the moment) :o) I pulled the first print on the butcher paper.
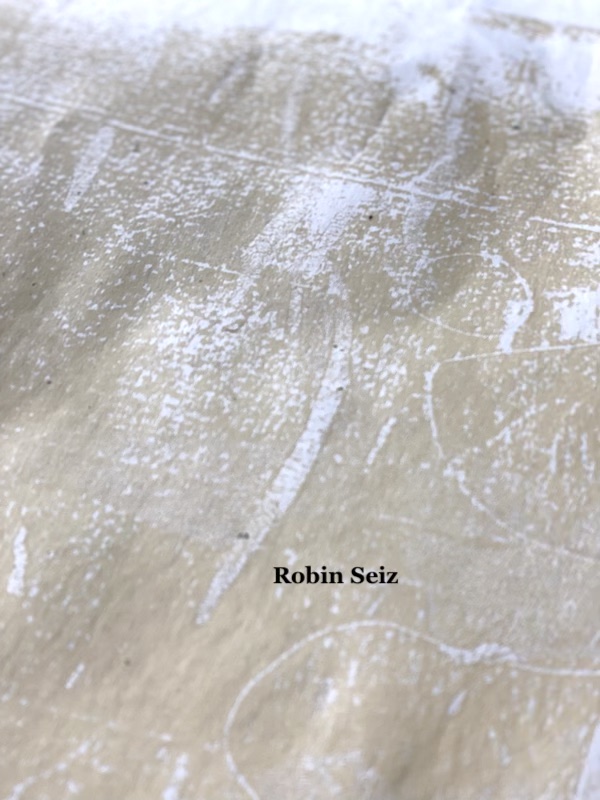
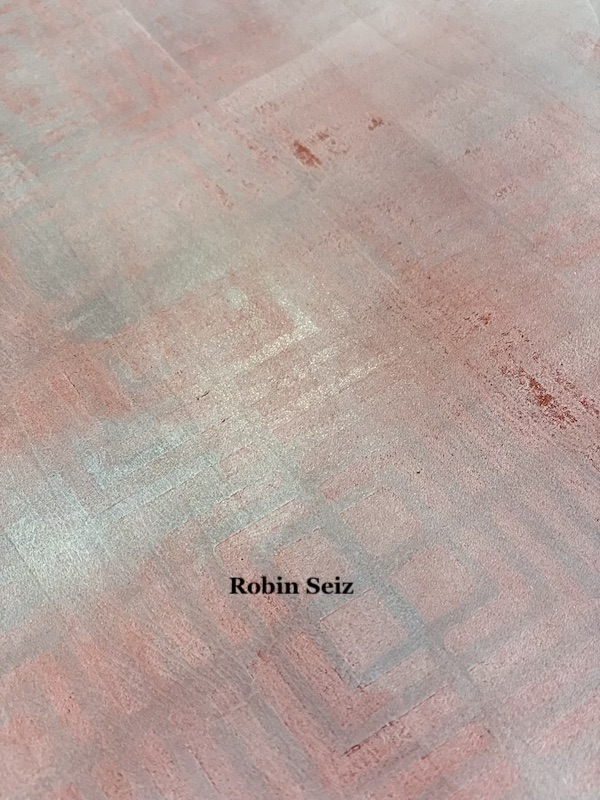
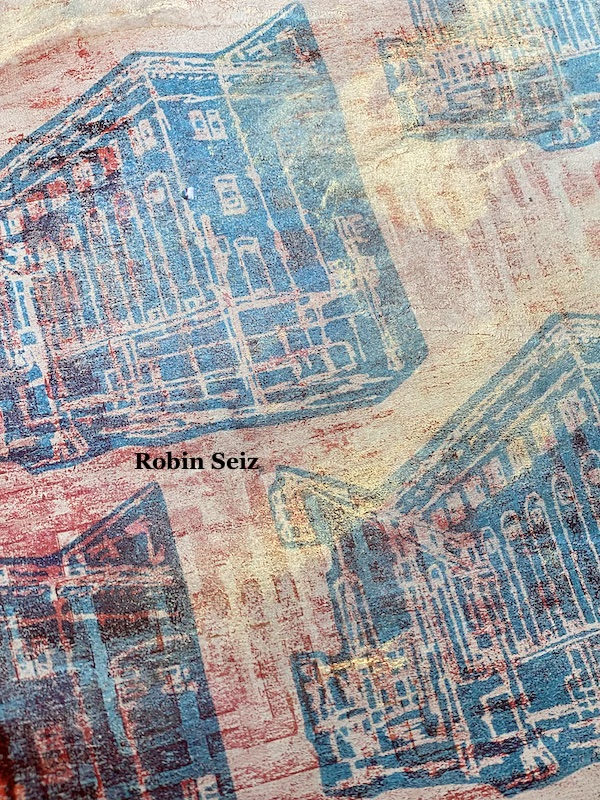
There was quite a bit of paint still left on the plate, but by now, it was dry. I spread a very thin coat of Liquitex Titanium White to the entire plate and pulled the ghost print.
I really liked the detail on the first print, but I felt the ghost print needed more color. I applied some Daniel Smith Gold Gesso with an old room key card. A little gold always adds a lot to any project!
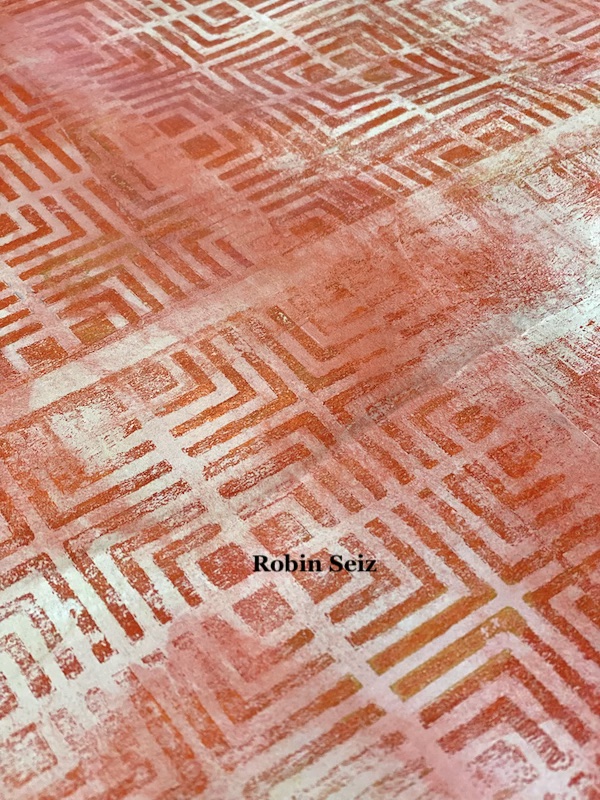
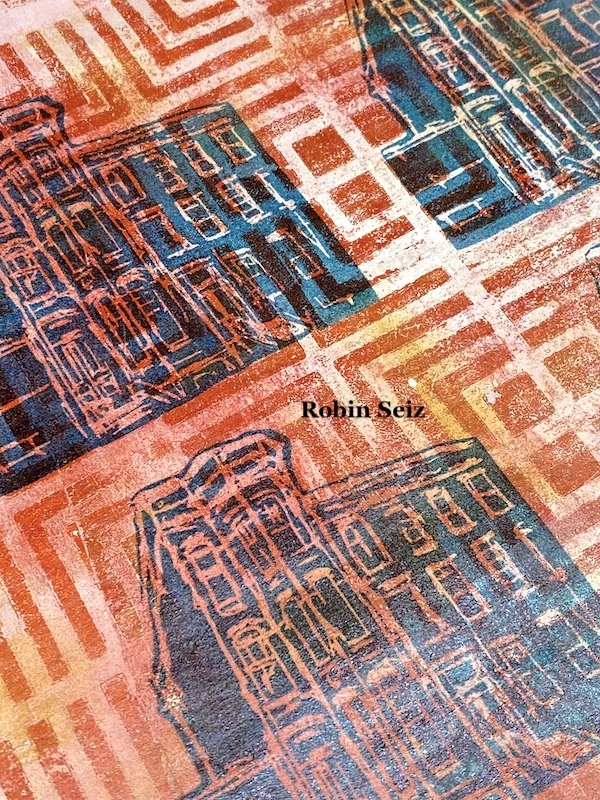
I always go to my color wheel to plan the colors for my projects. I decided on Versa Fine Clair Blue Belle for the ArtFoamies stamp color. Again, I don’t often measure things; I typically just “eyeball” it. I stamped the Brownstone on first print. I was happy with the way the colors came through the spaces in the stamp as I had planned.
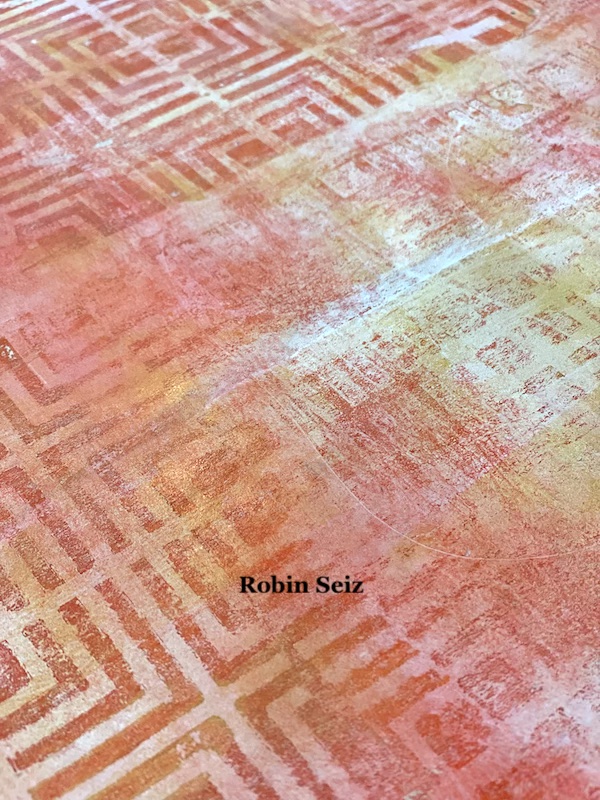
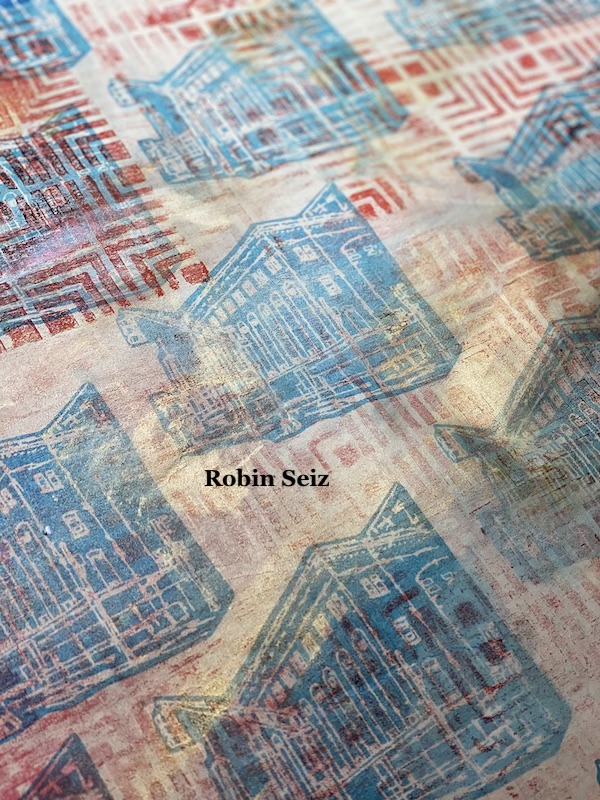
I wanted to use a different ArtFoamies stamp for the ghost print. I used Nathalie’s Powerhouse stamp. This ghost print came out with a grungy feel to it. I really love this distressed effect.
Home made wrapping paper can be whatever you want it to be; it doesn’t have to be occasion specific. My experience is that the receiver often loves the paper so much they want to keep it. I hope you try this project and that you enjoy it!
This is awesome wrapping paper Robin! Thanks for sharing and giving us some inspo for the upcoming holiday season too!
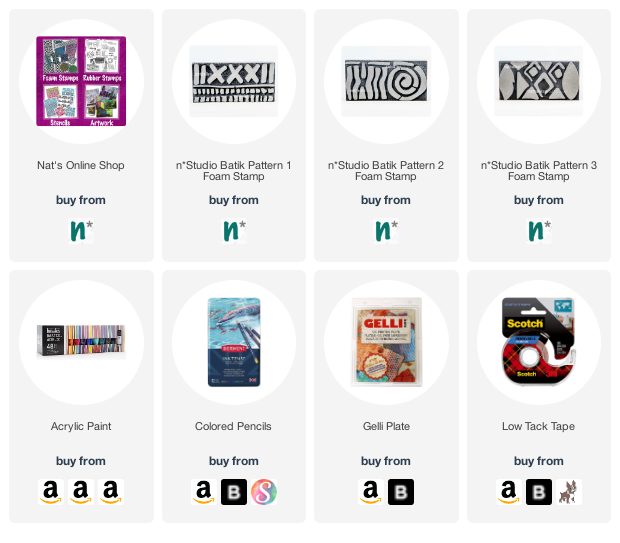
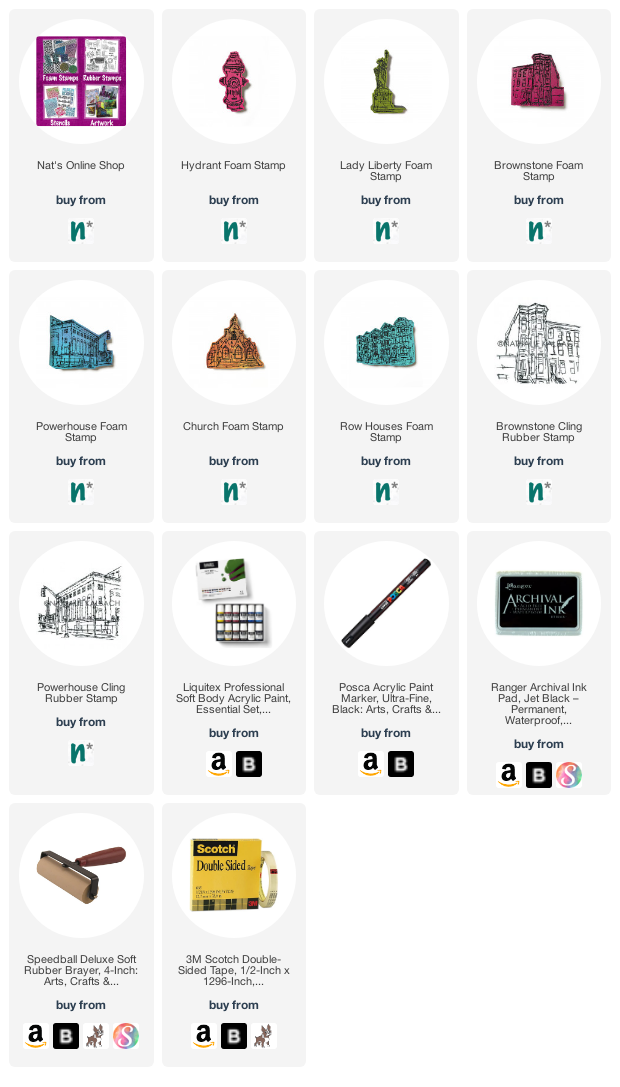
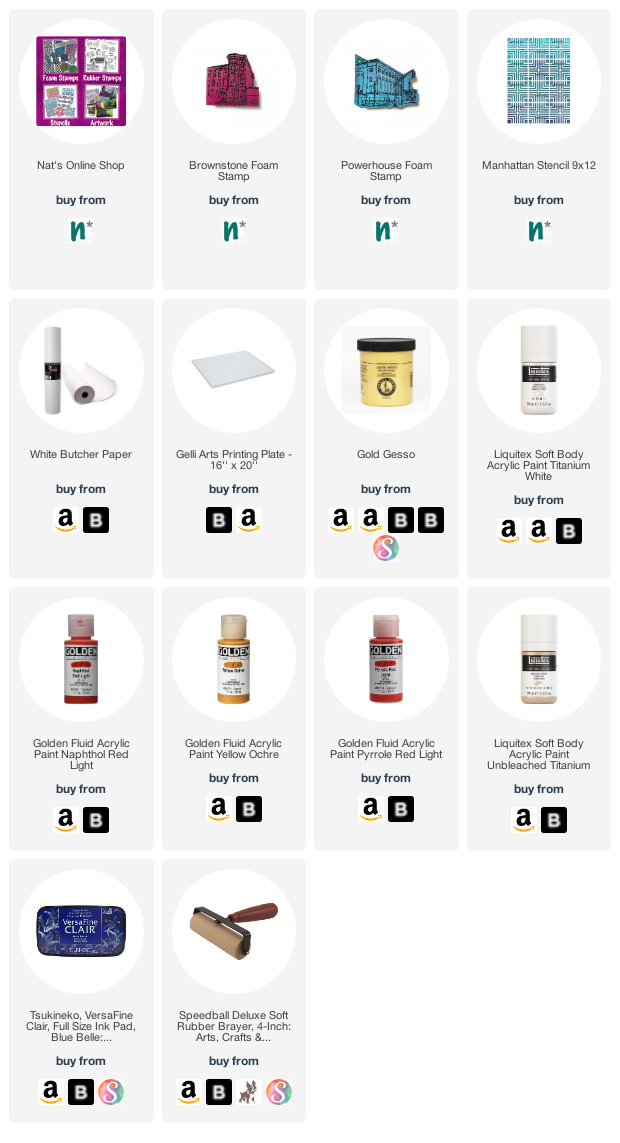
Give it a try: you can find all my Foam Stamps and Stencils in my Online Shop and here are some of the supplies Robin used:
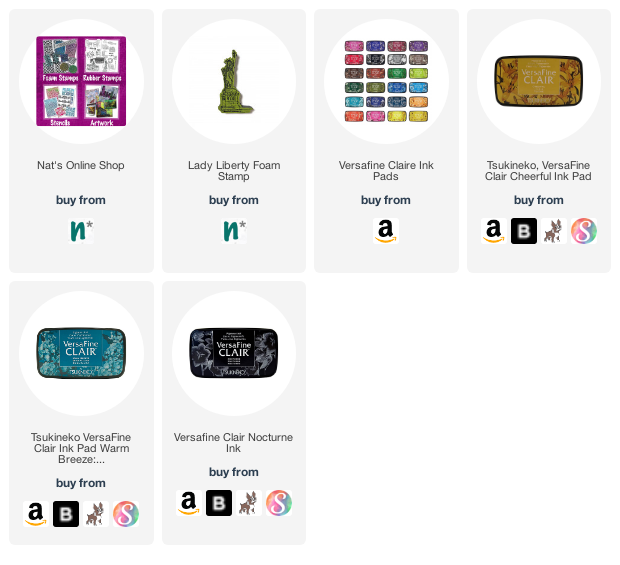
Happy Monday and welcome to another pattern in my big vintage ledger! Today I’m using one of my new foam stamps – Lady Liberty This stamp is nice and big so I knew I just wanted to show it off with 3 different ink colors.
Here is a look at the finished pattern and what I used:
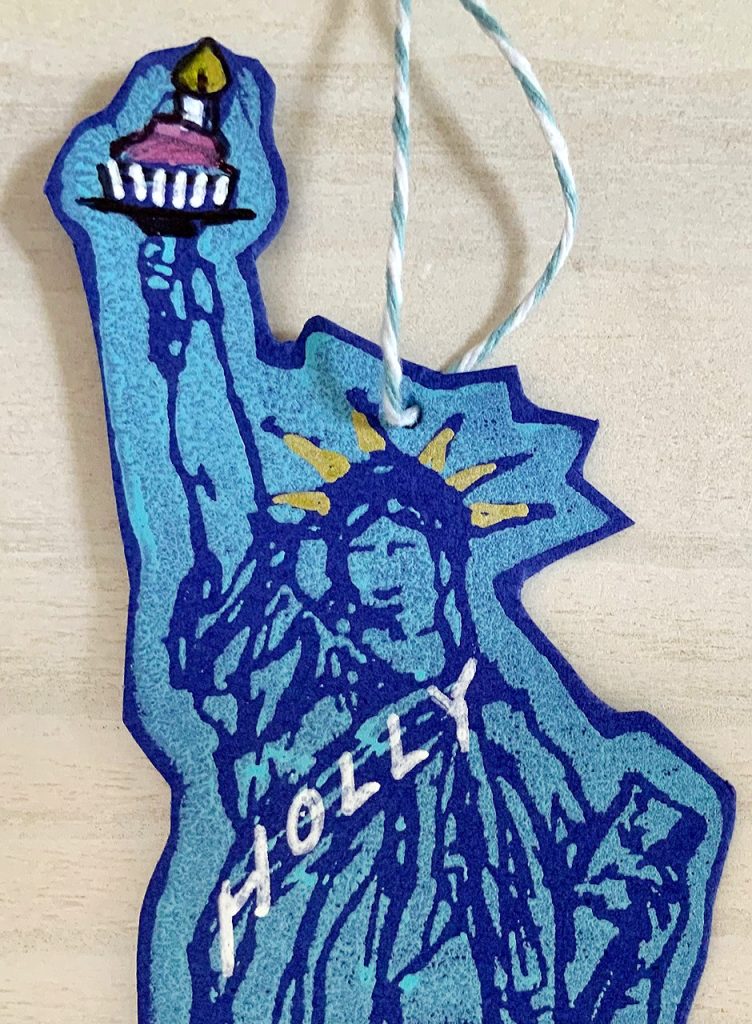
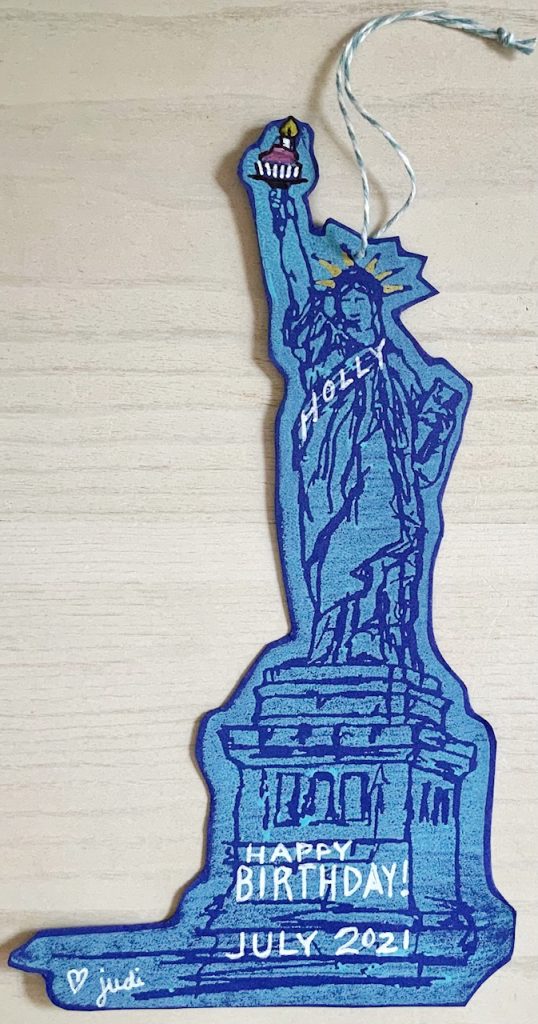
Today I’m sharing a really fun little birthday card project idea from Creative Squad member Judi Kauffman. Her creative mind saw a cupcake in the torch of my new Lady Liberty foam stamp, and that is just sooooo cute :)
I love when my stamps or stencils inspire something unexpected and this just takes the cake ;)
Thanks for sharing Judi and so happy to see Lady Liberty holding that cupcake!
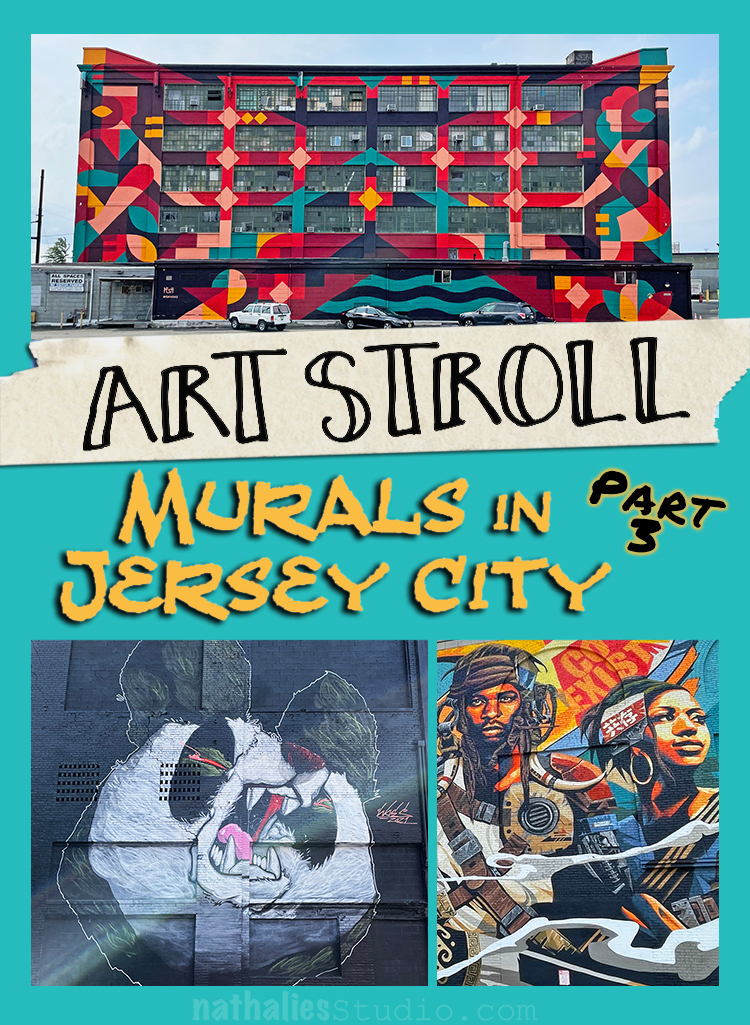
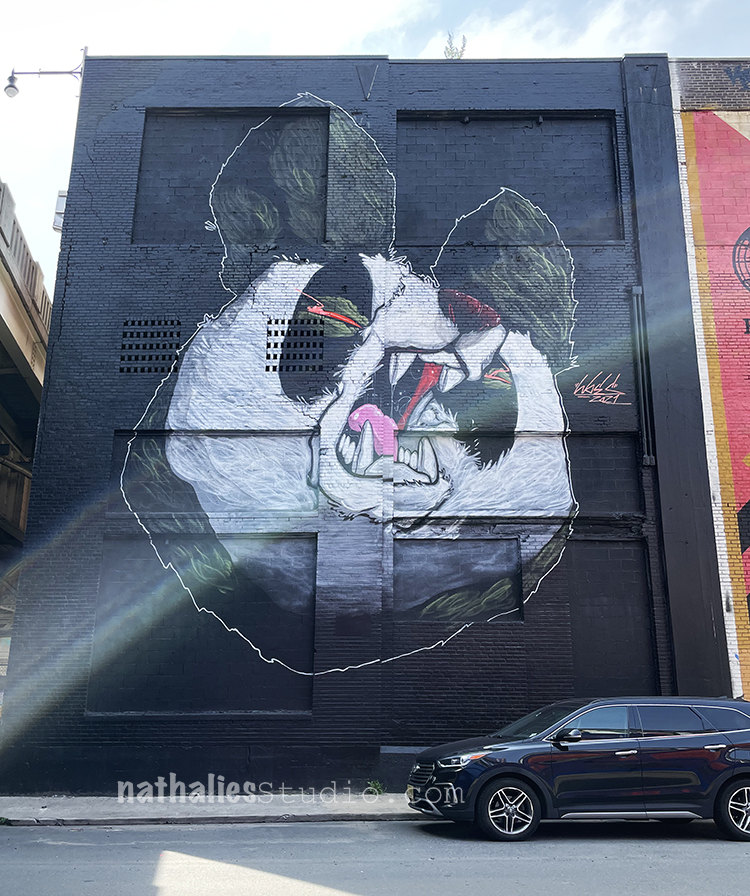
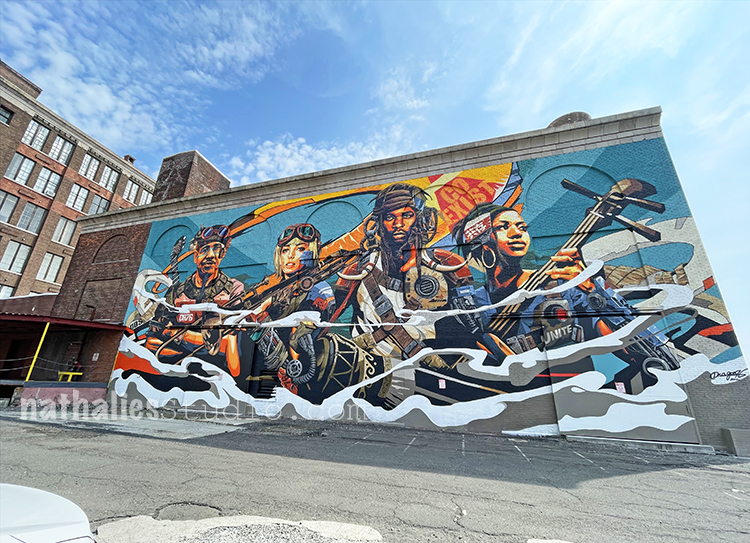
As promised here are some more Murals that have been created recently in Jersey City – you can see all the Art Strolls here btw :)
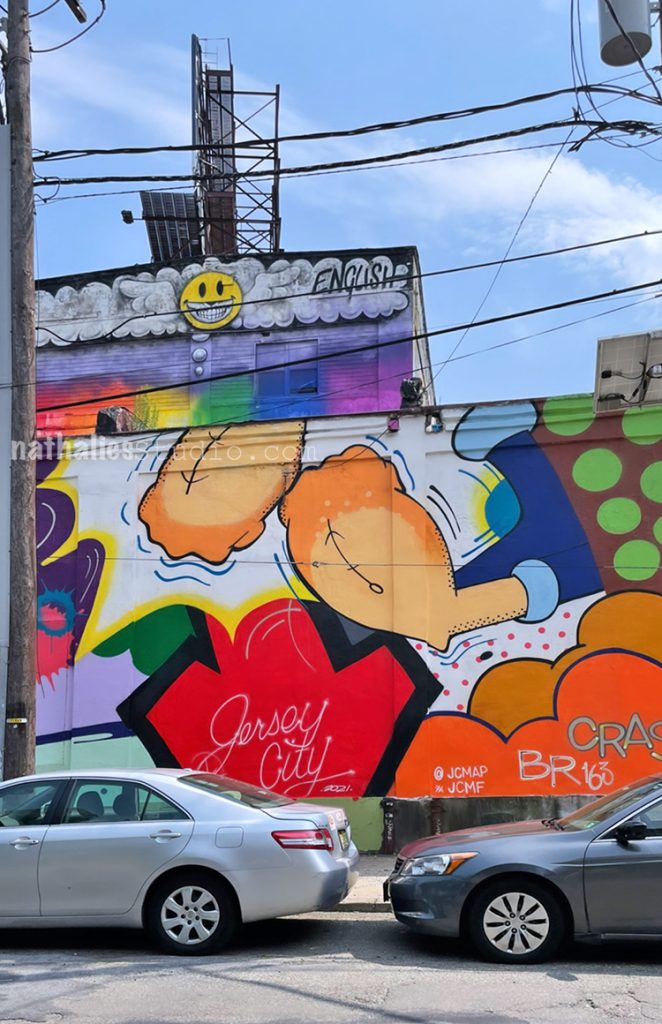
This made me smile- Popeye and a smiley face ..and very graphic designs- YASS
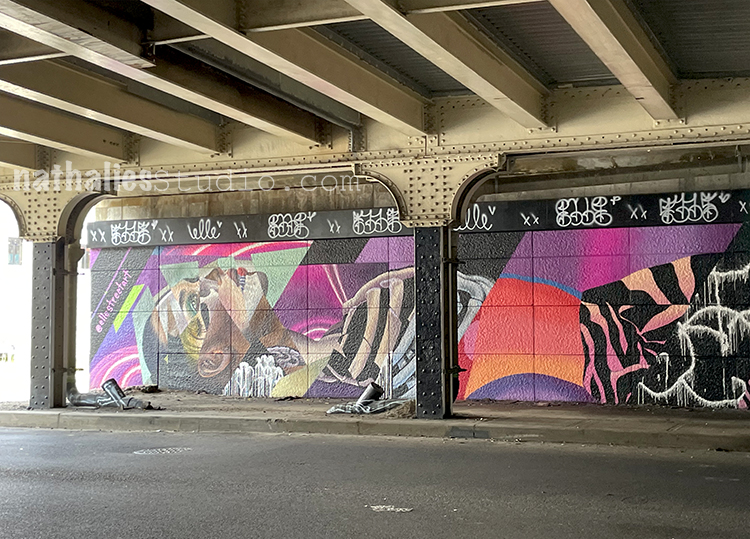
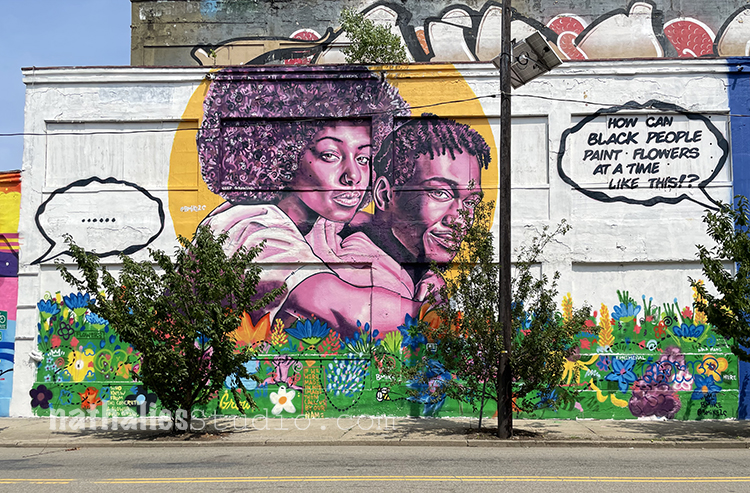
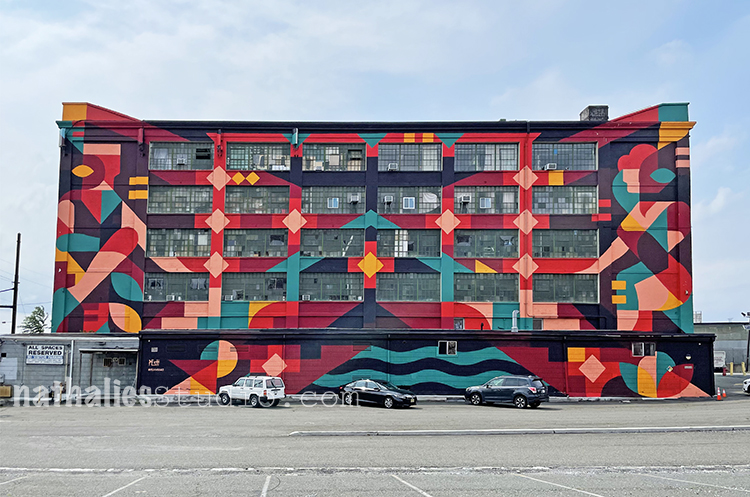
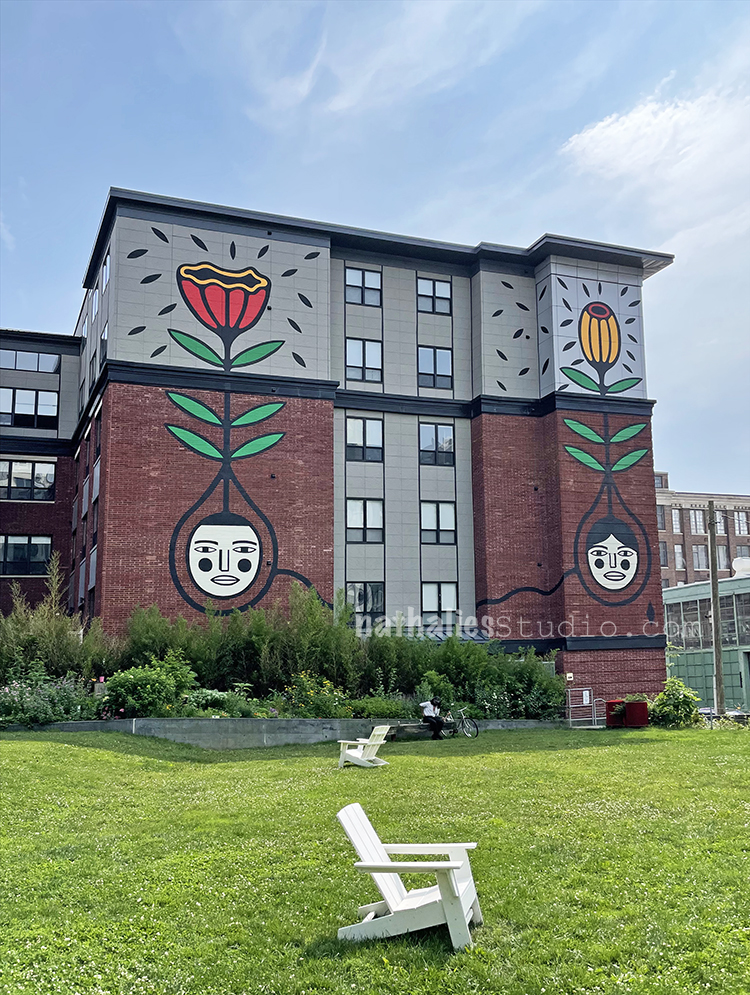
Love how the grid of the wall works with the woman.
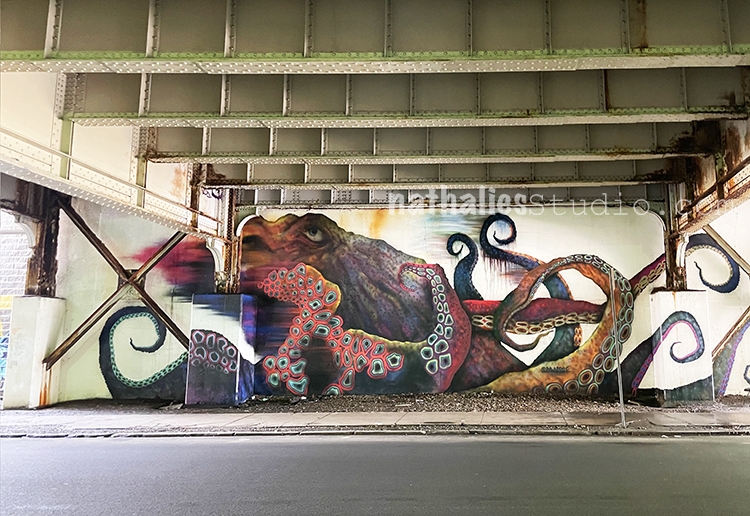
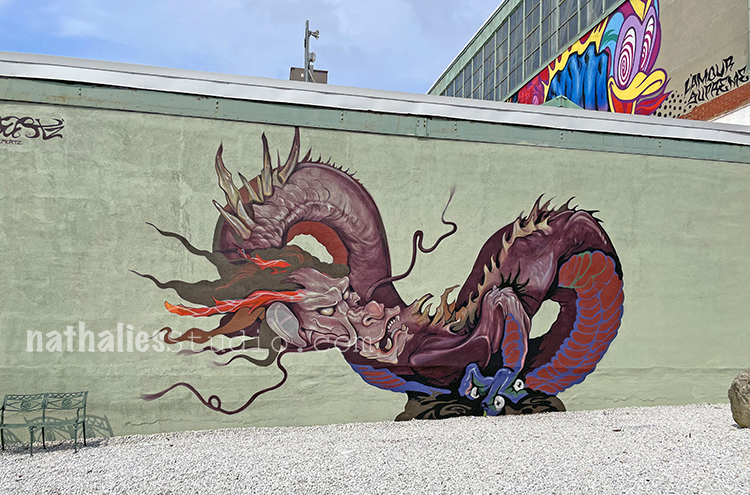
I loved how the light this day reinforced the movement of this friendly critter :)
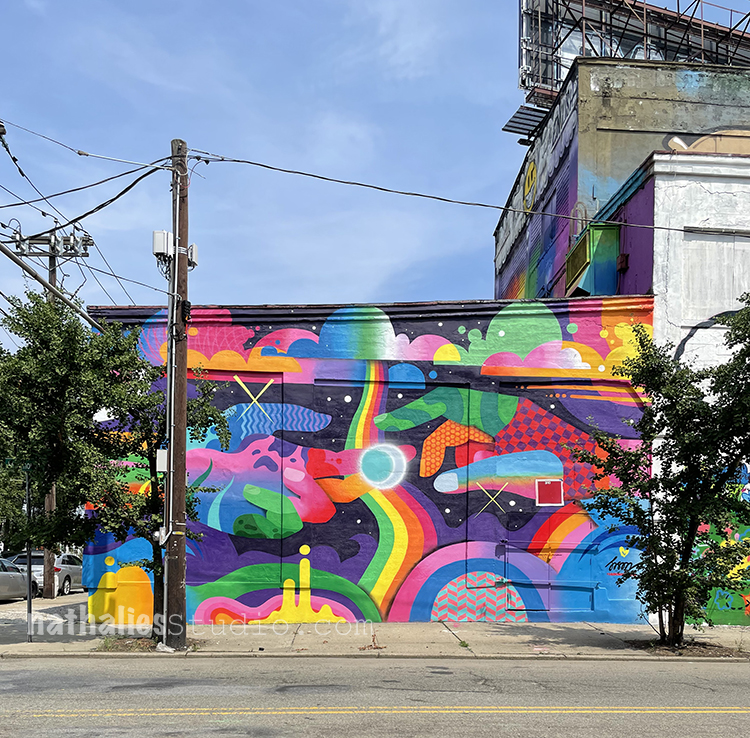
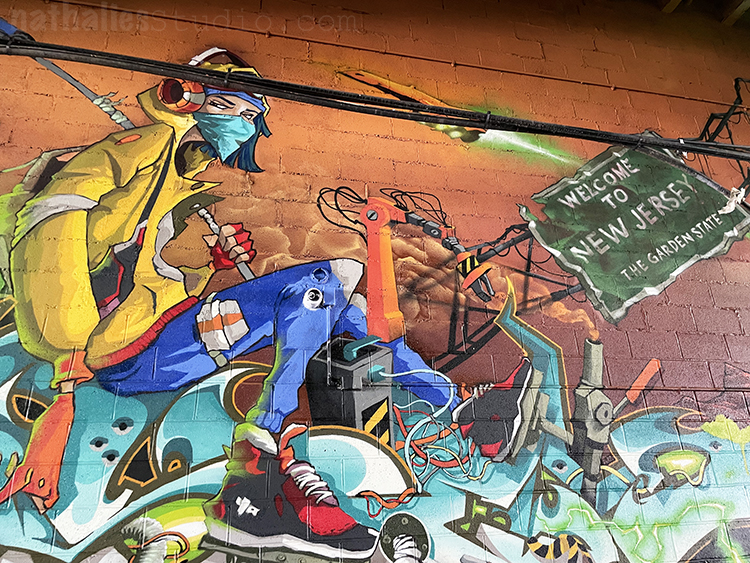
This whole mural is amazing!
Awesome colors and patterns!
And I love this one with all those eyes and the Dude Shhhhhh – I have been trying to think who that actually is …maybe you can help me :)
Different Murals by different artists- such a cool wall!
And yeah “Welcome to Jersey City! ”
I love how these murals change the environment from something you really do not want to spent much time around to …something more exciting and interesting.
How cool is that????
I am just amazed by the skills that people have!
Makes me feel like a total looser using my spray paint …
This one is def. a bit older but I haven’t been in the area for a while- it is at a really nice little park where a lot of events take place – like yoga, little lectures about birds or plants. Def. hope I can catch one of those events during this summer.
And that was the Murals of Jersey City Part 3 …but I promise you …there is more and there will be another part in a couple months for sure :)
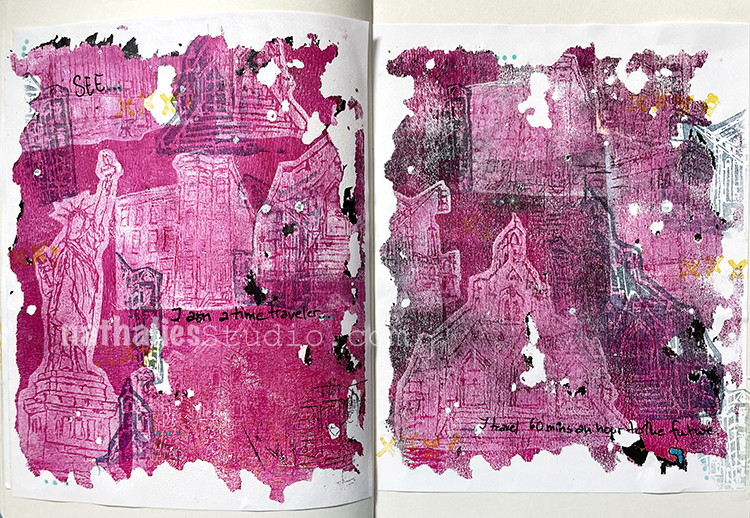
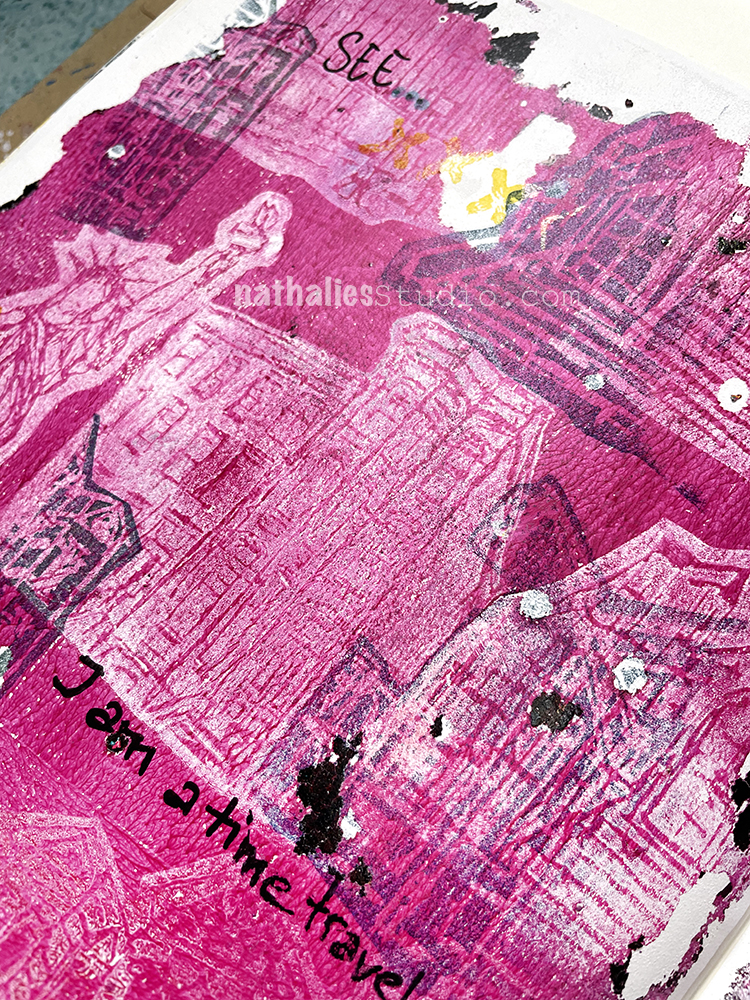
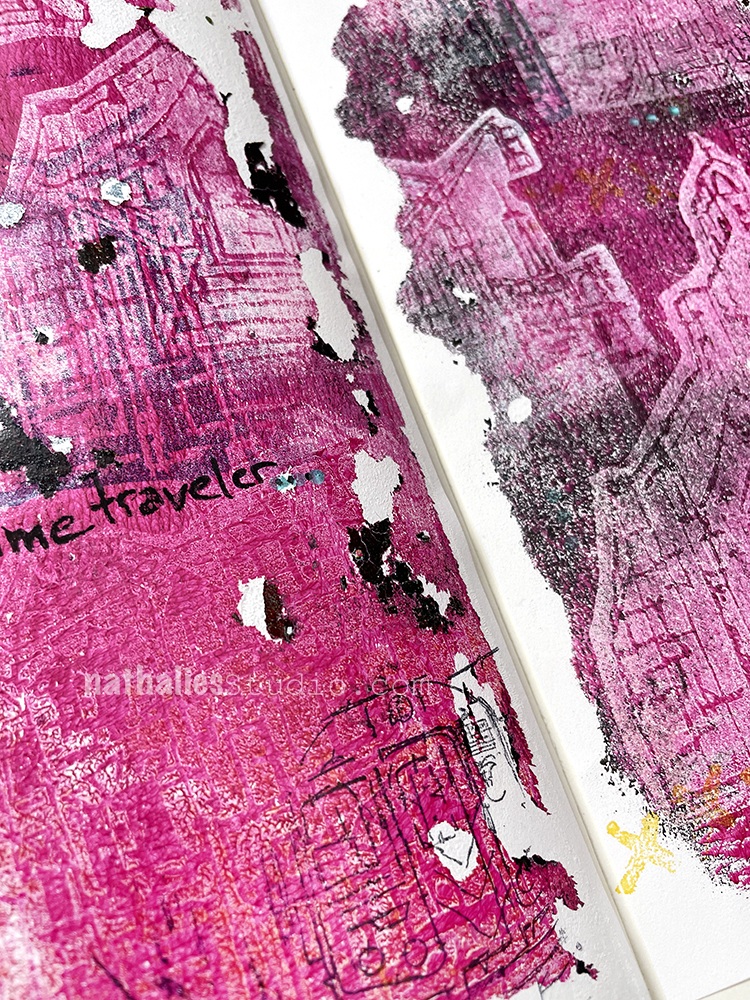
“See… I am a time traveler… I travel 60 mins an hour to the future.”
For this art journal spread, I was playing with my new ArtFoamies on a Gelli Plate.
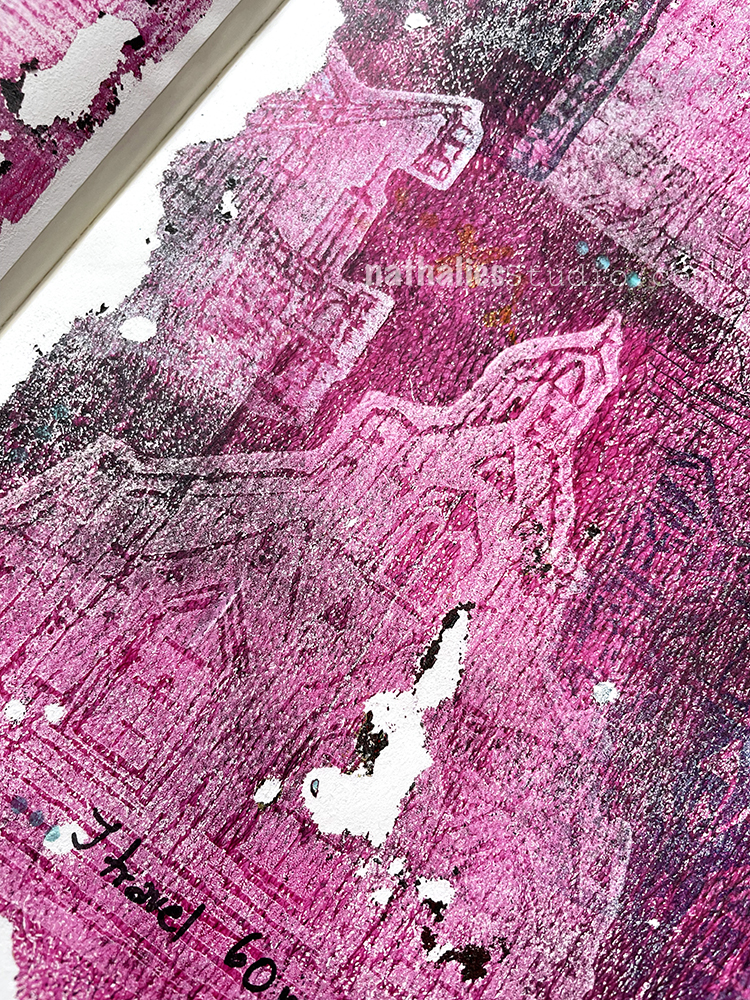
I rolled out magenta acrylic paint on my Gelli plate, then pushed the foam stamps into it to lift the paint and let it dry. Then I rolled out white paint on top and pulled a print while the paint was still wet – this takes off the dried paint as well. Also bits and pieces that were dried to the plate before I rolled out the magenta color came up too here and there and I love the grungy look that resulted.
and here is Church peeking through some yummy grunginess.
I pasted these prints into my art journal and then also stamped some of the foam stamps inked up with Versafine ink in there too to add some other elements.
I used my E-Train rubber stamp with black archival ink for some detail and also my Love Knots rubber stamp with yellow ink from the Embroidery set.
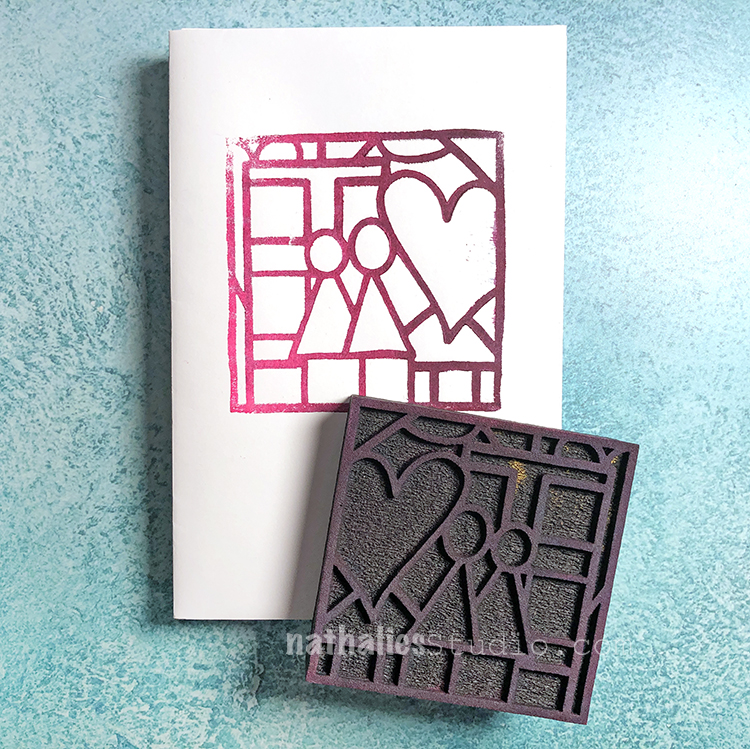
How about a little Love Story? Once upon a time an artist named Nat was introduced to ArtFoamies foam stamps and fell hard for this mixed media tool – she even became a designer of foam stamps and the rest is history!
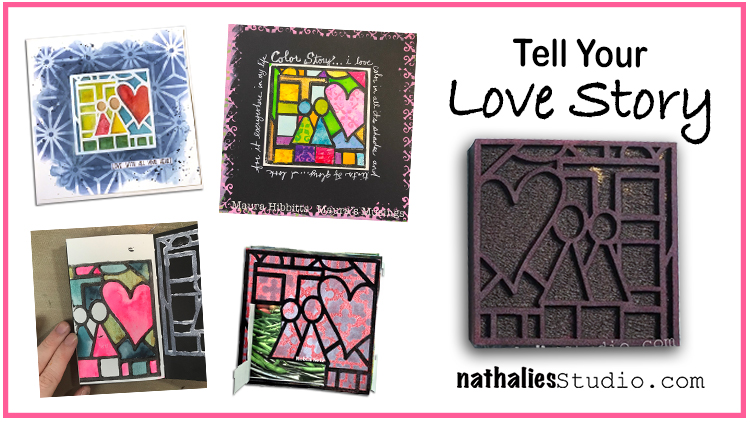
Haha ok that’s just the short version but today I’m here to talk about my special Love Story foam stamp that I made for Creative JumpStart this past year. It’s a limited edition foam stamp and it’s only available through the end of 2021 so time is running out if you haven’t gotten one yet. Let’s see some of the cool projects inspired by it this year:
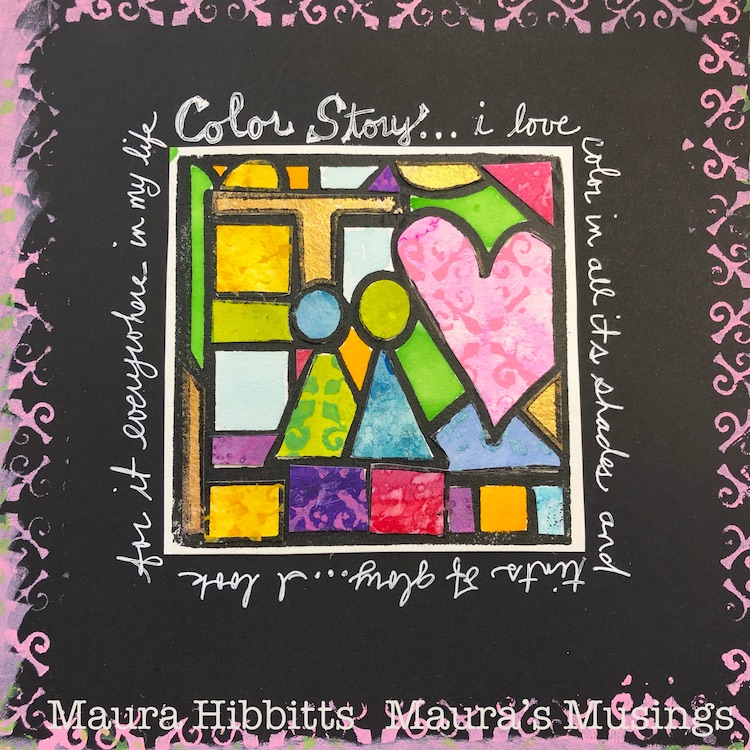
My Creative Squad got to play with this stamp in January this year and I love Maura’s Color Story project here where she used the Love Story foam stamp as if it were stained glass with paint and collage. Pretty cool way to make the design pop and to use up some collage papers too!
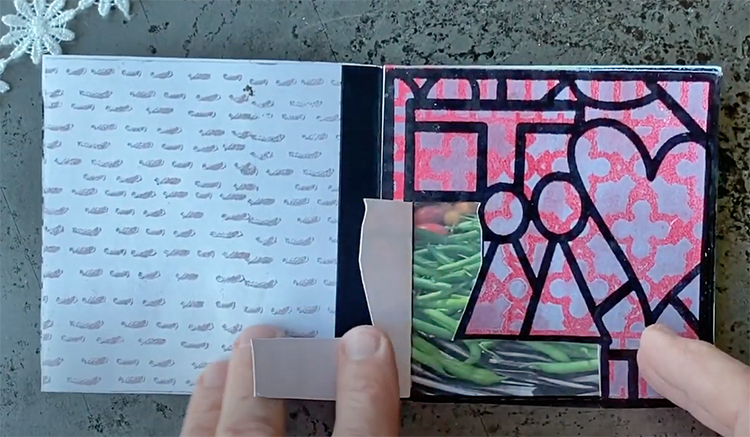
Robin used Love Story to create this mini book project about her love of gardening. She used elements of the stamp as little peek-a-boo doors into her garden and all the wonderful things she grows there.
Jordan worked in her art journal and used Love Story as the backdrop and facing page design to help her tell the story of her journey as an artist. You can see how she builds this composition in the original post here.
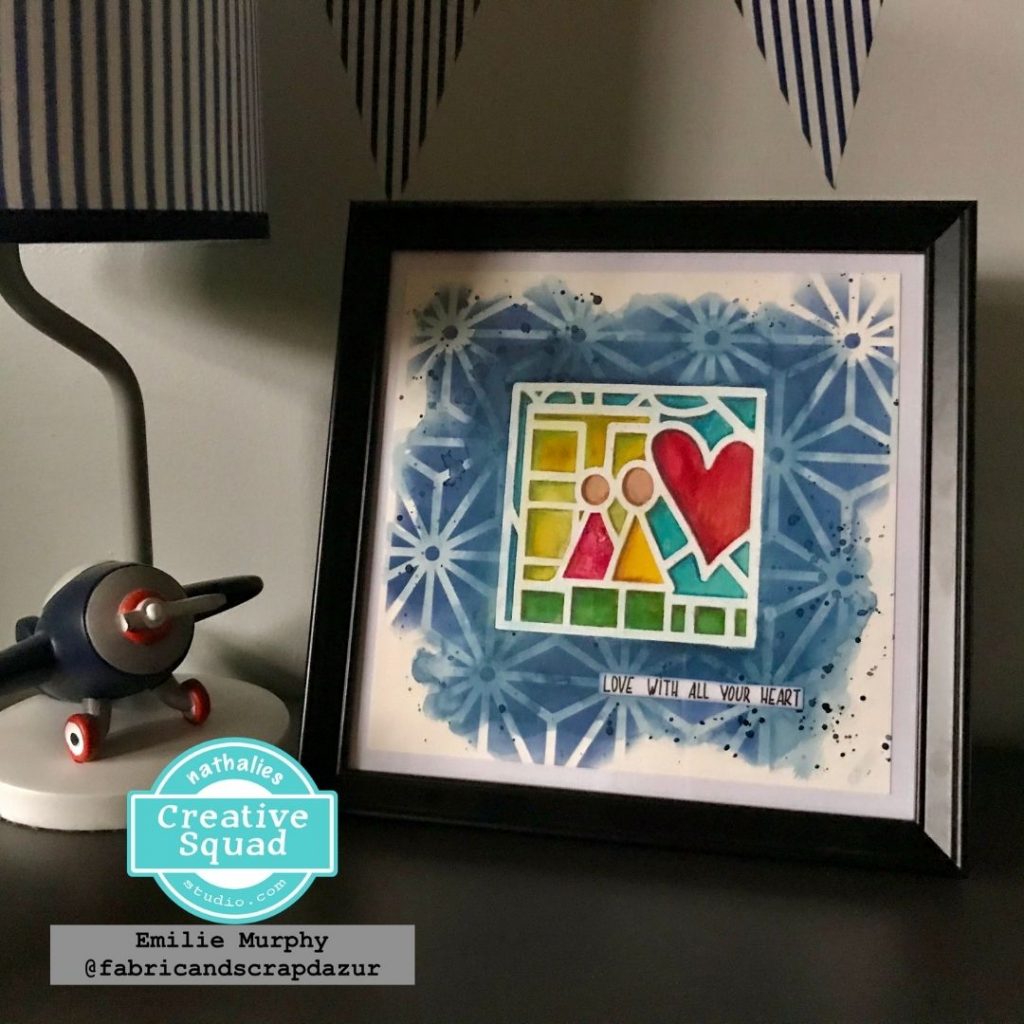
Emilie created a gorgeous piece of art for her son’s room with Love Story and we just love how she used white embossing powder and watercolor with the stamp. See how it comes together in this post.
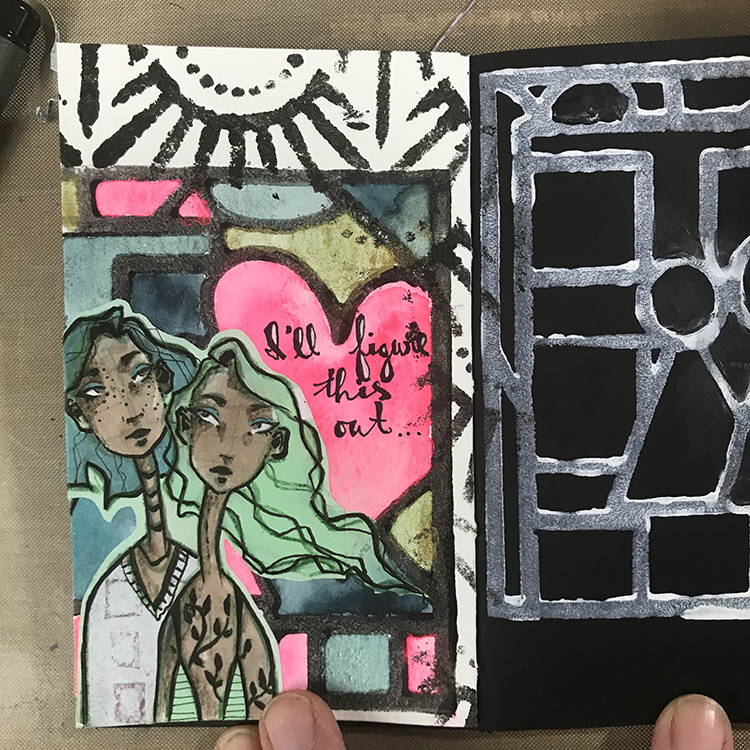
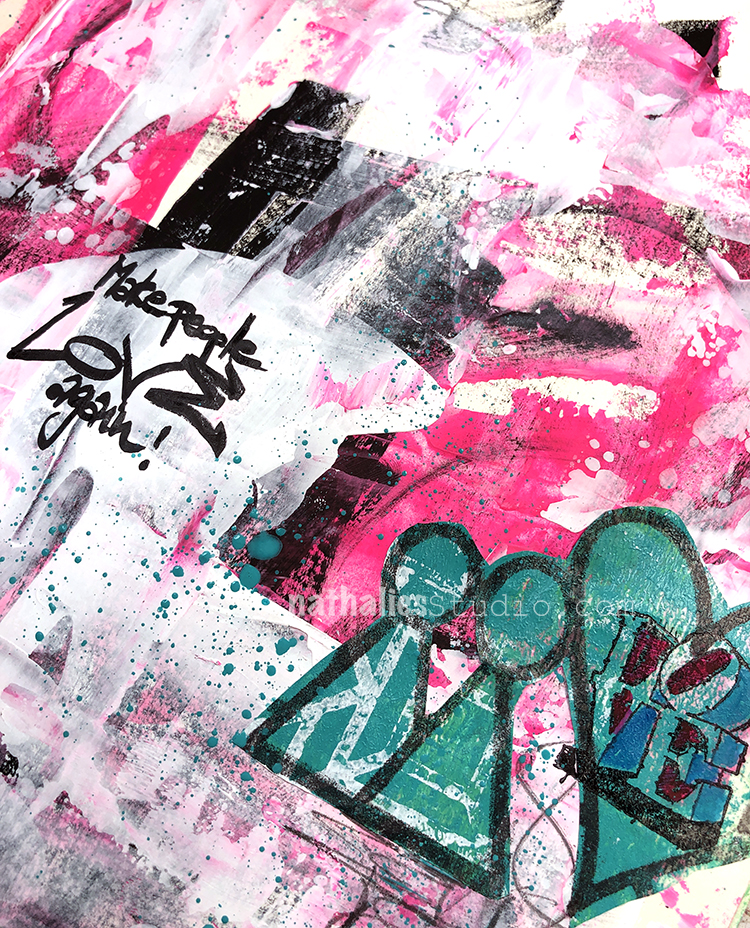
I like to take elements from the Love Story foam stamp and collage them into an art journal page as I have in this spread. Isn’t it crazy how just a few simple shapes can still tell a story?
And finally here is Love Story in a simple but bold arrangement with a couple of my Mini Motifs foam stamps too. Just black ink and water soluble crayons and ta-da – pretty nifty design for this art journal page.
Just a few of these stamps are left here in my shop so hurry in and start telling your Love Story too!


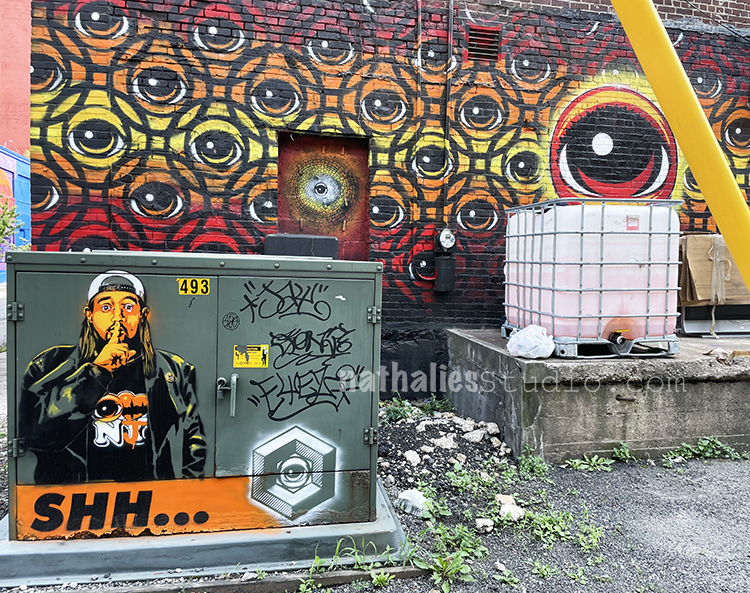
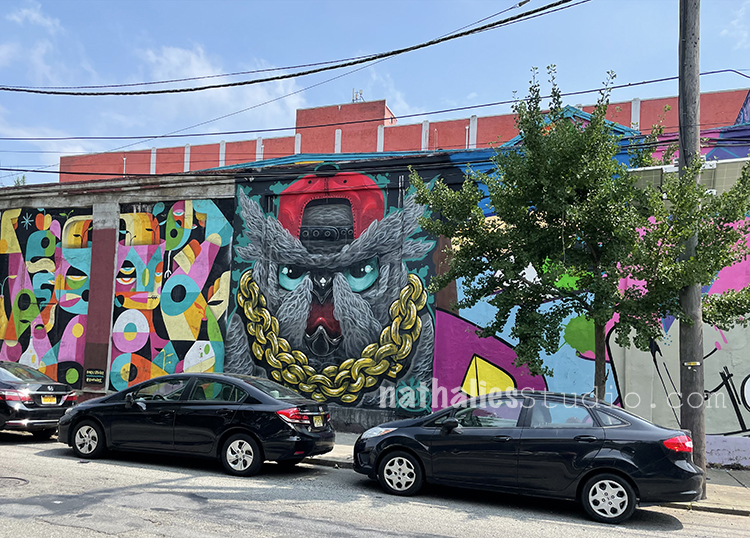

Love that Panda!
That is Silent Bob from the movie Dogma.
Reply