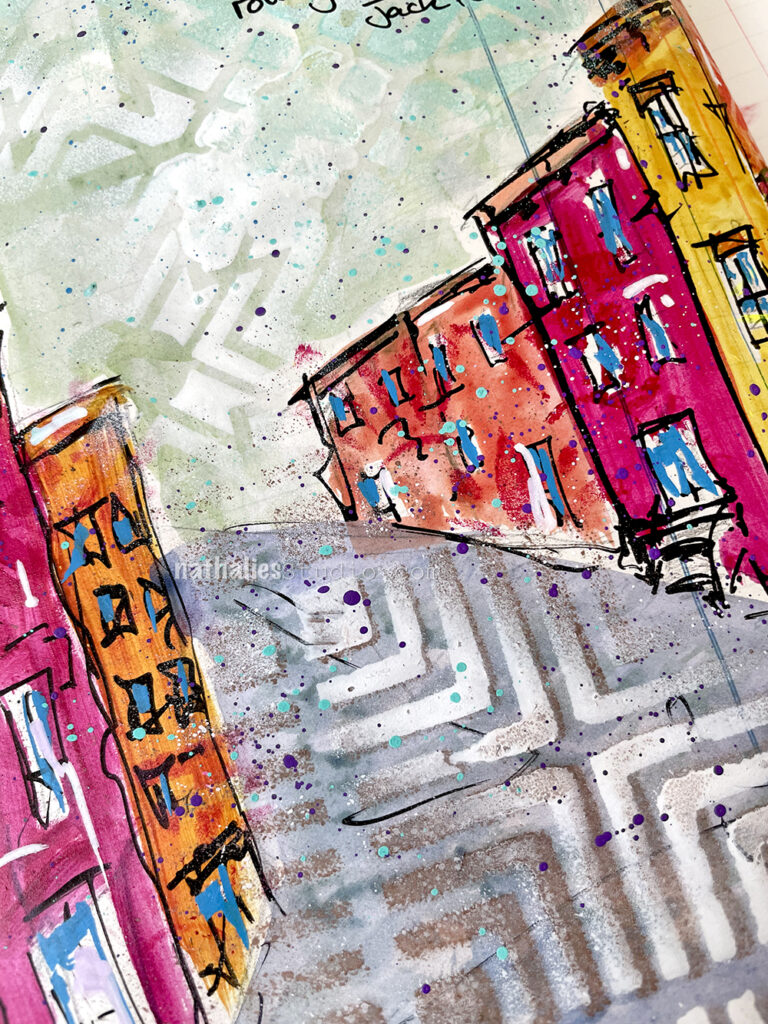
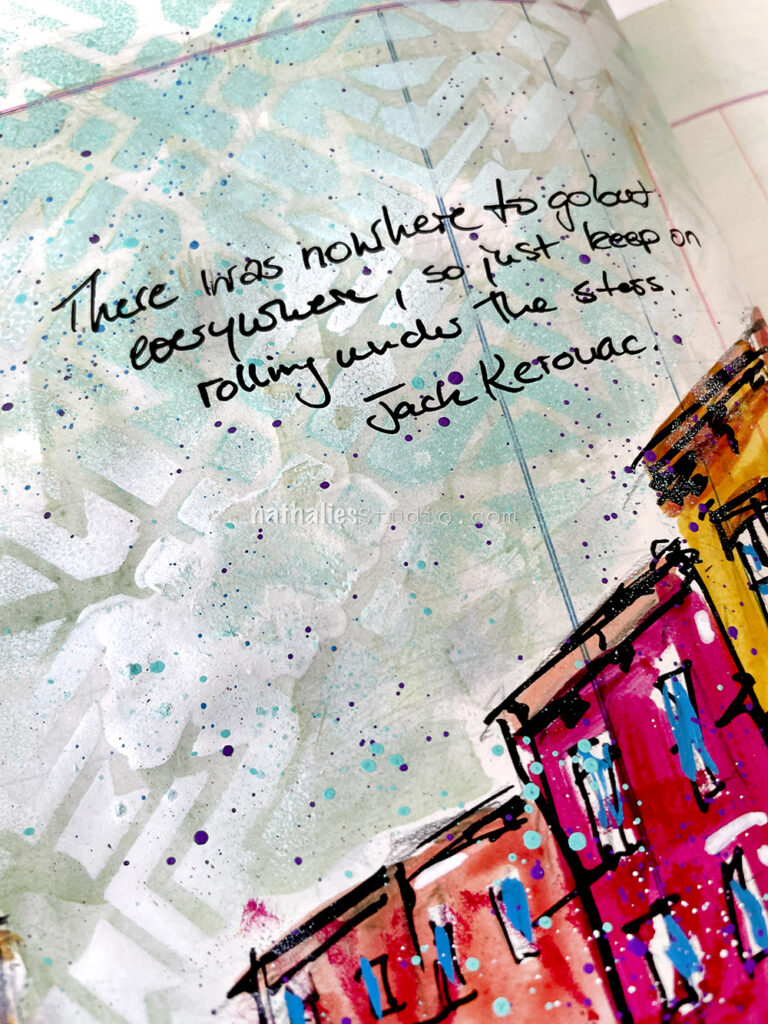
I painted a loose street scene with acrylic paints in this art journal spread. I added some details and definition with markers and used stencils and spray paint over the “sky” (my Toledo stencil) and the “street” (my Manhattan stencil).
To add a little bit of pattern into the house I reached for my ATC Mixup stencil. It’s very subtle – basically in the same color as the house where it was painted, just to give some texture and oomph to the colors.
Hello from my Creative Squad! Today we are kicking off a new monthly theme with Maura Hibbitts. She is bringing us some lovely holiday cards in some perhaps untraditional colors, shaking things up to finish up 2020 with my Star Struck, Toledo, and Santiago 4×4 stencils, my Small Circle Jumble rubber stamps, and our theme: Light & Shadow – In art and maybe also in life, the balance between light and shadow is an important consideration. Play with this equilibrium in your art and show us how the two sides work together.
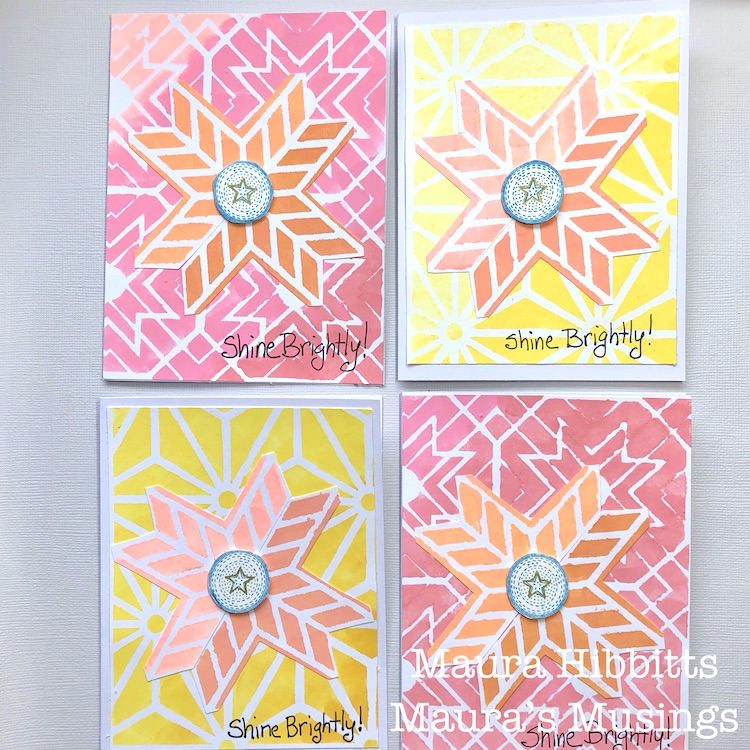
Light and Shadow, dark and light…as the days get shorter and the shadows longer I’m feeling the need for more light in my life. I watch the strip of sunlight on my deck railing in the morning outside of my work window (It was all lit in the summer), and then the shadows as they expand across the yard during the day. Each day will get shorter until the Winter Solstice on December 21. This year, more than ever, I am looking forward to our shift again to more daylight. These thoughts also prompted me to challenge myself to work with bright colors that I would not normally choose – yellow and pink. So, I’ve ended up making eight holiday cards in very non-traditional colors, check it out.
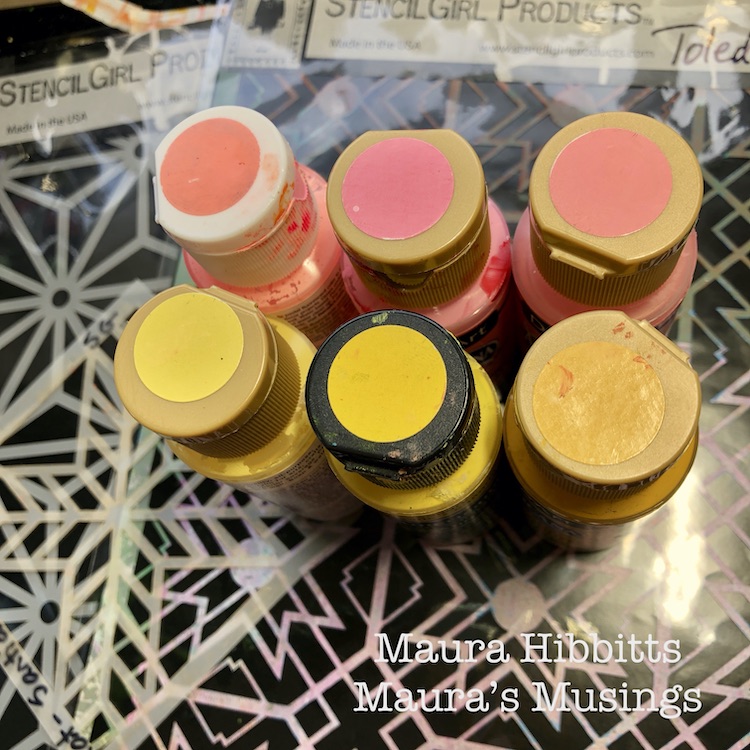
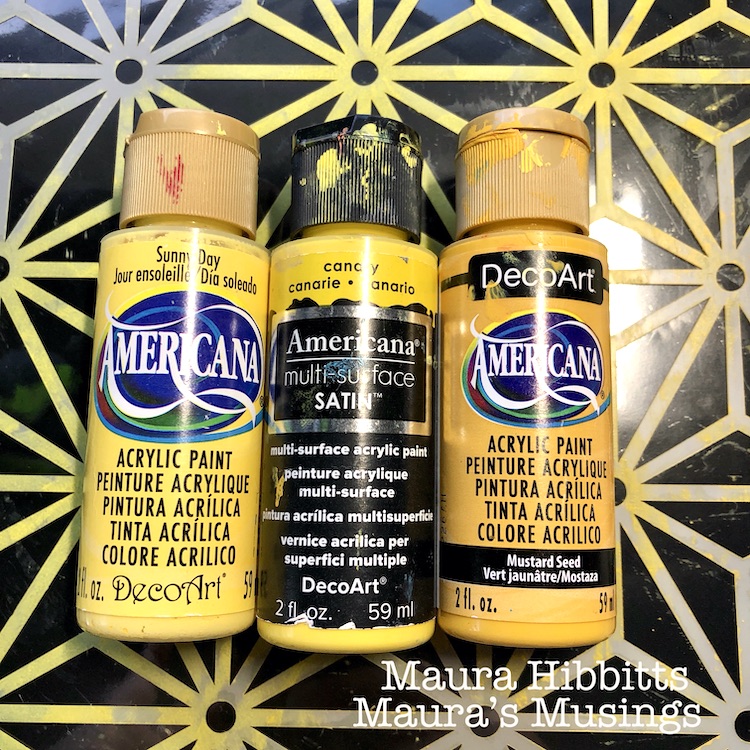
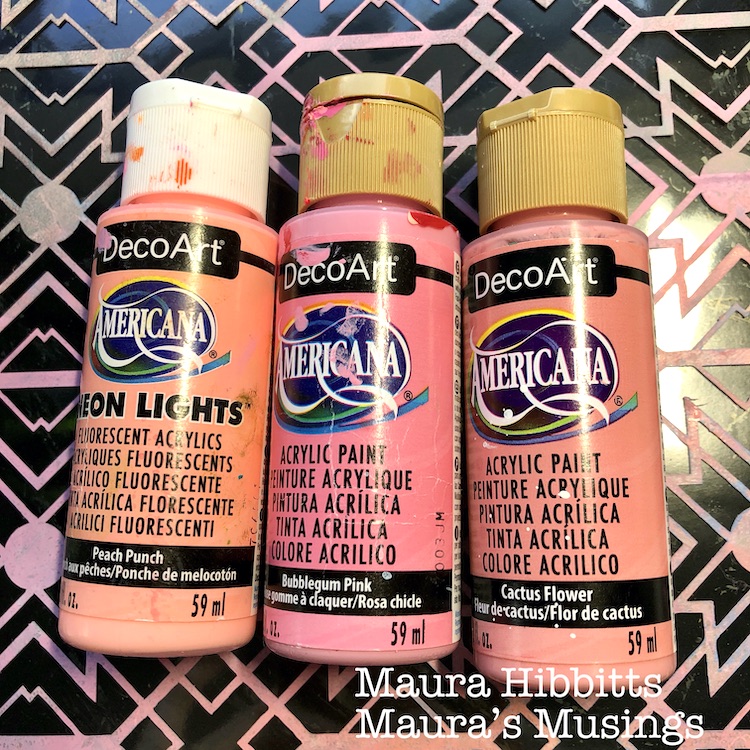
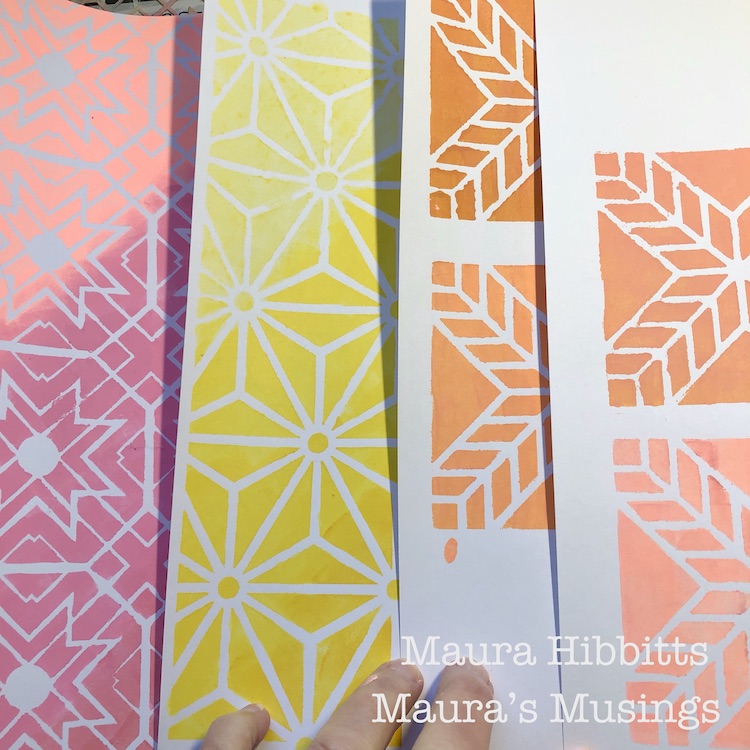
I started by going through my stash and pulling out paints in varying shades of pink and yellow, so I would have a blend from dark to light.
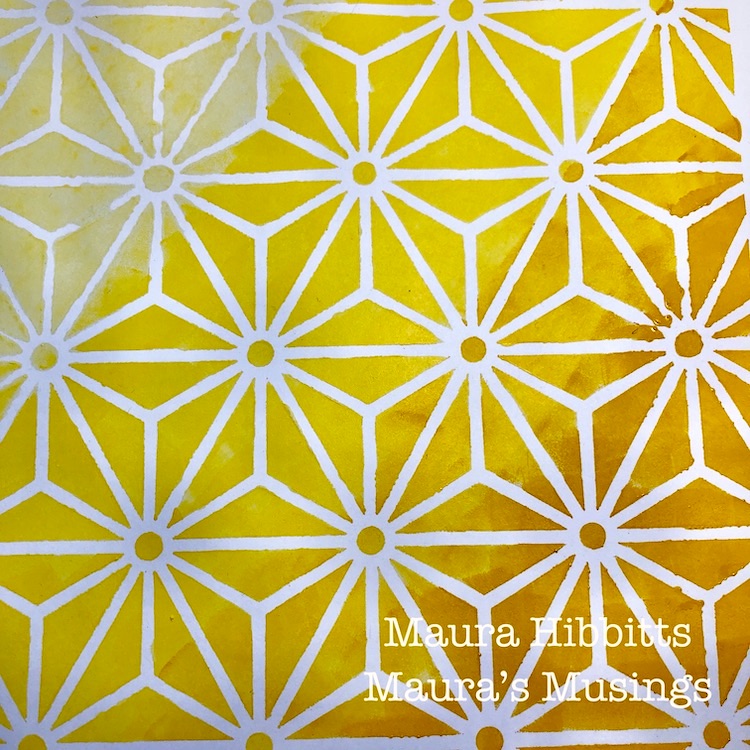
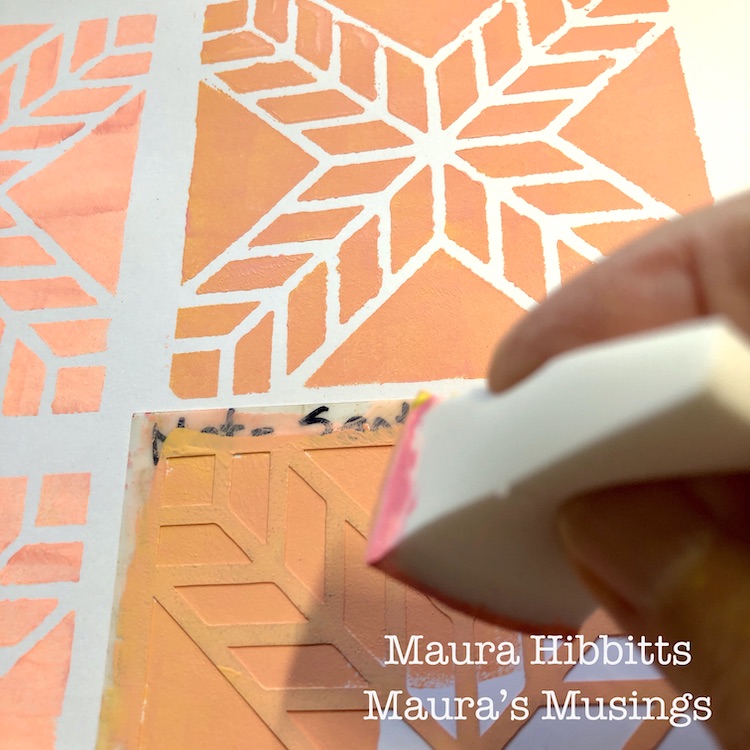
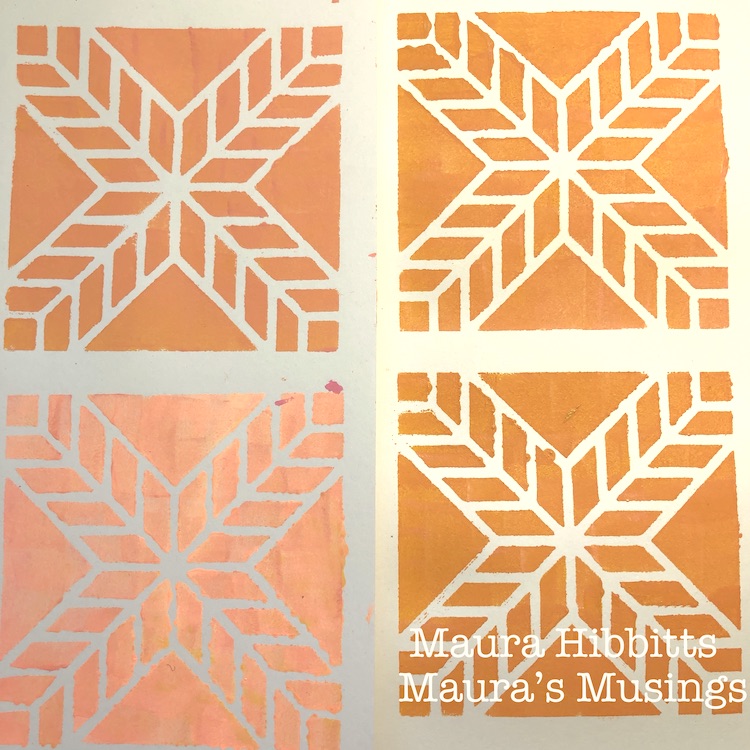
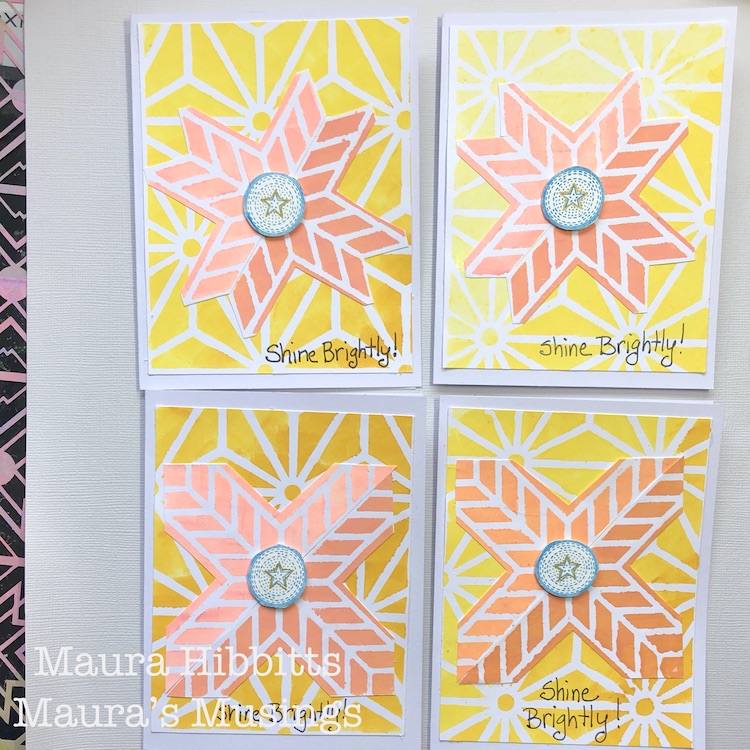
Nat’s Star Struck stencil seemed to call for the yellows, so I dabbed the colors in with a cosmetic sponge onto white cardstock, starting with the lightest in the top left, and working my way to the darkest in the lower right. Light and shadow, along with a bit of ombre.
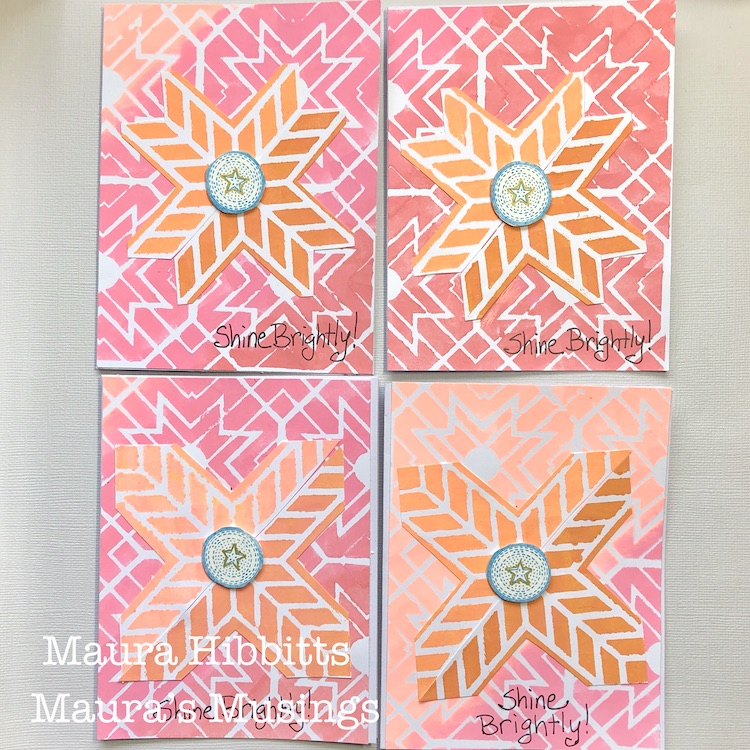
Next up are the pinks. where I repeated the previous step, only this time I used Nat’s Toledo stencil.
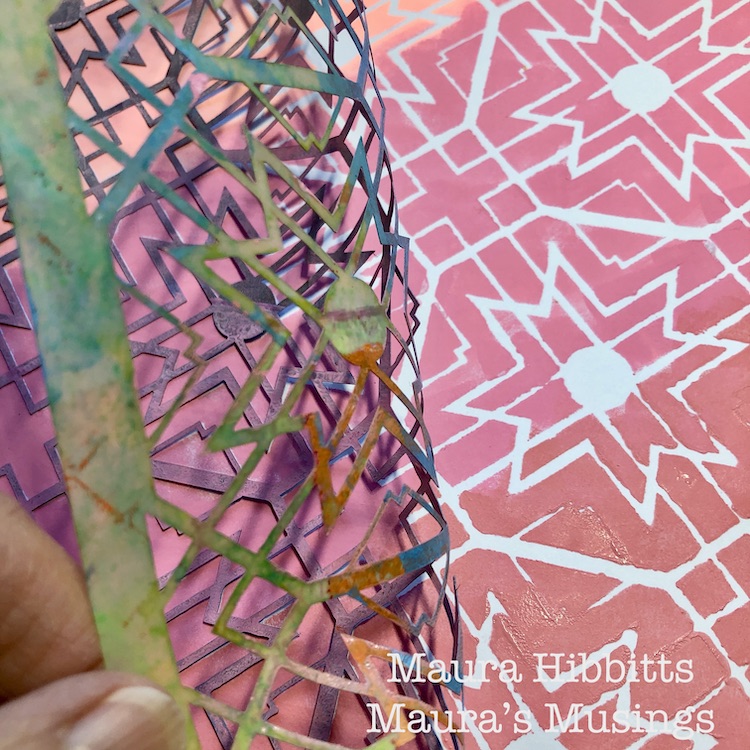
I decided I wanted to create a focal point, so I mixed varying shades of peach and orange, by blending the yellows and pinks, and used Nat’s Santiago 4×4 stencil. My goal was to have a mix of light and dark (shadow) shades.
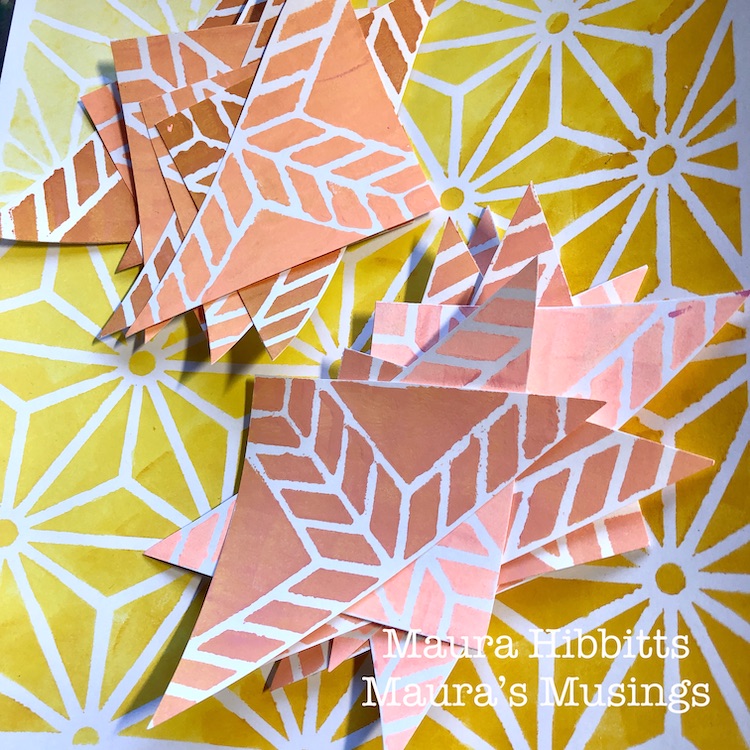
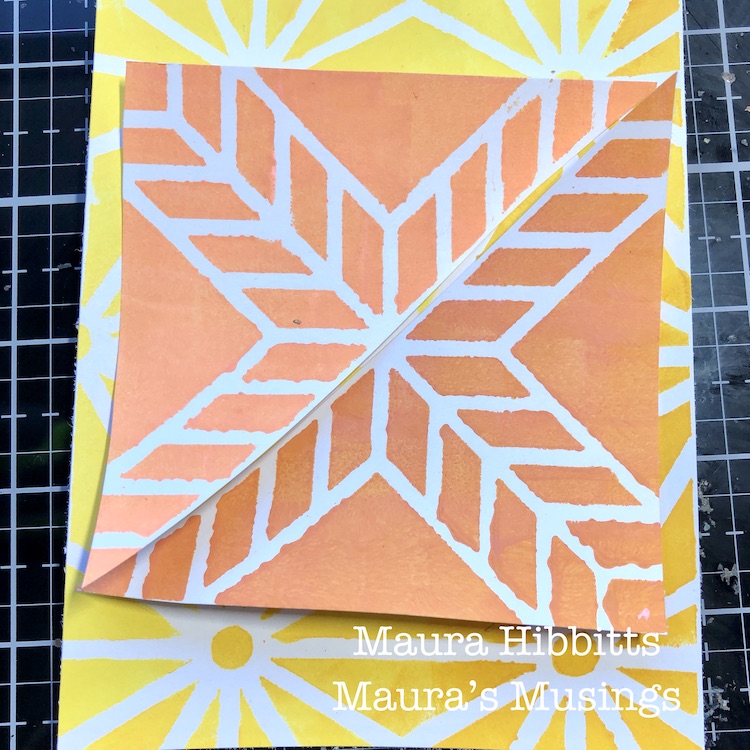
Now that everything is painted and stenciled, it’s time to start building the cards. I cut the large sheets of stenciled yellows and pinks into fourths to use as the card background. Next, I cut out the Santiago mini squares, and cut them diagonally in half. I laid the two parts together, decided I wanted more of the background to show, so cut out parts of the smaller stenciled papers. I glued the papers onto the cards using a PVA glue.
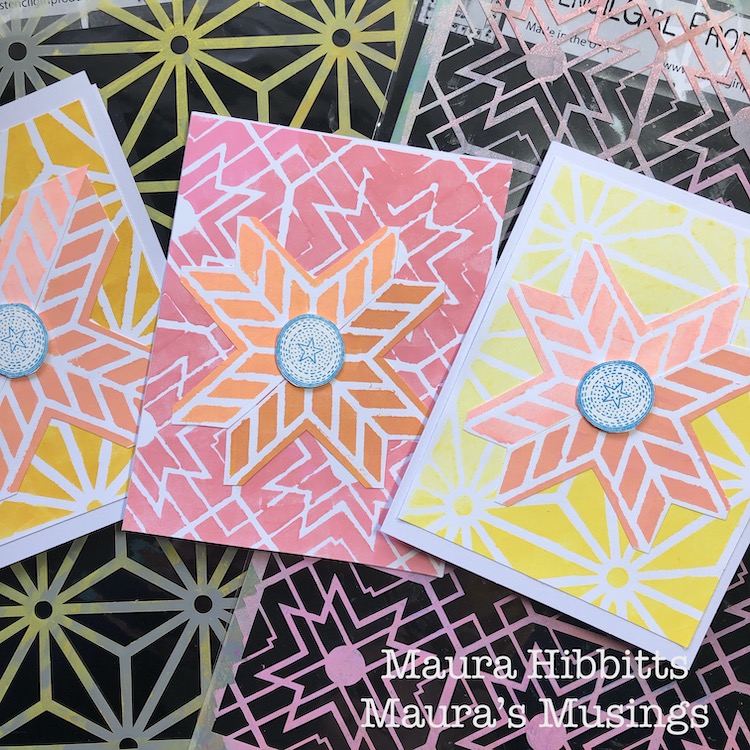
I felt that I needed one more pop of color, so I stamped Nat’s Circle Drive Positive small stamp onto watercolor paper with blue ink. I cut these out and popped them up on the center.
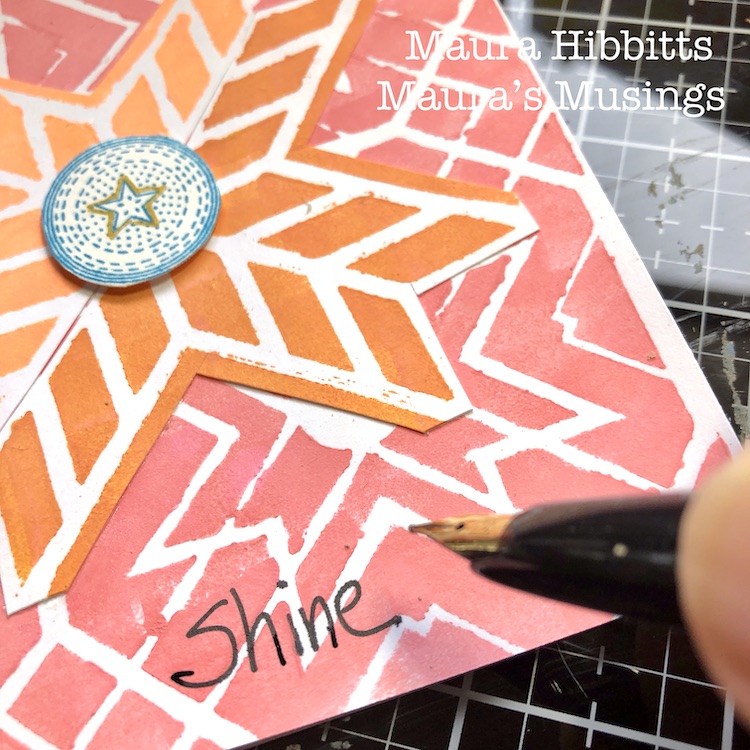
Now for the final touches – a bit of sparkle with a gold pen, where I outlined the star shape, and hand lettered words “Shine Brightly!” I love to use a Platinum Carbon ink pen over dry paint, but any permanent black pen will work.
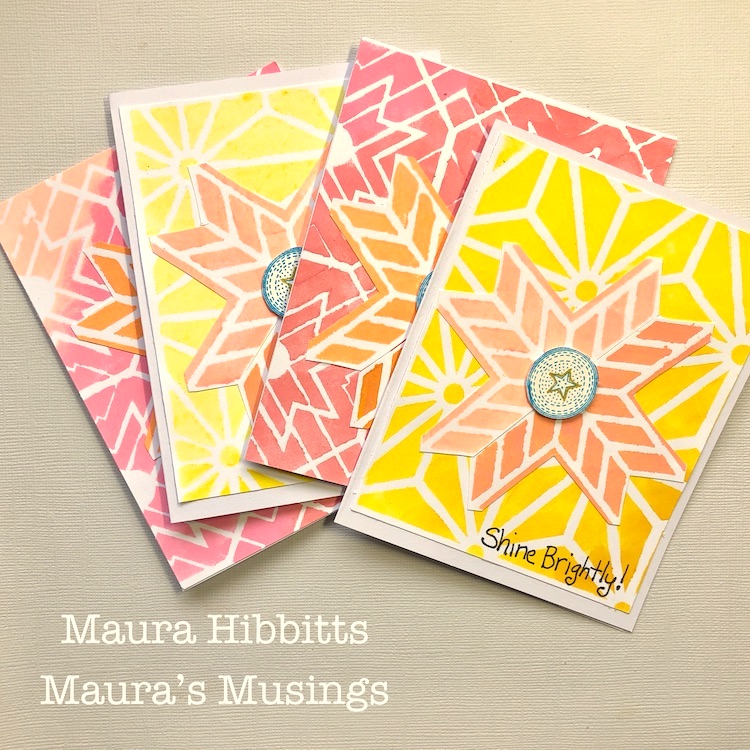
I aimed to use the colors to give a feel of light and shadow, so I worked both the background and focal piece from lightest on the top left, to darkest on the bottom right. What do you think, did it work?
And there you have it, a set of eight cards in a bright array of yellows and pinks. These might be very non-traditional Christmas cards, or maybe Solstice cards. Another thought is to save them, and randomly send them out in the dark days of winter to bring a ray of light to someone. I hope this inspires you to observe the light and shadow in your life and let it guide your creative endeavors. Wishing you health, joy, and light this holiday season! – Maura
Thank you Maura! We love how your colors make these patterns pop. And nontraditional holiday colors seem perfect for this crazy year :)
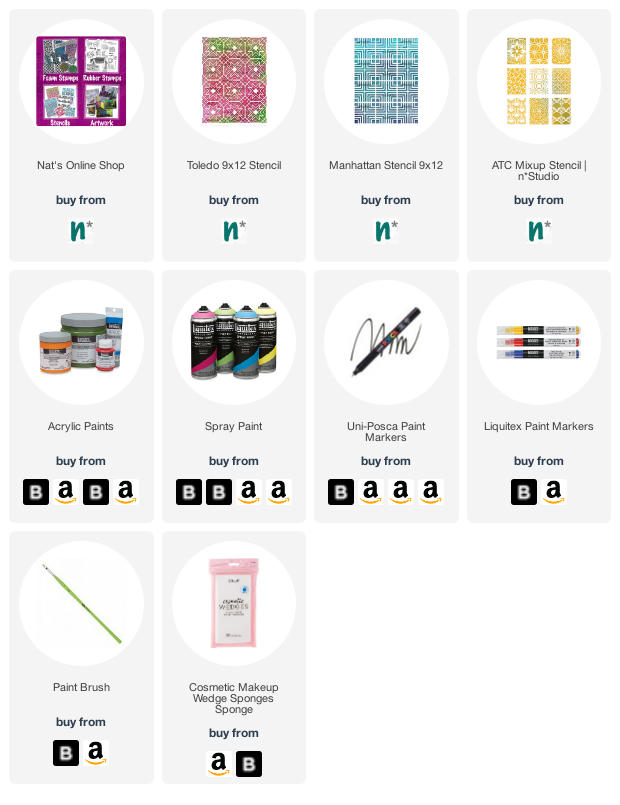
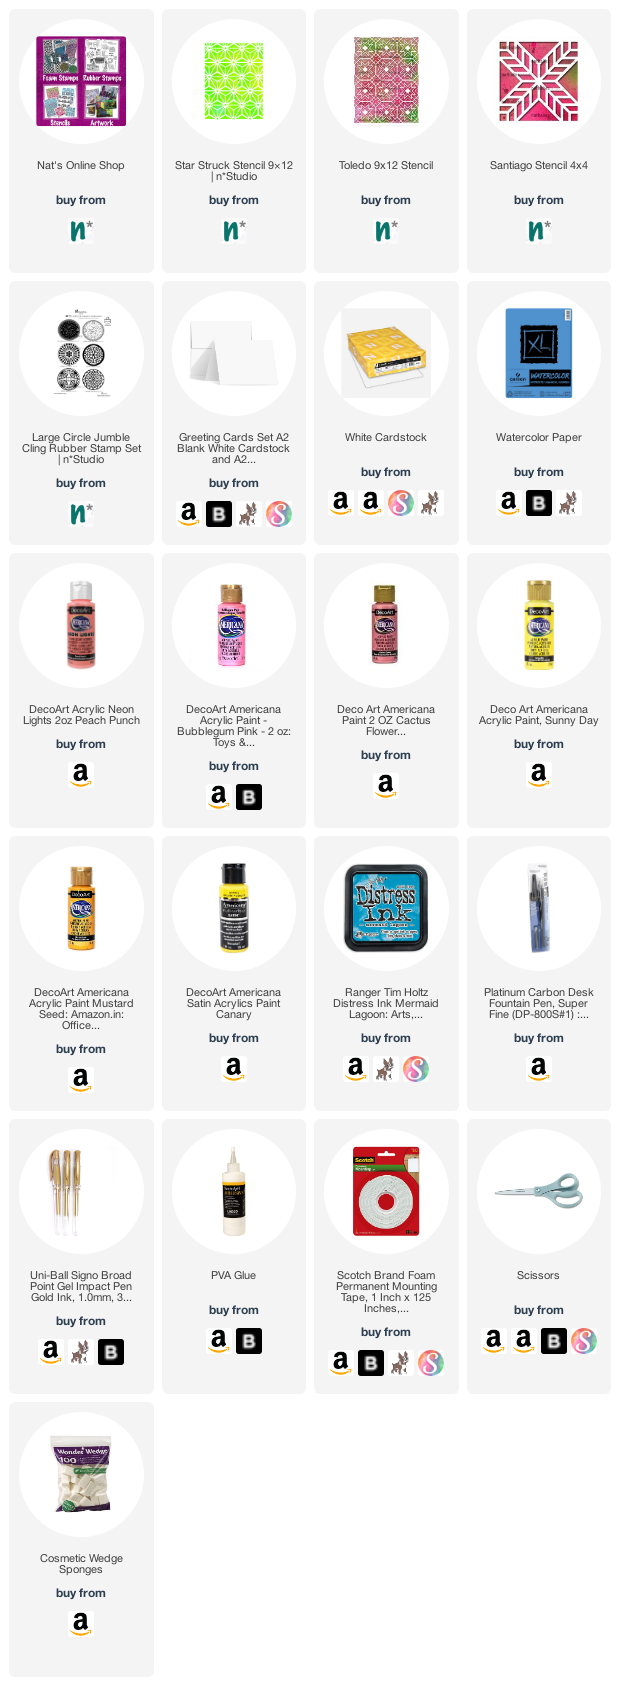
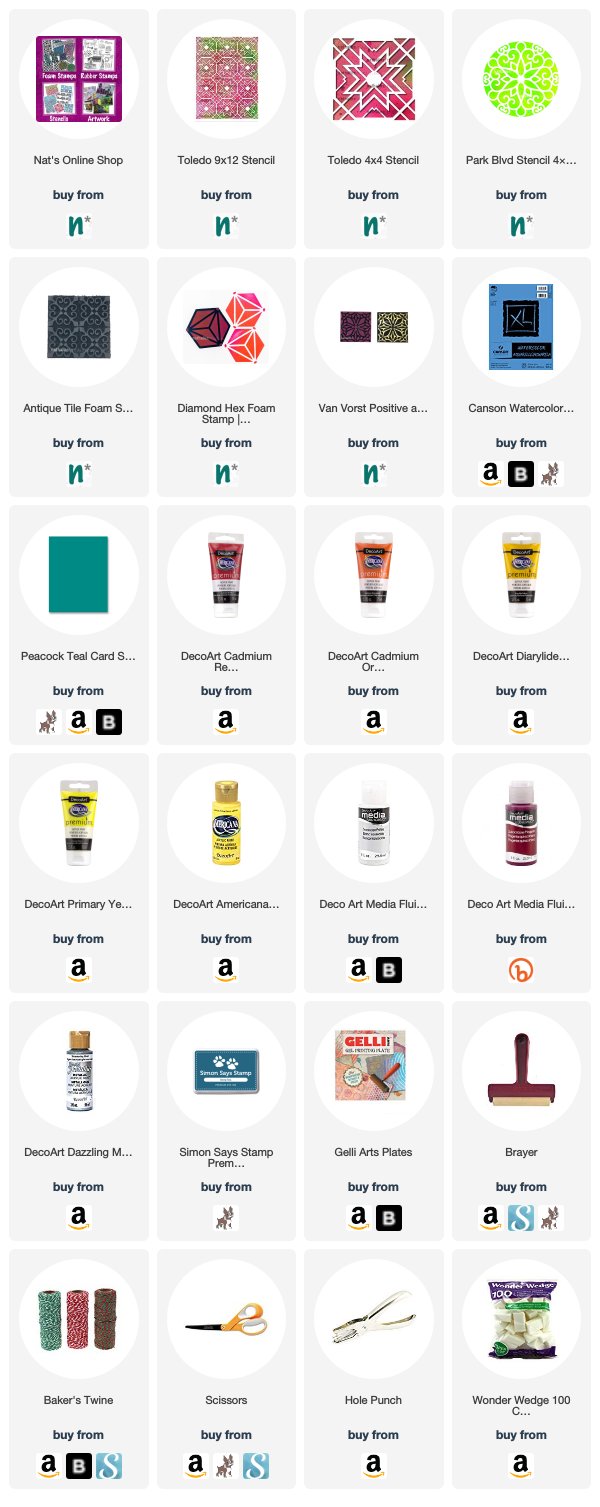
Give it a try: you can find all my Rubber Stamps and Stencils in my Online Shop and here are some of the other supplies Maura used:
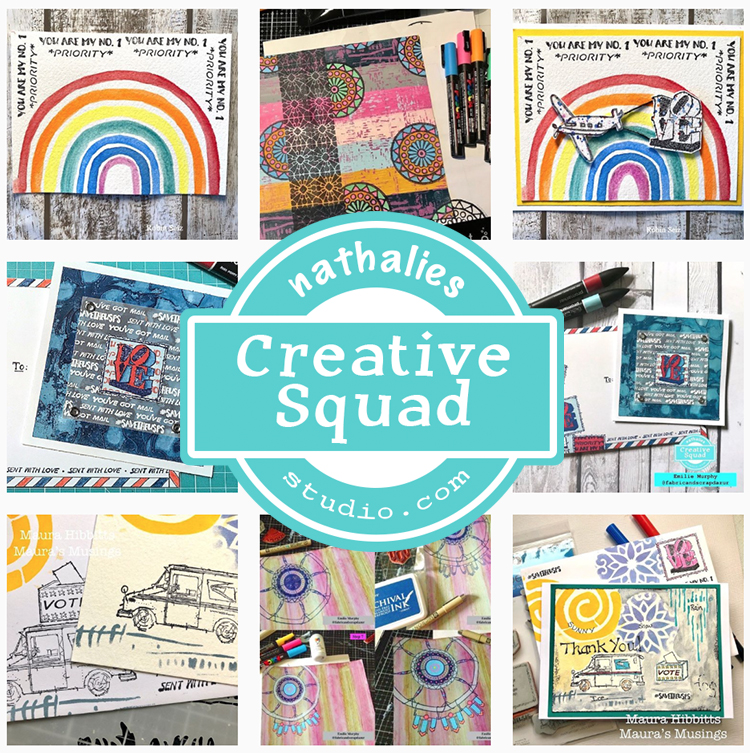
Don’t forget to check out Nat’s Creative Squad on Instagram too: Each week we post projects, ideas, and inspiration for mixed media art.
A Look Back – a blog series to show you some projects and posts that you may have missed – sometimes going WAY back in the archive. I think it will be fun to revisit a few ideas that we haven’t seen for a while. I’m excited to see how a little look back might inspire something new in the future :)
This time I’m looking at some beautiful stenciled background from my Creative Squad alumni archives. These are some gorgeous and inspiring ideas using my stencils. Here’s a look back. Enjoy!
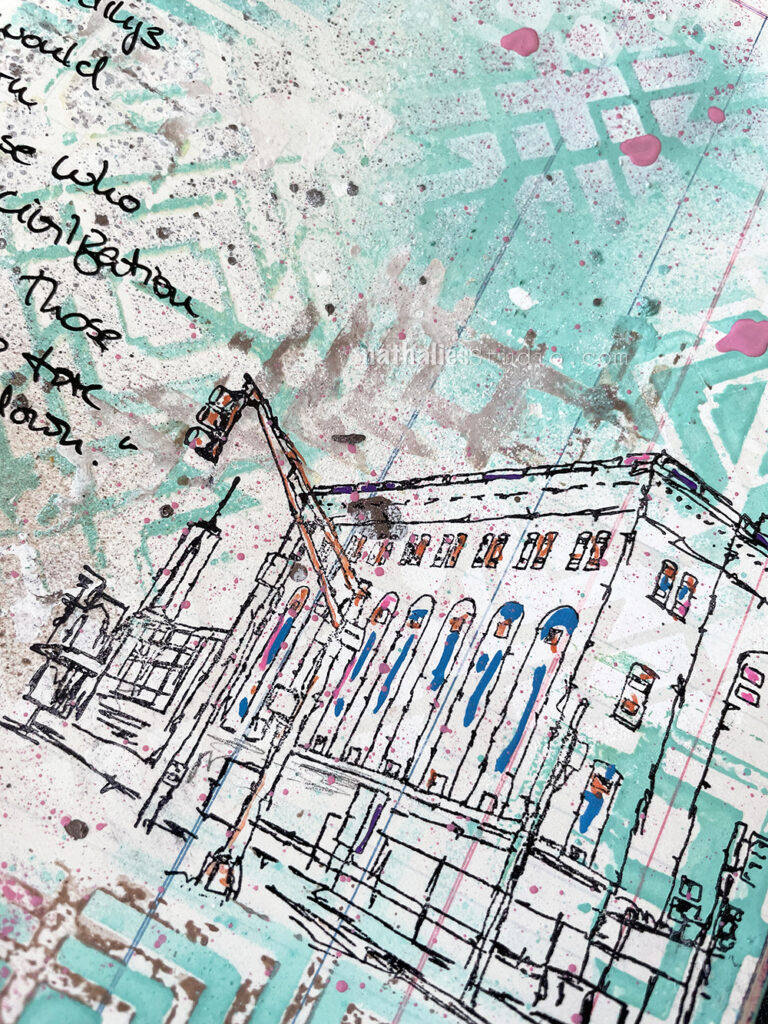
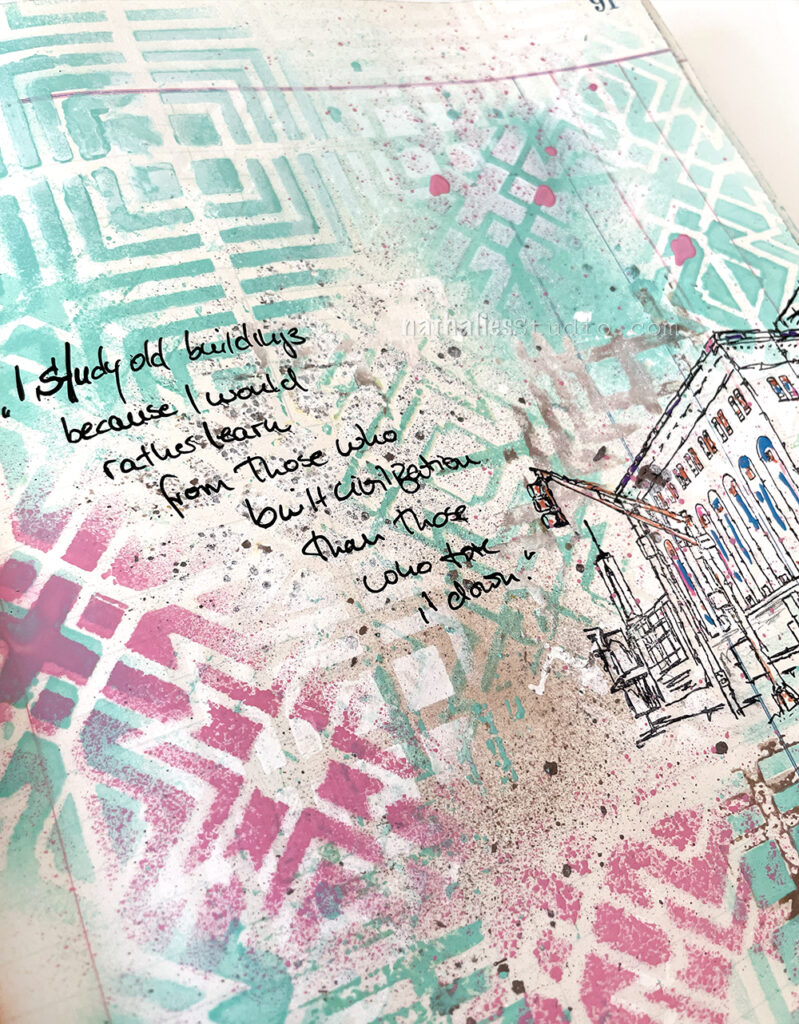
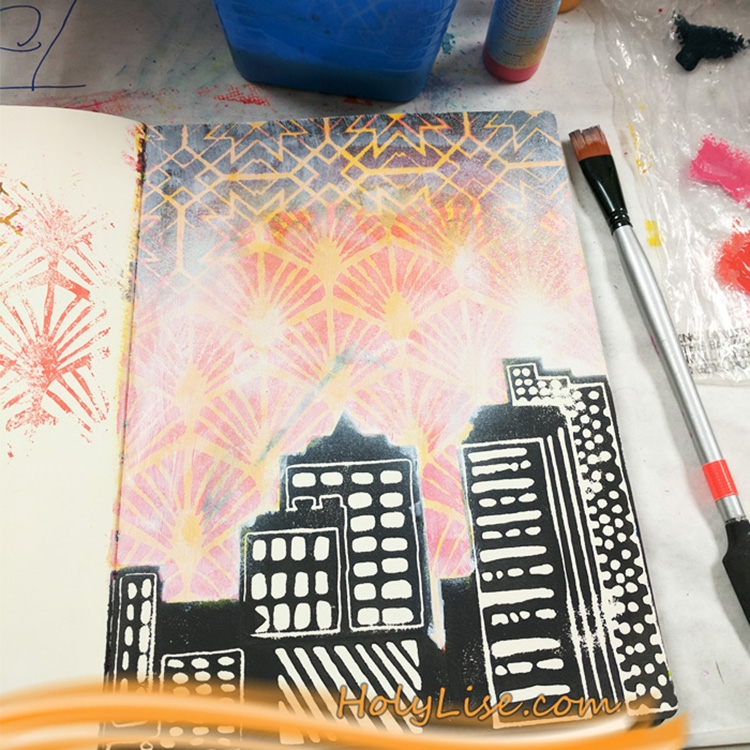
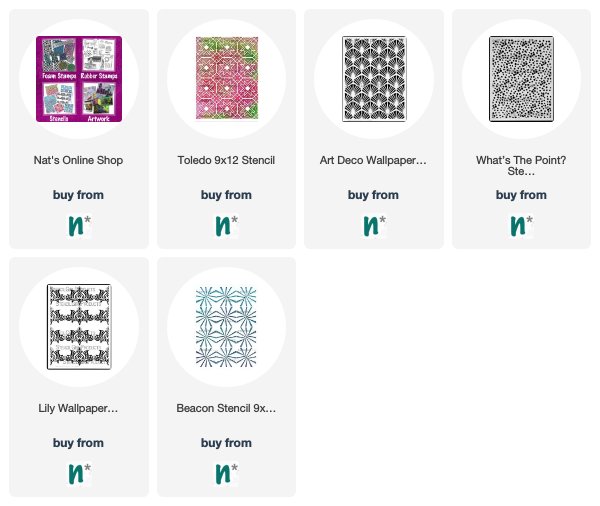
First up we have an art journal page from Creative Squad alum Josefine Fouarge. She blended my Toledo stencil down into my Art Deco Wallpaper stencil for a dramatic sky. I love the idea of an ombre effect that uses both color AND pattern! And that cityscape? That’s my Midtown foam stamp set :)
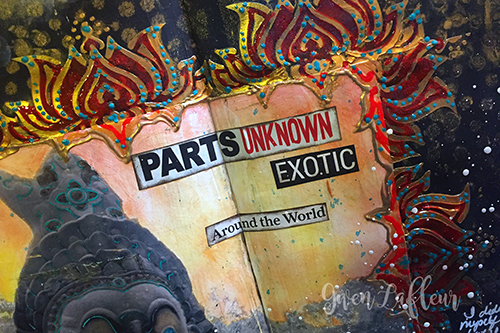
Next we have an exotic touch from Creative Squad alum Gwen Lafleur. She used my What’s the Point stencil and my Lily Wallpaper stencil for this art journal page devoted to adventures. The black, red, and gold color palette definitely transports us somewhere far off and interesting :)
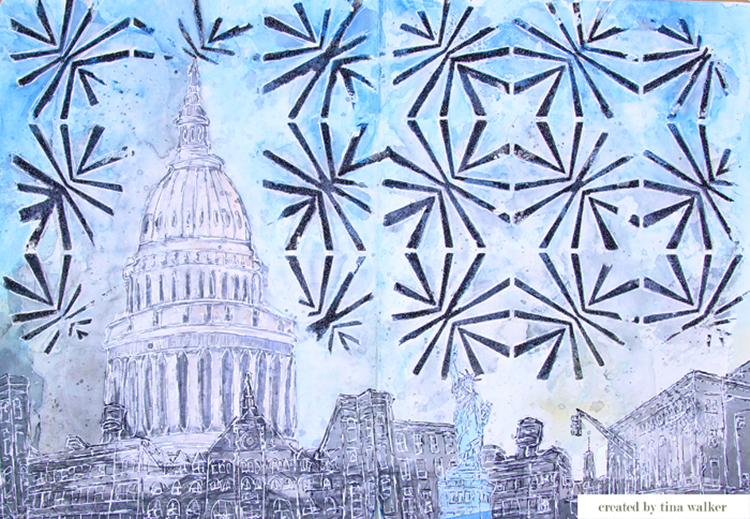
From Creative Squad alum Tina Walker we have this fun background using my Beacon stencil that has me thinking about fireworks. You can reinterpret stencils in so many ways and see different things in the designs.
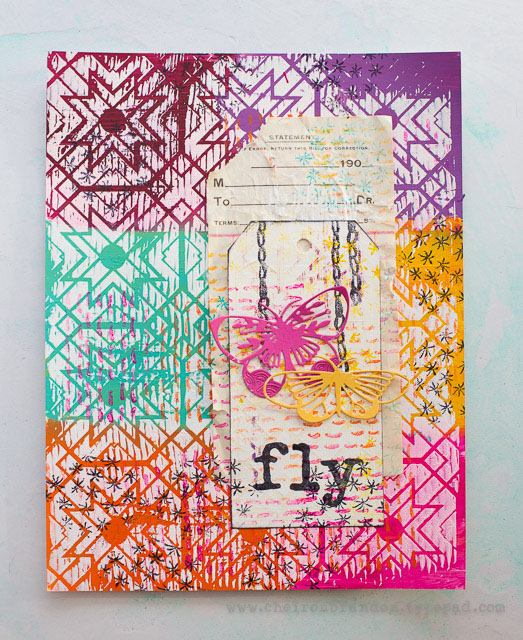
I absolutely love this colorblocked pattern using my Toledo stencil by Creative Squad alum Cheiron Brandon. Using blocks of color like this across a pattern is a cool way to mix things up with a stencil.
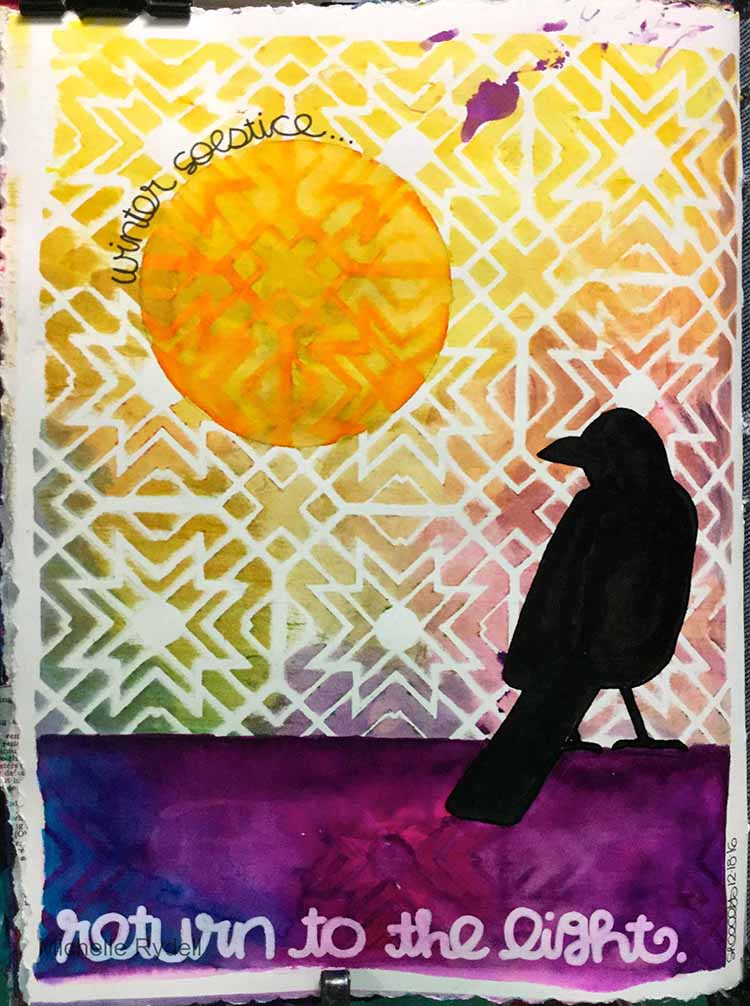
And finally we have this beautiful sunset from Creative Squad alum Michelle Rydell. She used my Toledo stencil with a bunch of spray inks for a gorgeous wash of color that we can’t get enough of!
I hope you enjoyed A Look Back through my Creative Squad archive and maybe you are inspired to try some different things now too.
Here are some of the supplies that were used in these pieces:
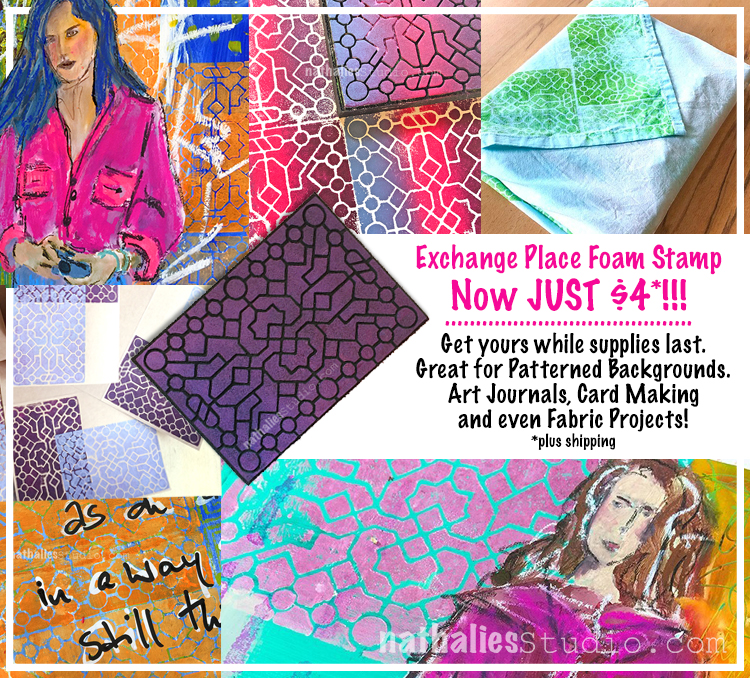
And hurry into the shop because my Exchange Place ArtFoamie is now just $4!!! Super cool pattern and super great price!
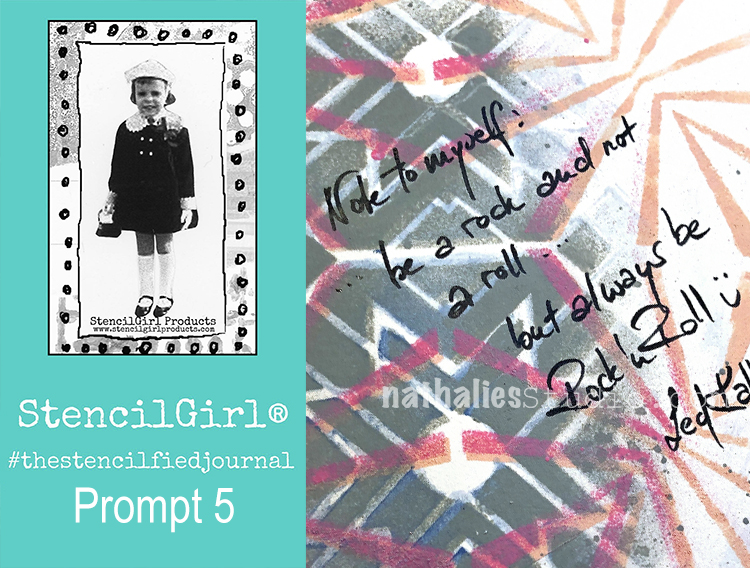
My wonderful friend Tina Walker is at it again – she invited several people to join her Stencilfied Prompts. The prompts are music related and each week she is posting a song. You can be inspired by the lyrics, the video, the album cover or anything related and the only restriction is that you have to use StencilGirl Product Stencils. Here is my take on Prompt 5:
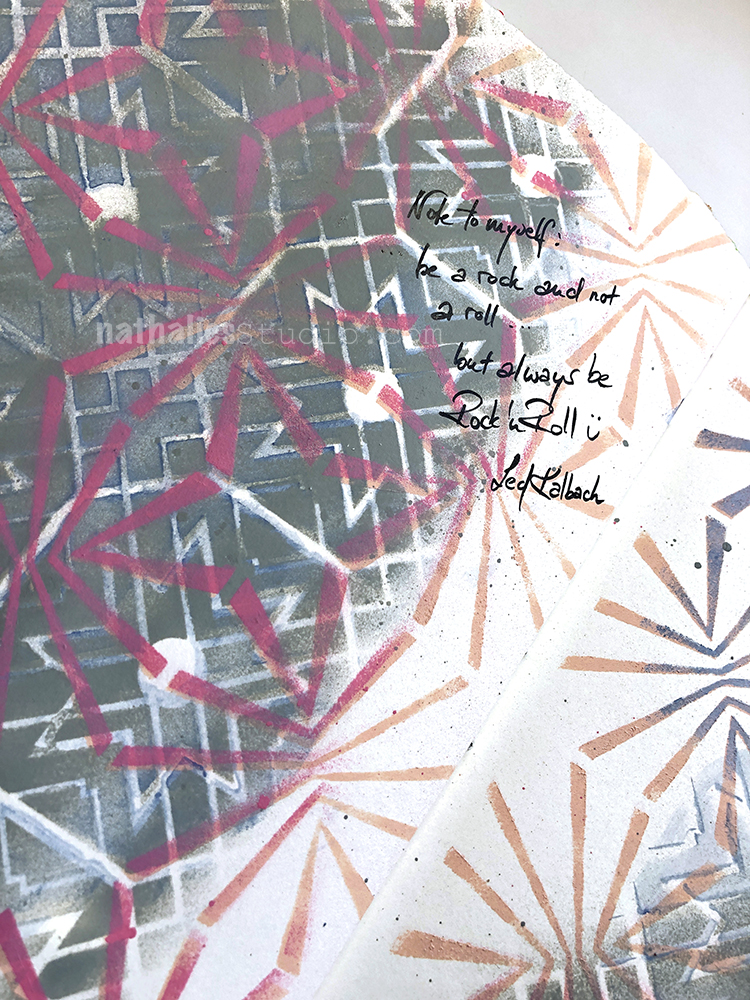
I added a bit to the lyrics ;) You know Led Kalbach – yeah stupid joke LOL
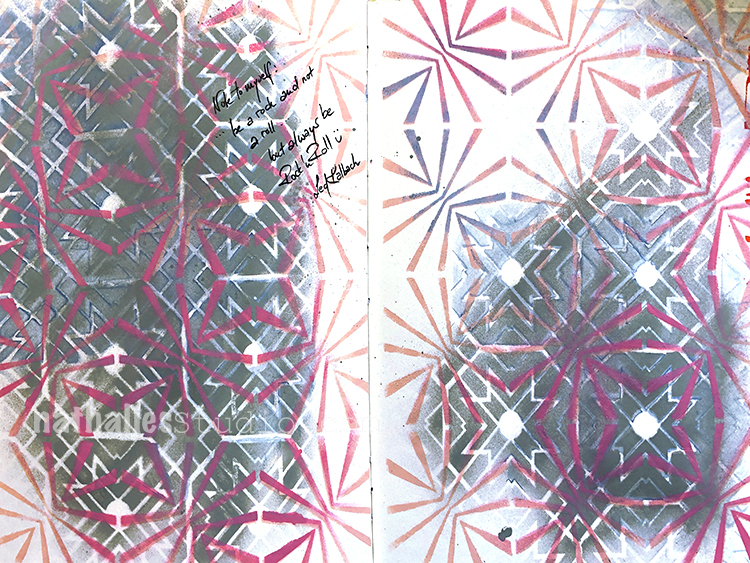
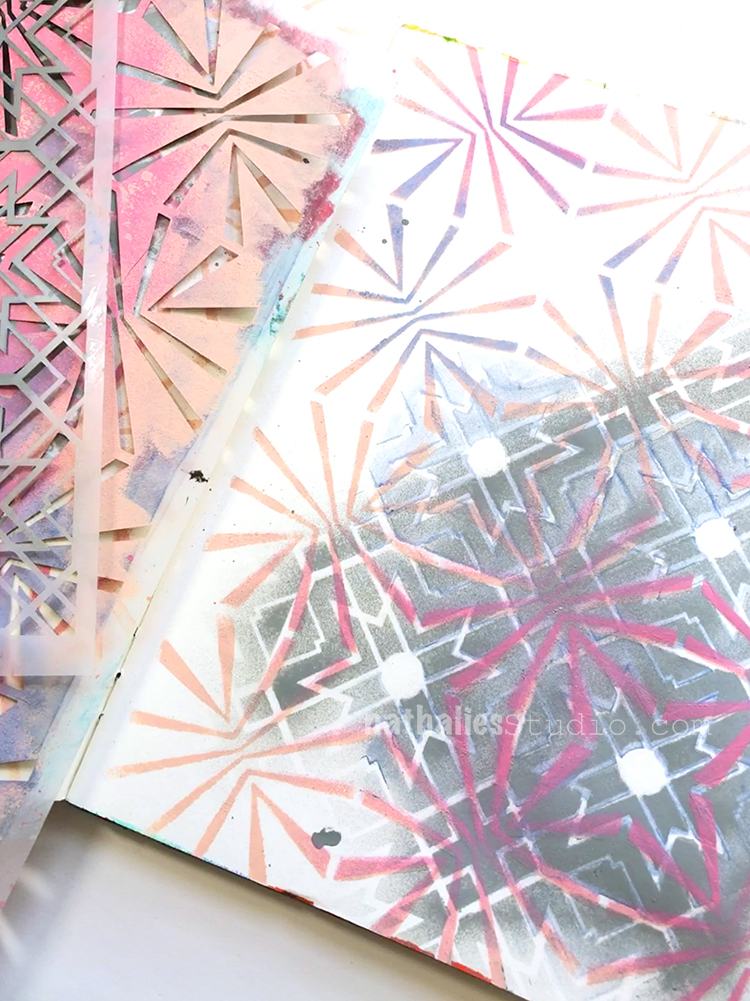
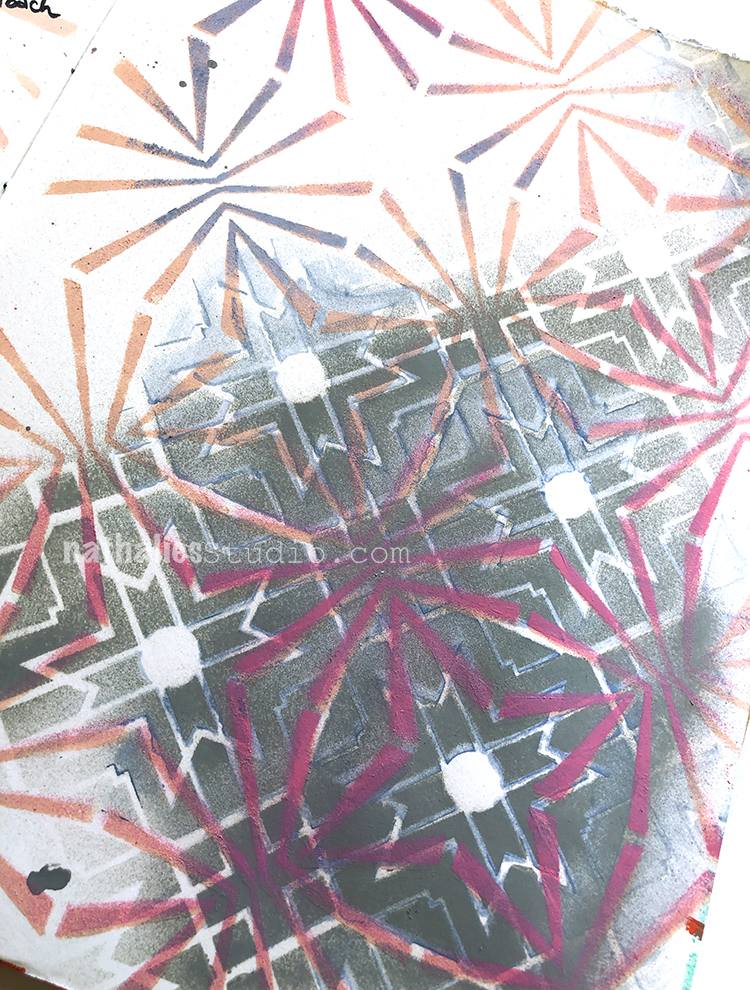
For this art journal spread I spray painted in grey over my Toledo Stencil and then layered the Beacon Stencil on top and sprayed with pink and beige as well as purple over it.
I love how the layered stencils come together. I tried it first with a lighter color as the background and then the dark color on top but I realized that it was too hard for the eye to read the background pattern that way. Always fun to play around with stencils and see how far and different you can push them :)
Wish you a Rock ‘N Roll day !!!
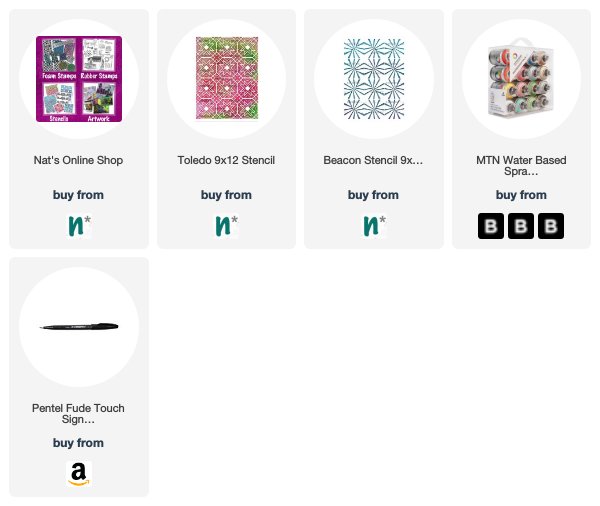
Here are some of the supplies I used for this spread:
Happy Holidays from the Creative Squad and Maura Hibbitts! Today Maura brings us a wonderfully charming seasonal project just in case you need a last minute ornament or gift tag idea. She uses my Park Blvd 4×4, Toledo 9×12, and Toledo 4×4 stencils and my Diamond Hex, Antique Tile, and my Van Vorst foam stamps to bring us a project that will surely warm you up this season :) The theme this month is: Warm Wishes – For many cultures around the world, December is a holiday season filled with celebrations and good cheer. The Creative Squad is taking this month to send Warm Wishes to all our readers!
Tis the season, right? Winter has arrived on the calendar, we’ve celebrated the Winter Solstice, and tomorrow is Christmas for all who celebrate. Happy Solstice! Merry Christmas! Happy New Year! My winter started early this year in November with snow and cold, so staying warm is a priority. I headed for warm colors in my project and sketched out a mitten pattern to use as I rarely head outdoors these days without my mittens or gloves.
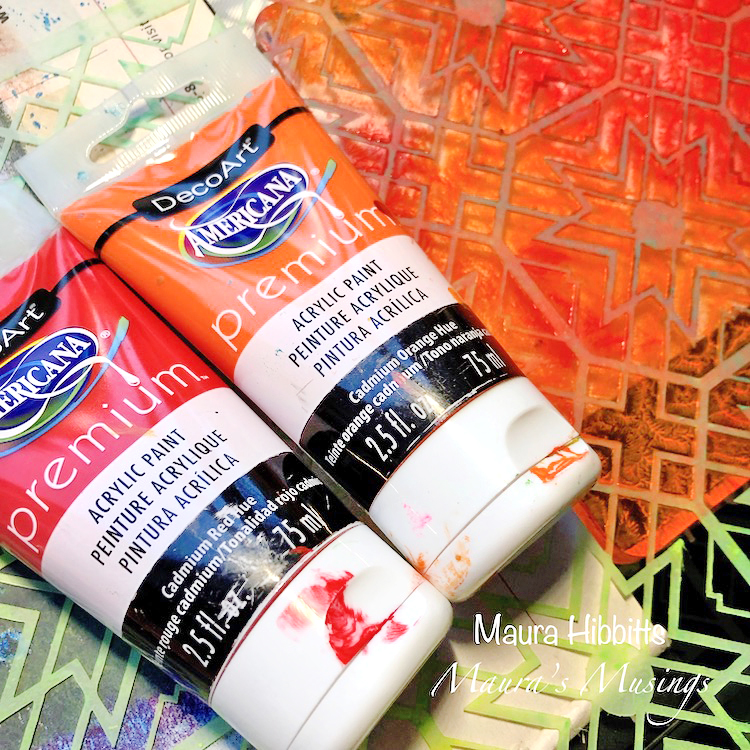
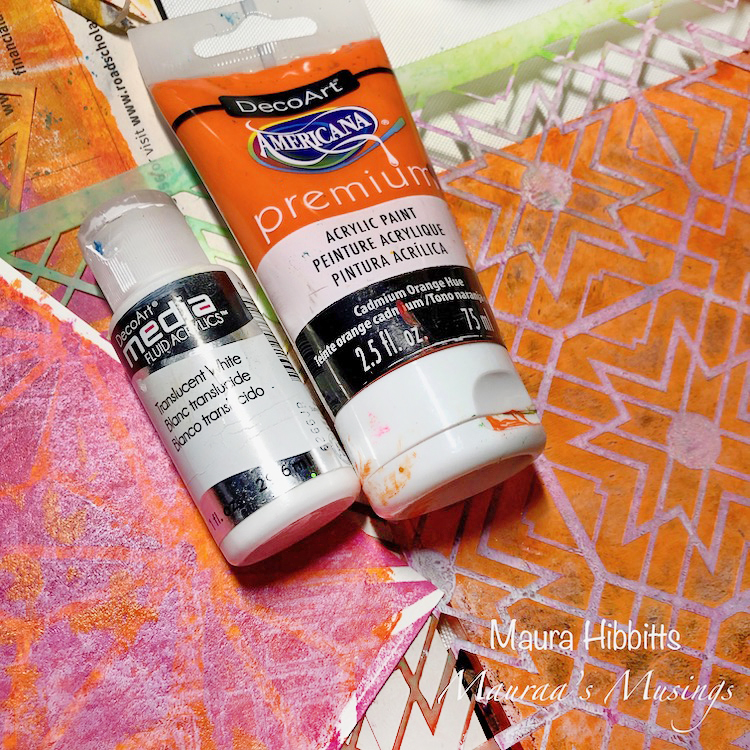
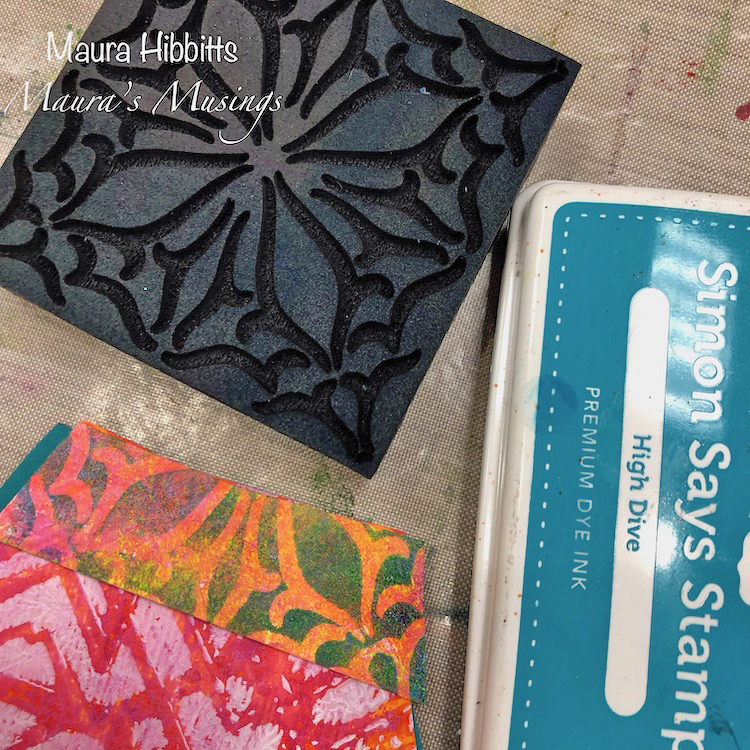
I have a small workspace, so my 6 x 6 gel plate works well with many projects. I started with a mix of Cadmium Red Hue and Cadmium Orange Hue and blended them on the plate with the brayer. I laid the large Toledo stencil on the gel plate and pressed my watercolor paper onto it for one print, lifted the stencil to print another, then printed again on the gel plate without the stencil.
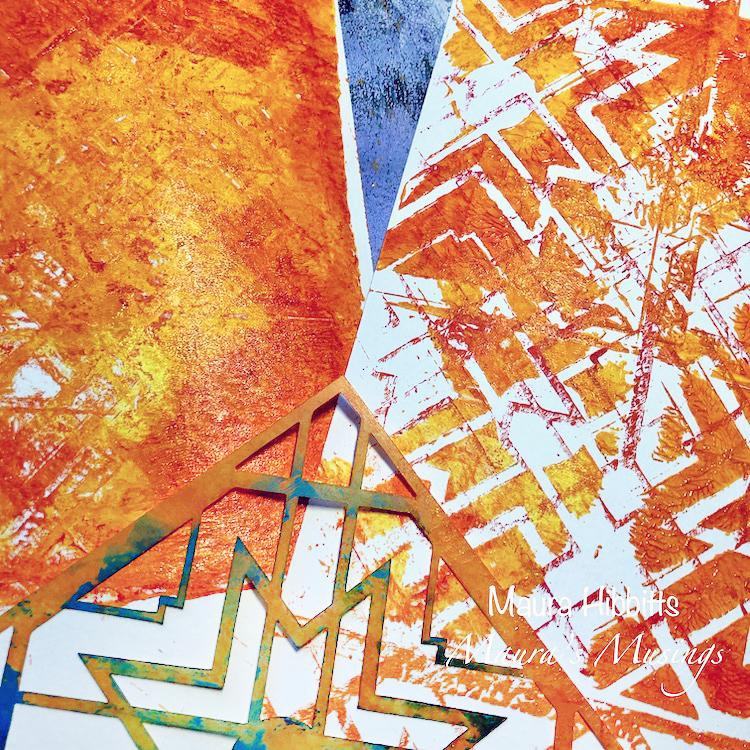
Next, I blended Diarylide Yellow, Cadmium Yellow Hue, and Primary Yellow on the gel plate with the brayer, and used the Toledo Small stencil on the plate. I printed the next layer of color and design onto my sheets.
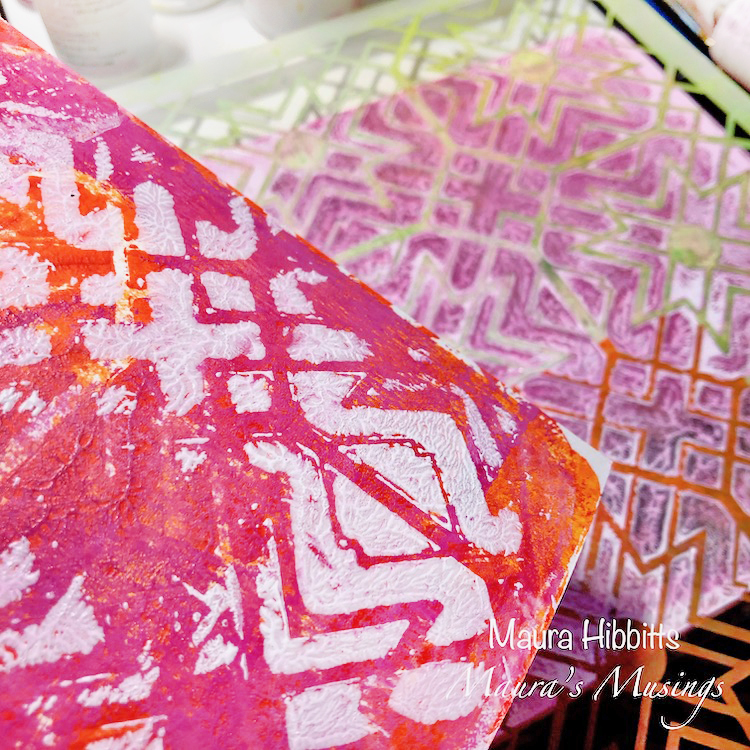
Time to add another bright, warm layer to my papers with a blend of Translucent White and Quinacridone Magenta. Once again, I used the gel plate and brayer to blend, and then stamped the Diamond Hex stamp into the paint, then on to my papers.
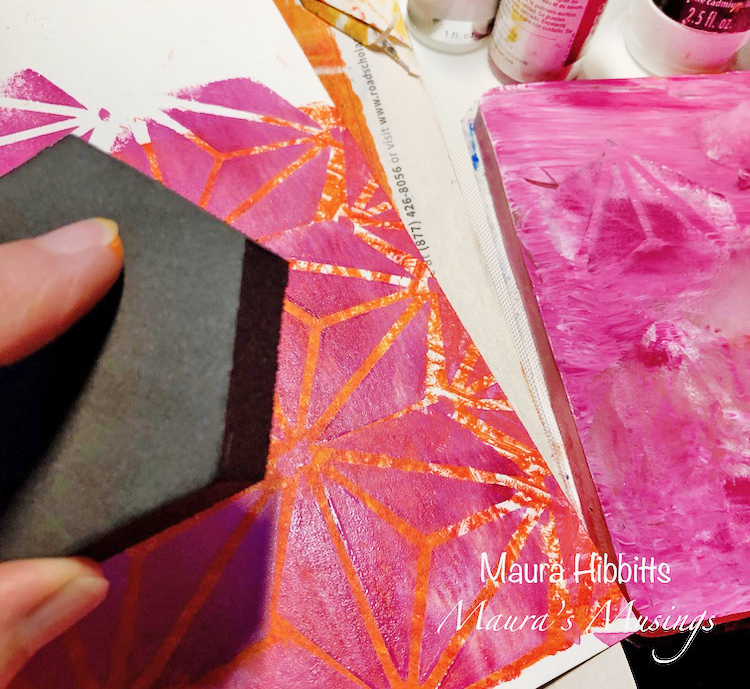
As you can guess, I like to build up layers, so went in for another one using the Translucent White and Quinacridone Magenta on the gel plate, then laid the large Toledo stencil down on it again. This time, I randomly pressed some areas of the paper into the paint.
I repeated the previous step with Translucent White and Cadmium Orange Hue.
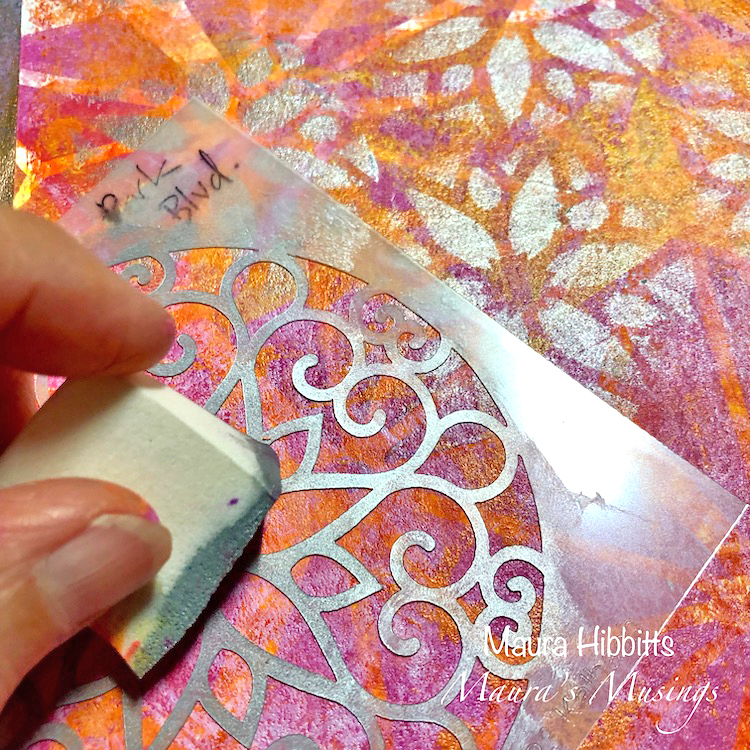
I decided to add some shimmer to my papers with the Park Boulevard stencil and Shimmering Silver paint. I used a sponge and dabbed the center of the stencil (it reminded me of a flower or snowflake) randomly over my papers.
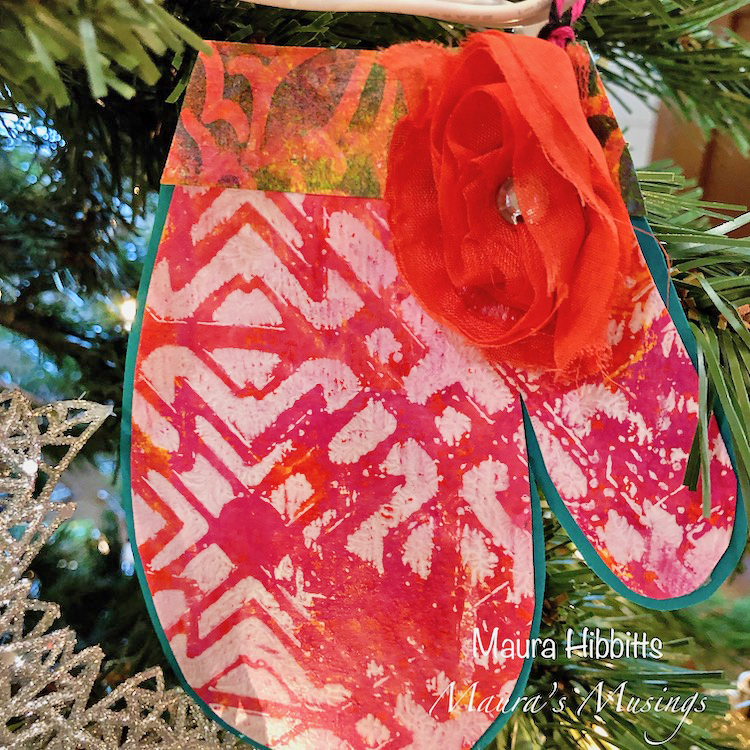
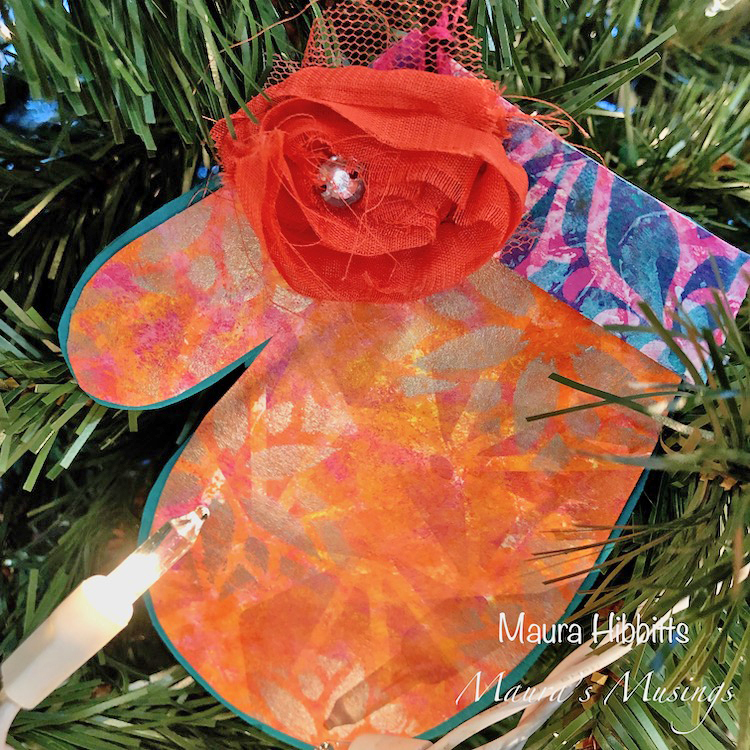
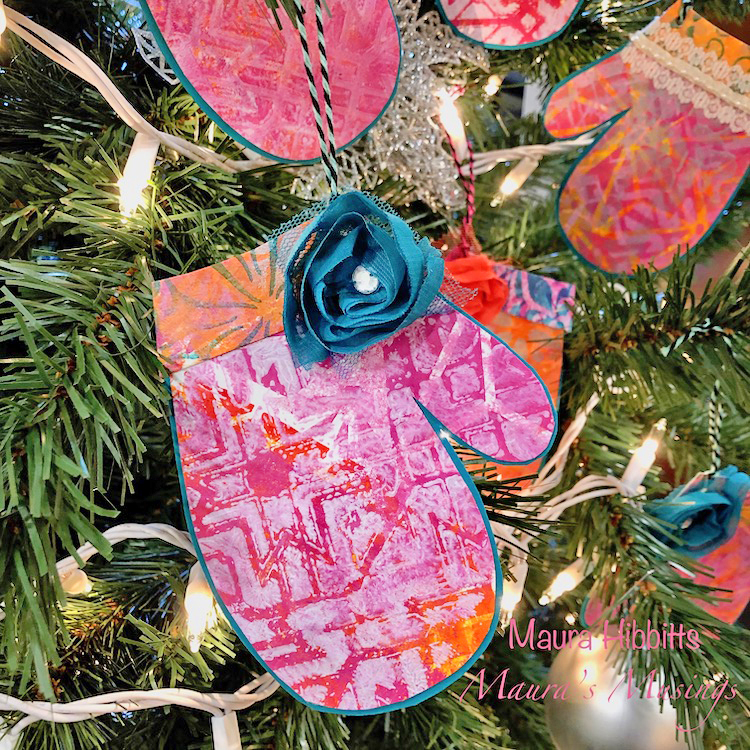
Now that my papers are created, it is time to cut out my mittens. I sketched my mitten onto scrap paper and used this to cut my mittens. Then I used a slightly larger mitten shape to cut out my background with the Peacock Teal card stock. I cut a cuff for each mitten and stamped another design onto the cuffs with the Antique Tile and VanVorst stamps and blue ink.
I adhered the patterned mitten to the teal card stock, added the cuff and decorated with ribbons. Then I punched a hole and tied on some bakers twine to hang these. They can be used as tags on a gift or ornaments for the tree.
Stay warm this winter with warm colors and mittens! Peace and Joy! – Maura
Seasons greetings to you Maura and thank you for this definitely super cute holiday idea! Maura used the following supplies:
Feel inspired? Working on something yourself that you’d like to share? I love to see how you interpret our monthly themes. Email me how you used my stencils and stamps with the theme and email me an image – I would love to share your projects in my next “n*Spiration From Around the Globe“.
Hello my friends and hope you are enjoying your summer (if you are in our hemisphere I guess lol, otherwise Happy Winter!). Today we have a post from Josefine Fouarge from the Creative Squad, sharing with us some absolutely gorgeous cards using my stencils and the happiest summer colors. This month the squad is using the theme: Endless Summer – The days are long, the sun is shining, the air is soft… it must be summer! Let’s take a stroll down memory lane and save a summertime memory forever.
Summer has started, it’s official. We are having the first days with over 100 degrees in California, so I spend a lot of time in my pool. When we bought our house, we fell in love with the pool. It is plastered with a variety of blue tiles which shine amazingly when the sun hits them. The colors of the pool were my inspiration for this month’s theme – Endless Summer. But as always, I started with those colors and then couldn’t stop.
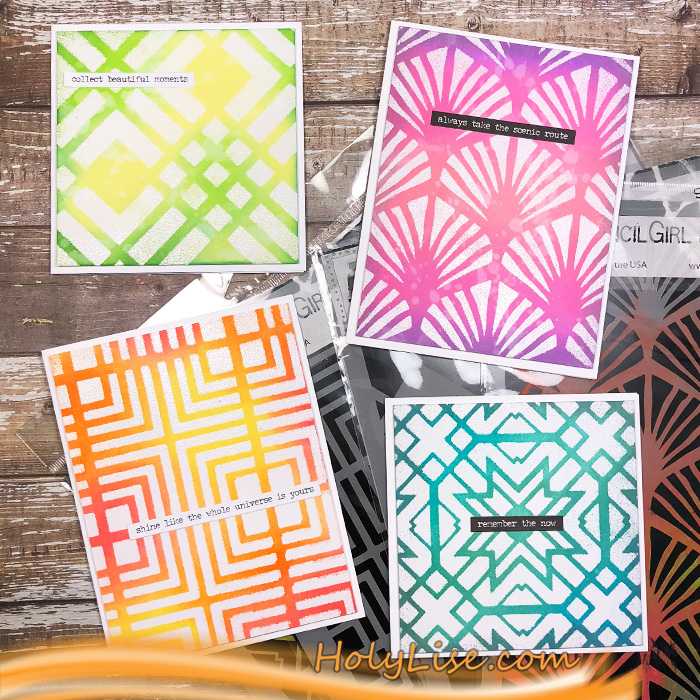
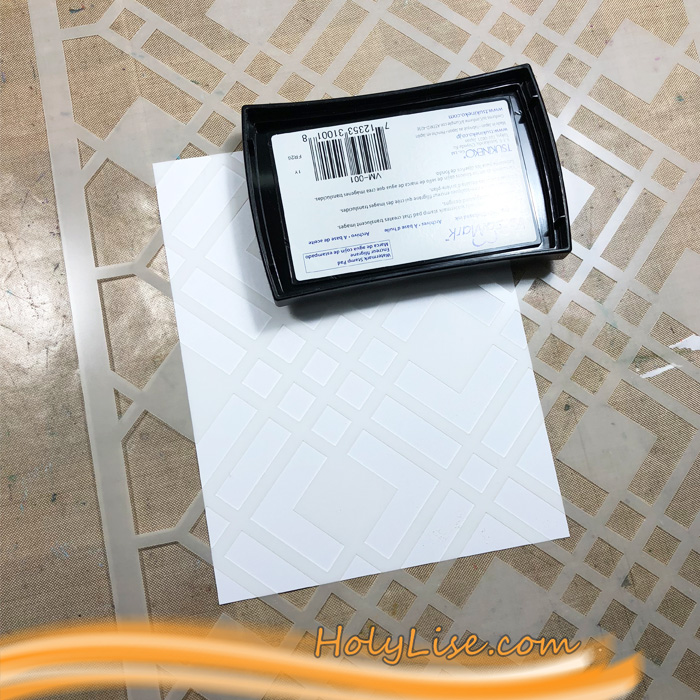
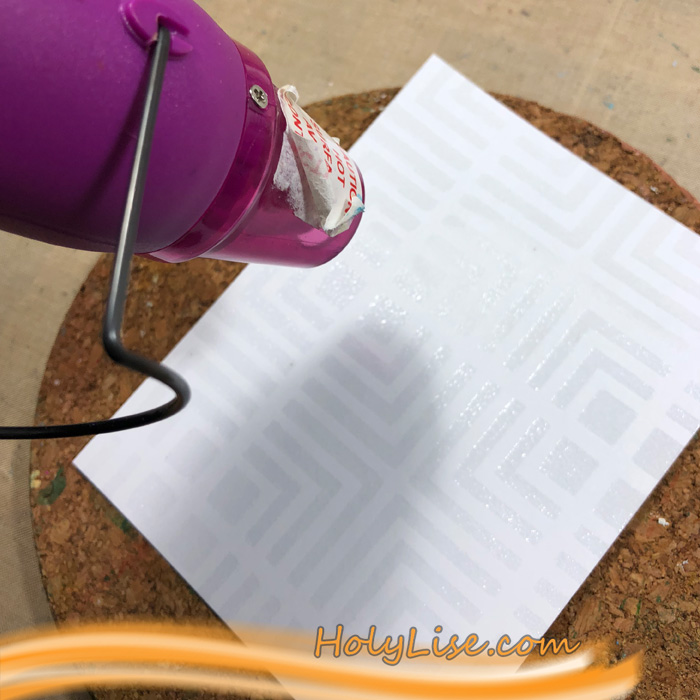
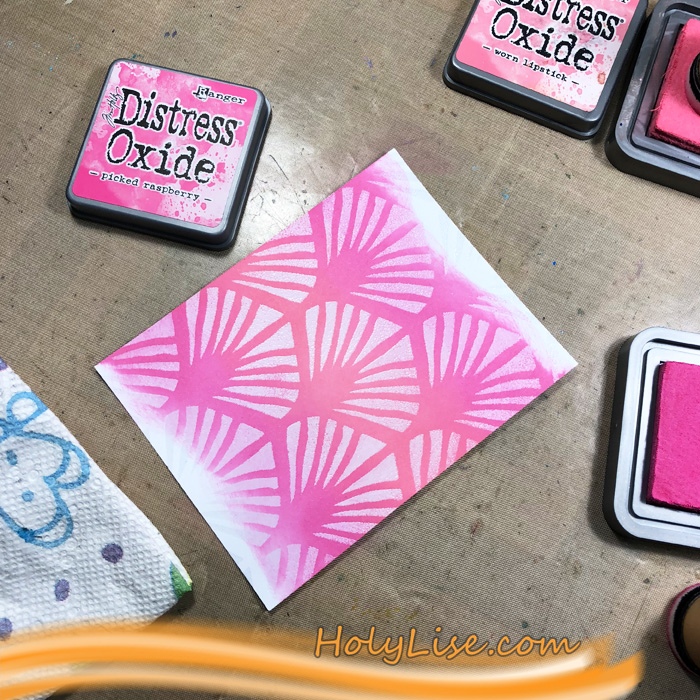
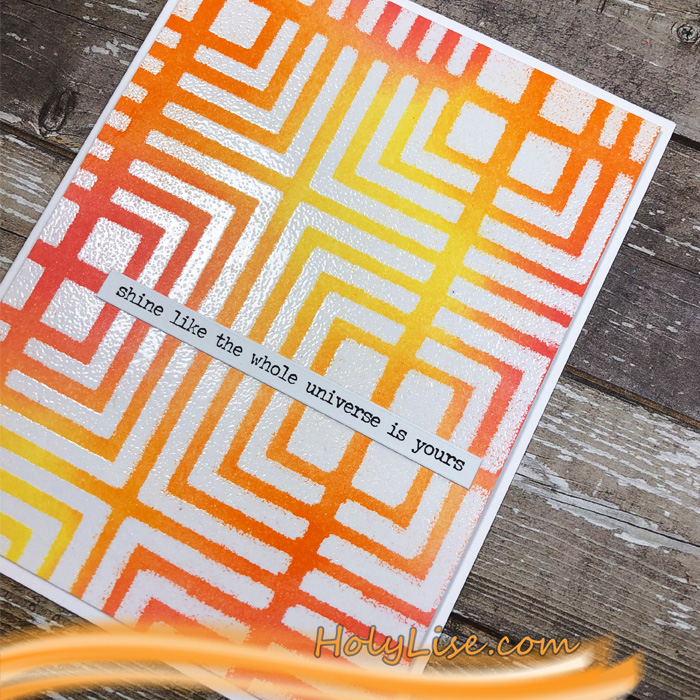
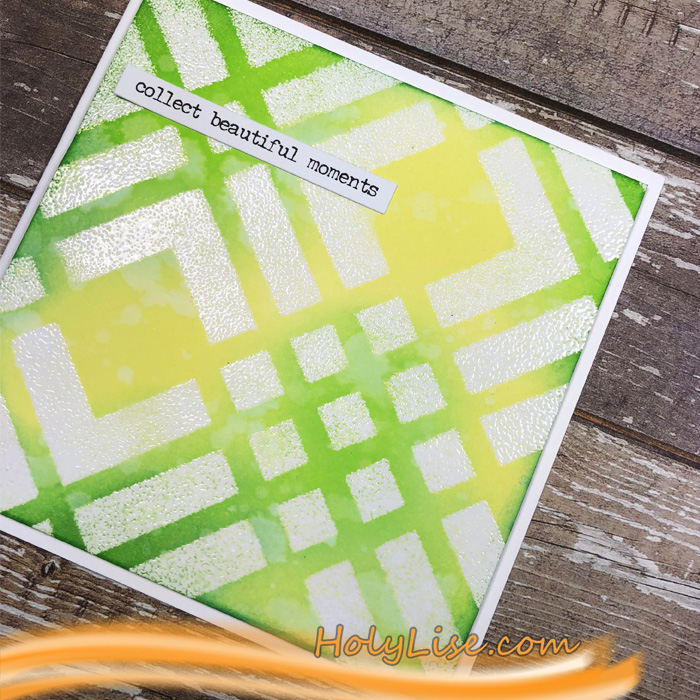
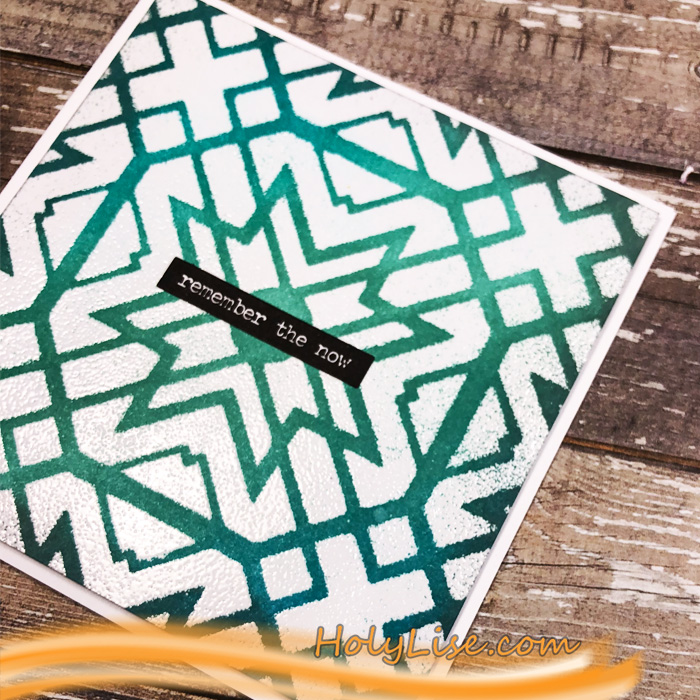
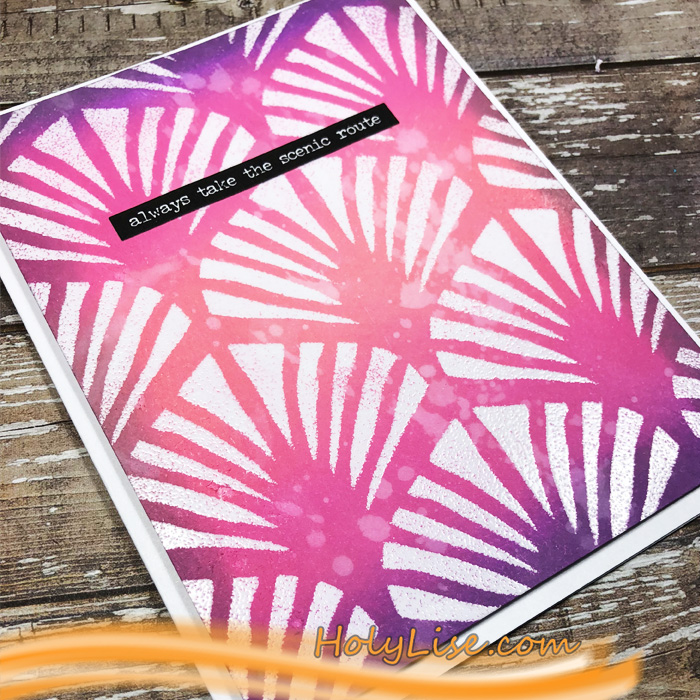
But let’s start at the beginning. I decided to create a few greeting cards. I haven’t done a lot of ink blending lately, so that’s the technique I went for. It all started with picking 4 stencil designs and then heat embossing the patterns with clear embossing powder. For that, I placed the stencil onto a 4 ¼ x 5 ½ piece of card stock, dapped the Versamark ink pad through the stencil, added the powder and heat set it. I did that with the Manhattan, Chicago, Toledo and Art Deco stencils.
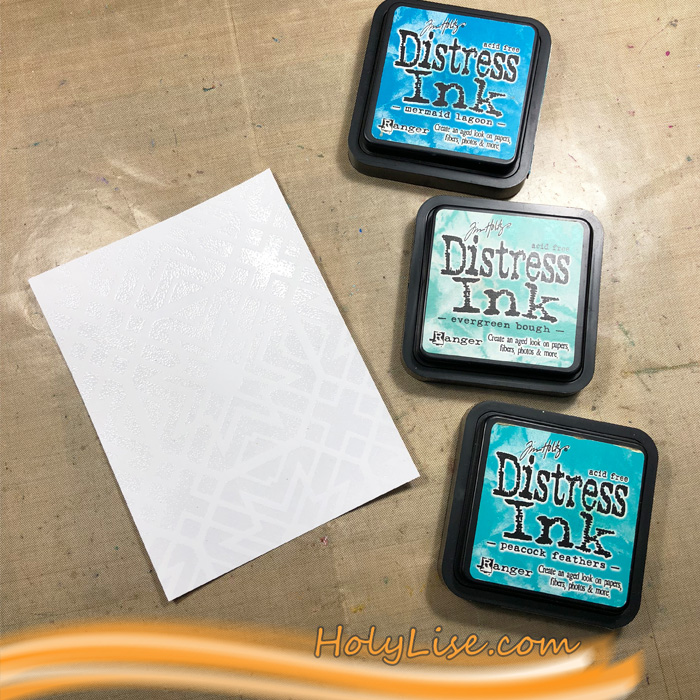
My original plan was to use the same blue shades of Distress Inks and Oxides for the cards (which were inspired by our pool), but after the first card I changed my mind and went all over the rainbow.
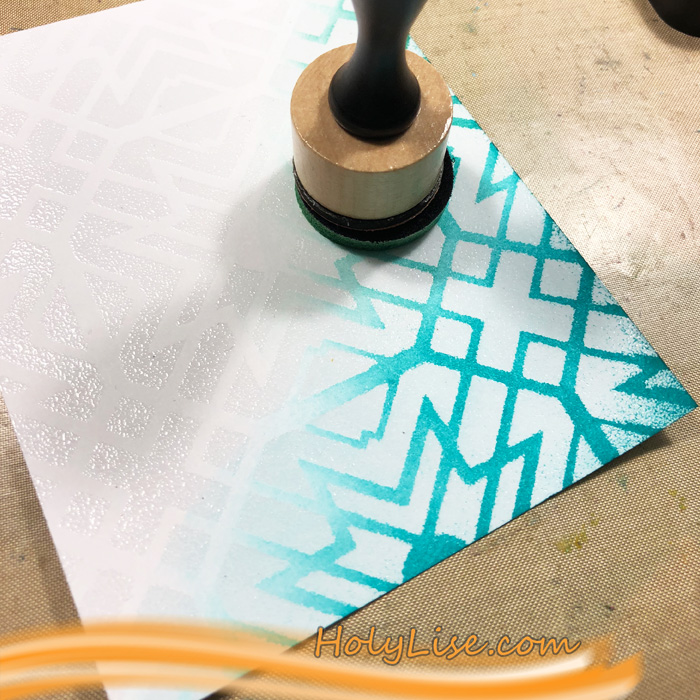
I always started with the lightest color, inked the background up and then switched to the second color. I went over the same areas a couple of times to get a bright color.
When I added the second color, I always went back to the first color and blended over it.
At last, I added the darkest color. Usually, I didn’t ink up the darkest color too much to not overpower the cards with it.
At the end, I cut two of the panels into 4 x 4 squares and adhered them onto a 4 ¼ x 8 ½ card base. The other two are cut to 4 x 5 ¼ and adhered to a 4 ¼ x 8 ½ card base. I also added one sentiment sticker to all of the cards.
Here are all 4 cards with the colors I used:
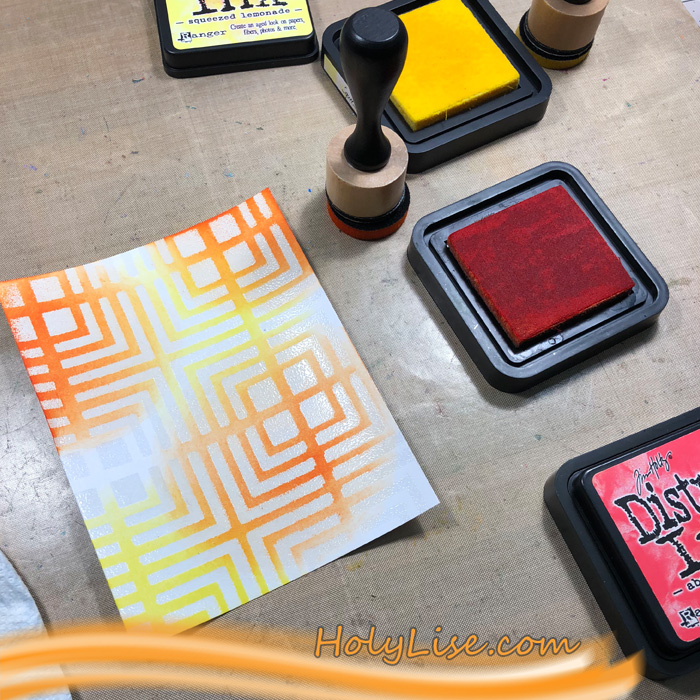
Manhattan stencil with Distress Ink in Squeezed Lemonade, Carved Pumpkin, Abandoned Coral
Chicago with Distress Oxide in Squeezed Lemonade and Distress Ink in Twisted Citron and Mowed Lawn
Toledo with Distress Ink in Peacock Feathers, Evergreen Bough, Mermaid Lagoon
Art Deco with Distress Oxide in Worn Lipstick, Picked Raspberry, Wilted Violet
I hope that these colors got you into a summer mood, at least a little ;)
Thanks for stopping by and don’t forget to come back every Tuesday for more inspiration from the Creative Squad.
Thank you Josefine! I love how that embossing sets off those lovely colors. Here are some of the supplies that Josefine used:
Did we inspire you? Working on something yourself that you’d like to share? I love to see how you interpret our monthly themes. Email me how you used my stencils and stamps with the theme and email me an image – I would love to share your projects in my next “n*Spiration From Around the Globe“.
Ready for some inspiration? Today we have some projects from around the globe. It’s always fun to see how you’re using my stamps and stencils and I am so happy to share some examples today. So let me know if you’re doing something cool with my products, and you might see yours on the next Inspiration from Around the Globe!
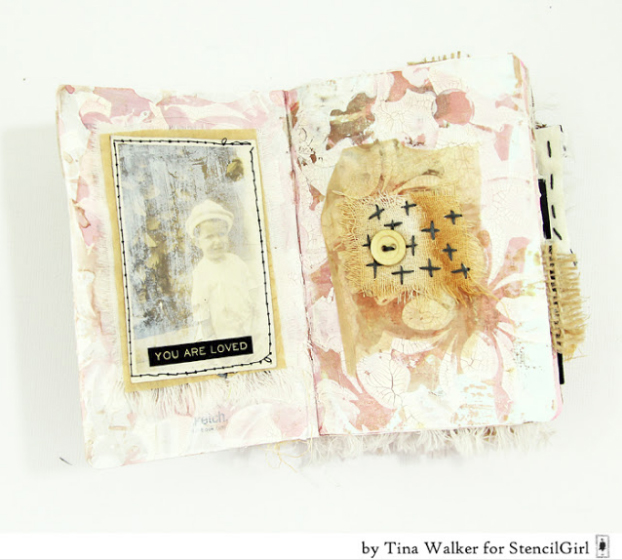
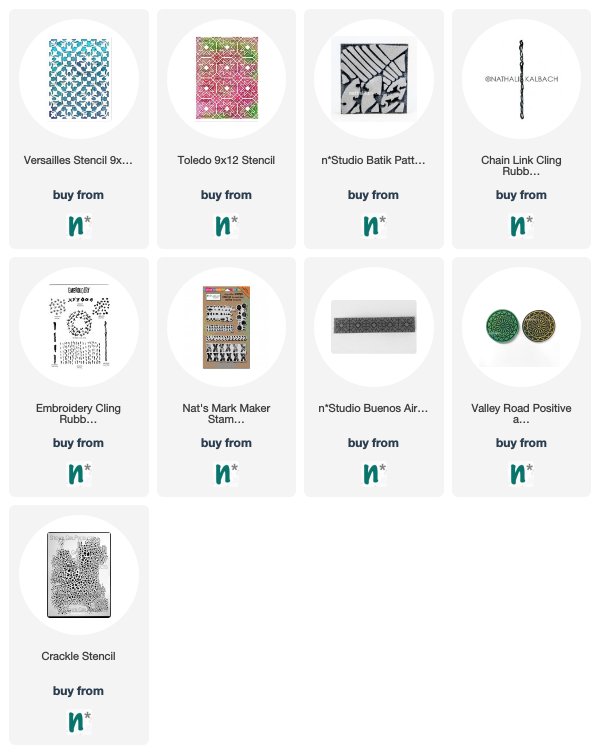
First from the US we have a gorgeous little book for Earth Day by Tina Walker (who was a member of our Creative Squad and you can check out some of her other projects HERE). On this page she is using my Versailles stencil for the background.
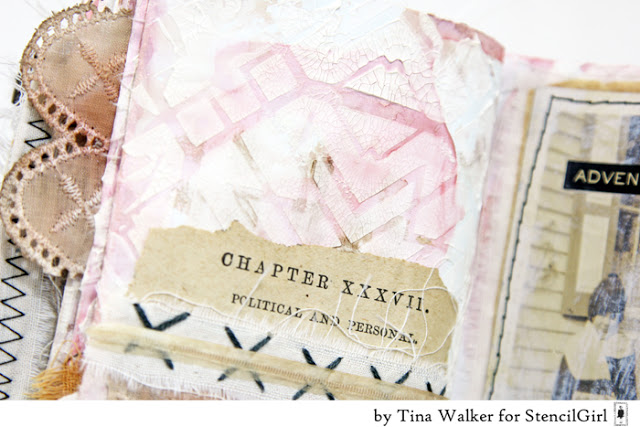
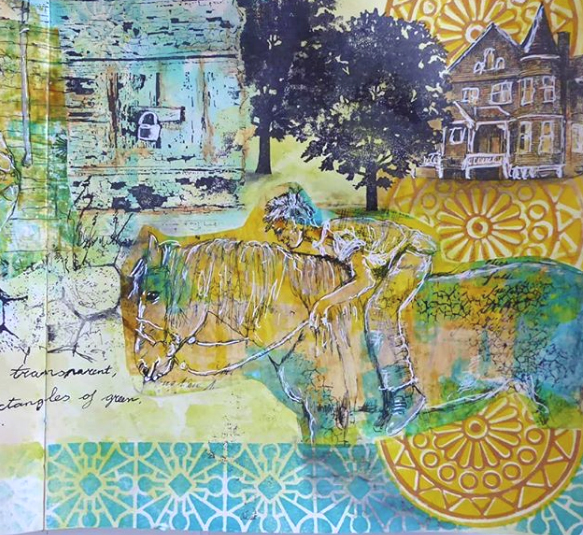
Here she uses my Toledo stencil as a background pattern for another page.
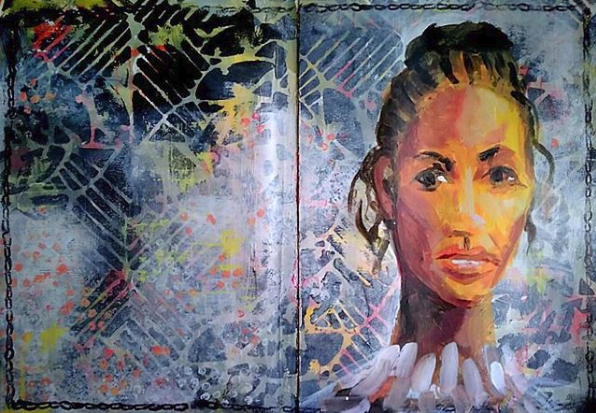
Next is an art journal spread from Mary Thoma in the US also. I love this portrait and the use of my Batik Pattern 4 foam stamp for the bold background and that little chain border is my Chain Link rubber stamp from the Embroidery set. What a beautiful page!
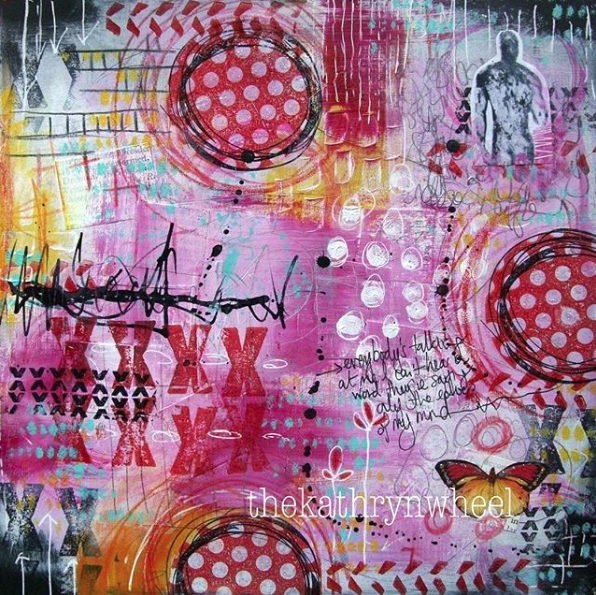
Loving all these patterns from Kate Crane in the UK! She’s using my Marks stamp set for those red and black xxx marks and hash marks.
Here is a beautiful page from Ellen Captijn from the Netherlands, inspired by this year’s Creative JumpStart online workshop. Be sure to visit her Instagram page to see the full art journal spread. I love how she’s incorporated by Buenos Aires Border foam stamp along the bottom in blue and my Valley Road foam stamps along the right side.
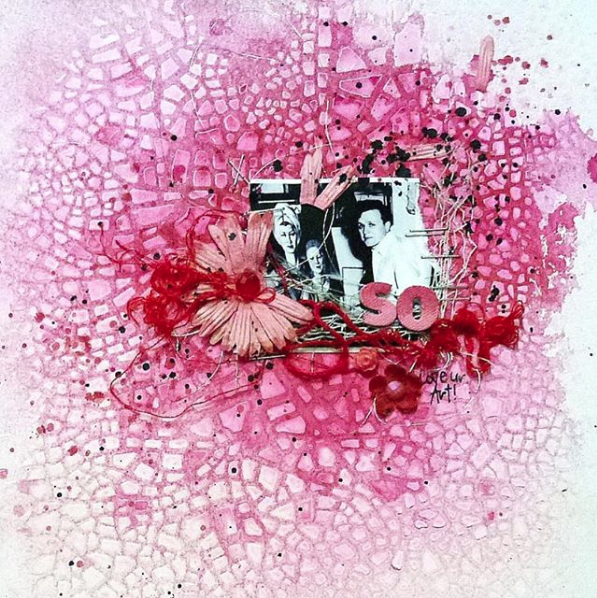
And finally we have an “oldie but a goodie” from Louise Nelson in Australia. She reposted this layout from 2013 so we thought we’d give it some love too :) That awesome texture in the background is none other than my Crackle stencil – one of my first stencil designs and always a fan favorite after all these years! Thank you Louise!
Thank you to all the talented artists! If you’d like to give some of these ideas a try, here are the stamps and stencils that they used:
Don’t forget to tag me when you post your projects! I’d love to include your work in my next Inspiration From Around the Globe post!
Hello from the Creative Squad! Today we have a post from Josefine Fouarge to show us a great way to use my Toledo and Ornament Wallpaper stencils, along with my Stroll Around the Block stamps, in a cute art journal page that shows how creativity can take your ideas on a journey! Josefine’s inspiration began with this month’s theme: Inside Outside – Inside can be cozy and warm. Outside is about fresh air and freedom. Are you a homebody or do you suffer from cabin fever? We’re creating with these opposites in mind.
Hi everyone! This month’s theme took me on a journey. At the beginning, I wanted to create something around Winter vs Summer or a similar contrasting theme, but then I started working in my art journal and it moved into a different direction.
Basically, I created a page about myself and the contrast of me at work and me at the craft table. But more on that later ;)
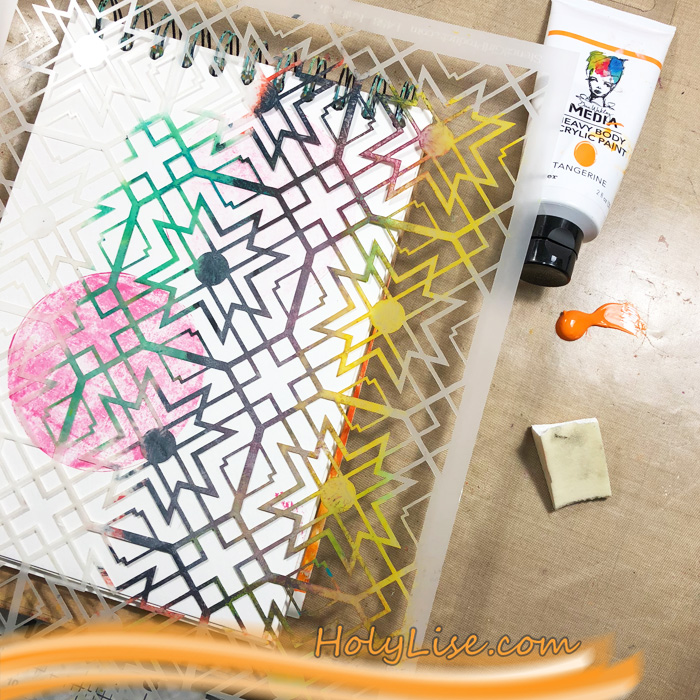
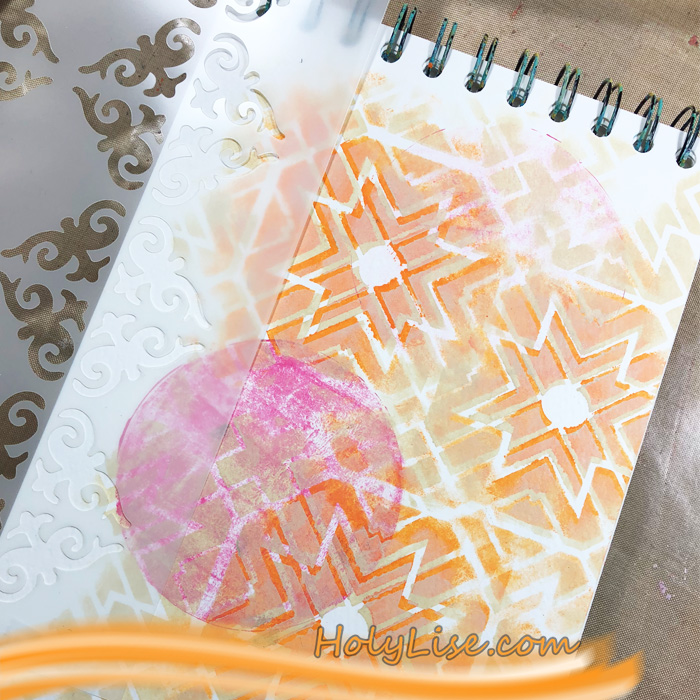
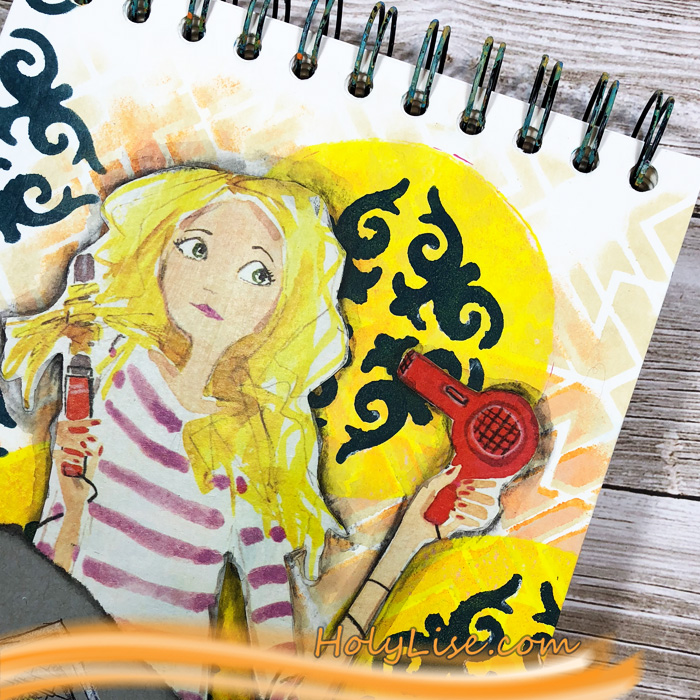
I started with a page that already had a few “clean up” marks on it from a Gel Press session that I had. I decided to use the round Gel Press marks and work with those circles. I used the Toledo stencil and placed three of the stars around the two circles.
I didn’t use the alignment of the stencil and created my own pattern with them. Next up, I used the same stencil and positioned it slightly off. As you can see, I didn’t cover the entire page, just a few areas that I blended out and into each other.
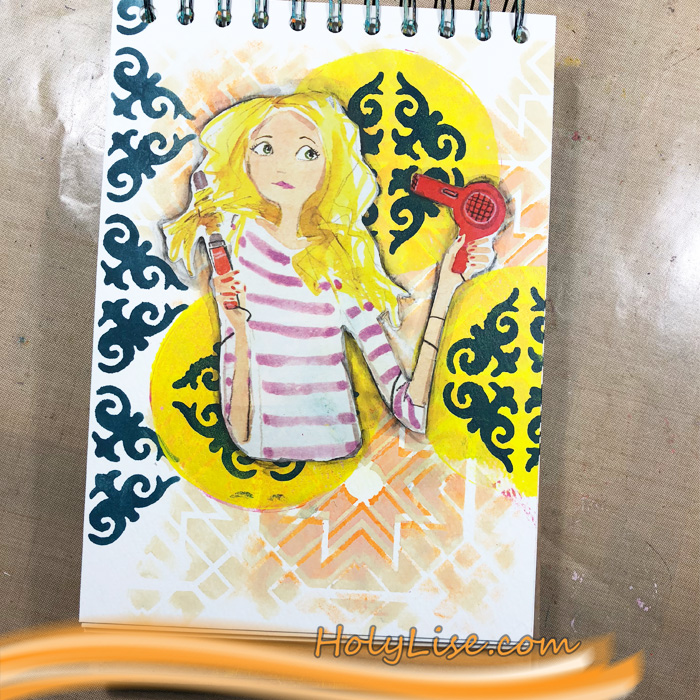
Now I added the circles on top using a round Gel Press. I thought that the bright yellow looks like spotlights. But I didn’t like the brightness, so I added the Ornament Wallpaper pattern inside and then, while I was at it, to the left border.
Coincidentally I found this girl in a magazine. Even though she’s struggling with her hair, I thought that she fits perfectly onto my page – just switch the hairdryer with a heat gun :)
And onto the contrast part. I work at a job where a business casual is preferred. Not that I have a problem with that, but it’s very different to how I usually am when I’m at home. Let’s just say I love to craft in my jammies…
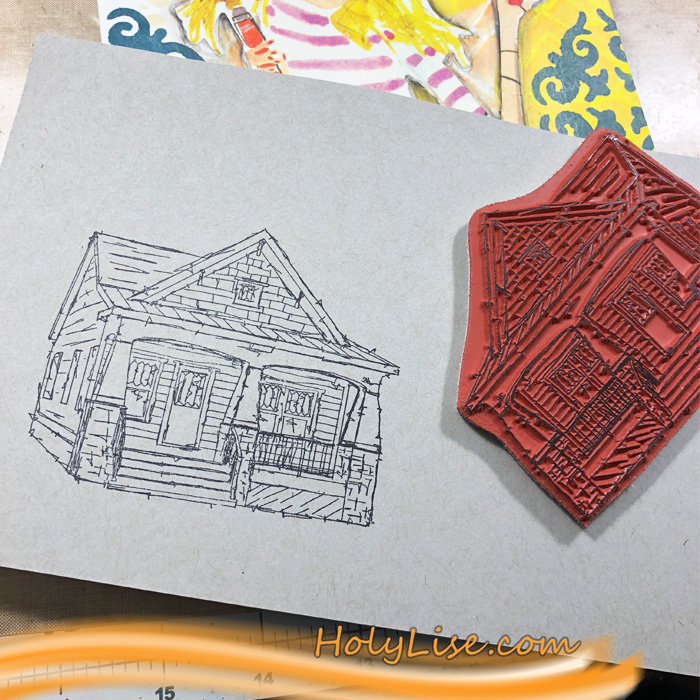
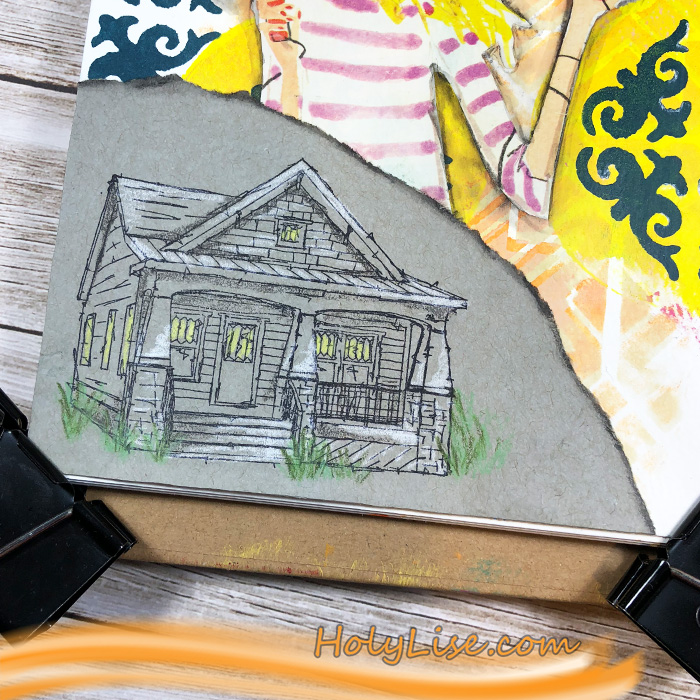
That’s why I picked the Craftsman stamp from the Stroll Around the Block set and stamped it onto a grey piece of paper. I kept the house very clean and colored it lightly with Prismacolor pencils.
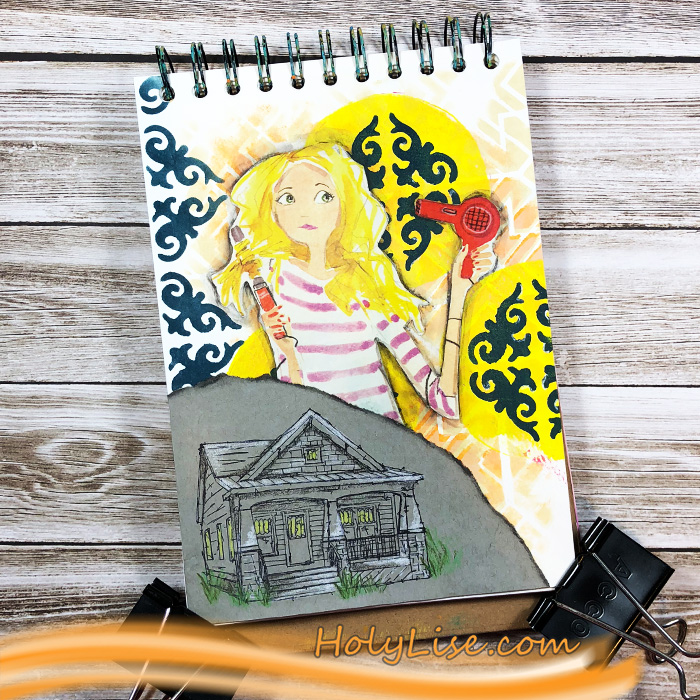
At the end, I ripped the edges of the grey paper, adhered it onto my art journal page, added some black watercolor around the edges and sealed the entire page with Earl Lube paste.
Now we have a clean, successful looking outside with a chaotic me in the inside :)
On a side note, I love how the white pencil adds contrast to the Craftsman house.
Thanks for stopping by! Don’t forget to come back every Tuesday for more Creative Team inspiration.
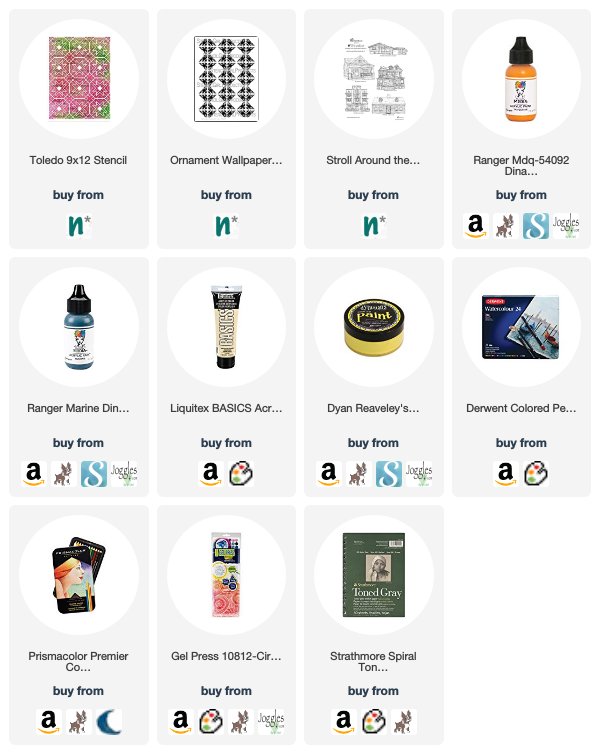
Thank you Josefine! I love hearing about your evolution of ideas – sometimes we just need a little spark to get inspired and then our creativity takes it from there :) In addition to Earl Lube Paste (gel medium), here are some of the supplies that Josefine used:
Feel inspired? Working on something yourself that you’d like to share? I love to see how you interpret our monthly themes. Email me how you used my stencils and stamps with the theme and email me an image – I would love to share your projects in my next “n*Spiration From Around the Globe“.


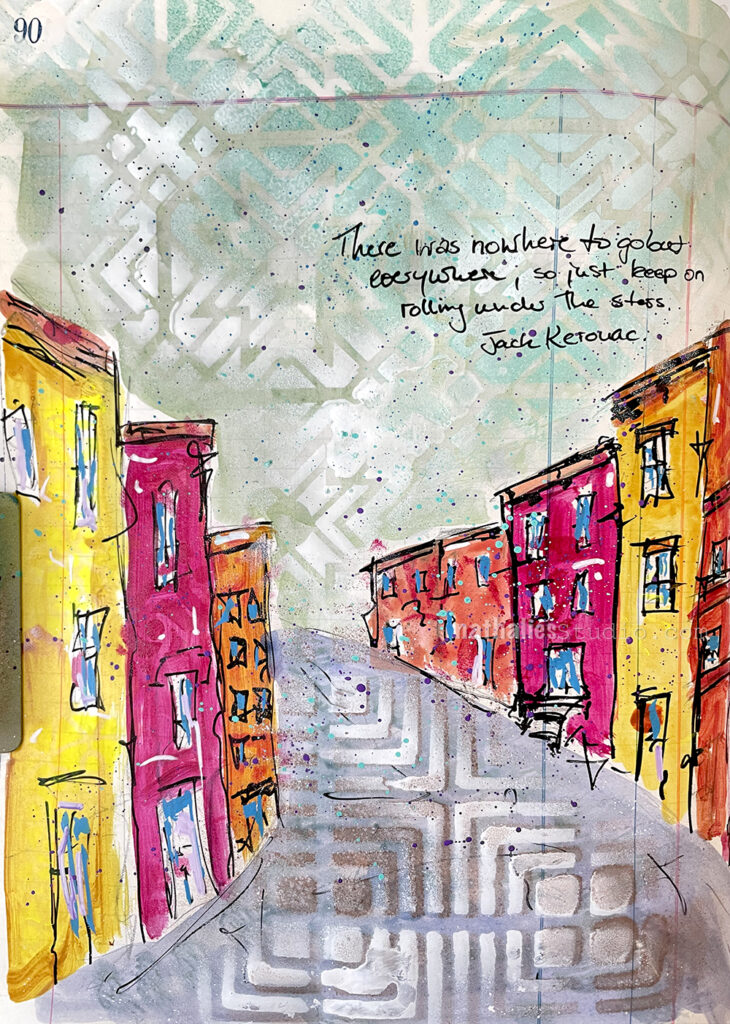


Nat, I just love how the street came out!
Reply