
A Look Back – a blog series to show you some projects and posts that you may have missed – sometimes going WAY back in the archive. I think it will be fun to revisit a few ideas that we haven’t seen for a while. I’m excited to see how a little look back might inspire something new in the future :)
This time I’m looking at some beautiful stenciled background from my Creative Squad alumni archives. These are some gorgeous and inspiring ideas using my stencils. Here’s a look back. Enjoy!
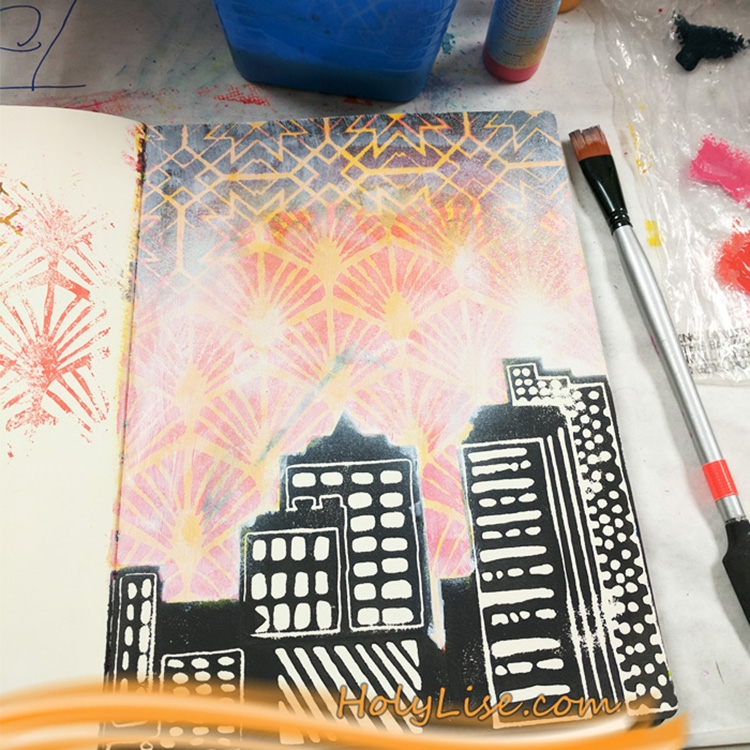
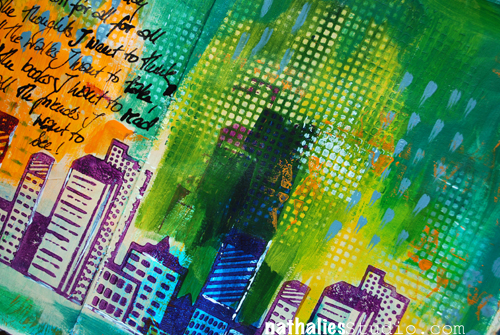
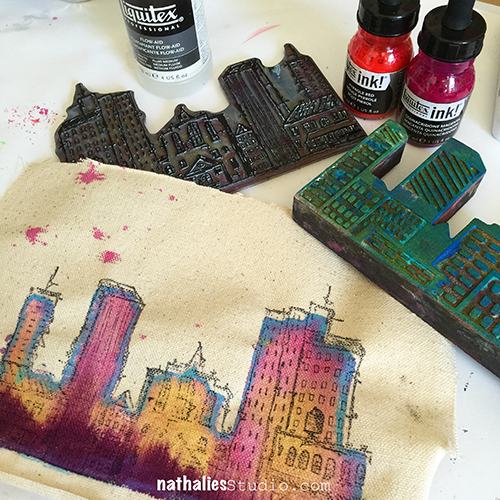
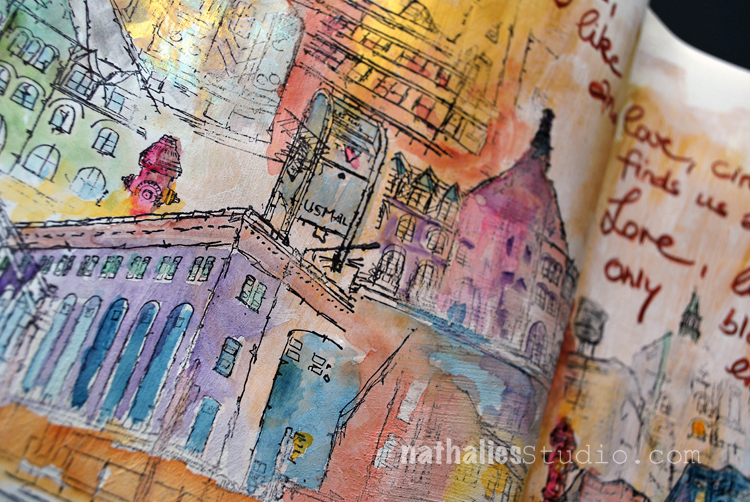
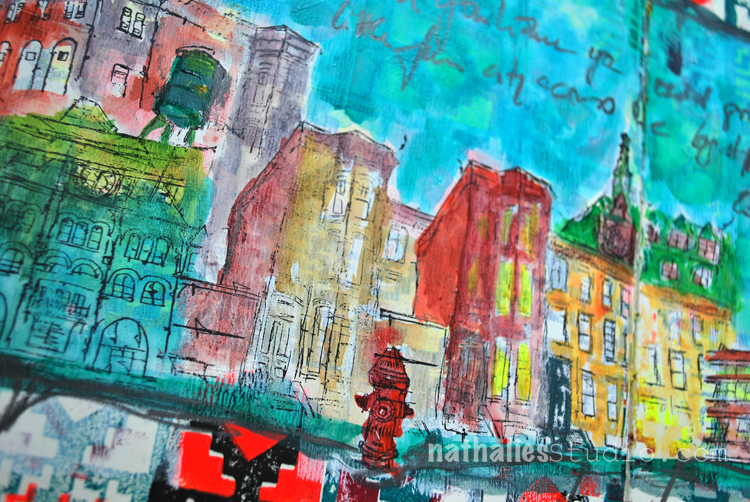
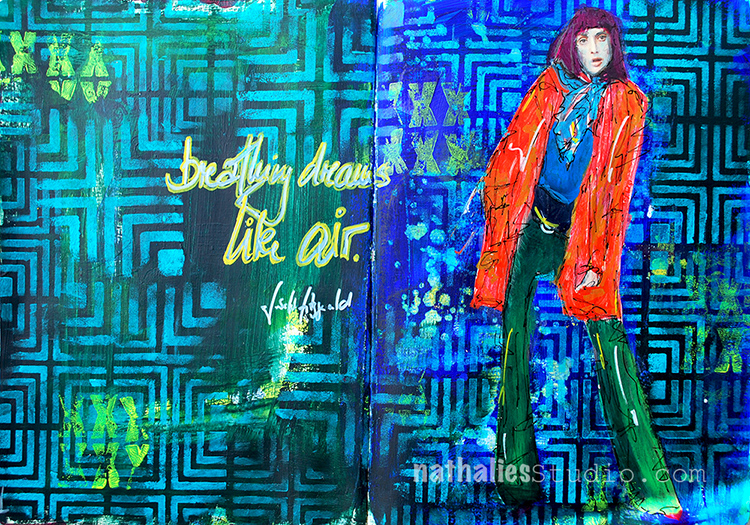
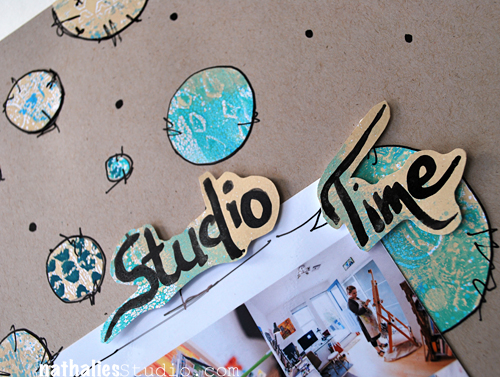
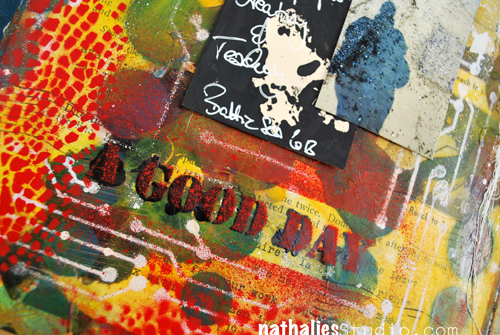
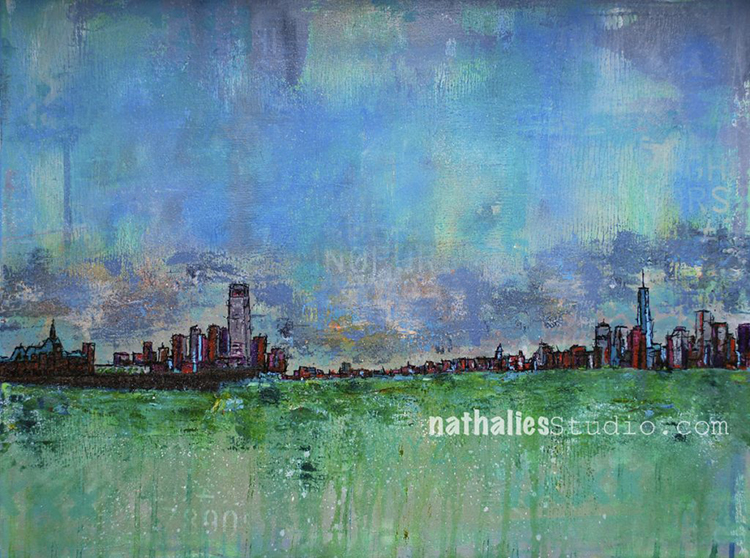
First up we have an art journal page from Creative Squad alum Josefine Fouarge. She blended my Toledo stencil down into my Art Deco Wallpaper stencil for a dramatic sky. I love the idea of an ombre effect that uses both color AND pattern! And that cityscape? That’s my Midtown foam stamp set :)
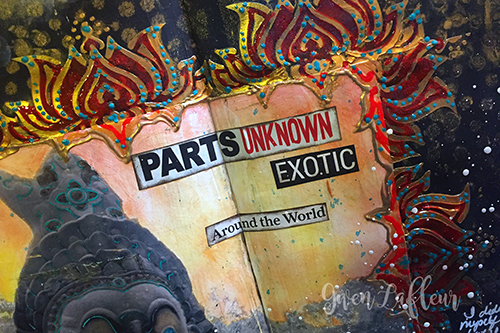
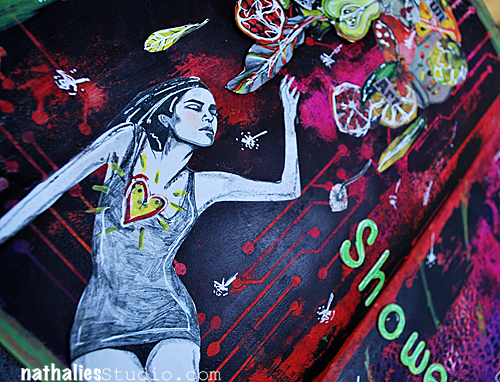
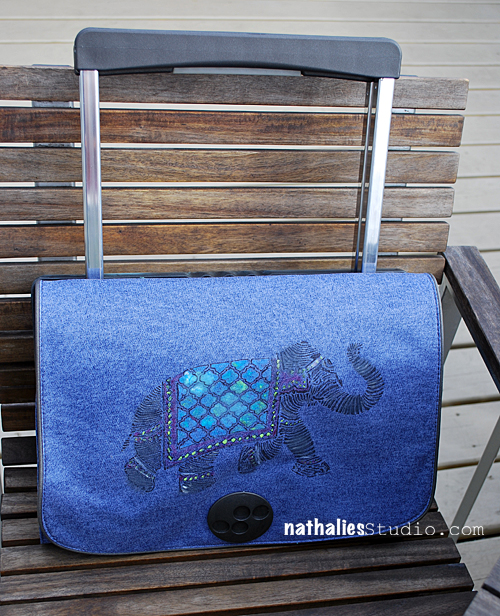
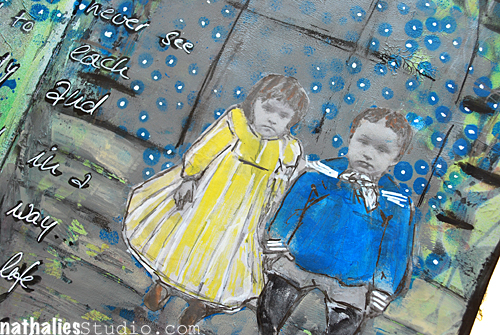
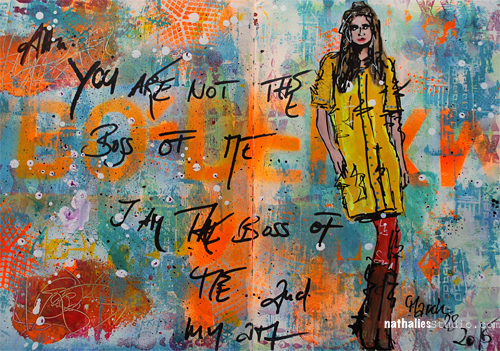
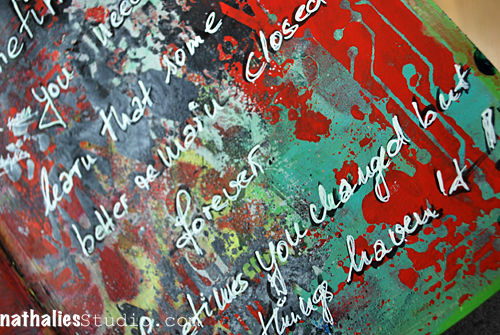
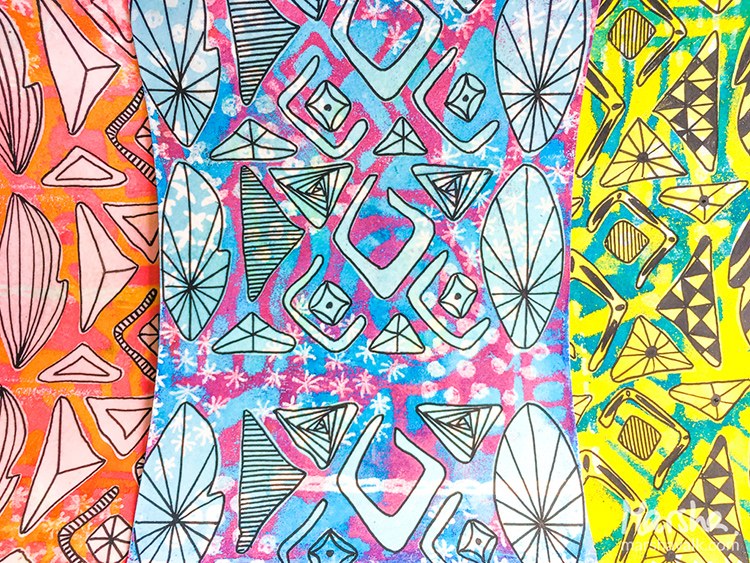
Next we have an exotic touch from Creative Squad alum Gwen Lafleur. She used my What’s the Point stencil and my Lily Wallpaper stencil for this art journal page devoted to adventures. The black, red, and gold color palette definitely transports us somewhere far off and interesting :)
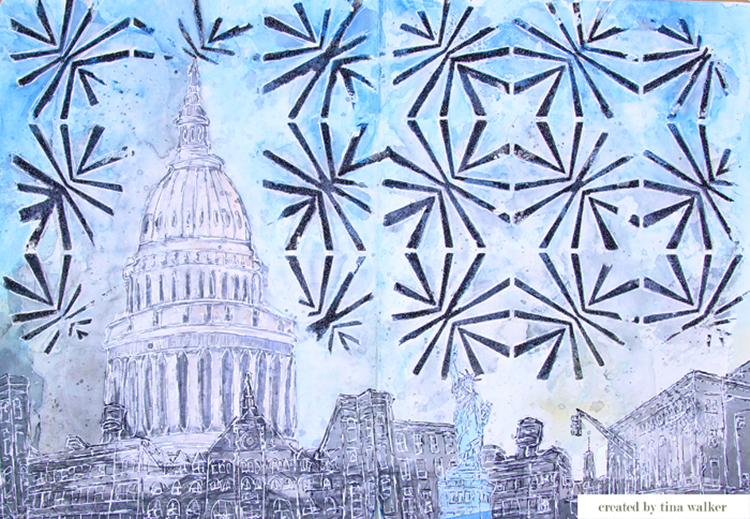
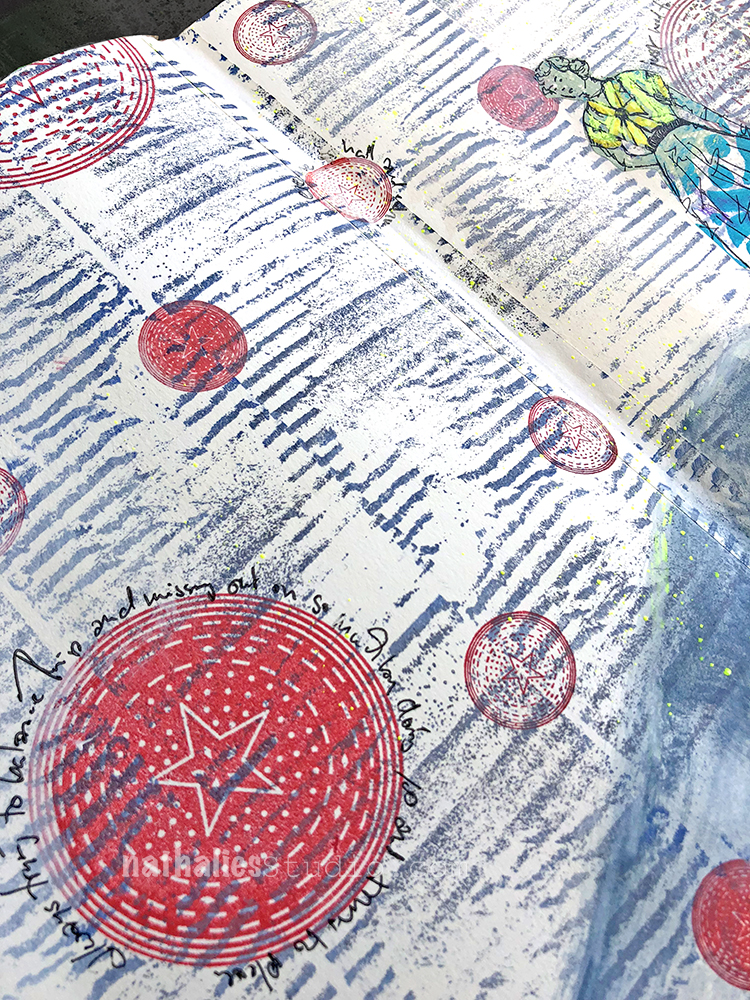
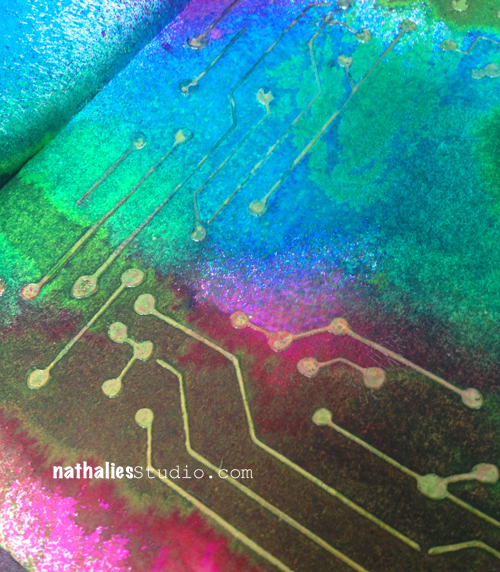
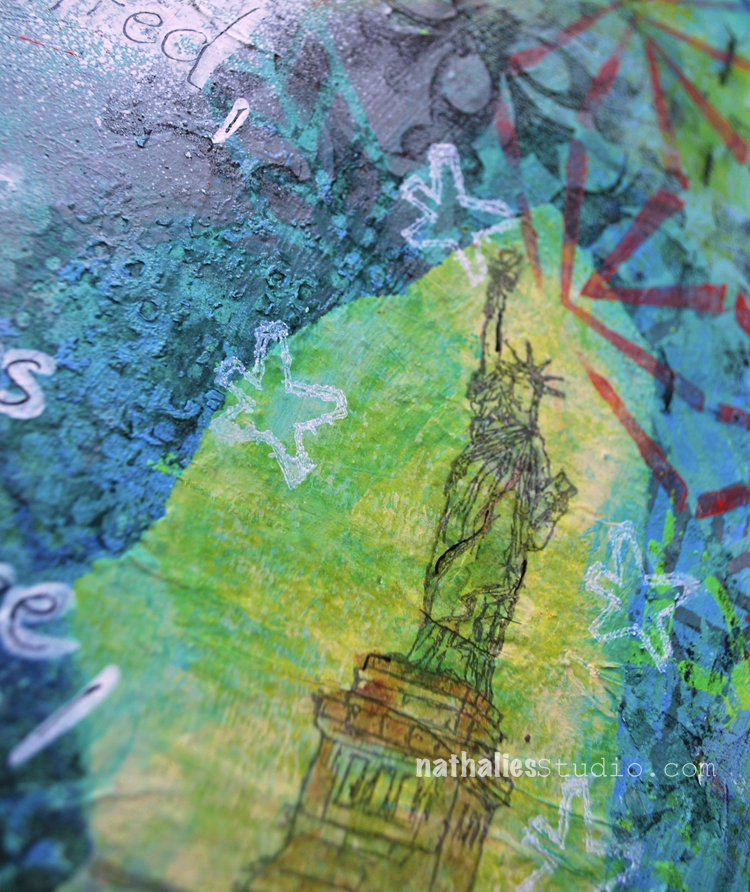
From Creative Squad alum Tina Walker we have this fun background using my Beacon stencil that has me thinking about fireworks. You can reinterpret stencils in so many ways and see different things in the designs.
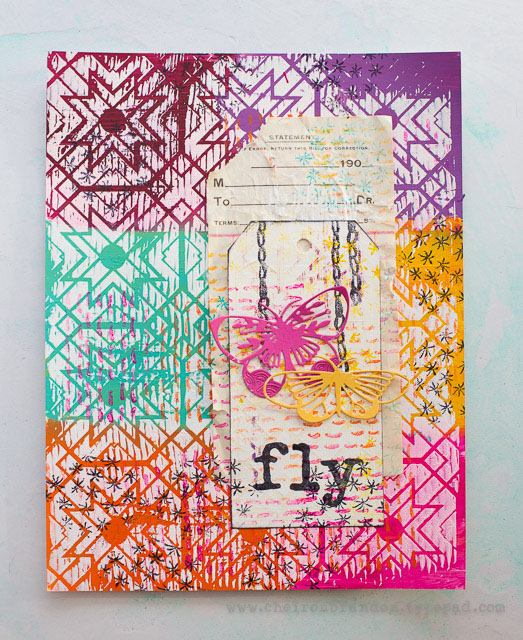
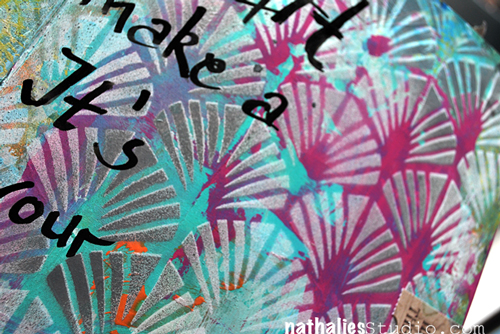
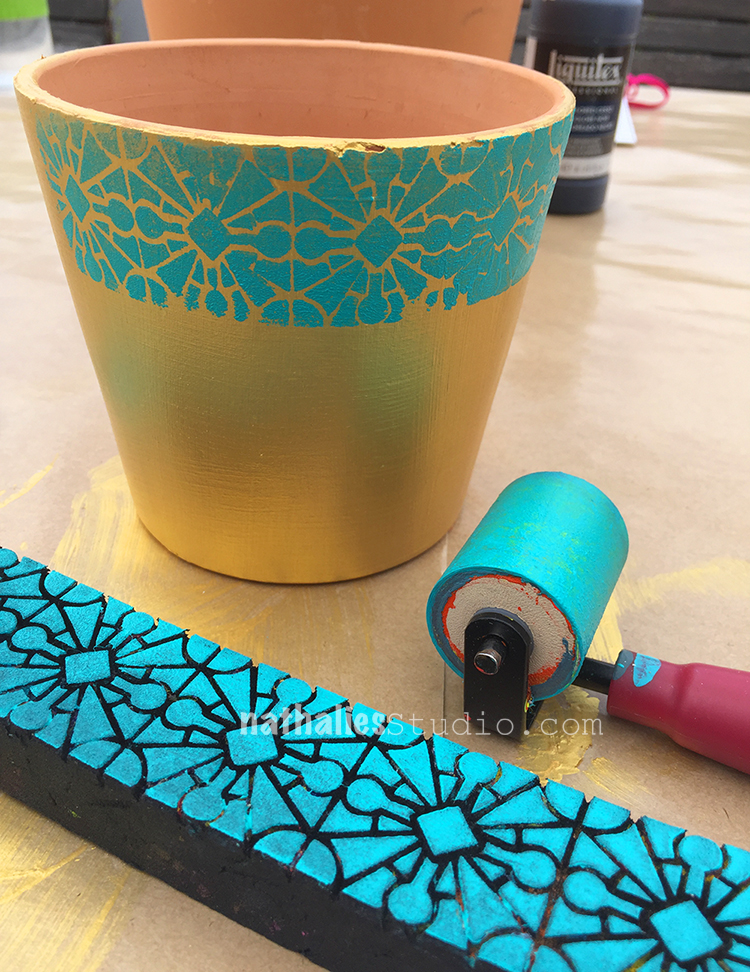
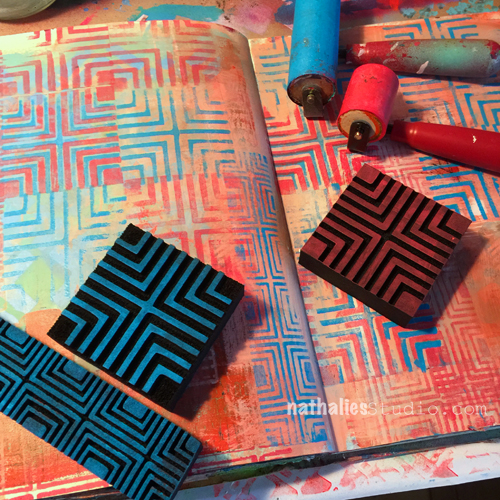
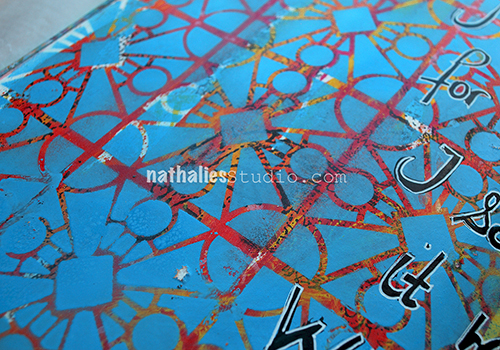
I absolutely love this colorblocked pattern using my Toledo stencil by Creative Squad alum Cheiron Brandon. Using blocks of color like this across a pattern is a cool way to mix things up with a stencil.
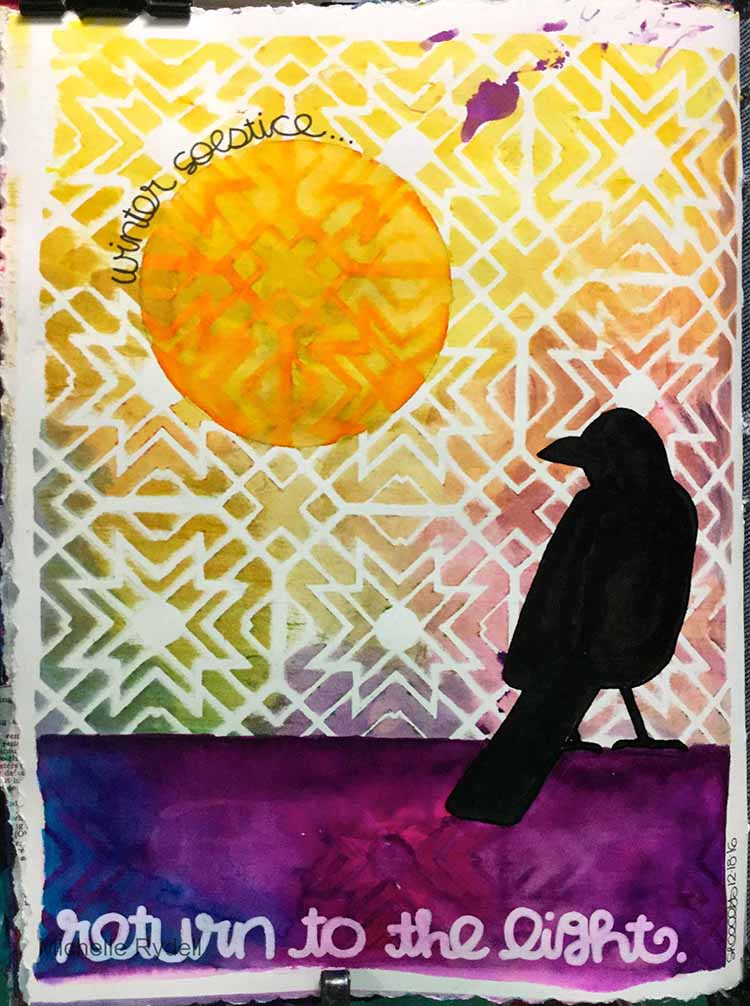
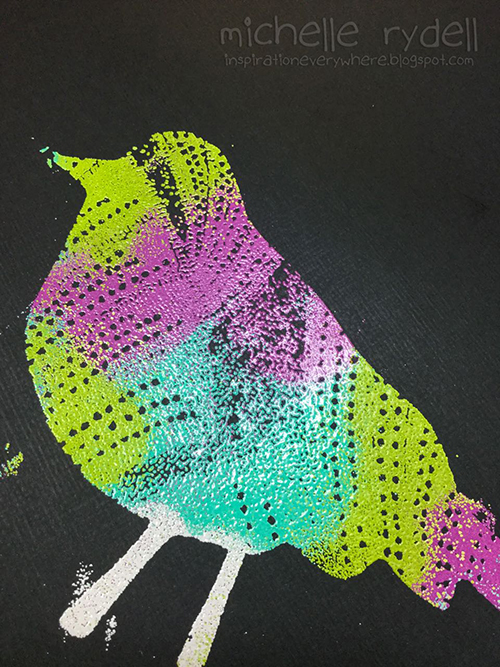
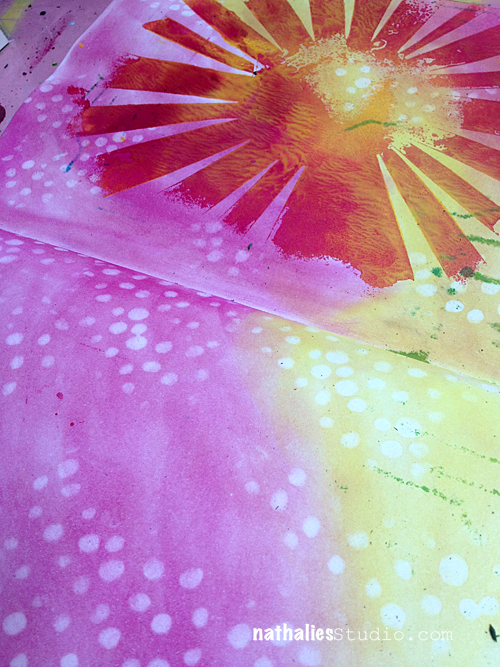
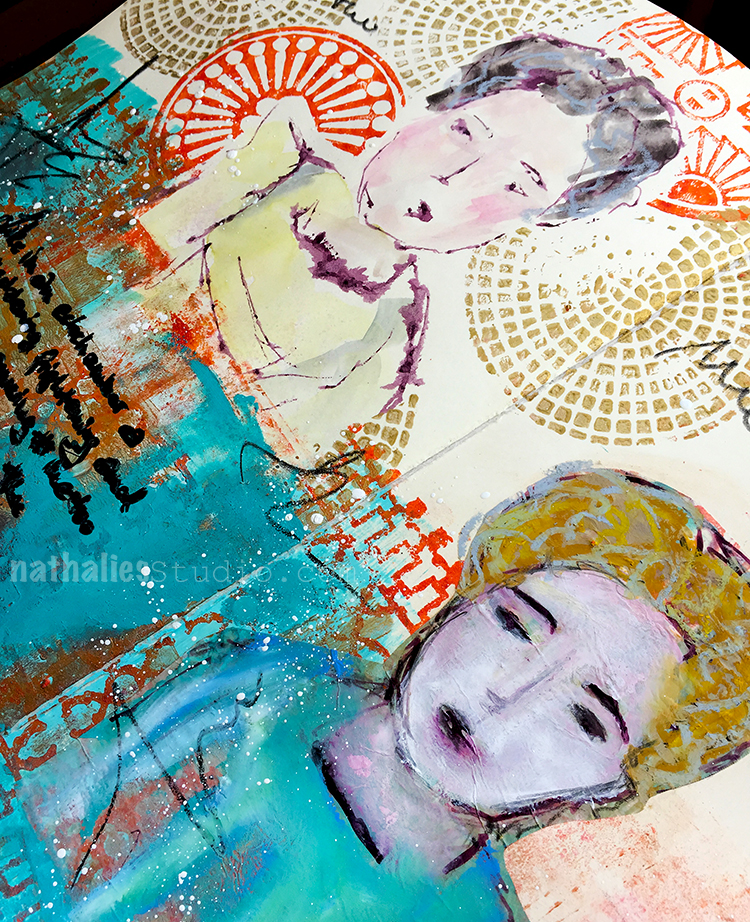
And finally we have this beautiful sunset from Creative Squad alum Michelle Rydell. She used my Toledo stencil with a bunch of spray inks for a gorgeous wash of color that we can’t get enough of!
I hope you enjoyed A Look Back through my Creative Squad archive and maybe you are inspired to try some different things now too.
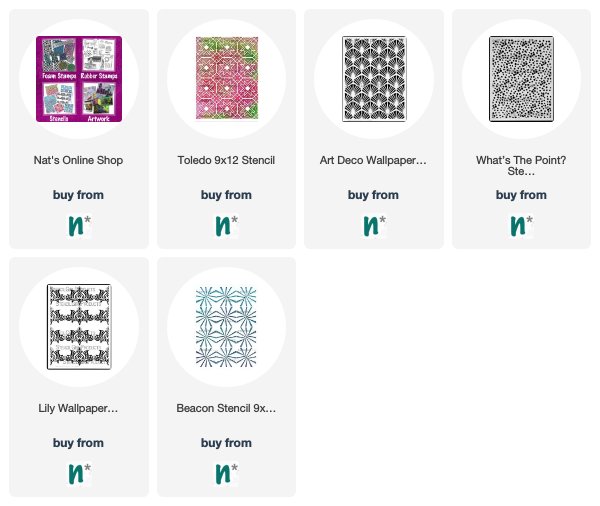
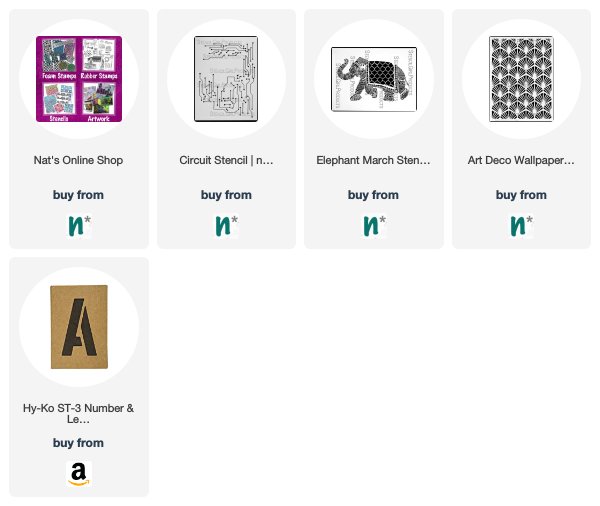
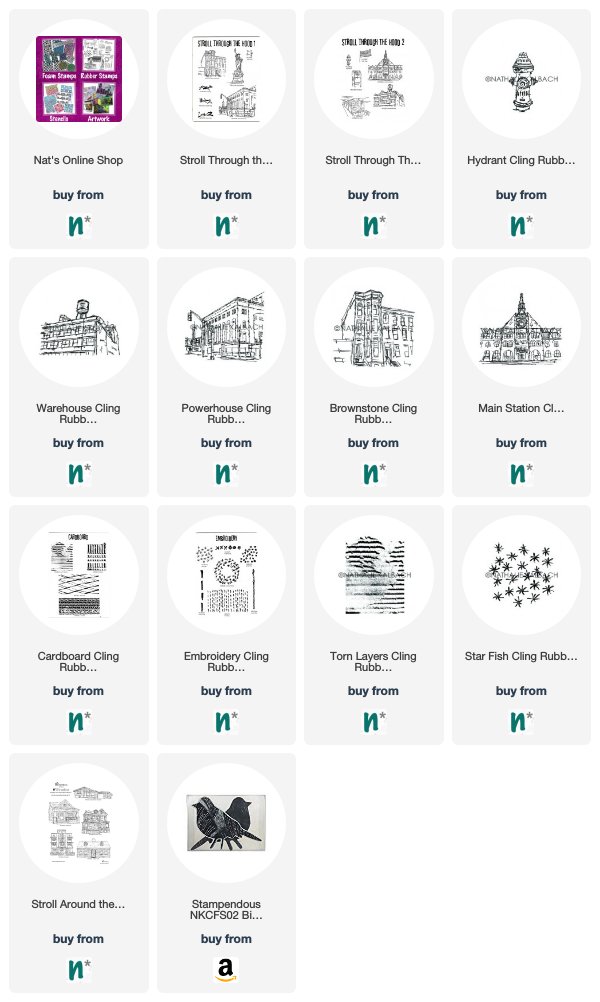
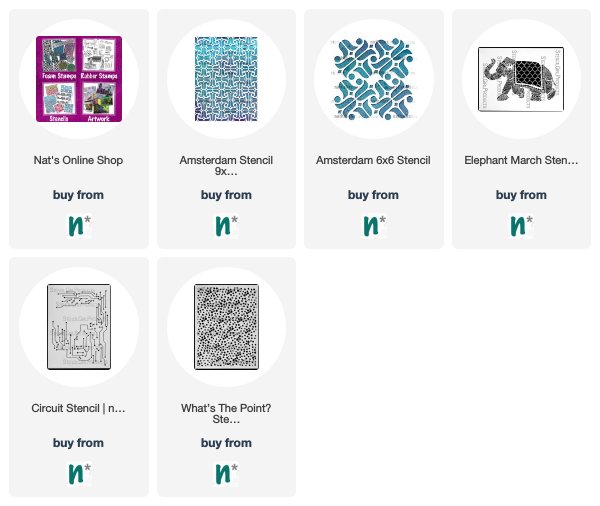
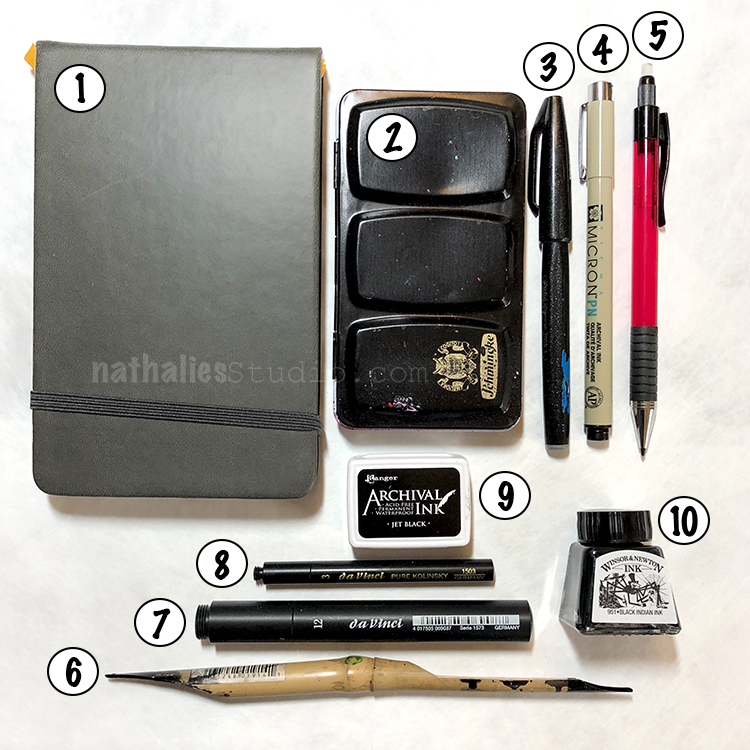
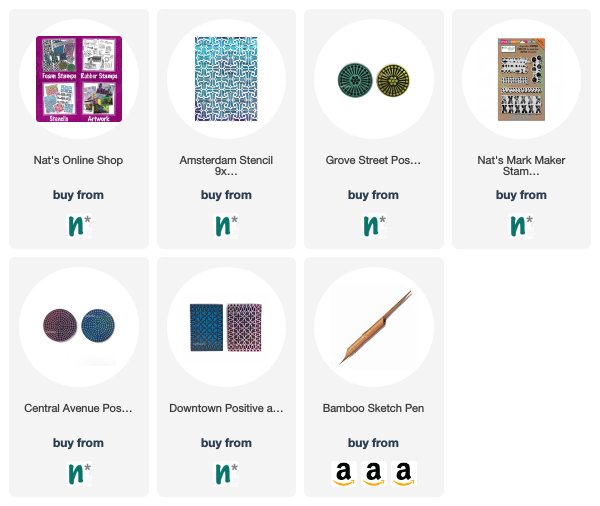
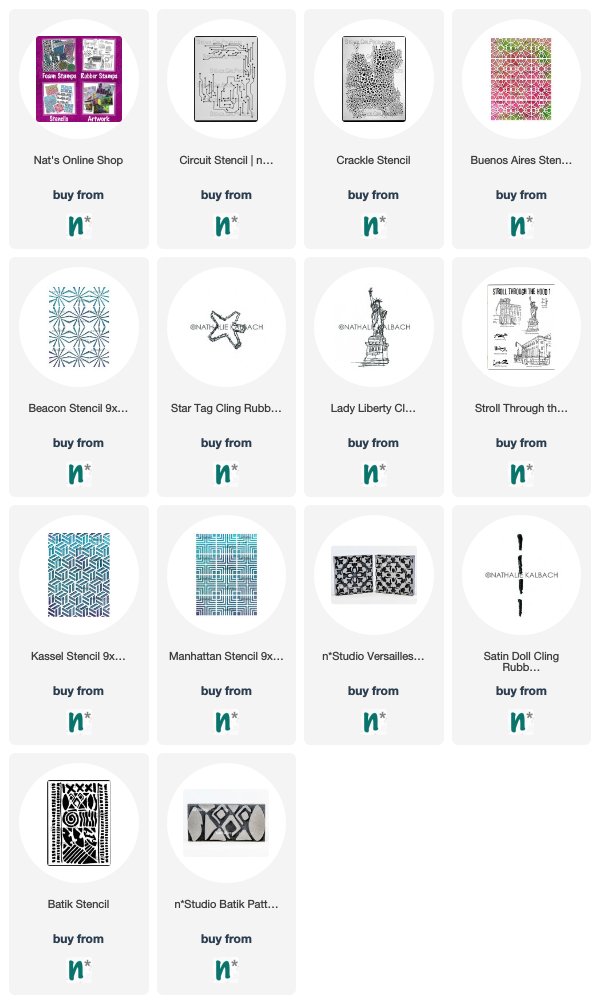
Here are some of the supplies that were used in these pieces:
And hurry into the shop because my Exchange Place ArtFoamie is now just $4!!! Super cool pattern and super great price!


I loved your art journal page with the gold gesso years ago! I bought some and the jar was broken and a hot mess but had fun applying it to everything in sight. This year I tried the clear gesso on top of an IOD transfer on a journal and it was very nice indeed to watercolor on. Thank you for the reminder to dig up those old tools and make them new again.
Reply