Blog: A Look Back

A Look Back – Thoughts on Perfection

A Look Back – As artists we are obviously very aware of the visual world and that means it’s easy to get caught up in getting things to look right… maybe even perfect… but what is perfection and who sets the rules anyway? I thought it might be a good time to give perfection a hard look and maybe we’ll see that it isn’t such a great idea after all.

For A Look Back today let’s take a stroll through my art journals from the past and tease out some gems that reveal my Thoughts on Perfection.
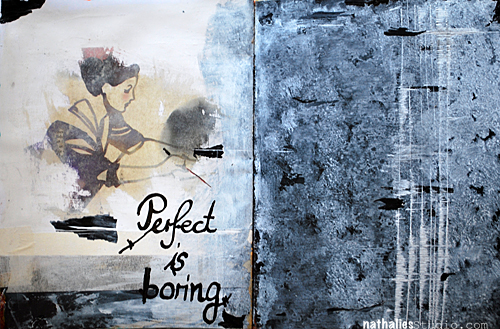
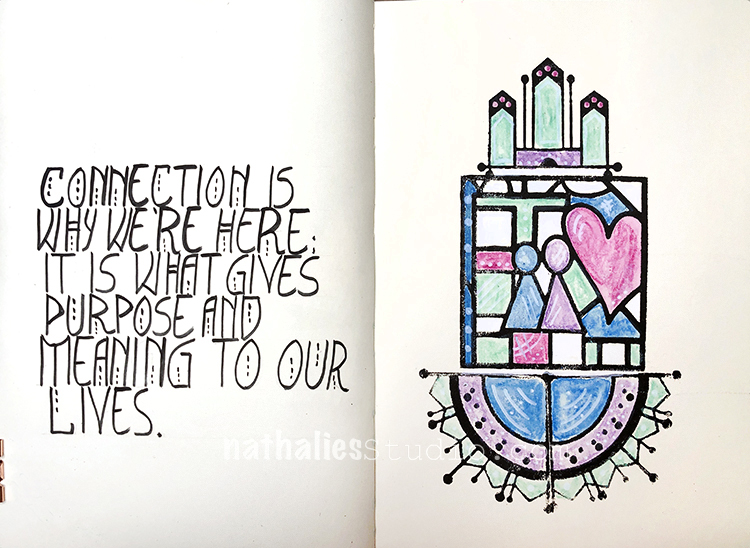
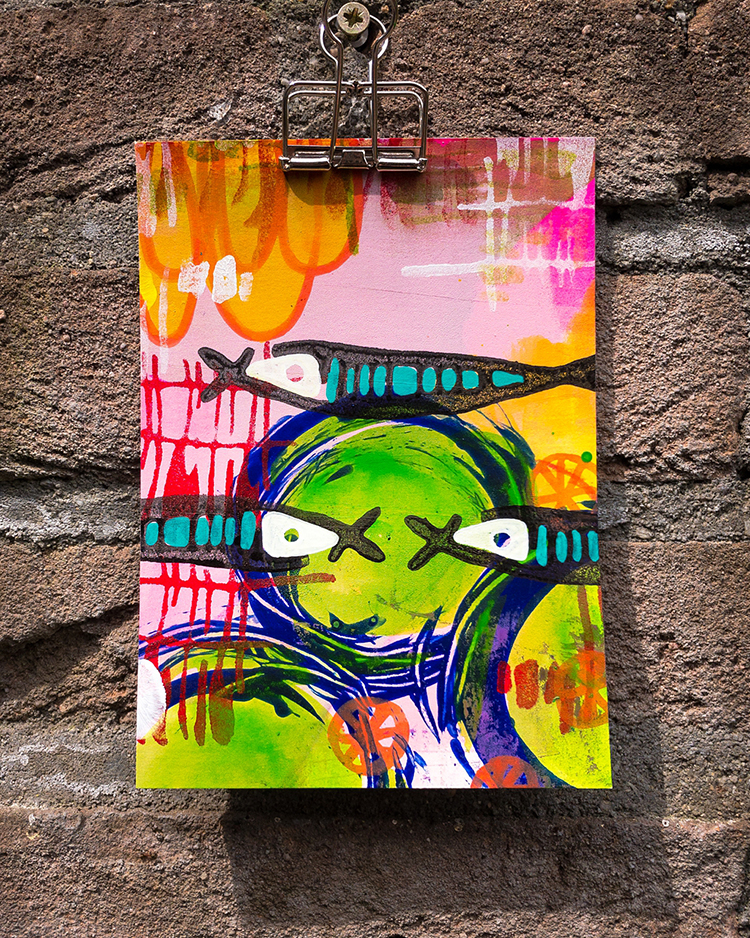
Let me just come right out and say it, “Perfect is boring.” When you’re perfect you’re not pushing boundaries, exploring the uncharted, or challenging yourself and that’s the spice of life! I think when you stop trying to be so perfect in your art, all those messy adventures that turn out a little different than anticipated are pretty interesting. You can see this art journal post from 2014 here.
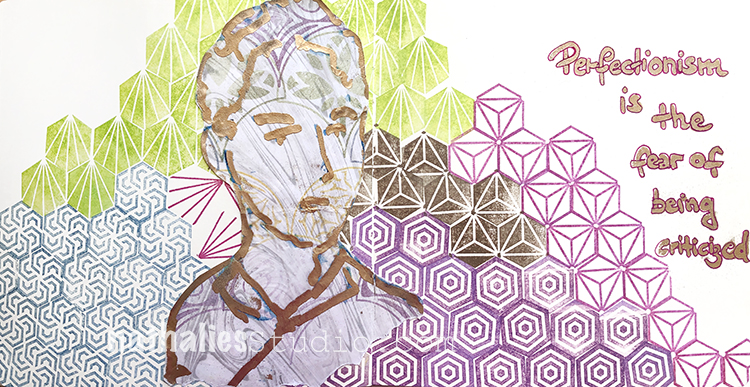
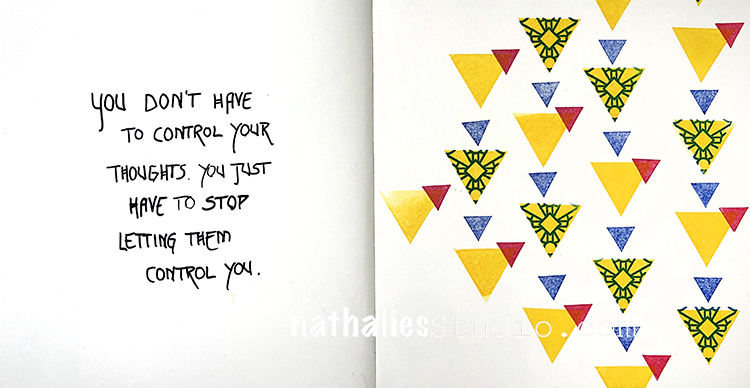
Perfection and fear seem to be very close friends… so I’m thinking if you say bye bye to trying to be perfect you may not be so afraid of what happens next. So what if your art journal page is a bit wonky, or someone thinks it looks less than lovely? The goal was never to be perfect, the goal was to create, and no one can tell you that you didn’t accomplish that. Here is that original post from 2019.
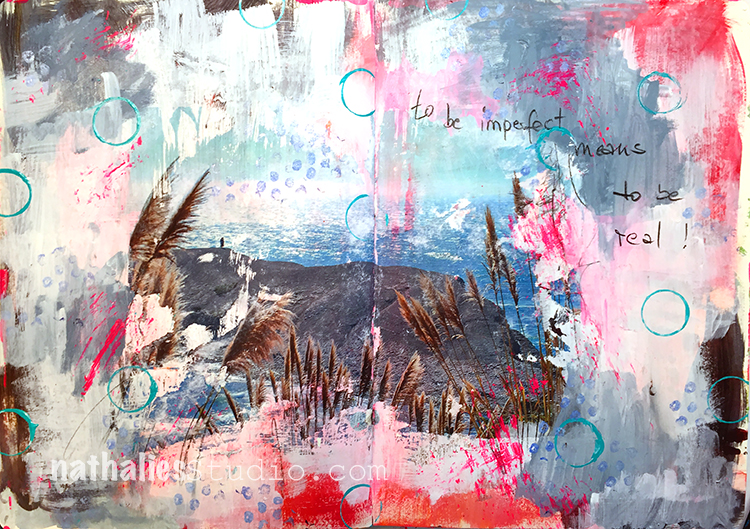
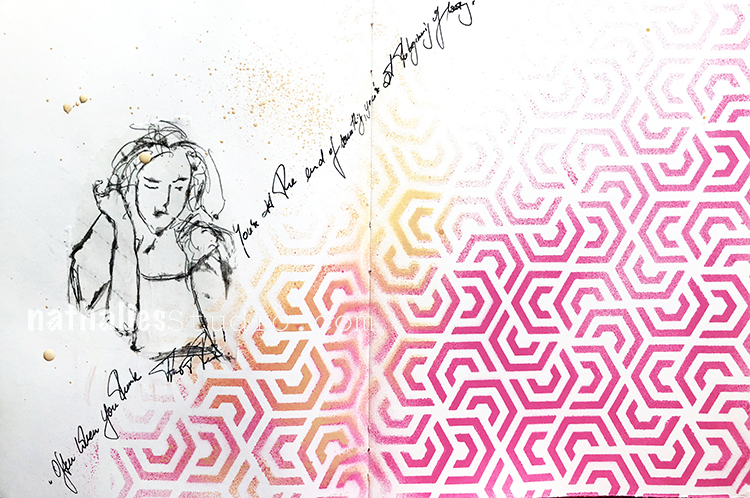
“To be imperfect means to be real!” It’s hard to argue with that – after all, no one is perfect. And don’t we all feel our best when we can just be ourselves, “warts and all”? I think the same goes for creating artwork too – its power comes from authentic expression more than some achievement of perfection. Here is the post for this art journal page from 2018.
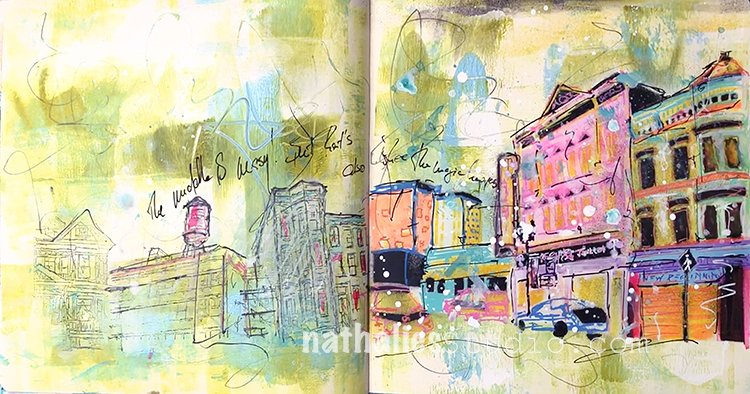
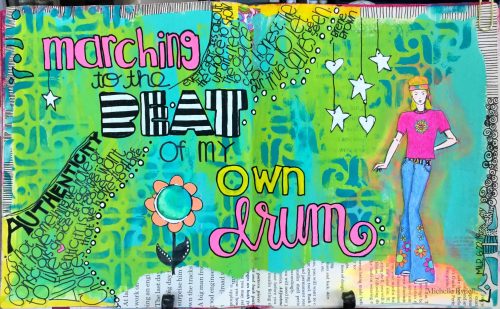
Bottom line? “The middle is messy but that is where the magic happens.” There are probably going to be some major messes, some mistakes, maybe even a few dramatic failures BUT taking those artistic risks is how you move forward, grow, and keep things interesting. I think that as long as the goal is to Make Art and not To Be Perfect, the journey and the destination will be much more fun, exciting, and satisfying. You can find this art journal page post from 2020 here.

I hope you enjoyed this and are ready to say “So long” to the limitations of perfection.

A Look Back is a blog series to show you some projects and posts that you may have missed – sometimes going WAY back in the archive. I think it’s fun to revisit a few ideas that we haven’t seen for a while. I’m excited to see how a little look back might inspire something new in the future :)

Here are some of the supplies I used in these projects:
Leave a comment

A Look Back – Lady in Red (in my Art Journal)

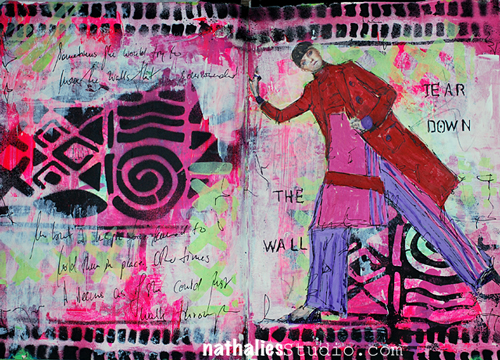
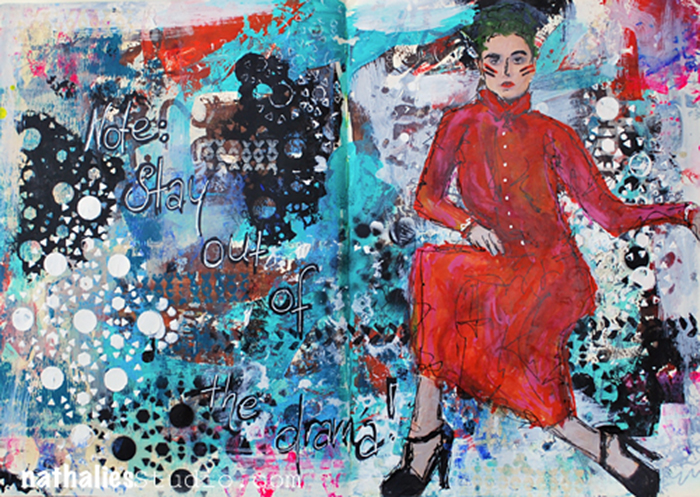
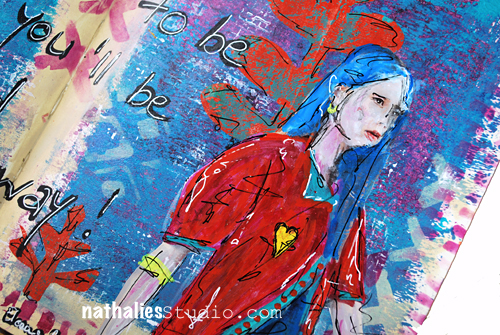
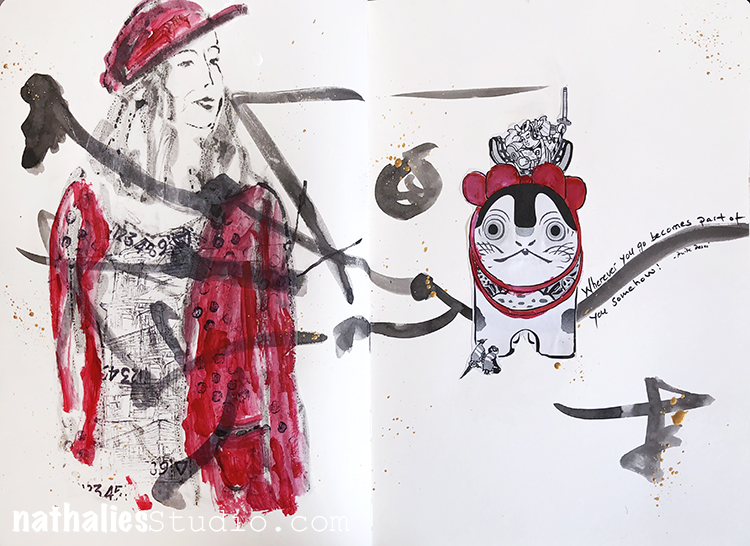
A Look Back – As I was looking through my blog archives I started to notice a reoccurring fashion trend happening right there in my art journal. There were a lot of girls wearing red. I don’t know why. I usually gravitate towards black or something a bit more neutral. But in the world of my art journal, the girls are rocking this strong hue. It didn’t take me long to find five of them, and I bet if you go back and look at my posts you can find even more. So I thought it would be fun to dedicate this Look Back to the Lady in Red in my art journal :)

This first one is from way back in 2014 when I came out with my Batik Stencil. This cool chick is standing strong in a red trench that means business. And I like how I used the Batik pattern on the left and then printed the reverse on the right using the painted back side of the stencil. You can check out the original post here.

At the start of 2015 my art journal gal is in a red dress AND some fierce makeup too. Don’t mess with her. But maybe you want to borrow something from her wardrobe :) You can see the original post for this page here. It’s all about that layered background – symbolic of the drama that can surround us and overwhelm us if we’re not careful.

Later in 2015 I had my girl in a fun red top and blue hair – she is definitely not afraid of color! Check out the original post here to see the full background and a quote from Eleanor Roosevelt that works perfectly for artists.

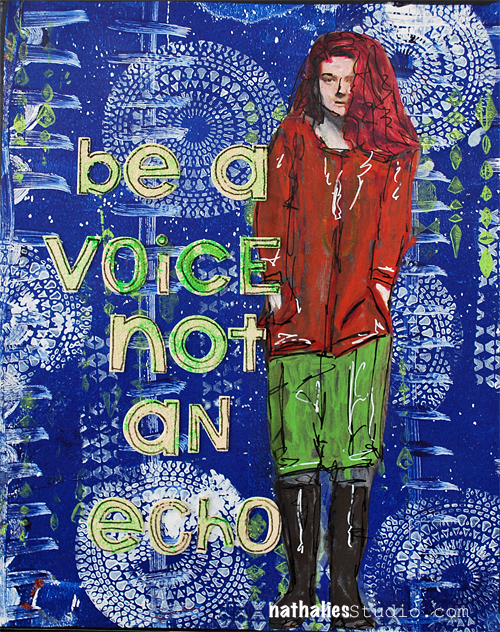
In 2018 I traveled to Japan and brought back, among other things, collage material and loads of artistic inspo of course! I created this art journal page with a woman in a red jacket and hat, using inksticks and an inkstone – materials used for writing and calligraphy. I made quite a few art journal pages after this trip that were really pared down and only using a color or two. Pretty cool how travel can influence you like that.

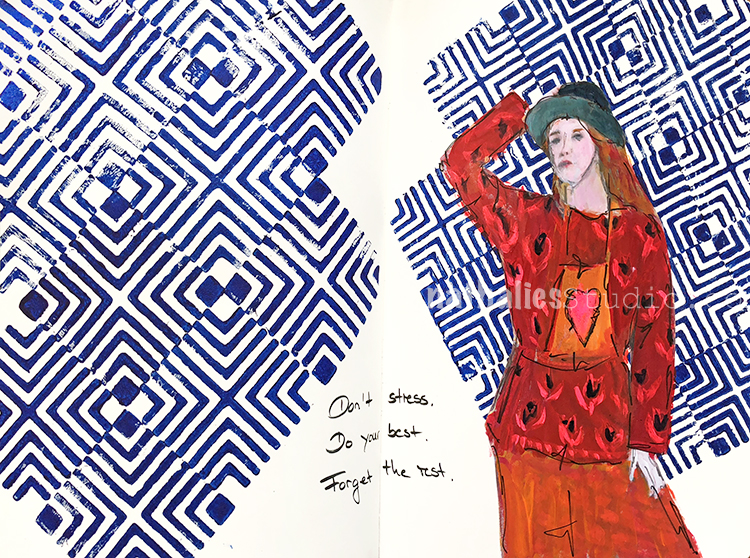
Along those same lines, this spread is from just a few weeks later in 2018 and the white page still plays an important role …and my girl is still in red! Although in this page she is sporting a fun red print! I love how she is completely popping off the blue Manhattan stamped background. You can see the original post here.

I hope you enjoyed this. A Look Back is a blog series to show you some projects and posts that you may have missed – sometimes going WAY back in the archive. I think it’s fun to revisit a few ideas that we haven’t seen for a while. I’m excited to see how a little look back might inspire something new in the future :)

Here are some of the supplies I used in these projects:

Leave a comment

A Look Back – The Artful Tabletop – Cool Stuff You May Have Missed

A Look Back – As many of us retreat to our homes again I thought it would be good to look at some projects that can make dining at home feel a bit more festive. This is a collection of posts from the past that can help you think about using stamps and stencils to create an Artful Tabletop. Lets make eating in, even on special occasions, feel like an elevated experience!

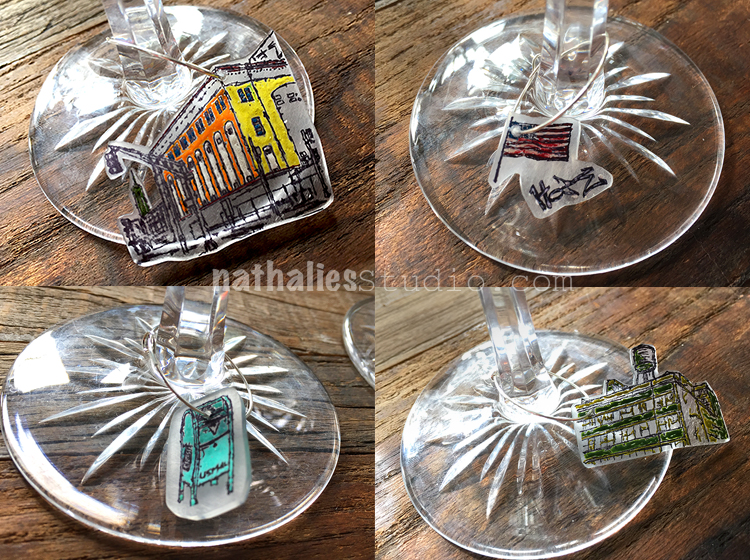
Ok first things first, pour yourself a glass of wine :) Then let’s look at this post on making some sweet wine charms with shrink film and my Stroll Through the Hood 1 and 2 stamp sets. You don’t want to mix up that glass with anyone else that may be in your household or bubble, right? This is no time to be sharing germs. And hey, even if you aren’t interacting with anyone else right now, wine charms are just cute accessories to have regardless and shrink film is ALWAYS fun to play with.

So we have the drinks covered. Let’s move on to some napkins…

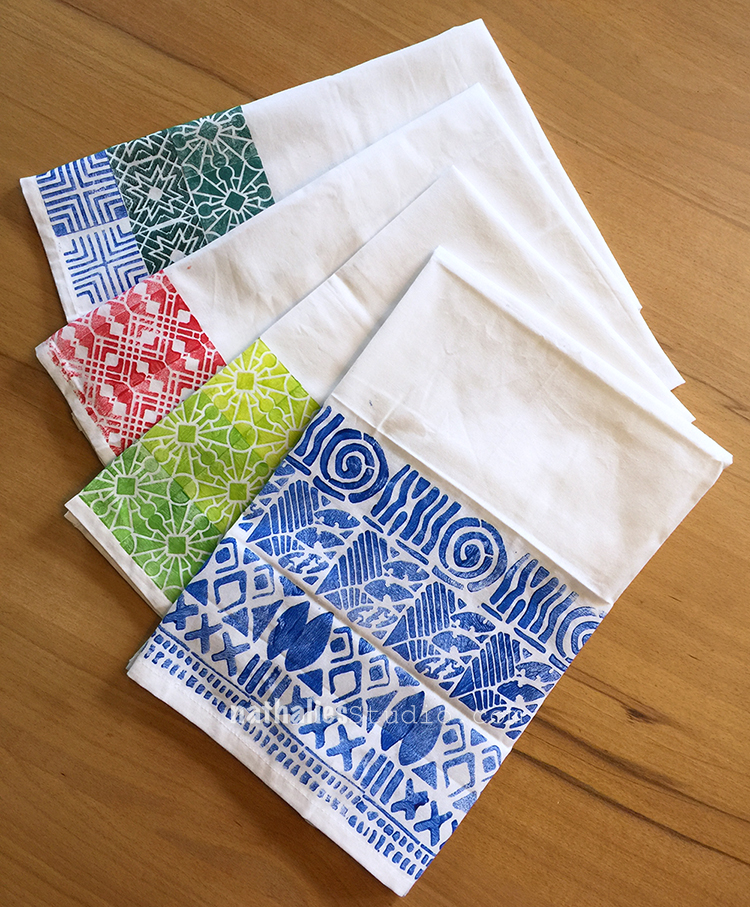
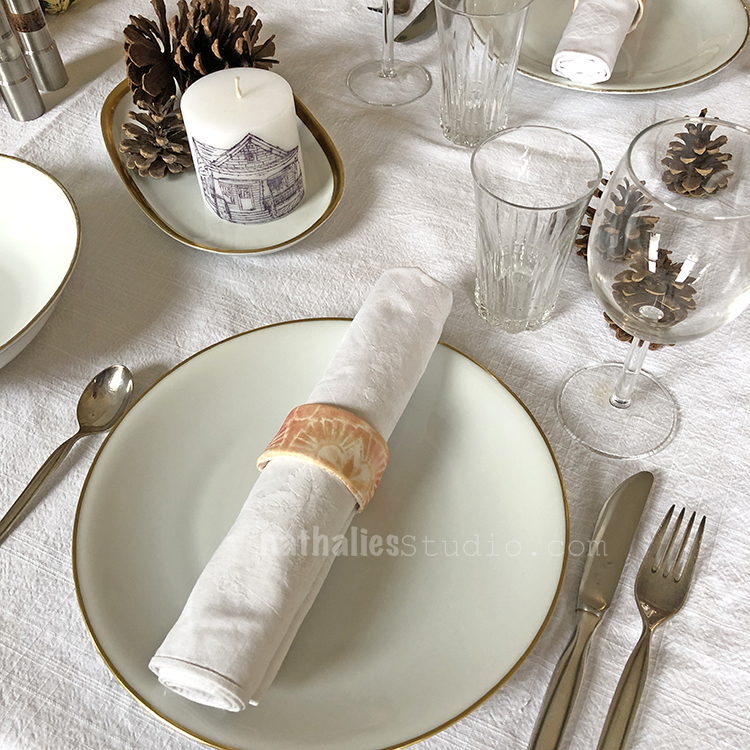
Cloth napkins are the way to go when it comes to making your table look good at home. Not only are they better for the environment, but they just feel nice when you’re dabbing that homemade lasagna off your mouth. And, when you follow the tutorial in this post you’ll see you can choose the perfect colors to go with your tableware and vibe at home. We used some of my foam stamps for the patterns and fabric paint to make sure they hold up in the laundry. Welcome to Chez Moi.

Next up: let’s give those napkins a ring! Nothing says you tried to gussy up a table like napkin rings :)

This blog post tutorial shows how to turn paper clay, some of my pattern stencils (like Hamilton seen above), and PanPastels into one-of-a-kind rings for those newly stamped napkins. Give it a try and see if dinner doesn’t feel a bit fancier!

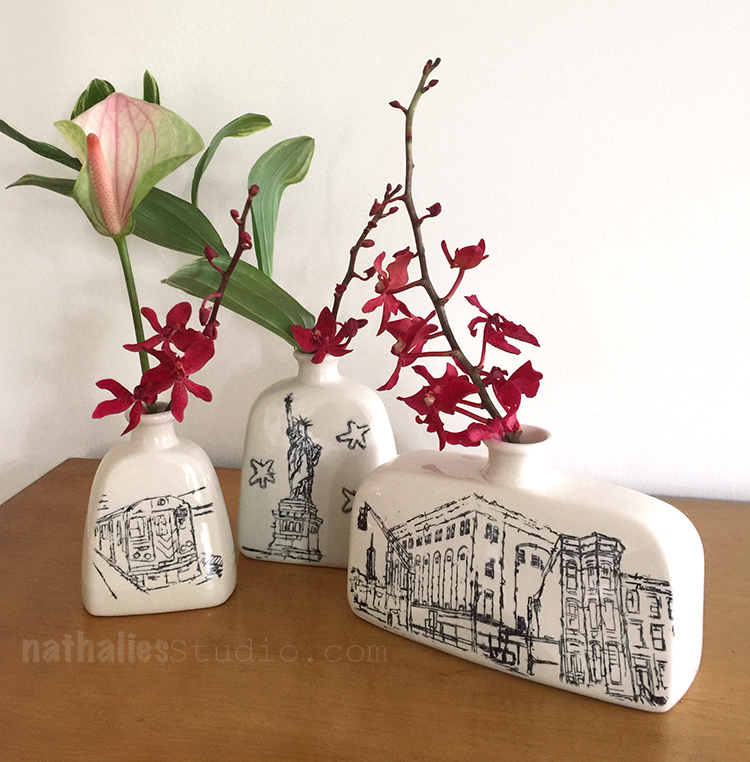
No tablescape is complete without a little element of nature – be it real flowers, greenery from your yard, or faux flowers.

In this blog post we turned plain white ceramic vases into artistic scenes by stamping my Stroll Through the Hood 1 and 2 rubber stamp sets. You’ll want to use an ink like StazOn for this project and then you can even color in with paint markers or glass paint markers. If you use the same stamps that you used for your wine charms, you will begin to build a cohesive look for your Artful Tabletop.

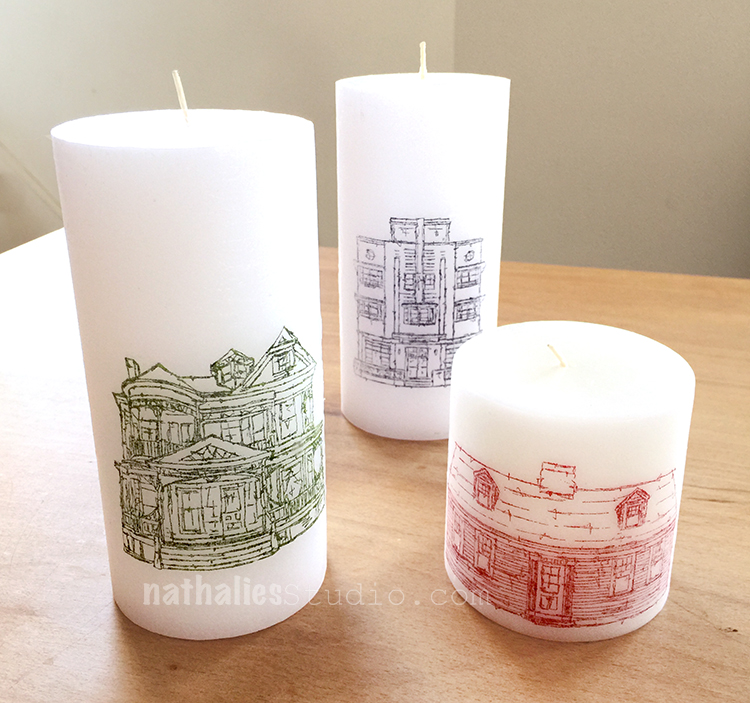
Lastly let’s talk about lighting.

To set the mood on any elegant table, candlelight is a must. Everyone looks better by candlelight, candlelight feels festive even when it’s dark and dreary outside, and I don’t know if there is any scientific proof to this but food just tastes better when there are lit candles on a table. Here is an easy tutorial to create candles stamped with my Stroll Around the Block rubber stamps and some tissue paper.

There you go – 5 projects to get you excited about dining at home and making your Artful Tabletop something to admire and enjoy. You may even need to start posting pics of your dinner online if you keep this up. Have fun!!!

I hope you enjoyed this. A Look Back is a blog series to show you some projects and posts that you may have missed – sometimes going WAY back in the archive. I think it will be fun to revisit a few ideas that we haven’t seen for a while. I’m excited to see how a little look back might inspire something new in the future :)

Here are some of the supplies I used in these projects:
Leave a comment

A Look Back – 2021 Art Journal Pages – Cool Stuff You May Have Missed

A Look Back – I thought it might be nice to look back at Art Journal pages from 2021 to get a feel for the year. Let’s face it 2021 was a tumultuous year as we continue to struggle worldwide, and a lot of those feelings I got out in my art journaling. Ready for some from this past year?

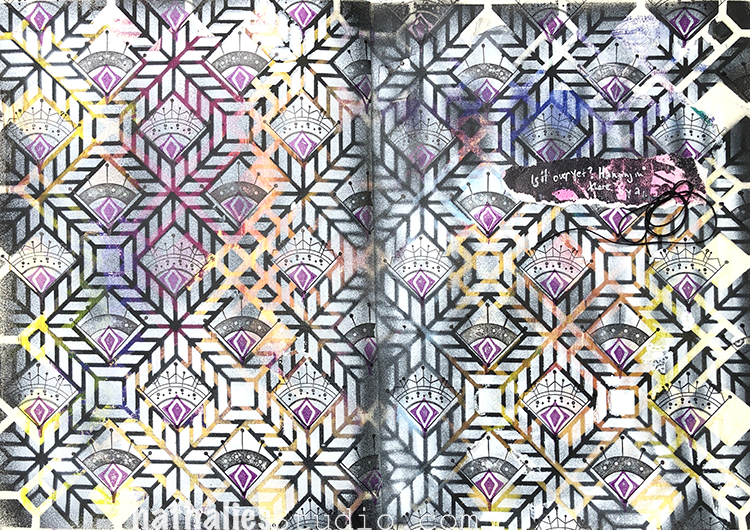
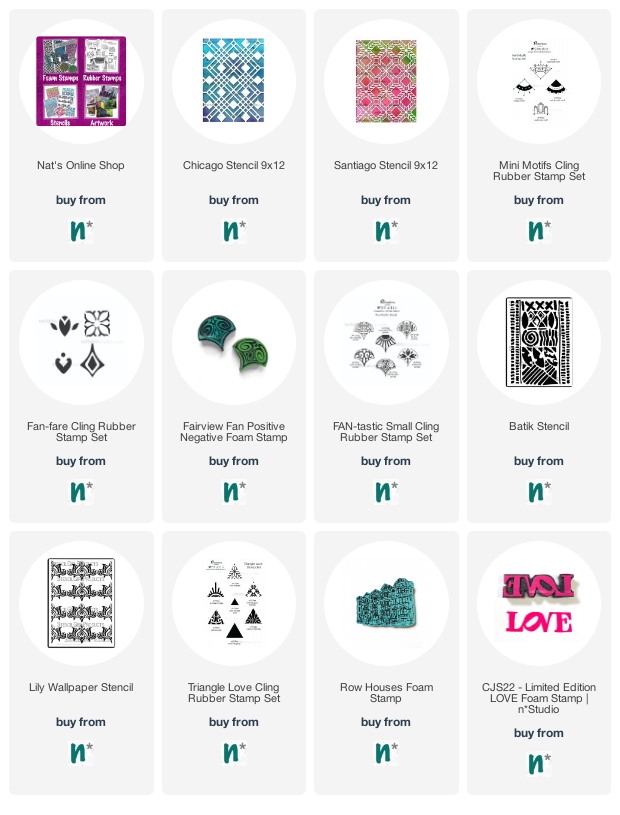
I actually created this spread at the end of 2020 and shared it at the start of 2021. The journaling reads “Is it over yet? Hanging in there by a thread.” I really enjoyed creating the patterned background and I’ve found that building patterns is a nice zen activity for me. I was using my Chicago and Santiago stencils and then added my Mini Motifs rubber stamp which fit perfectly in the stencil design (smile). Last touch was one of my Fan-Fare rubber stamps in magenta. You can read the original post here.

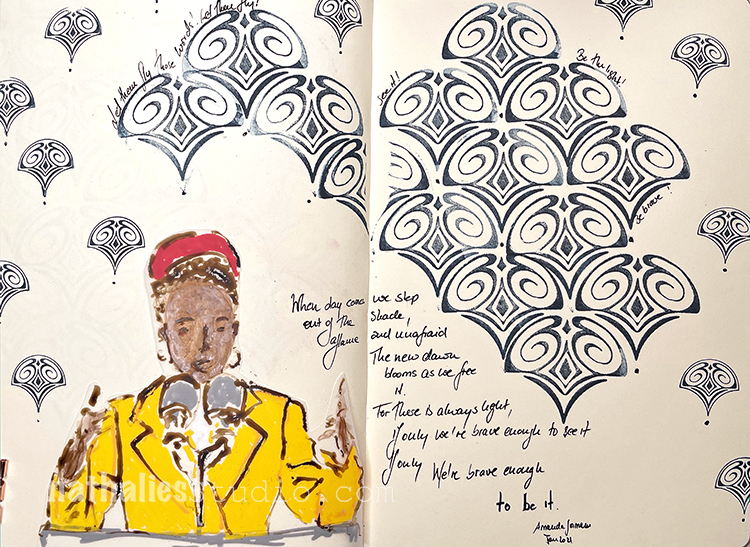
When day comes we step out of the shade,
aflame and unafraid
The new dawn blooms as we free it
For there is always light,
if only we’re brave enough to see it
If only we’re brave enough to be it

-Amanda Gorman

I still get shivers thinking about Amanda Gorman’s powerful poem from the US presidential inauguration. I think it inspired so many of us at the start of 2021 when we needed hope for the future and someone reminding us that we can be the light that the world needs. In the spread I kept things simple to focus on her words, I had to add that yellow coat, and then a pattern using my Fairview Fan foam stamp and my Fan-tastic Small rubber stamp set. Here is the original post.

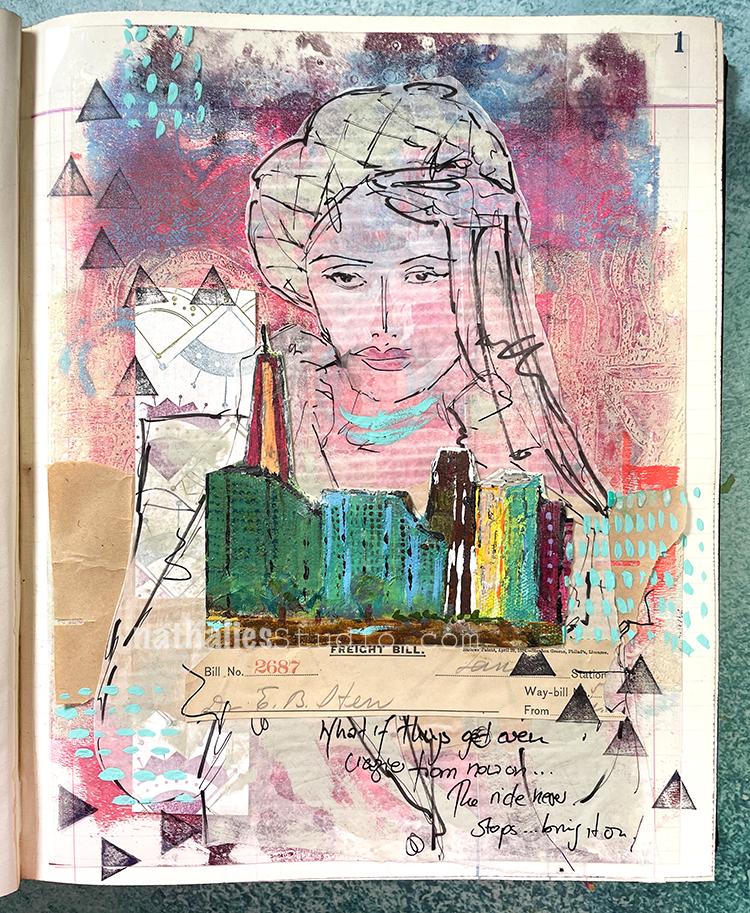
“What if things get even crazier from now on… the ride never stops …bring it on.” Life rarely slows down and as usual I was feeling the pressure this year and also trying to remind myself to just hang on, persist, and maybe even enjoy the challenge. And I was also trying to use up some of my collage material in a constructive way lol so this page has a lot in there including a cut up painting on canvas, my Batik and Lily Wallpaper stencils, and my Mini Motifs and one of my Triangle Love rubber stamps. Here’s the post.

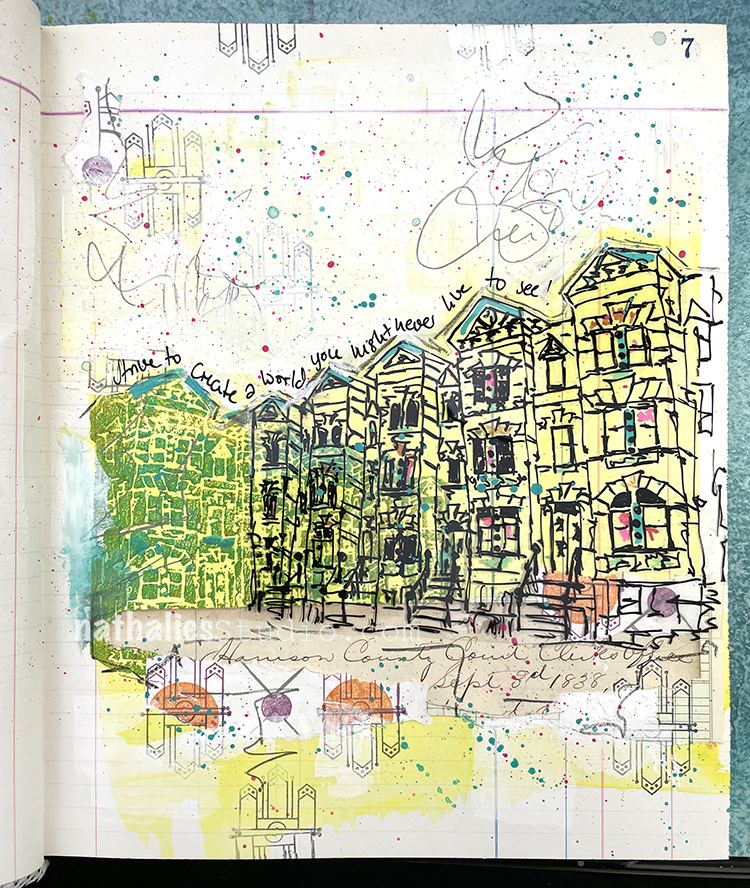
“Strive to create a world you might never live to see!” – Do it Anyway is what I called this page and again an epic adventure in collage as well as using my Row Houses foam stamp and my Mini Motifs rubber stamps along with a variety of media and layering techniques. Check out the post for some of that info.

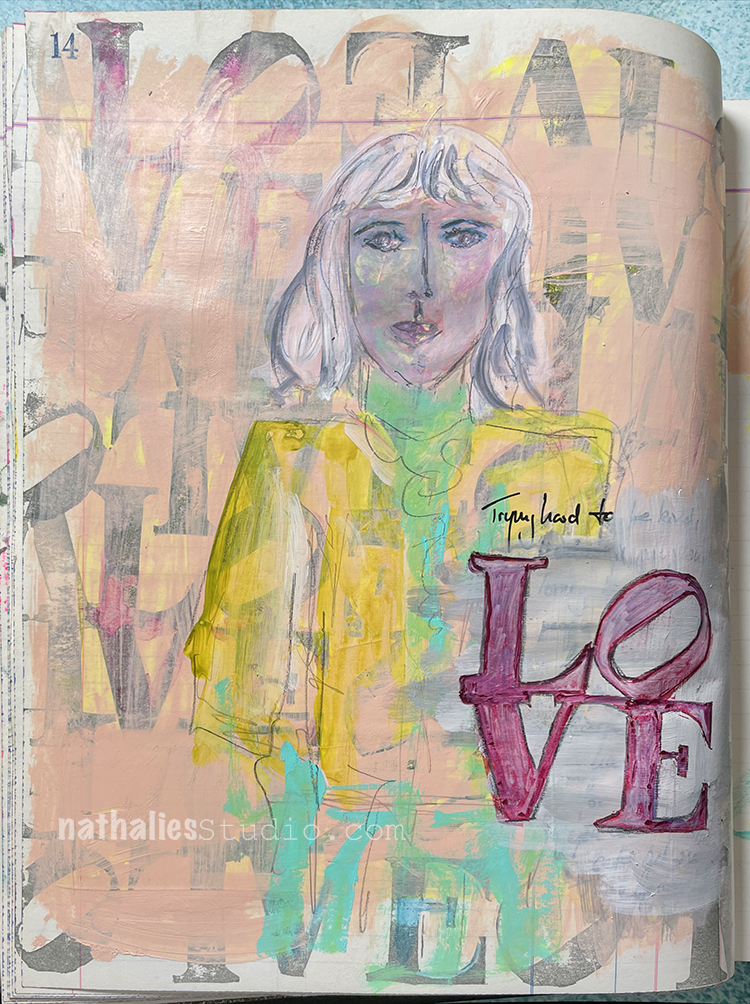
“Trying hard to… Love.” was one of those blah day art journal pages that wound up being quite fruitful – it helped me figure out my LOVE foam stamp design which evolved to be a single line. Sometimes even if you don’t feel super motivated about anything, puttering around in your art journal can yield positive results. Here is a link to the original post.

I hope you enjoyed this Look Back at some of my art journal pages this year and if you’re interested in revisiting some other posts from the past, check them out: A Look Back is a blog series to show you some projects and posts that you may have missed – sometimes going WAY back in the archive. I think it will be fun to revisit a few ideas that we haven’t seen for a while. I’m excited to see how a little look back might inspire something new in the future :)

Here are some of the supplies I used in these pages:
Leave a comment

A Look Back – Holiday Projects

A Look Back – let’s get into the spirit of the season and recap some of my favorite holiday posts from years past. If you’re looking for creative and crafty ideas for holiday decorating, cards, and such, this is a handy list.

A Look Back is a blog series to show you some projects and posts that you may have missed – sometimes going WAY back in the archive. I think it will be fun to revisit a few ideas that we haven’t seen for a while. I’m excited to see how a little look back might inspire something new in the future :)

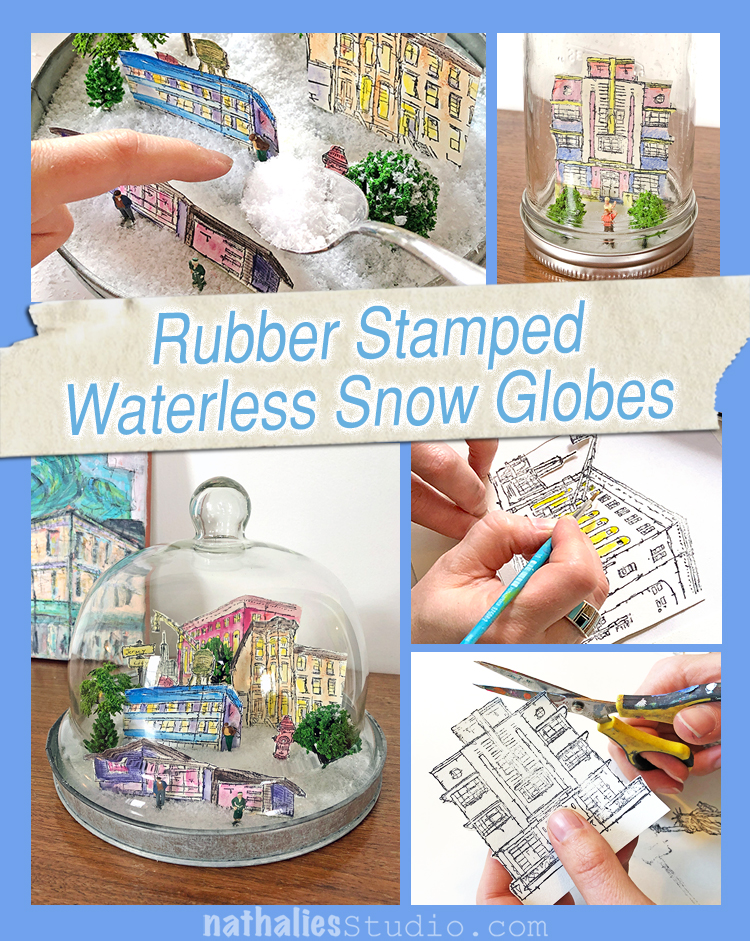
Hands down this was one of my favorite play dates ever! These rubber stamped, waterless snow globes were so fun to make and I still love displaying them each year around the holidays. We really got creative setting up the scenes with my Stroll Around the Block and Stroll Through the Hood stamps, along with some quirky miniature figures and trees. Love creating your own miniature world? This is for you!!! Here’s a link to the post.

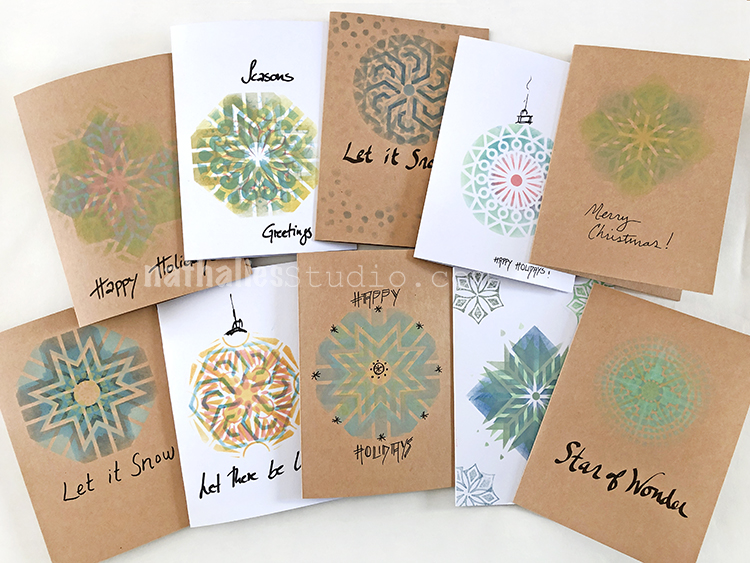
Another winner was a card making play date we did by layering my stencils with Distress Oxide inks. So satisfying to see how different patterns worked together to create snowflake-like designs. Each one was unique, each one was beautiful. Here is the post where we show you our step by step method.

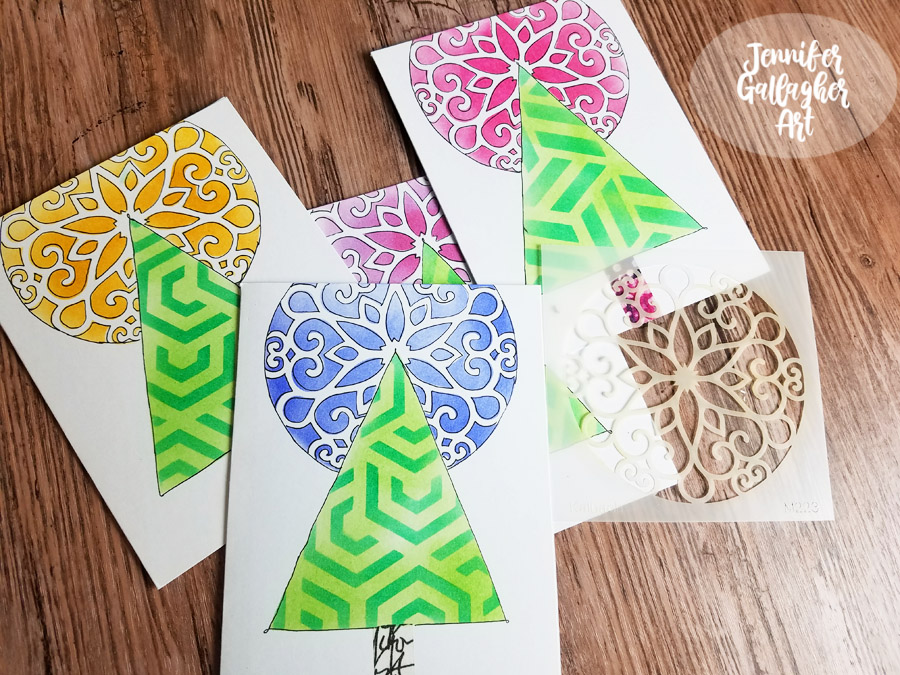
Remember these fresh looking tree cards from Creative Squad alum Jennifer Gallagher? She created trees using my Kassel and Flower Maze stencils, washi tape for the trunks, and then set them aglow with my Park Blvd stencil. I love the simple, modern look of these cards and you could really churn out a lot of variations in no time with her stencil and masking technique. Check it out.

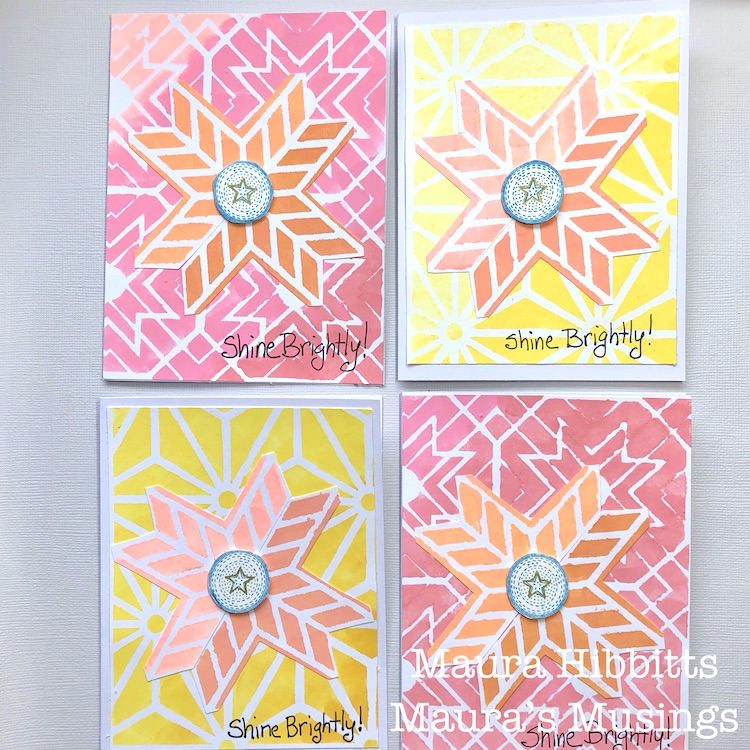
Looking for something a little different for holiday cards? Creative Squad member Maura Hibbitts shared this card project with us last year and they still catch my eye. I love her color choices and how well they work with my Star StruckToledo, and Santiago 4×4 stencils. And using my Small Circle Jumble rubber stamps for the center is such a nice detail. Give it a try: here is Maura’s post.
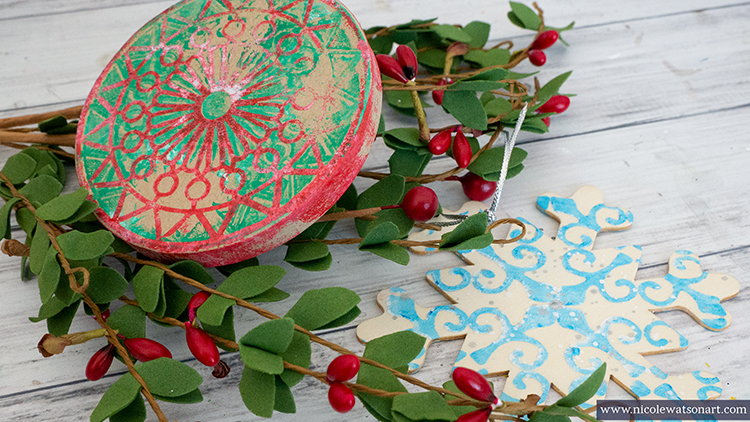
Let’s not forget the ornaments! These festive examples from Creative Squad alum Nicole Watson utilize some simple blank ornaments, acrylic paint, a gelli plate, my Valley Road stencil and my Antique Tile foam stamp. Their rustic style makes me want to cozy up with my hubby and trim a tree. Here is how to make them.

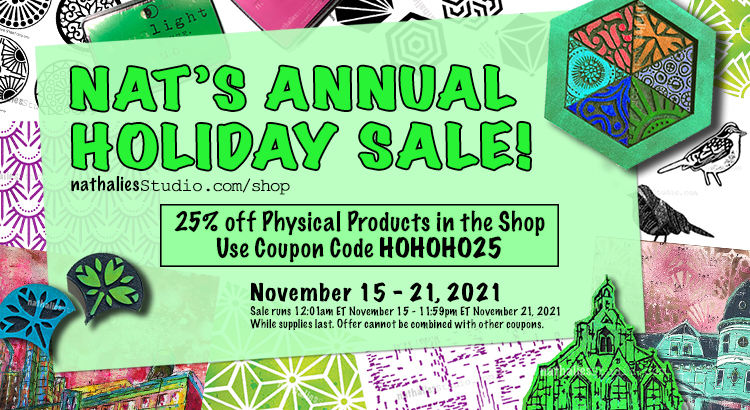
I hope you enjoyed this look back on some seasonal holiday projects using stamps and stencils and will maybe make a few of your own too. Remember that right now we have our big annual Holiday Sale in the shop so it’s a nice time to pick up a few of the stamps or stencils that you see in the above post for 25% off – just use the coupon code HOHOHO25 when you check out. The sale runs through November 21, 2021. Here is a link to the shop.

Here are some of the supplies we used:

Leave a comment

A Look Back – DIY Jewelry – Cool Stuff You May Have Missed

A Look Back – Today I sifted through my blog archives and pulled out some jewelry making posts from the past few years. Every once in a while my Creative Squad creates a jewelry project using my stamps and shrink film, and one time Kim and I got in on the action too during a play date. It’s a fun and nostalgic process using shrink film but also all the projects we show here are very giftable too ;) so bookmark these ideas and get creating!

A Look Back is a blog series to show you some projects and posts that you may have missed – sometimes going WAY back in the archive. I think it will be fun to revisit a few ideas that we haven’t seen for a while. I’m excited to see how a little look back might inspire something new in the future :)

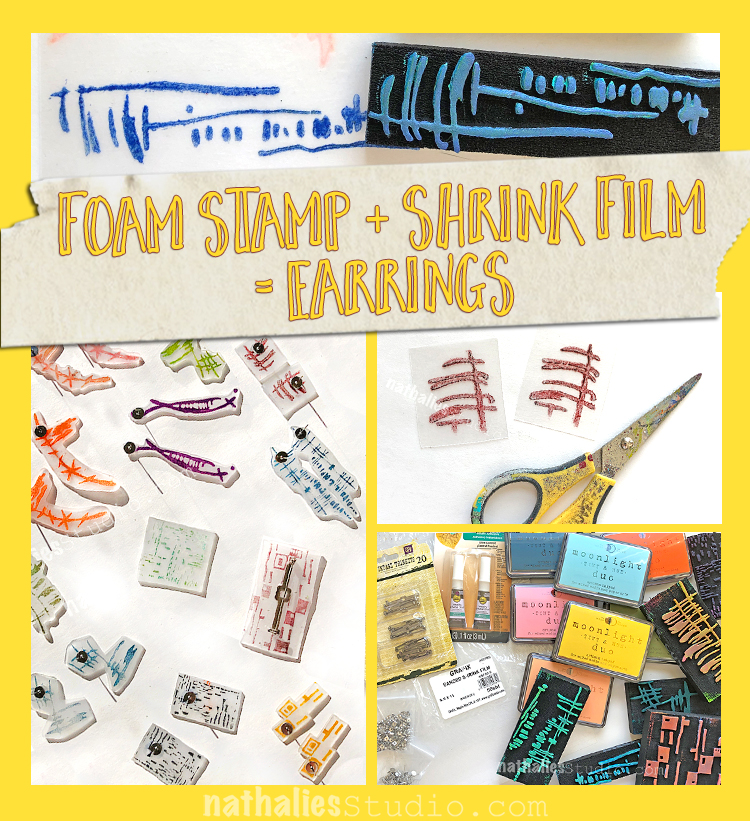
First up is a play date that Kim and I did when I released my Wabi Sabi foam stamps. We stamped them with Moonlight Duo ink pads onto shrink film and then made them into post back earrings. I love how modern these are and the idea to use foam stamps in this way opens up a lot of ideas. Here is the full post with instructions.

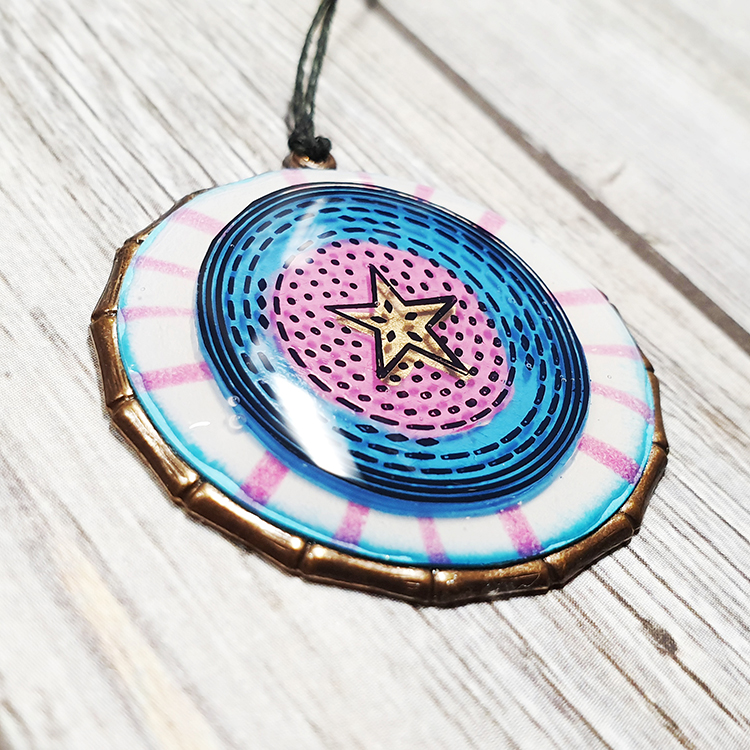
Next up was a pendant that Creative Squad member Tania Ahmed made for one of our monthly themes. She used shrink film with my Large Circle Jumble rubber stamps, and she encased the medallion in glossy clear resin to seal the jewel. Here is a link to her post and video.

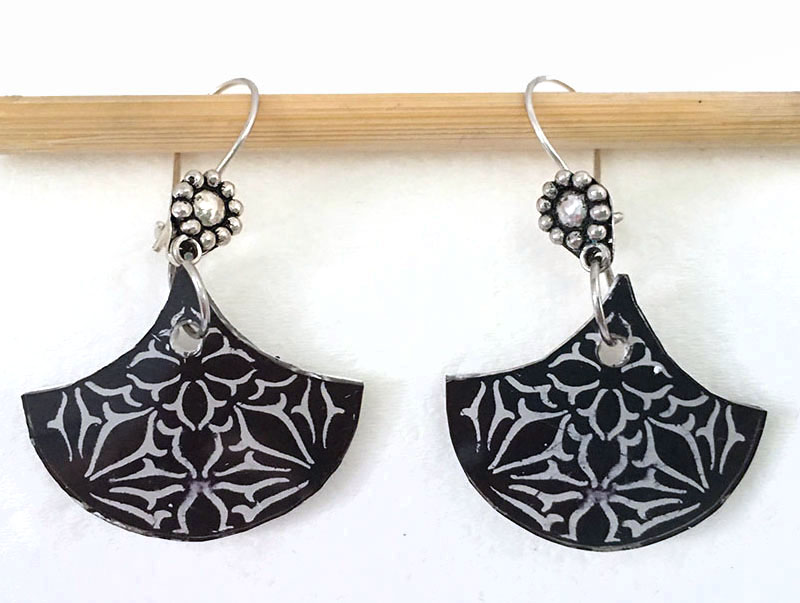
Creative Squad member Linda Edkins Wyatt was inspired to turn my Van Vorst Fan foam stamp into shrink film earrings, and I love the intricate beauty that this design lends to shrink film. Here was her post outlining the process she used to create these stunning baubles.

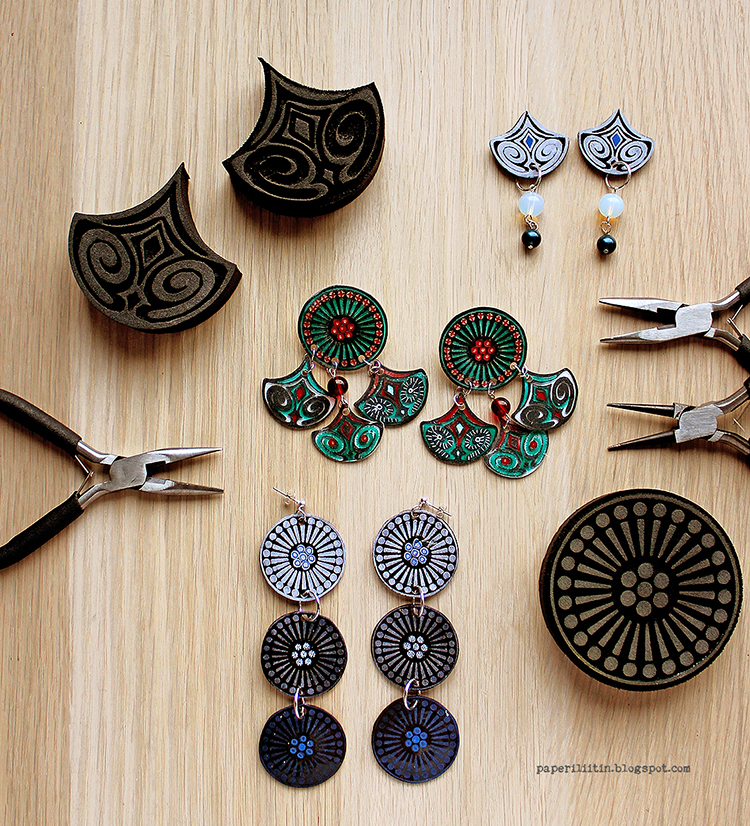
Before Riikka Kovasin officially joined the Creative Squad, she shared some shrink film earrings that she made using my Grove Street and Fairview Fan foam stamps. I love her use of color in these and I was quite tickled to catch her wearing them during a recent Spill your heART episode too :) Here was her original post.

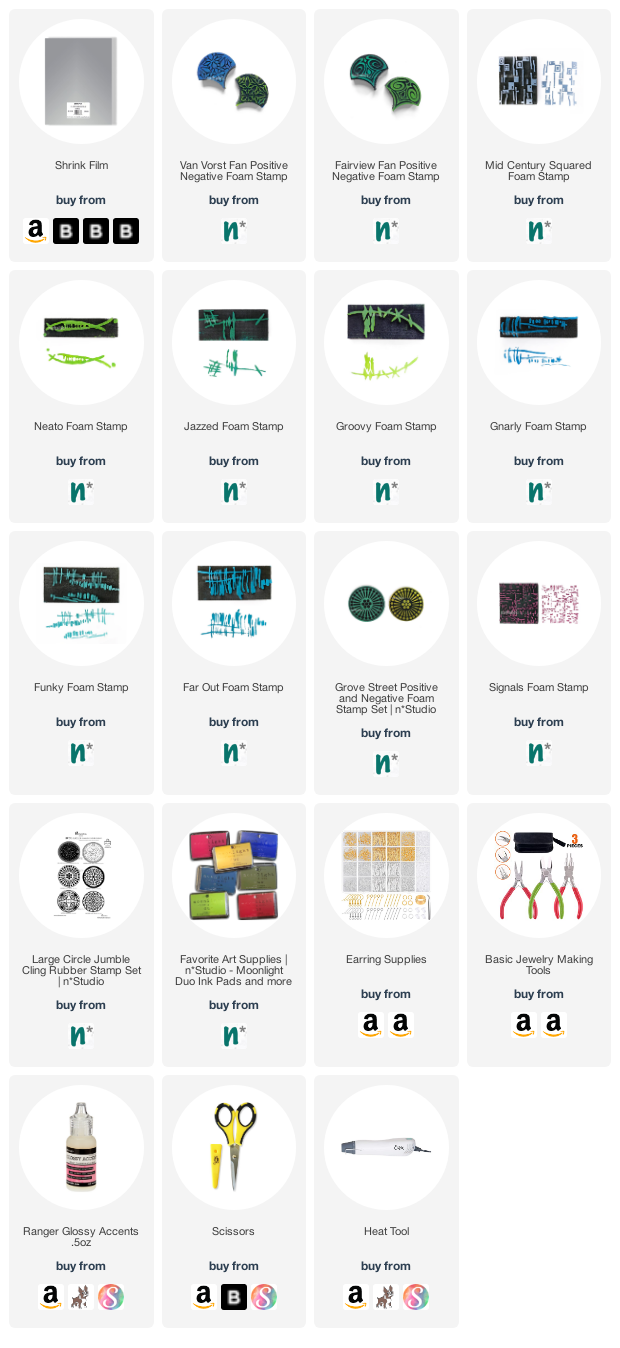
I hope you enjoyed this look back on some jewelry projects using stamps and shrink film and will maybe make a few of your own too. Here are some of the supplies we used:

Leave a comment

A Look Back – Inspired by Songs – Cool Stuff You May Have Missed 31

A Look Back – Today I’m looking at art journal spreads, projects, and even an old layout from 2009 where specific songs inspired me to create. I have always been a big fan of alternative and punk music but lots of times a song from an entirely different genre will inspire me. Poetic lyrics definitely catch my… ear lol

A Look Back is a blog series to show you some projects and posts that you may have missed – sometimes going WAY back in the archive. I think it will be fun to revisit a few ideas that we haven’t seen for a while. I’m excited to see how a little look back might inspire something new in the future :)

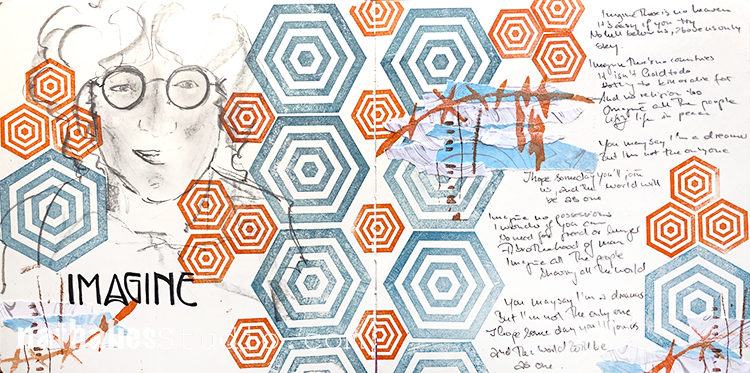
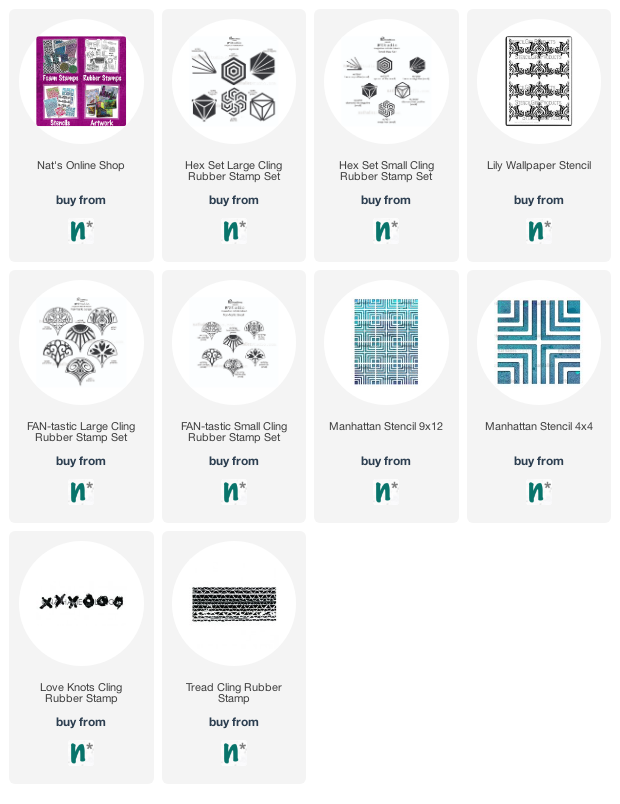
I created this art journal spread in 2019 after watching a doc on John Lennon and Yoko Ono. I think this song (“Imagine”) in particular always resonates when we are going through a period of strife. I felt the need to copy down a lot of the lyrics (maybe all of them), filling in the empty space I created using my Hex Set Small and Hex Set Large stamps.

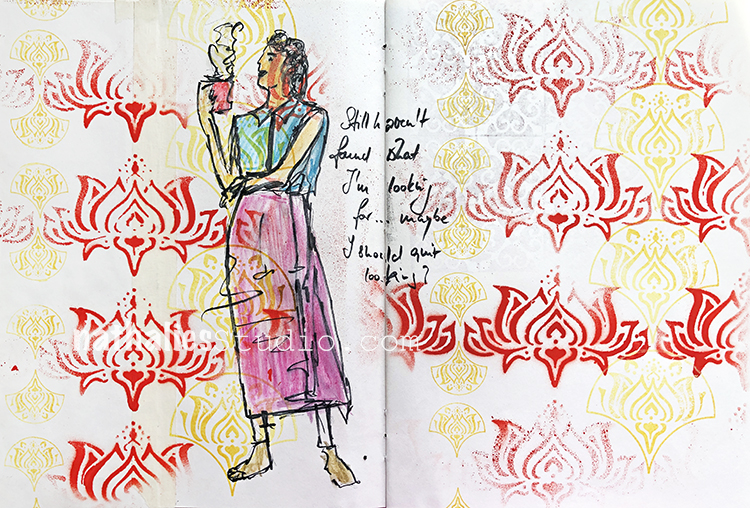
Also in 2019 I joined a challenge by my friend Tina Walker called The Stencilfied Journal and it was a series of about 25 song prompts to get inspired by. The above one was U2’s “I Still Haven’t Found What I’m Looking For” – and as a U2 fan I had no trouble finding inspo in that. I created a background with my Lily Wallpaper stencil and my Fan-tastic Large and Fan-tastic Small stamp sets and then put in my contemplative figure who is wondering, “maybe I should quit looking?”

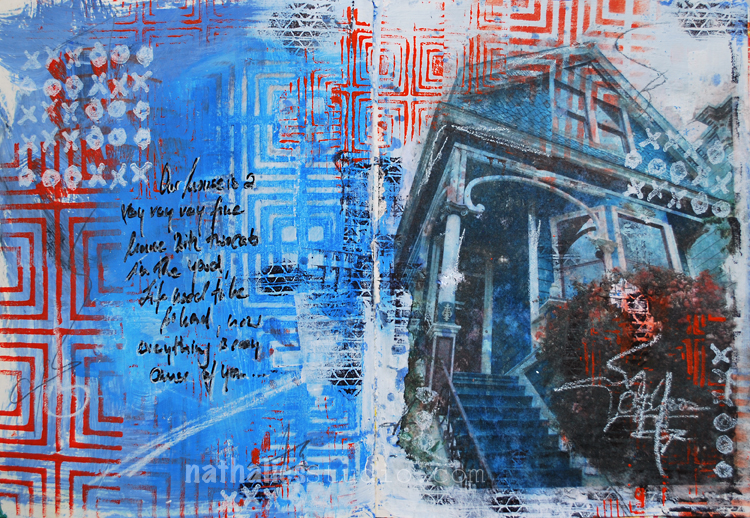
As you know, I always have my eyes open for architecture and one time in San Francisco I saw this great house, snapped a pic of it, and later put it in this art journal spread as a transfer. The Crosby, Stills, Nash, and Young song “Our House” often comes to mind when I see a lovely home so it all came together in this spread in 2017. I added my Manhattan stencil, Love Knots rubber stamp, and my Tread rubber stamp too. Now where are those two cats…?

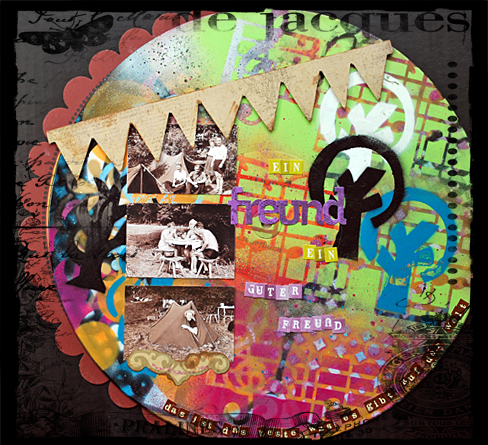
Time to go back in time to 2012 and this collage I created on an old record, inspired by the German song “Ein Freund, ein guter Freund” – a song that came to my mind when I was going through old photos of my Aunt Margo and her friends on a camping trip in 1949. She had shared some of the funny stories of that trip with me and I loved thinking about her and her good friends going on a rather madcap adventure when they were young :)

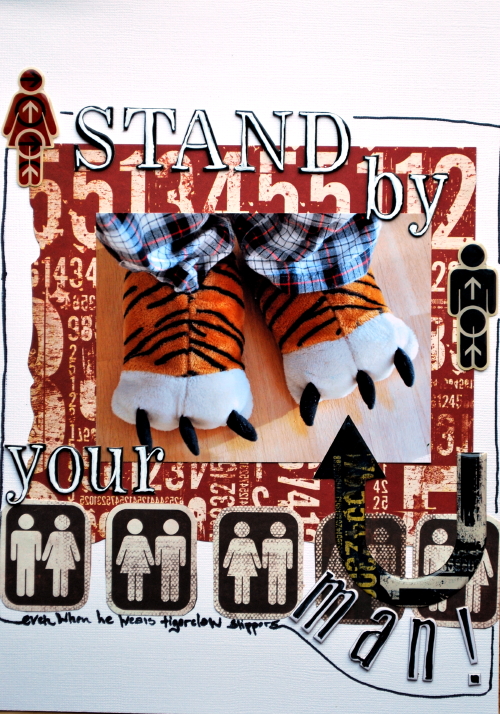
And now I take you alllll the way back to 2009 and this layout inspired by “Stand By Your Man” (as performed by the incomparable Blues Brothers) and featuring some ridiculous slippers that my husband had back then. I don’t know about those slippers but I still dig some of the collage elements I brought into this.

I hope you enjoyed this look back on some artwork inspired by songs. Here are some of the supplies I used:

Leave a comment

A Look Back – Playing with Lettering – Cool Stuff You May Have Missed 30

A Look Back – Today I’m focusing on how you can play with lettering in your art journal or mixed media projects. Even if you don’t love your handwriting, there are still tricks you can use to create unique lettering – or handmade fonts if you will – in your work. I’ve pulled together some posts from the past that demonstrate 5 ways you can Play with Lettering.

A Look Back is a blog series to show you some projects and posts that you may have missed – sometimes going WAY back in the archive. I think it will be fun to revisit a few ideas that we haven’t seen for a while. I’m excited to see how a little look back might inspire something new in the future :)


Add Some Dots – One way to create a new font that has some unity and style to it is simply add some dots to a few of the letters. The key is staying consistent and always adding dots to those letters when you use them in the spread, as I’ve done here in this art journal page. It also helps to have a pen or marker that you feel comfortable using. I’m using a Fude pen here – one that just feels good to write with.

Think About Line – In this art journal page I’ve simply added an extra line to the cross in all the H’s and I’ve extended the length of the tail in the R’s. Simple but consistent alterations like that add a distinctive personality to your lettering style and set it apart from other pages in your journal. It honestly doesn’t take much – if you just look at all the fonts on your computer and you can see how subtle changes can make a big difference. For this one I chose a fine point Posca marker.

Go With the Flow – Maybe the point is not to have your lettering be so legible… that’s a strategy too! In this journal page I just quickly wrote my thoughts and let them flow with the composition created by the stencil (Flower Maze) and my quick sketch. Here it was all about going with the layout, mood of the page, and staying consistent with the style of my sketch – going with the flow.

More is More – I love this page from Creative Squad alum Michelle Rydell because she really plays with a lot of different styles of lettering and the effect is super fun! It goes with the theme of the page and even emphasizes that she likes to do her own thing. Try mixing styles up: bold and slender, colored and striped, fancy and blocky, etc. Michelle used black and white Sharpies and colored Molotow paint markers.

No Stress – If hand lettering isn’t your thing, don’t stress! There are plenty of products out there to help you – stencils, stickers, rub-ons, and even canvas letters as I used here in this post. Use them as they are or dress them up with your own paint splatters and markers. It’s quick and easy and will help you speak your mind without worrying about penmanship.

I hope you enjoyed this look back on some lettering ideas. Here are some of the supplies we used:

Leave a comment

A Look Back – Rainbow of Colors – Cool Stuff You May Have Missed 29

A Look Back – This time I’m looking at a Rainbow of Colors. Sometimes we need to pull out the full color wheel spectrum and create! I’ve gathered together a group of projects from my archives and the Creative Squad to celebrate a colorful life. Read on and enjoy!

A Look Back is a blog series to show you some projects and posts that you may have missed – sometimes going WAY back in the archive. I think it will be fun to revisit a few ideas that we haven’t seen for a while. I’m excited to see how a little look back might inspire something new in the future :)


I’m starting things off with this post from waaaaaaay back in 2007 when I did an ATC swap with a bunch of other artists so that collectively we could create a rainbow :)


Next up is a series of mixed media pieces by Creative Squad alum Marsha Valk, that use almost every color of the rainbow along with my Neato and Far Out foam stamps. Check out all the pieces here in the original blog post – you can see how she unifies the group with similar marks and colors across all of them.


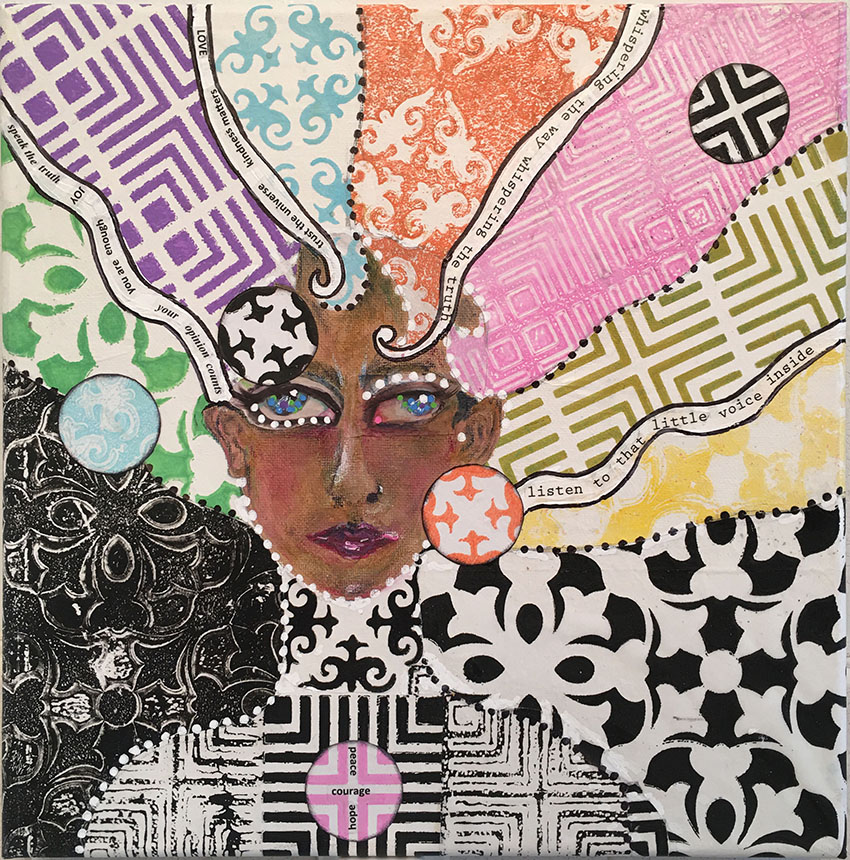
Another Creative Squad alum Linda Edkins Wyatt used a rainbow of colors along with my Versailles, Manhattan, and New Orleans stencils to create the hair in this expressive portrait. See her process here in the post.


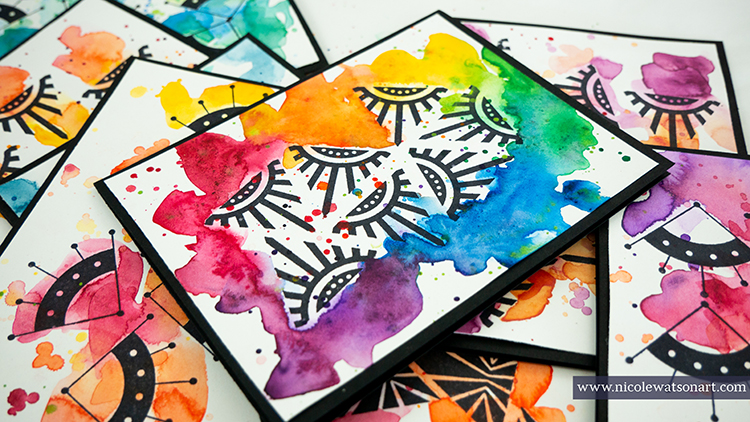
All you need is a rainbow of watercolors and my Mini Motifs stamps to make some gorgeous cards like these by Creative Squad alum Nicole Watson. See her process here to get bold colors and beautiful results.


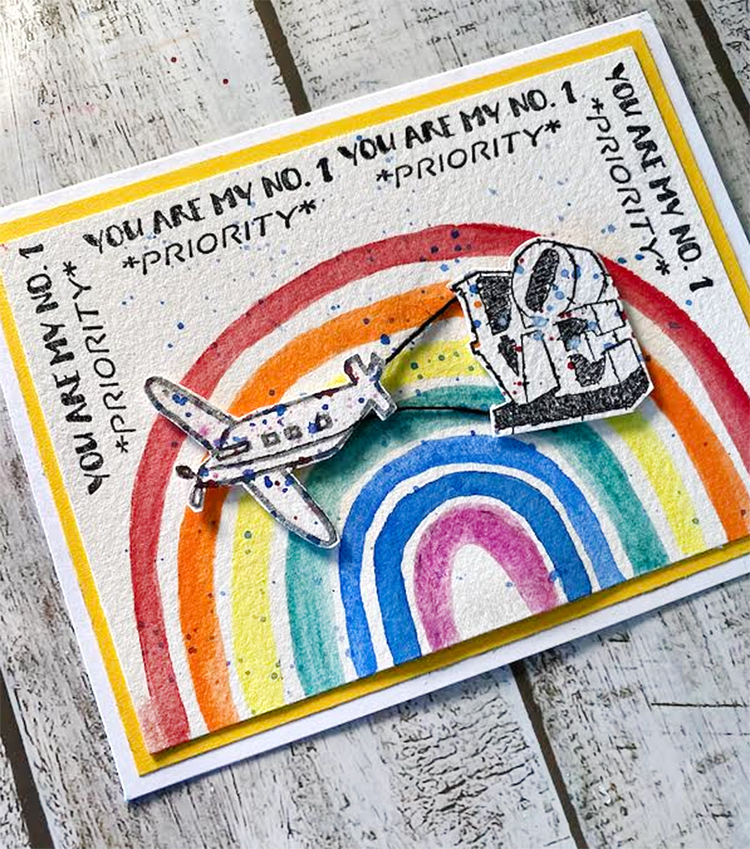
Finally a card from current Creative Squad member Robin Seiz, rocking a sweet rainbow along with rubber stamps from my #keepyouposted set including my LOVE stamp. This just puts a smile on my face!!! You can see Robin’s process right here.

I hope you enjoyed this look back on some projects that feature a rainbow of colors. Here are some of the supplies we used:

Leave a comment